Leopard nail designs offer a fierce, fun, and surprisingly versatile way to express your style. From classic black and beige to vibrant pops of color, these iconic prints are easier to DIY than you think and can elevate any manicure. Get ready to unleash your inner wild child with stunning, wearable leopard looks perfect for beginners and seasoned nail artists alike!
Hey there, nail lovers! Feeling a little… vanilla with your mani lately? Want to add some serious personality and flair to your fingertips without needing a degree in nail art? You’ve come to the right place! Leopard print has been a fashion staple for decades, and for good reason. It’s bold, it’s chic, and surprisingly, it can be super easy to achieve right at home. Forget those intimidating salon-only designs; we’re about to dive into the wild world of leopard nail designs that are not only genius but totally achievable, even if you’re just starting out. Get ready to transform your nails into a work of art that’s both playful and powerful!
Why Leopard Print Nails Are a Must-Have
Leopard print is more than just a pattern; it’s a statement. It embodies confidence, a touch of rebellion, and a whole lot of fun. What makes leopard nail designs so special?
- Versatility: It rocks on short nails, long nails, almond, square, stiletto – you name it!
- Timeless Appeal: Leopard print never truly goes out of style. It’s a classic for a reason.
- Adaptability: From subtle accents to full-on statement nails, you control the intensity.
- Beginner-Friendly: With a few simple tricks, even beginners can nail this look.
- Endless Color Combos: While classic brown and black is iconic, leopard can be done in any color imaginable!
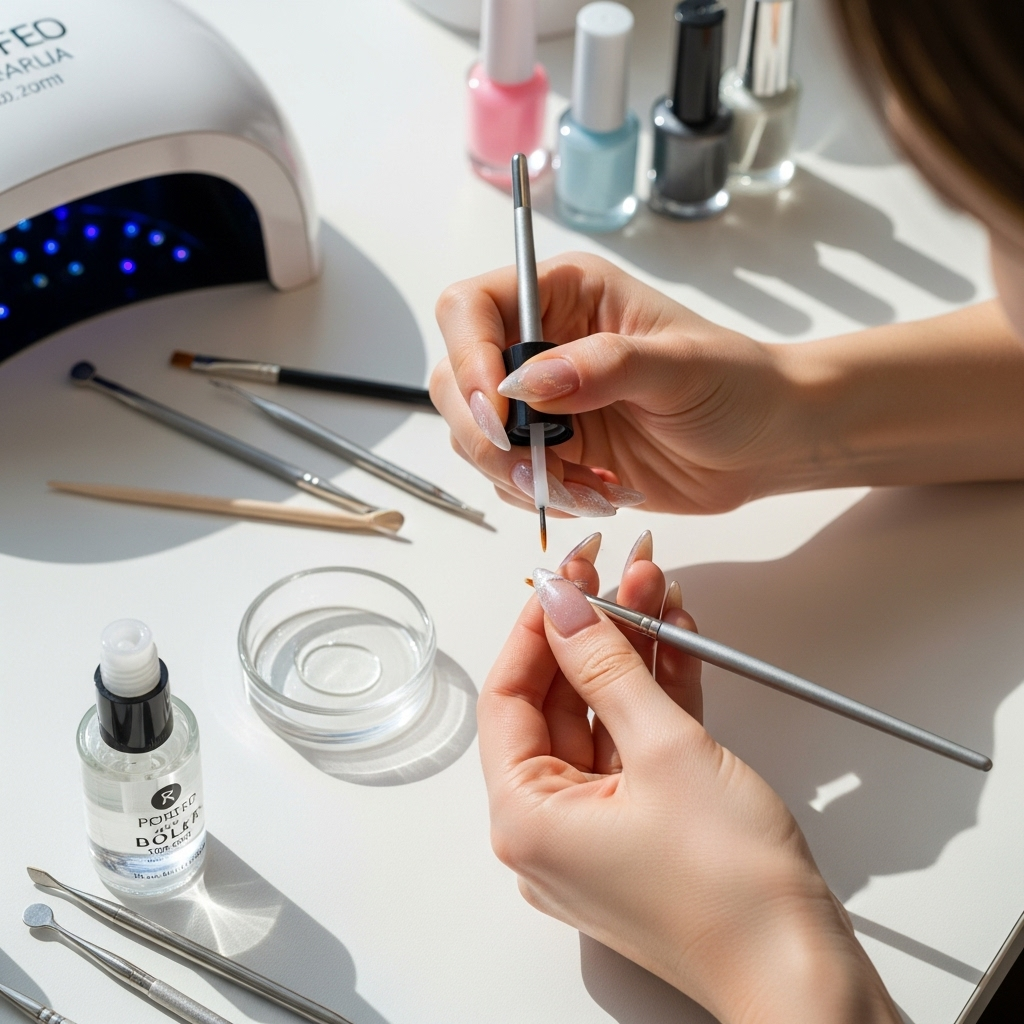
Getting Started: Your Leopard Nail Toolkit
Before we pounce into the fun designs, let’s gather your essential tools. Don’t worry, you don’t need a professional kit to get salon-worthy results!
Essential Tools for Leopard Nail Designs:
- Base Coat: Protects your natural nails and helps polish adhere better.
- Top Coat: Seals your design and adds a glossy shine.
- Nail Polish Colors: Your base color(s) and your chosen leopard spot colors (typically black and a contrasting color).
- Thin Detail Brush or Dotting Tool: This is your magic wand for creating those imperfect, wild spots. A small dotting tool is perfect for beginners, while a fine-tip detail brush gives you more control.
- Clean-up Brush/Cotton Swab & Polish Remover: For tidying up any mistakes.
- Optional: Striping Tape: For creating clean lines or geometric leopard variations.
- Optional: Stencils: If freehand is too intimidating, stencils can help!
The Classic Leopard Nail Design: A Step-by-Step Guide
Ready to create the iconic look? This is the foundational design, and once you master it, you can play with variations. We’ll keep it simple and fun!
Step 1: Prep Your Canvas
Start with clean, dry nails. Push back your cuticles gently. If you have any old polish, remove it completely. Apply one coat of your favorite clear base coat. Let it dry completely. This step is crucial for a long-lasting manicure.
For more tips on nail prep, check out this helpful guide from the American Academy of Dermatology Association on nail care basics: Nail Care Basics from the AAD.
Step 2: Apply Your Base Color
Choose your leopard base color. Classic options include nude, beige, cream, or even a soft pastel. Apply two thin, even coats. Make sure each coat is completely dry before moving on. Patience is key here!
Step 3: Create the “C” Shapes
Here’s where the magic happens! Dip your thin detail brush or dotting tool into your black (or dark) polish. You want to create irregular, curved shapes that resemble a “C,” “U,” or a broken circle. Don’t aim for perfect circles! The beauty of leopard print is its imperfection. Vary the size and placement of these shapes. Leave some space between them – they don’t need to touch.
Pro Tip: Instead of a solid “C,” try making a thicker outline or a few disconnected dots that suggest a spot. This adds depth!
Step 4: Add the Inner Spots
Now, take a lighter contrasting color (like a lighter brown or even a hint of gold, if you’re feeling fancy). Using the tip of your brush or a smaller dotting tool, place a small dot or two inside some of the black “C” shapes. This gives the spots dimension and makes them look more realistic (or whimsically stylized!).
Step 5: The Final Touch – Top Coat!
Once all your spots are completely dry, apply a generous layer of your clear top coat. Make sure to cap the free edge of your nail by running the brush along the tip. This seals in the design and prevents chipping. Let it dry thoroughly.
Genius Variations to Try
Once you’ve mastered the classic leopard, the possibilities are endless! Here are some genius variations that are super popular and fun to experiment with.
1. Color Pop Leopard
Who says leopard has to be traditional? Swap out the classic beige for a bright pink, electric blue, or even a neon green base. Keep the spots black, or go wild with a contrasting bright color for an even bolder statement. This is a fantastic way to make leopard feel modern and playful.
2. Glitter Leopard
Add some sparkle! Use a glitter polish as your base color for instant glam, or apply glitter over the top coat of a classic leopard print nail. You can also use a glitter-filled top coat. For a more subtle sparkle, try adding glitter only to the inside of the leopard spots.
3. Ombre Leopard
Combine two trends! Create a beautiful ombre effect on your nails using your favorite color transitions (e.g., pink to orange, blue to purple). Once the ombre is set, add your leopard spots over the top. It’s a stunning, sophisticated look.
4. Metallic Leopard
Think gold, silver, rose gold, or gunmetal. Metallic leopard nails add a touch of pure luxury. You can use a metallic polish as the base and black spots, or black polish with metallic spots. Chrome powders can also be used over a black base to create a mirrored leopard effect.
5. Micro Leopard
For a more subtle and delicate look, make your leopard spots tiny! Use a very fine brush and smaller “C” shapes. This works beautifully on short nails or as an accent on one or two nails.
6. Reverse Leopard (or Dot Leopard)
This is a fun twist! Instead of painting the spots, you leave them bare or paint them in your base color, and then paint around them with your accent color. For that classic leopard vibe, you’ll paint a darker “C” shape with a small dot of lighter color inside it, all over your nude or sheer base. It’s like the negative space version of the print.
7. Leopard French Tips
Give the classic French manicure a fierce makeover! Apply your base color, then use a fine brush or a stencil to create leopard print along the tips of your nails instead of a plain white line. You can do full leopard tips or just a thin leopard stripe.
Easy Cheetah Print Versus Leopard Print
Often, people confuse cheetah and leopard prints. While both are animal-inspired spots, there are subtle differences that make them unique. Understanding these can help you achieve the look you desire!
| Feature | Leopard Print | Cheetah Print |
|---|---|---|
| Spots: | Typically solid, rosettes (spots with outlines and often a lighter center, like a filled-in “C”), and irregular shapes. | Solid, round or oval spots, usually with a distinct black outline and a solid, unadulterated interior. |
| Coloring: | Spots can be fully filled in. | Spots are typically solid black or dark brown. |
| Overall Look: | More varied, textured, and often appears more “filled in.” | More uniform, cleaner lines, and a more distinct spotted appearance. |
| Ease for DIY: | The “C” shape method is quite forgiving and easy for beginners. | Achieving perfectly uniform solid spots can be slightly trickier for absolute beginners without practice. |
Did You Know? True leopard spots are not perfect circles. They are often irregular and can form clusters or rosettes, which is why the “C” shape method works so well for replicating the look!
Tips for Achieving Flawless Leopard Nails
Even with simple designs, a few pro tips can elevate your leopard nail game:
- Less is More with Polish: When painting your spots, don’t overload your brush or dotting tool. A little polish goes a long way.
- Thin Coats are Your Friend: Apply polish in thin, even layers. This prevents bulkiness and ensures quick drying times.
- Practice on Paper: Before you go near your nails, try drawing the spots with your polish on a piece of paper or even a nail tip practice sheet. This helps you get a feel for the brush and the pattern.
- Let it Dry: Resist the urge to touch your nails too soon. Give each layer, especially the spots, ample time to dry before proceeding.
- Clean Up is Key: Keep a fine brush dipped in nail polish remover handy. Use it to clean up any smudges or stray marks around your cuticles and sidewalls for a super neat finish.
- Consistency in Variation: If you’re doing accent nails, try to keep the style of leopard print consistent across all your nails for a cohesive look.
Long-Term Wear and Maintenance
To keep your fierce leopard nails looking fabulous for as long as possible:
- Avoid Harsh Chemicals: Wear gloves when doing chores involving water or cleaning products.
- Hydrate: Keep your cuticles moisturized with cuticle oil. Healthy cuticles contribute to healthier-looking nails.
- Reapply Top Coat: If you notice the shine fading after a few days, add another thin layer of top coat to refresh your manicure.
- Be Gentle: Try not to use your nails as tools!
The Best Nail Polish Colors for Leopard Print
While classic black and brown are iconic, let’s explore some other winning color combinations that make leopard print pop!
Classic & Chic
- Base: Nude, Beige, Cream, Tan
- Spots: Black, Dark Brown
- Accent Dot: Lighter Brown, Gold, or no accent for a simpler look.
Bold & Bright
- Base: Hot Pink, Royal Blue, Emerald Green, Vibrant Yellow
- Spots: Black, White, or a contrasting bright
- Accent Dot: White (if spots are dark), Black (if spots are light)
Glamorous & Metallic
- Base: Gold, Silver, Rose Gold, Gunmetal
- Spots: Black, White, or a deep jewel tone (like ruby red)
- Accent Dot: White or Black
Pastel Dreams
- Base: Baby Pink, Mint Green, Lavender, Sky Blue
- Spots: Dark Grey, Navy Blue, or a slightly darker pastel
- Accent Dot: White or a lighter shade of the spot color
FAQ: Your Leopard Nail Design Questions Answered
Q1: Do I need a special brush to do leopard nail art?
Not necessarily! While a thin striping brush or a small dotting tool makes it easier, you might be able to achieve a simple leopard look with the fine tip of a regular polish brush, or even a toothpick if you’re very careful. Practice is key!
Q2: How can I make my leopard spots look more realistic?
The key to realistic leopard spots is imperfection! Don’t draw perfect circles or C’s. Vary the size, shape, and spacing. Adding a smaller, lighter dot inside some of the darker spots (like a rosette) gives them depth. Also, remember that spots often merge together or have irregular outlines.
Q3: My leopard spots look messy. What am I doing wrong?
It’s common for beginners to struggle with smudgey spots! Ensure your base color is completely dry before adding spots. Also, use a very small amount of polish on your brush or dotting tool; too much will spread and look messy. Cleaning up any stray marks with a fine brush dipped in polish remover as you go will make a huge difference.
Q4: Can I do leopard print on short nails?
Absolutely! Leopard print looks fantastic on short nails. For shorter nails, consider making your spots slightly smaller and less dense, or opt for a micro-leopard design. It’s a chic way to add a pattern without overwhelming smaller nail beds.
Q5: How long do DIY leopard nails usually last?
With proper application – good base and top coats, allowing layers to dry fully, and careful clean-up – your leopard nail design can last anywhere from 5 to 10 days, similar to a regular manicure. Protecting your nails with gloves during chores will help extend their life.
Q6: Are there any nail designs that look similar to leopard print but are easier?
Yes! Dalmatian spots (small, uniform black dots) can give a subtle spotted look. Also, a very simple random dot pattern, where you place dots of varying sizes and colors without a specific shape, can mimic some of the abstract feel of animal prints. A simple cheetah print with solid round spots is also often considered a bit simpler than the rosette-style leopard.
Conclusion: Unleash Your Inner Style Icon!
There you have it – your ultimate guide to mastering genius leopard nail designs! From the classic, sophisticated look to fun, vibrant interpretations, you now have the tools and techniques to create these stunning manicures right at home. Remember, nail art is all about self-expression. Don’t be afraid to experiment with colors, finishes, and styles. Whether you’re going for a subtle accent or a full-on statement, leopard print nails are a timeless, chic, and incredibly fun way to show off your unique personality.
So grab your polishes, unleash your creativity, and get ready to rock some seriously fierce nails. You’ve got this! Happy painting!