LED Nail Art: Stunning & Essential Designs
LED nail art lets you create dazzling, long-lasting manicures at home. This guide breaks down essential designs and techniques, making gorgeous, salon-quality nails totally achievable for beginners. Get ready to shine!
Ever scrolled through breathtaking nail art online and thought, “I could never do that”? You’re not alone! Many of us dream of unique, eye-catching nails, but the thought of complicated techniques can feel overwhelming. The good news? With the right tools and a little guidance, you can absolutely create stunning LED nail art designs right from your couch. Forget frustrating smudges and chipped polish; we’re diving into the world of LED nail art that’s both beautiful and surprisingly simple to master.
This guide is your friendly introduction to LED nail art. We’ll cover everything from the basic tools you’ll need to creating your first show-stopping designs. Think of it as your personal nail art bootcamp, designed to boost your confidence and unleash your inner artist. Ready to transform your fingertips into tiny masterpieces? Let’s get glowing!
What is LED Nail Art? The Basics You Need to Know
Before we jump into designs, let’s get clear on what LED nail art actually is. It’s all about using specialized gel polishes and a UV/LED lamp to cure (or harden) your nail enhancements. Unlike regular nail polish, which air-dries, gel polish cures under the UV/LED light, creating a durable, glossy finish that lasts for weeks. This curing process is what makes LED nail art so popular – it’s incredibly long-lasting and resistant to chipping and smudging.
The “LED” in LED nail art refers to the type of lamp used. LED lamps are faster and more energy-efficient than older UV lamps, significantly cutting down your curing time. This means less waiting around with your hands awkwardly placed under a light, and more time enjoying your fabulous new nails!
Why Choose LED Nail Art? The Brilliant Benefits
So, why should you consider diving into the world of LED nail art? Let’s count the ways!
- Durability: This is the big one! LED gel manicures can last 2-3 weeks without chipping, peeling, or losing their shine. Perfect for busy bees who don’t have time for frequent touch-ups.
- Stunning Shine: Gel polish cures to a high-gloss finish that looks like it just left a professional salon.
- Quick Drying Time: Once cured under the LED lamp, your nails are instantly dry and ready to go. No more smudged polish from leaning on something too soon!
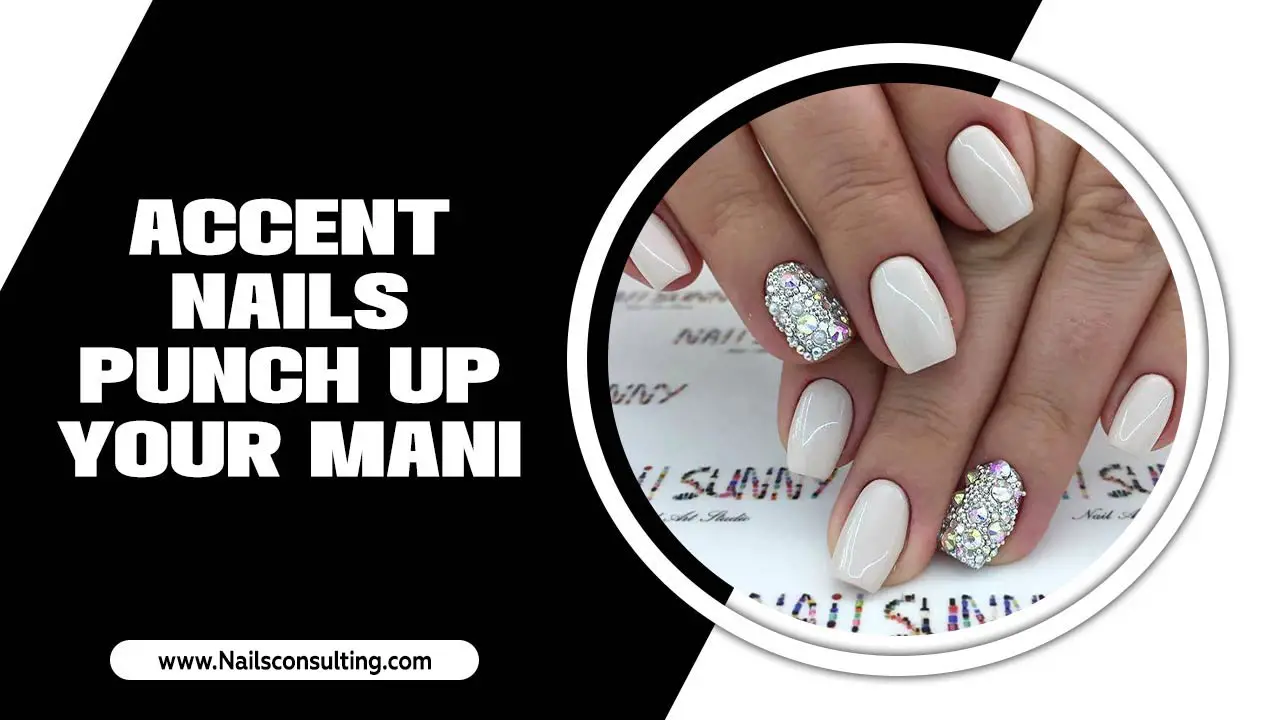
- Endless Design Possibilities: LED polish comes in every color imaginable, and it works perfectly with various nail art techniques, from simple solids to intricate art.
- Strengthening Properties: Many gel formulations can help strengthen natural nails, reducing breakage and making them grow longer.
- Waterproof: Your manicure will hold up beautifully against daily activities like washing dishes or swimming.
Essential Tools for Your LED Nail Art Journey
Starting with the right tools makes all the difference. Don’t worry, you don’t need a professional salon’s worth of supplies to begin. Here’s a beginner-friendly list of essentials:
| Tool | What it Does | Why You Need It |
|---|---|---|
| LED Nail Lamp | Cures (hardens) the gel polish. | Absolutely essential for gel polish to set. Look for one with a timer. |
| Gel Base Coat | Prepares the nail and helps the color adhere. | Ensures better adhesion and protects your natural nail. |
| Gel Color Polish | The actual color of your manicure. | Choose your favorite shades to start with! |
| Gel Top Coat | Seals the color and adds shine and protection. | Gives that glossy, finished look and prevents chips. |
| Nail File | To shape your nails. | Helps create a clean canvas for your polish. |
| Buffer | To smooth the nail surface. | Creates a slightly rough surface for better gel adhesion. |
| Cuticle Pusher/Remover | To gently push back or remove excess cuticle. | Keeps your nail bed clean for a professional finish. |
| Lint-Free Wipes | To clean the nail and remove the sticky inhibition layer. | Crucial for a clean, non-tacky finish. Regular cotton balls can leave fuzz. |
| Alcohol or Gel Cleanser | To cleanse the nail and remove the sticky residue after top coat. | Necessary for removing the tackiness left by the top coat. |
| Optional: Nail Art Brushes/Tools | For applying designs (e.g., dotting tools, thin brushes, striping tape). | Start simple! You can add these as you get comfortable. |
A good starting point for your LED lamp would be a 36W or higher LED lamp with at least a 30-second timer setting. For a fantastic overview of nail care and tool hygiene, you can check out resources from organizations like the National Institute for Occupational Safety and Health (NIOSH) which offers valuable insights into safe practices in nail salons, many of which translate well to at-home care.
Step-by-Step: Your First Basic LED Nail Art Design
Let’s walk through creating a simple, yet elegant, solid color LED gel manicure. This is the foundation for all your future LED nail art creations!
Preparation is Key
This is the most crucial step for a long-lasting manicure. Don’t skip it!
- Clean & Dehydrate: Wash your hands thoroughly. Then, use a lint-free wipe with alcohol or a nail dehydrator to remove any oils or moisture from the nail surface. This helps the gel adhere better.
- Shape & Buff: Gently file your nails to your desired shape. Use a buffer to lightly buff the surface of your natural nail. You’re not trying to remove shine entirely, just create a slightly matte surface for grip.
- Cuticle Care: Gently push back your cuticles with a cuticle pusher. If you have excess cuticle, you can carefully trim it, but be very gentle to avoid injury. A clean cuticle area makes a huge difference in the final look.
Applying the Gel Polish
Now for the fun part! Remember, gel polish cures under the lamp, so only apply thin layers and avoid flooding your cuticles.
- Apply Base Coat: Apply a thin, even layer of your gel base coat. Cap the free edge of your nail by running the brush along the tip.
- Cure Base Coat: Place your hand under the LED lamp for the recommended time (usually 30-60 seconds, check your lamp’s instructions).
- Apply First Color Coat: Apply a thin layer of your chosen gel color. Again, cap the free edge. If you’re using a sheer color, you might need 2-3 thin coats for full opacity.
- Cure Color Coat: Place your hand back under the lamp for the recommended time (usually 30-60 seconds for LED lamps).
- Apply Second Color Coat (if needed): Repeat steps 3 and 4 for a second layer of color, if desired, for deeper coverage.
- Cure Second Color Coat: Cure under the lamp again.
- Apply Top Coat: Apply a thin, even layer of your gel top coat, making sure to cap the free edge.
- Cure Top Coat: Place your hand under the lamp for the final cure. Most top coats require 60-90 seconds.
- Cleanse & Shine: After curing the top coat, there will be a sticky ‘inhibition layer’ on the surface. Take a clean lint-free wipe, dampen it with alcohol or gel cleanser, and gently wipe away the stickiness. Voila! You have a super shiny, cured gel manicure.
Essential LED Nail Art Designs for Beginners
Once you’ve mastered the solid color, it’s time to get creative! These beginner-friendly designs are stunning and achievable.
1. The Elegant French Tip
A timeless classic that’s surprisingly easy with gel polish.
- Prep: Complete steps 1-4 of the basic application using a nude or sheer pink base color.
- Create the Tip: Use a fine-tipped nail art brush dipped in white gel polish. Gently draw a smile line across the free edge of your nail. For a neat finish, you can use nail guides or a silicone stamper to help create a crisp line.
- Cap & Cure: Cap the free edge with white gel polish and cure under the LED lamp for 30 seconds.
- Apply Top Coat: Apply a thin layer of gel top coat and cure for 60-90 seconds.
- Cleanse: Wipe away the inhibition layer with alcohol or gel cleanser.
2. Simple & Chic Dots
Dots are versatile and add a playful touch.
- Prep: Apply your base coat, color coat(s), and top coat as per the basic steps, but skip the final cleansing step. You want the sticky inhibition layer on your cured top coat to act as an adhesive for the dots.
- Apply Dots: Use a dotting tool (or a toothpick!) dipped in a contrasting gel polish color. Gently place dots onto your nails. You can make them all the same size, vary their size, or create patterns.
- Cure: Carefully place your hand under the LED lamp for 60 seconds (just to set the dots, not as a full cure for the entire nail).
- Final Top Coat: Apply another thin layer of gel top coat over the entire nail, ensuring you seal in the dots. Cap the free edge.
- Cure & Cleanse: Cure for 60-90 seconds and then cleanse away the inhibition layer.
3. Glitter Gradient (Ombre)
A dazzling effect that’s easier than it looks!
- Prep: Apply base coat and one thin layer of your chosen color. Cure.
- Apply Glitter: Use a clean makeup sponge or a brush. Dip it lightly into a glitter gel polish or place some regular gel polish and loose glitter onto a palette. Gently dab or brush the glitter onto the tips of your nails, fading it down towards the cuticle.
- Cure: Cure under the LED lamp for 30-60 seconds.
- Second Color Layer (Optional): If you want a more opaque base for your glitter or to blend the colors, apply another thin layer of your base color or a coordinating sheer color over the glitter, fading it upwards. Cure.
- Top Coat: Apply a generous layer of gel top coat to ensure all the glitter is sealed in. Cap the free edge and cure for 60-90 seconds.
- Cleanse: Wipe away the inhibition layer.
4. Negative Space Designs
These are trendy and surprisingly simple. They focus on leaving parts of the natural nail visible.
- Prep: Apply base coat and cure.
- Apply Color (Strategically): Use nail tape or freehand with a fine brush to create shapes (like triangles, stripes, or half-moons) on your nail. Apply a gel color only within these shapes or on the areas you want polished.
- Cure: Cure under the LED lamp.
- Remove Tape: Carefully remove the nail tape while the polish is still slightly tacky (or immediately after curing, depending on your tape).
- Clean Up & Top Coat: Clean up any errant polish with a small brush dipped in alcohol. Apply a thin layer of gel top coat over the entire nail, making sure to seal the edges of your design.
- Cure & Cleanse: Cure and cleanse as usual.
5. Simple Stamped Designs
Nail stamping plates offer a quick way to add intricate patterns.
- Prep: Complete your base coat, color coat(s), and top coat, then cleanse the sticky layer. This is important because stamping polish needs a non-sticky surface to adhere to.
- Stamp: Apply a dab of special stamping polish onto your chosen design on the stamping plate. Use a stamper to pick up the polish from the plate.
- Transfer: Immediately and gently press the stamper onto your nail, rolling it slightly to transfer the design.
- Seal: This is where it gets tricky! Stamping polish alone won’t last. You need to carefully apply a gel top coat without flooding the edges of the stamped design, otherwise, it can smudge. You might want to do a “double cap” – paint a thin layer of gel top coat just over the stamped design first, cure it, then apply a full top coat over the whole nail and cure again.
- Cure & Cleanse: The final cure and cleanse.
Tips for Perfect LED Nail Art Every Time
Even with simple designs, a few pro tips can elevate your game.
- Thin Layers are King: Gel polish is thick. Applying thin, even coats is the secret to a smooth, professional finish and ensures proper curing throughout the polish. Thick layers can cure unevenly, leading to lifting or wrinkling.
- Cap the Free Edge: Always swipe your brush along the very tip of your nail with each coat (base, color, and top). This seals the edge and greatly reduces the chance of chipping.
- Avoid the Cuticles: Gel polish should not touch your skin or cuticles. If you get polish on your skin, wipe it away before curing with a small brush dipped in alcohol or nail cleanser. Polish on the skin can cause lifting and allergic reactions.
- Invest in Quality Products: While you can find budget-friendly options, investing in reputable gel polish brands and a good quality lamp will yield better results and a longer-lasting manicure.
- Cleanliness is Next to Polish-ness: Always use clean tools and lint-free wipes. Contamination can ruin your manicure.
- Practice Makes Progress: Don’t get discouraged if your first few attempts aren’t perfect. Nail art takes practice! Start with simple designs and gradually work your way up.
- Moisturize (After Curing): Once your gel manicure is complete and cleansed, apply cuticle oil and hand lotion. This keeps your skin and cuticles hydrated and looking their best.
FAQ: Your LED Nail Art Questions Answered
Let’s tackle some common questions beginners have about LED nail art.
Q1: How long does an LED gel manicure typically last?
A: When applied correctly with proper prep, an LED gel manicure can last anywhere from 2 to 3 weeks without chipping or losing its shine. This longevity is one of its biggest advantages!
Q1: Do LED lamps damage nails?
A: When cured correctly and removed properly, LED gel manicures are generally safe. The key is not to over-cure and to use the correct removal method (soaking, not peeling or scraping!). If you experience any sensitivity or damage, it’s important to take a break and let your nails recover.
Q1: Can I use regular nail polish with an LED lamp?
A: No, regular nail polish will not cure under an LED lamp. It needs to air dry. LED lamps are specifically designed to cure gel or gel-based polishes.
Q1: What happens if I don’t cure the gel polish long enough?
A: If gel polish isn’t cured properly, it can be prone to smudging, peeling, lifting, or wrinkling. It may also feel sticky even after you try to cleanse it. Always follow the recommended curing times for your lamp and polish.
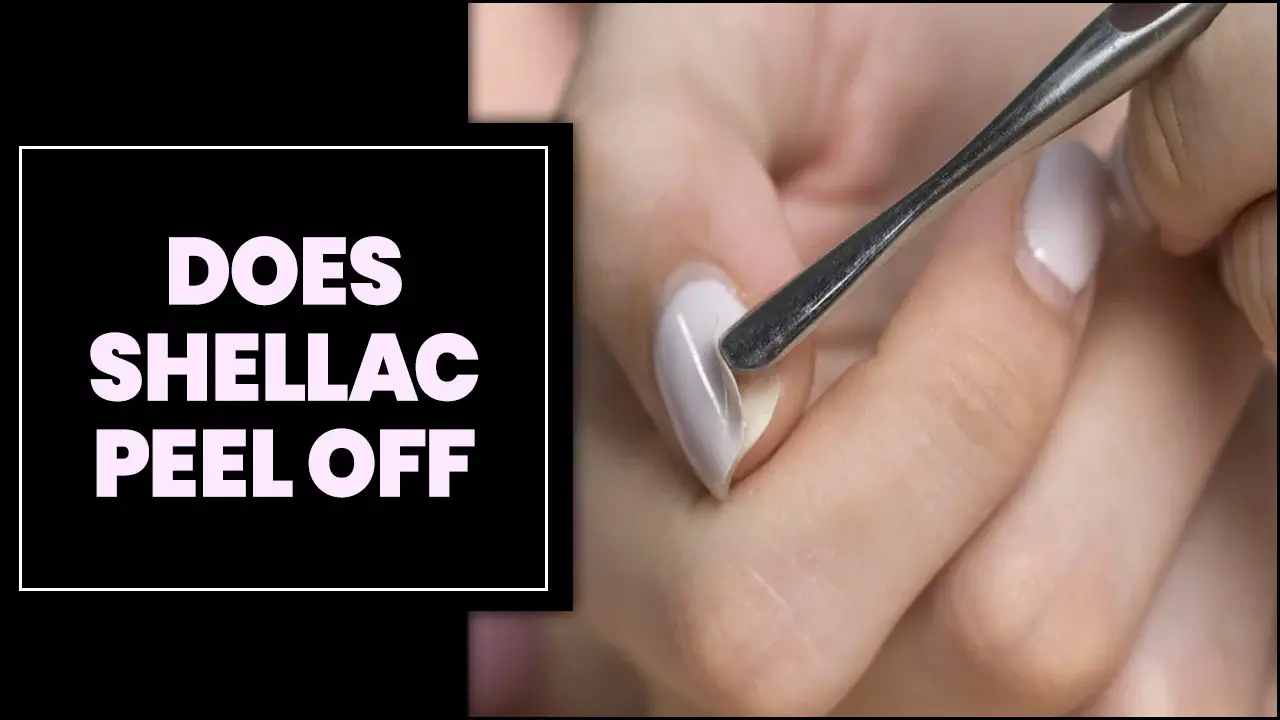
Q1: How do I remove LED gel polish at home?
A: The best way to remove gel polish at home is to soak it off. File off the top coat, soak cotton balls in acetone and place them on your nails, wrap them in foil, and let them sit for about 10-15 minutes. Then, gently push off the softened

