Looking for Kylie Jenner nail design inspiration for 2025? Get ready to wow with chic, trendy looks! This guide breaks down her hottest styles, offering simple tips and endless ideas perfect for any beginner. Achieve dazzling, celebrity-inspired nails easily!
Hey nail lovers! Are you ready to step up your nail game and get the most stylish looks of next year? If you’re like me, you’re always on the hunt for fresh nail inspiration, and who better to turn to than the queen of trends herself, Kylie Jenner? Her nails are always on point, setting the tone for what’s hot in beauty. Sometimes, though, these celeb looks can seem a little out of reach. But don’t worry! I’m here to break down Kylie’s most amazing nail designs for 2025, making them super easy for you to recreate at home. We’ll explore everything from classic elegance to bold, statement-making styles, so you can feel perfectly polished and totally inspired. Get ready to discover your next favorite manicure!
Kylie Jenner Nail Design Inspiration 2025: What’s Trending?
Kylie Jenner is a true nail icon, constantly showcasing innovative and eye-catching designs. As we look towards 2025, certain themes and styles are defining her signature look. Think sophisticated minimalism, playful pops of color, and luxurious textures. The key is often in the execution – clean lines, perfect shapes, and a touch of glamour. We’ll dive into the specific trends that are set to dominate, giving you plenty of ideas to play with.
The Rise of “Soft Glam” Nails
Soft glam is all about achieving an elegant, understated look with subtle luxurious touches. For Kylie, this often translates to soft, neutral tones, sheer finishes, and delicate embellishments.
Milky Whites and Sheers: Think sheer pinks, peachy nudes, and milky whites. These shades are universally flattering and give a clean, polished appearance. They’re perfect for everyday wear but can be elevated with a touch of shimmer.
Subtle Chrome Accents: Instead of full-on chrome, 2025 will see a trend towards subtle chrome details – a delicate French tip, a thin stripe, or a small graphic element. This adds a modern, futuristic gleam without being overpowering.
“Lip Gloss” Nails: This refers to a high-shine, translucent finish that mimics the look of a lip gloss. It’s incredibly chic and makes the nails look healthy and plump.
Minimalist Gold Details: Tiny gold foils, delicate gold French tips, or a single gold stud can elevate a nude or sheer base to pure luxury.
Bold & Playful: Making a Statement
While soft glam has its place, Kylie never shies away from making a bold statement with her nails. For 2025, expect to see a vibrant mix of colors and playful motifs.
Vibrant Color Blocking: Bright, saturated colors like electric blue, hot pink, and lime green will be seen in creative color-blocking designs. Think geometric shapes or abstract swirls.
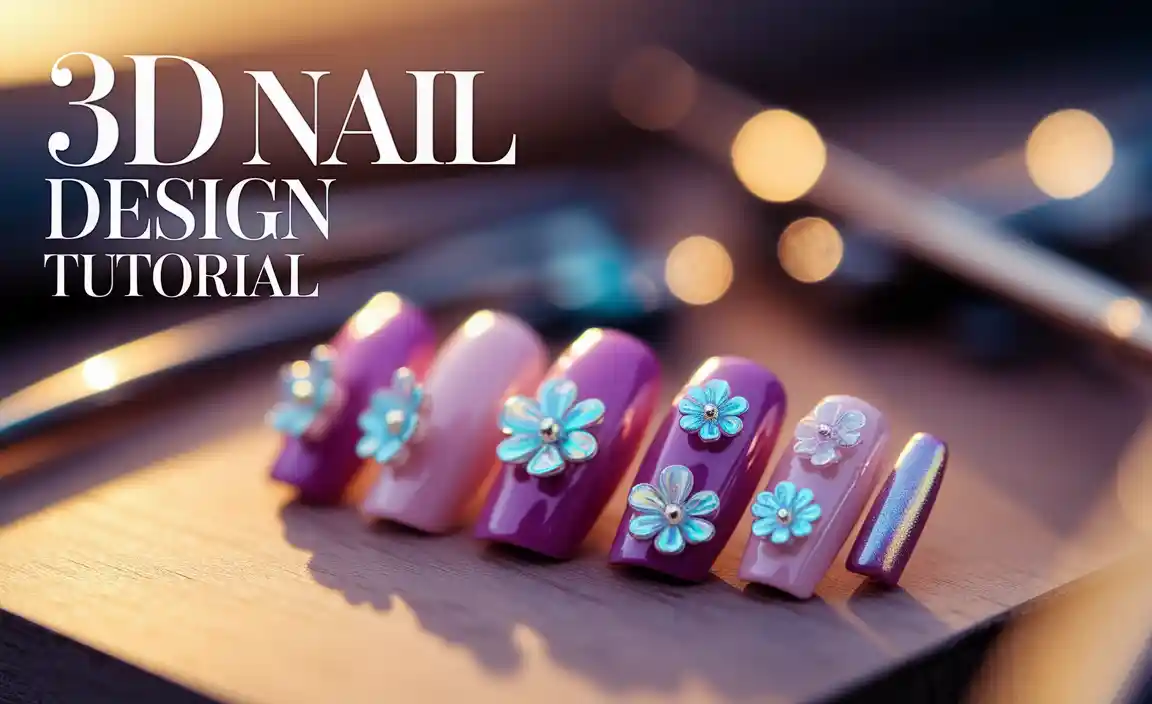
3D Embellishments: Don’t be afraid of texture! 3D nail art, such as small pearls, bows, or even tiny gems strategically placed, adds an extra dimension of wow.
Funky French Tips: The classic French manicure gets a makeover with vibrant colors, unusual shapes (like wavy or pointed tips), or even glitter instead of white polish.
Character & Pop Culture Nails: Kylie has been known to sport nails inspired by cartoons or popular characters. This trend is set to continue, bringing a fun, nostalgic vibe to manicures.
Luxurious Textures and Finishes
Beyond color, the texture and finish of your nails can make a huge difference. Kylie often experiments with unique finishes that add depth and intrigue.
Velvet/Cat Eye Effect: These magnetic polishes create a mesmerizing, shifting color effect, reminiscent of velvet or a cat’s eye stone.
Matte Meets Gloss: A popular trend is to combine matte and glossy finishes on the same nail – perhaps a matte base with a glossy tip or a glossy graphic design on a matte background.
“Chrome” Variations: While classic chrome is still around, look out for rose gold chrome, iridescent chrome, and even colored chrome finishes for an even more unique look. Finding the right base coat and top coat is essential for chrome applications. For an overview of nail coatings, the NailPro Nail Coatings guide offers detailed insights.
Beginner-Friendly Kylie Jenner Nail Design Inspiration for 2025
Feeling inspired but a little intimidated? You don’t need to be a pro to rock these trends! Here are some beginner-friendly takes on Kylie’s hottest looks for 2025:
1. The “My Nails But Better” Sheer Nude
This is the ultimate effortless chic. It’s Kylie’s signature for a reason – it looks sophisticated and healthy.
What you’ll need:
A sheer nude or milky pink polish
A good cuticle oil
A high-shine top coat
How to achieve it:
1. Prep is Key: Make sure your nails are clean and free of any old polish. Push back your cuticles gently.
2. Apply Base Coat: A clear base coat protects your natural nails.
3. One to Two Coats of Polish: Apply one thin coat of your sheer polish. Let it dry completely. If you want a bit more coverage or color, apply a second thin coat. The idea is for your natural nail to still peek through slightly.
4. Add Shine: Finish with a generous layer of high-shine top coat.
5. Nourish: Once the top coat is dry, massage cuticle oil into your nail beds for that extra healthy look.
2. The Subtle Chrome French Tip
This modern twist on a classic is surprisingly easy to do and looks super high-end.
What you’ll need:
Clear or nude base polish
A fine-tip nail art brush or dotting tool
Chrome powder (silver, gold, or iridescent works well)
No-wipe top coat (crucial for chrome application)
A regular top coat for sealing
How to achieve it:
1. Base Application: Apply your clear or nude base polish and let it dry completely.
2. The French Tip Line: Using your fine-tip brush, carefully paint a thin line along the edge of your nail. Don’t worry if it’s not perfect – we’ll fix that! Let this blue totally dry.
3. Apply No-Wipe Top Coat: This is very important! The chrome powder needs a sticky surface to adhere to. Apply a thin layer of a no-wipe top coat ONLY over the French tip line. Cure it under your UV/LED lamp for the recommended time.
4. Apply Chrome Powder: Gently rub the chrome powder over the cured no-wipe top coat using a silicone tool or your fingertip. Buff until you get a smooth, even metallic finish.
5. Clean Up: Carefully brush away any excess chrome powder from the rest of your nail and skin.
6. Seal the Deal: Apply a regular top coat over the entire nail to seal in the chrome and prevent chipping. Cure again.
3. Playful Polka Dots with a Twist
Kylie often incorporates fun, simple patterns. Polka dots are a fantastic starting point for nail art beginners.
What you’ll need:
Your favorite base color polish (a pastel or bright works well for 2025)
A contrasting color for the dots
A dotting tool (or the end of a bobby pin!)
Clear top coat
How to achieve it:
1. Paint Your Base: Apply two thin coats of your base color polish and let them dry completely.
2. Dotting Time: Dip your dotting tool into the contrasting polish. Gently press the tool onto your nail to create a dot. Repeat, spacing the dots evenly or randomly, however you like them!
3. Let it Dry: Allow the dots to dry thoroughly. This can take a little longer than regular polish.
4. Seal: Apply a clear top coat smoothly over the entire nail, making sure to cover the dots to protect them.
4. The “Lip Gloss” Nail Tutorial
This is all about achieving that ultra-shiny, wet-look finish with a hint of color.
What you’ll need:
A sheer pink or peachy polish (or a colored builder gel if you’re feeling advanced)
A high-shine, “jelly” top coat (these offer more transparency and shine)
Cuticle oil
How to achieve it:
1. Clean Canvas: Ensure nails are clean and prepped.
2. Sheer Color: Apply one or two thin coats of your chosen sheer polish. The goal is a translucent wash of color.
3. The Gloss Factor: Apply a generous layer of your jelly top coat. This is what gives it that unmistakable glossy finish. Ensure you cap the free edge of your nail to seal in the shine.
4. Final Touches: Once dry, apply cuticle oil for that hydrated, healthy look.
Essential Tools for Recreating Kylie’s Looks
Having the right tools can make all the difference, especially when you’re starting out. You don’t need a professional kit, but a few key items will help you achieve those salon-worthy results.
| Tool | Description | Usage |
| :—————— | :—————————————————————————- | :———————————————————————— |
| Nail File & Buffer | For shaping nails and smoothing the nail plate before polish application. | Essential for achieving clean edges and a smooth surface. |
| Cuticle Pusher | Gently pushes back the cuticle for a cleaner nail bed and prevents lifting. | Creates a perfect canvas for polish and helps designs appear more refined. |
| Dotting Tools | Small tools with round tips for creating dots and small designs. | Perfect for polka dots, small accents, and detailed patterns. |
| Fine-Tip Nail Art Brush | A thin brush to draw precise lines, swirls, and intricate details. | Ideal for French tips, delicate lines, and graphic elements. |
| UV/LED Lamp | Used to cure gel polishes, base coats, and top coats quickly and effectively. | Essential for gel manicures and achieving salon-quality durability. |
| Chrome Applicator | Usually a silicone tool or dense brush for rubbing chrome powders onto the nail. | Helps achieve a smooth, even chrome finish without streaks. |
| Clear Base Coat | Protects natural nails from staining and helps polish adhere better. | A must-have for any manicure, especially when using vibrant colors. |
| High-Shine Top Coat | Adds a glossy finish and protects your nail design from chipping. | Crucial for achieving that polished, professional look. |
| No-Wipe Top Coat | Prevents a sticky layer after curing, ideal for chrome powder application. | Specifically needed for applying chrome and other powders. |
For more on nail care tools and their proper use, explore resources like the Nail Technicians Handbook, which offers insights into professional practices, including tool hygiene and application techniques.
Tips for Maintaining Your Kylie-Inspired Nails
Once you’ve got your fabulous nails, you want them to last! Here are some simple tips to keep your manicures looking fresh.
Wear Gloves: Always wear gloves when doing household chores, especially washing dishes or using cleaning chemicals. These can strip polish and damage your nails.
Be Gentle: Avoid using your nails as tools. Don’t pick at things or try to pry open packages with them.
Regular Touch-Ups: If you notice a small chip or wear on an edge, a tiny touch-up with your polish and top coat can save the whole manicure.
Cuticle Care is Key: Keep your cuticles moisturized daily with high-quality cuticle oil. Healthy cuticles make your nails look better and help your polish adhere properly to the nail plate.
Reapply Top Coat: Every 2-3 days, consider applying an extra layer of top coat over your existing manicure. This “refreshes” the shine and adds an extra layer of protection against chips.
FAQ: Your Beginner Nail Design Questions Answered
Here are some common questions beginners have about nail design and recreating celebrity looks:
Q1: How can I make my DIY nails look as smooth as salon nails?
A1: Smoothness comes from proper prep! Ensure your nail surface is buffed evenly, apply thin coats of polish (avoiding globs), and finish with a quality, streak-free top coat. Curing gel polish under a lamp also helps create a super smooth, hard finish.
Q2: I’m new to nail art. What’s the easiest way to try a trend like Kylie’s?
A2: Start with simple elements! Try a solid color in a trendy shade, add a single accent nail with a simple dot or stripe, or attempt a modern French tip using tape for cleaner lines.
Q3: My gel polish is peeling. What am I doing wrong?
A3: Peeling often happens if the polish wasn’t cured properly, if the cuticle area wasn’t cleaned thoroughly before application (allowing moisture to seep under), or if you used regular top coat over gel polish. Ensure you’re using a proper gel base and top coat, and cure each layer sufficiently.
Q4: How can I avoid getting polish on my skin and cuticles?
A4: Practice makes perfect! You can also use a latex peel-off base around your nails before painting. Once you’re done, peel off the latex, and your skin will be perfectly clean. Another trick is to use a small, flat brush dipped in nail polish remover to carefully clean up any mistakes after* painting.
Q5: Are builder gels hard to use for beginners?
A5: Builder gels can be a bit trickier than regular polish, as they are thicker and often require UV/LED curing. However, with practice, they’re manageable for creating stronger overlays, extensions, or adding a bit of extra thickness for 3D art. Start with a clear builder gel on a few nails to get a feel for it.
Q6: What’s the difference between regular polish and gel polish for these designs?
A6: Regular polish air dries and is easier to correct mistakes with, but it’s less durable and takes longer to dry fully. Gel polish requires a UV/LED lamp to cure, making it instantly dry, super shiny, and much more chip-resistant. For designs requiring fine details or longevity, gel polish is often preferred.
Q7: Where can I find good quality, trendy nail polishes and tools?
A7: Many beauty supply stores, online retailers like Amazon, and specialized nail art supply websites offer a great selection. Look for reputable brands known for pigment and longevity. Reading reviews can help you find the best products within your budget.
Conclusion: Embrace Your Inner Nail Artist!
There you have it – your ultimate guide to Kylie Jenner’s most inspiring nail designs for 2025, broken down into easy-to-follow steps and tips. Remember, the most important thing is to have fun and express yourself! Don’t be afraid to experiment with colors, shapes, and finishes. Whether you’re going for the subtle elegance of a milky nude or the bold statement of a vibrant design, these trends are all about confidence and personal style.
Start with the simpler techniques, and as you get more comfortable, try adding new elements. Your nails are a fantastic canvas for creativity, and with a little inspiration and practice, you can achieve stunning results right at home. So grab your favorite polishes, gather maybe a tool or two, and get ready to rock some seriously gorgeous nails in 2025. Go ahead, make your nails shine!

