Want stunning, minimalist nail art that’s huge in Korea? Korean nail designs focus on subtle elegance, fresh colors, and intricate details that wow without being over-the-top. Perfect for beginners, these looks are achievable at home with a few key tips and tricks, letting you express your unique style with effortless chic.
Dreaming of nails that look chic and effortlessly stylish, like the ones you see on K-drama actresses or K-pop idols? You’re not alone! Korean nail designs have taken the beauty world by storm, and for good reason. They offer a fresh take on nail art that’s both sophisticated and incredibly wearable. Often, we see these gorgeous manicures and think they’re way too complicated to do ourselves. But guess what? They’re totally achievable, even for beginners! We’re here to show you how to get that coveted Korean nail look right in your own home. Get ready to discover the secrets to minimal, yet impactful, nail art that will make your hands the star of the show!
What Exactly Are Korean Nail Designs?
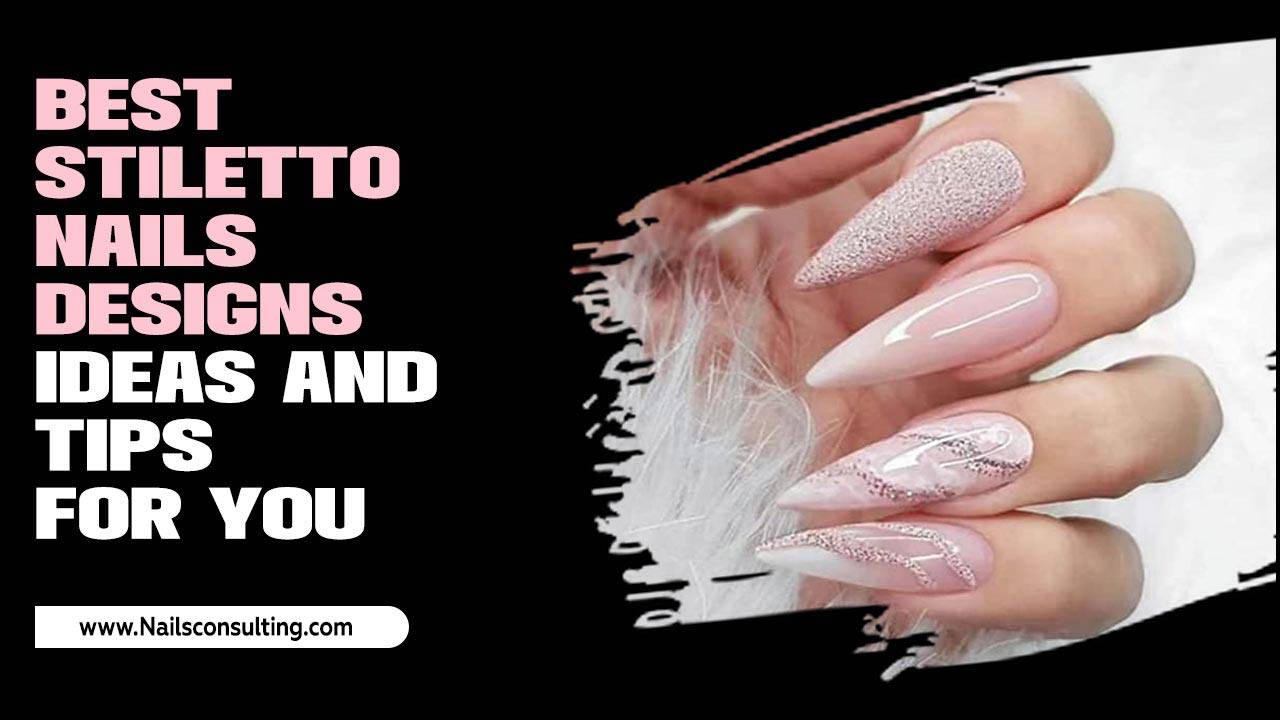
Korean nail designs are all about subtle beauty and refined aesthetics. Think clean lines, soft color palettes, and delicate accents rather than bold, flashy statements. They often incorporate elements like:
- Pastel and Nude Shades: Soft pinks, milky whites, gentle blues, and earthy neutrals are staples.
- Minimalist Motifs: Think tiny hearts, simple flowers, abstract lines, or elegant geometric shapes.
- Texture and Finishes: Matte finishes, holographic glitter, and subtle shimmer add depth without being gaudy.
- Negative Space: Designs that incorporate parts of the natural nail or clear polish are very popular.
- Natural Inspiration: Elements of nature, like clouds, stars, or gentle gradients, often feature.
The overall vibe is fresh, clean, and sophisticated, often reflecting a sense of youthful innocence or calm elegance. It’s about enhancing your natural nails with a touch of artistry.
Why Are Korean Nail Designs So Popular?
Korean beauty (K-beauty) is known globally for its innovative approach to skincare and makeup. Nail trends follow suit, emphasizing health, natural beauty, and subtle enhancements. Here’s why Korean nail designs resonate so much:
- Effortless Chic: They provide a polished look without being loud, making them perfect for any occasion, from the office to a casual outing.
- Versatility: The minimalist nature allows these designs to complement any outfit and personal style.
- Focus on Nail Health: Many Korean nail trends lean towards enhancing natural nails, encouraging better nail care practices.
- Subtle Expression: They offer a way to express creativity and individuality through understated details.
- Instagrammable Aesthetics: Their clean, artistic look photographs beautifully, making them perfect for social media.
Essential Tools for Your Korean Nail Design Journey
Don’t be intimidated! You don’t need a professional salon setup to create beautiful Korean nail designs. Here are some essential tools that will make the process much easier:
- Nail Polish Remover: For correcting mistakes and cleaning up. An acetone-free option is gentler for frequent use.
- Nail Files and Buffers: To shape your nails and create a smooth surface. A fine-grit file (around 240 grit) and a buffer block are key.
- Base Coat: Essential for protecting your natural nails from staining and helping polish adhere better.
- Top Coat: To seal your design, add shine, and protect against chipping. A quick-dry top coat is a lifesaver!
- Thin Nail Art Brushes: Various fine-tipped brushes are crucial for drawing delicate lines and small details. Look for a striping brush and a fine-dotting tool.
- Dotting Tools: These come with different sized ball tips, perfect for creating dots, small flowers, and swirls.
- Stencils or Stickers (Optional): For beginners, pre-made stencils or nail stickers can help achieve clean shapes and patterns.
- Tweezers: For precise placement of small embellishments like glitter pieces or tiny rhinestones.
- Cuticle Oil: To keep your cuticles hydrated, which is vital for healthy-looking hands and nails.
- Your Chosen Nail Polish Colors: Opt for soft, muted tones, milky polishes, and a few accent colors or glitters.
Basic Korean Nail Design Techniques for Beginners
Ready to dive in? Let’s start with some simple techniques that form the foundation of many stunning Korean nail designs.
1. The Perfect Pastel Ombre
Ombre, a gradual blending of colors, looks incredibly chic in soft pastels. It’s easier than it looks!
- Prep: Start with clean, shaped nails. Apply a base coat and let it dry.
- Apply Base Color: Paint your nails with your lightest pastel shade (e.g., a milky white or pale pink). Let it dry completely.
- Choose Your Gradient Colors: Select two or three complementary pastel shades.
- The Sponge Method:
- Take a makeup sponge or a dedicated nail art sponge.
- Apply thin stripes of your gradient colors onto the sponge, side-by-side, with the lightest color at the top.
- Gently dab the sponge onto your nail, starting from the cuticle and pressing upwards. You might need to reapply polish to the sponge and dab a few times to build up the color.
- Be patient! The key is light dabbing to blend the colors softly.
- Clean Up: Use a small brush dipped in nail polish remover to clean up any polish on your skin.
- Seal the Deal: Apply a generous layer of top coat to smooth out the texture from the sponge and add shine.
2. Minimalist Dot Accents
Tiny dots can add a sophisticated touch to a solid color or a French tip. This is where your dotting tool shines!
- Prep: Apply base coat and your main polish color. Let it dry thoroughly.
- Load Your Dotting Tool: Dip the tip of your dotting tool into a small amount of polish. Don’t overload it!
- Place the Dots: Gently press the dotting tool onto your nail to create a perfect dot.
- Placement Ideas:
- Single Accent Dot: Place one tiny dot near the cuticle of one or two nails.
- Line of Dots: Create a small line of evenly spaced dots along the free edge (like a minimalist French tip) or near the cuticle.
- Cluster Dots: Group a few dots together in a small cluster on one nail.
- Clean Up: Wipe your dotting tool clean with polish remover between dots and color changes.
- Top Coat: Once dry, seal everything with a top coat.
3. Delicate Line Art
Fine lines can create abstract patterns, tiny floral tendrils, or underline your French tips. This requires a steady hand and a fine-tip brush.
- Prep: Apply base coat and your main polish color. Ensure it’s completely dry.
- Load Your Brush: For a thin line, you want just enough polish on your fine brush. Dip the very tip into the polish. Wipe off excess on the bottle neck.
- Draw Your Lines:
- Abstract Swirls: Lightly draw a few thin, flowing lines across your nail.
- Geometric Shapes: Create simple triangles, squares, or intersecting lines.
- Floral Stems/Leaves: Draw thin stems with tiny leaf shapes.
- Technique Tip: Practice drawing on paper first to get a feel for the pressure and polish flow. Let each line dry slightly before drawing another if they are close together.
- Clean Up: Use a fine brush and remover for any stray marks.
- Top Coat: Finish with a top coat.
4. The “Cloud” Effect (Airbrush Inspired)
Soft, gradient clouds are a super popular and whimsical Korean nail design. You can achieve a similar look with a sponge!
- Prep: Apply a light blue or milky white base polish. Let it dry.
- Get Your White/Light Polish: Have a creamy white or very pale grey polish ready.
- The Sponge & Dab:
- Dip a clean section of your makeup sponge into the white polish.
- Lightly dab this onto the dry base color, focusing on a section of the nail (e.g., the tip or a corner).
- Repeat the dabbing motion with slight pressure, moving the sponge a tiny bit to create a soft, cloud-like shape.
- Don’t aim for perfect roundness; clouds are irregular!
- Refine (Optional): You can use a fine brush with a tiny bit of remover to soften harsh edges or add a touch more white polish for highlights if needed.
- Top Coat: Seal your fluffy clouds with a glossy top coat.
Popular Korean Nail Design Styles & Ideas
Once you’ve mastered the basics, you can explore these beautiful styles:
1. Milky Nails with Subtle Accents
Clear or milky sheer polishes are the ultimate clean canvas. They give a polished look that’s almost like a second skin.
- Base: Apply 1-2 coats of a milky white, sheer pink, or nude polish.
- Accent: Add one of the following to an accent nail (like your ring finger) or sparingly on other nails:
- A tiny gold or silver foil strip.
- A single, small pearl or rhinestone near the cuticle.
- A few micro-glitter particles scattered on the tip.
- A delicate drawn line or a few tiny dots in a contrasting color.
2. Glitter Gradients
A dazzling yet delicate way to add sparkle. Instead of a full glitter nail, opt for a gradient that fades from the tip or cuticle.
- Base: Apply your chosen solid color polish (pastels work wonderfully). Let it dry.
- Glitter Application:
- Sponge Method: Apply colored polish to a sponge, then dab fine glitter polish onto the sponge and press gently onto your nail from the tip upwards, creating a fade.
- Direct Application: Use a brush to carefully place glitter polish near the tip and gradually diffuse it down the nail bed.
- Top Coat: A good top coat will smooth out the glitter texture for a sleek finish.
3. Floral & Nature Motifs
Small, understated floral patterns or natural elements are a hallmark of Korean nail art.
- Simple Flowers: Use a dotting tool to create petal shapes around a central dot. Or, draw simple daisy outlines.
- Leafy Trails: Fine brushes can draw delicate vine-like patterns with small leaves.
- Constellations: Tiny white dots (stars) connected by thin lines can create a minimalist constellation.
- Subtle Skintones: Paint a sheer nude or pink and add tiny white or gold flower outlines.
4. Translucent Jelly Nails
These nails have a glossy, almost candy-like appearance. They are typically achieved with sheer, jelly-finish polishes.
- Base: Apply 1-2 coats of a sheer “jelly” polish in colors like strawberry pink, grape purple, or clear.
- Enhancements:
- Minimal Glitter: A few strategically placed glitter pieces.
- Tiny Charms: A very small, delicate charm adhered to one nail.
- Abstract Lines: Thin lines in white or gold.
5. Korean French Tips
A modern twist on the classic French manicure!
- Colored Tips: Instead of white, use pastel colors, glitter, or even a subtle metallic shade for the tip.
- Micro-French: The white or colored band is extremely thin, almost a whisper of color along the edge.
- Double French: Two thin lines of different colors stacked on top of each other.
- Under-Line French: A thin line of color applied just under the free edge.
A Quick Guide to Nail Shapes for Korean Designs
While Korean designs can work on almost any nail shape, certain shapes lend themselves particularly well to the aesthetic.
| Nail Shape | Description | Best For Korean Designs |
|---|---|---|
| Almond | Tapered to a soft point; mimics the shape of an almond. Elongates fingers. | Excellent for delicate line art, floral motifs, and minimalist accents. The gradual taper is elegant. |
| Squoval | A square shape with rounded corners. Very practical and less prone to snagging. | Great for solid colors with small, precise dot accents or micro-French tips. The flat surface is easy to work on. |
| Round | Follows the natural curve of the fingertip. Very low maintenance. | Ideal for simple, clean looks like milky nails with a single accent gem or subtle glitter gradient. |
| Short & Natural | Nails kept short with minimal shaping. Focus is on natural beauty. | Perfect for the “clean girl aesthetic” with sheer polishes, a single dot, or a very fine French tip. Emphasis on cuticle health. |
Preventing Damage and Maintaining Your Manicure
Even the prettiest nails need care! To keep your hands and nails healthy and your manicures looking fresh:
- Always Use a Base Coat: This prevents polish from staining your natural nails and creates a smoother surface.
- Don’t Skip the Top Coat: It seals your design, adds shine, and provides crucial protection against chipping. Reapply every 2-3 days for extra longevity.
- Moisturize, Moisturize, Moisturize: Daily application of cuticle oil and hand cream keeps your skin and nail beds healthy, preventing dry, ragged cuticles that detract from any design. You can learn more about the importance of cuticle care from resources like the American Academy of Dermatology Association.
- Be Gentle: Avoid using your nails as tools (e.g., for opening cans or scraping).
- Wear Gloves: When doing chores involving water or harsh chemicals, wear rubber gloves to protect your manicure and skin.
- Proper Removal: Soak off gel polish or use acetone-based removers for regular polish to avoid damaging the nail plate when removing.
Achieving the “Glass Skin” Effect on Nails
Inspired by K-beauty’s focus on translucent, luminous skin, Korean nails often mimic this with a “glass skin” effect. This is achieved using sheer, buildable polishes and strategic layering.
How to Get the Look:
- Base: Start with a clear or sheer nude base coat.
- Layer Sheer Polishes: Apply 2-3 thin coats of a very sheer, milky, or jelly-finish polish. Allow each coat to dry slightly in between. The goal is a translucent, luminous finish rather than opaque color.
- Add a Touch of Glow: A subtle iridescent or holographic top coat can add a soft, ethereal shimmer, reminiscent of glowing skin.
- Minimal Embellishments: Keep embellishments extremely minimal – perhaps a tiny pearl or a single holographic sticker placed precisely.
This look is all about showcasing the natural nail translucency and a healthy sheen, creating an effect that is clean, sophisticated, and impossibly chic.
Frequently Asked Questions About Korean Nail Designs
Q1: Do I need special tools for Korean nail designs?
A: Not necessarily! While specialized tools like fine-tip brushes and dotting tools make intricate designs easier, you can start with basic nail polish, a toothpick (for dots), and a steady hand. A good base and top coat are essential, though!
Q2: Are Korean nail designs difficult for beginners?
A: Many Korean nail designs are incredibly beginner-friendly! Styles like milky nails, simple dot accents, and subtle gradients are easy to master with just a few practice runs. The focus is often on simplicity and clean application.

