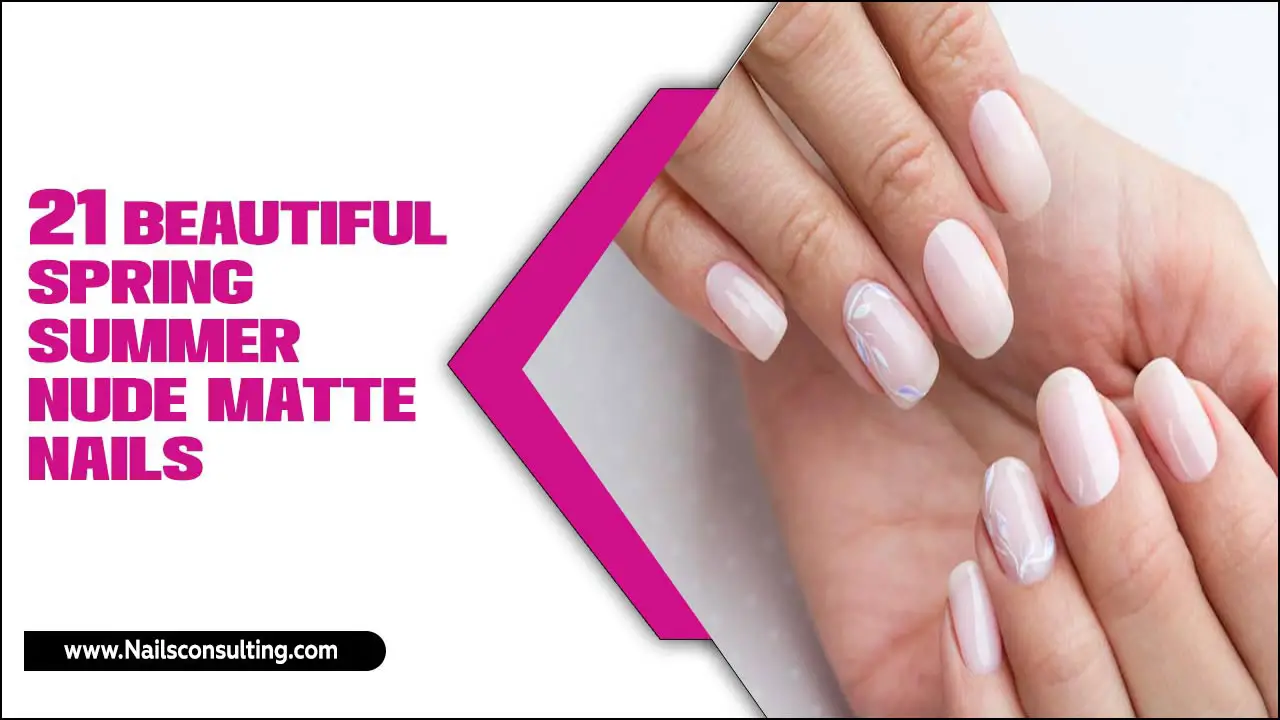
Discover the beauty and charm of Japanese nail art! Learn essential techniques, explore stunning designs perfect for beginners, and find inspiration to elevate your manicure game with this easy-to-follow guide.
Nail art can seem a bit intimidating, right? You see those intricate designs and think, “That’s way too hard for me!” But guess what? You absolutely can create stunning nail looks, and we’re going to explore the wonderful world of Japanese nail art, which is known for its creativity and elegance. It’s all about fun, self-expression, and showing off your unique style. Whether you’re new to the nail art scene or just looking for fresh ideas, this guide is your friendly starting point. Get ready to make your nails your newest canvas!
What Makes Japanese Nail Art So Special?
Japanese nail art, often referred to as “J-Nail,” is a vibrant and diverse art form that goes beyond simple polish. It’s characterized by its incredible attention to detail, playful themes, and innovative use of textures and embellishments. Think delicate florals, cute characters, shimmering glitters, and even 3D elements that add a unique dimension to your manicure. It’s less about following trends and more about embracing creativity and personal flair.
Some key characteristics that make Japanese nail art stand out include:
- Intricate Details: Think tiny hand-painted flowers, delicate lace patterns, or miniature scenes.
- 3D & Textural Elements: This can involve acrylic charms, raised designs, or the use of special textured powders.
- Playful Themes: From cute anime characters to seasonal motifs like cherry blossoms or holiday themes.
- Sophisticated Color Palettes: Often incorporating pastel shades, metallics, and subtle gradients for an elegant look.
- Emphasis on Natural Beauty: While bold designs are popular, many J-Nail styles also focus on enhancing the natural beauty of the nail with subtle accents.
Getting Started with Japanese Nail Art for Beginners
Diving into Japanese nail art doesn’t require a professional kit from day one. We can start with the basics and gradually build up as you get more comfortable. The most important thing is to have fun and experiment! Don’t be afraid to make mistakes; they’re just part of the learning process.
Essential Tools for Your J-Nails Journey
To begin creating your own Japanese-inspired manicures, you’ll want a few key tools. We’ll keep it simple to start, as many of these can be found in affordable beauty kits or even around your home.
Here’s a starter list for your J-Nails toolkit:
- Nail Polish: A variety of colors are essential! Think your favorite neutrals, pastels, and perhaps a few bolder shades or metallics.
- Top Coat and Base Coat: These are crucial for protecting your natural nails and making your polish last. A good base coat prevents staining and provides a smooth surface, while a quality top coat adds shine and prevents chipping.
- Dotting Tools: These come with different-sized metal balls at the end, perfect for creating dots, small flowers, and other detailed designs.
- Thin Nail Art Brushes: A set of fine-tipped brushes will let you draw lines, intricate patterns, and tiny details with precision. Look for synthetic bristles as they hold polish well.
- Nail File and Buffer: To shape your nails neatly and smooth out any ridges before applying polish.
- Cuticle Pusher or Orange Stick: To gently push back cuticles for a clean canvas.
- Nail Polish Remover: For inevitable Oops! moments and for cleaning up edges.
- Cotton Pads/Balls: To go with your nail polish remover.
Basic Preparation for Stunning Nails
Before any art can happen, your nails need to be prepped. This step ensures that your manicure looks clean, professional, and lasts longer.
- Clean Your Nails: Remove any old polish. Wash your hands thoroughly to remove any lotion or oils.
- Shape Your Nails: Using a nail file, gently shape your nails into your desired style (round, square, squoval). File in one direction to avoid weakening the nail.
- Push Back Cuticles: Gently use a cuticle pusher or orange stick to push back your cuticles. Avoid cutting them, as this can lead to damage and infection.
- Buff Your Nails (Optional): Lightly buff the surface of your nails to create a smooth base and remove any natural shine, which helps polish adhere better. Be gentle!
- Apply Base Coat: Apply one even layer of base coat and let it dry completely. This protects your nails and creates an even surface for color.
Easy Japanese Nail Art Designs for Beginners
Now for the fun part! These designs are achievable for beginners and will give you that beautiful J-Nail look without needing advanced skills.
Design 1: Cute Sweets Dots
This is a classic for a reason! Simple dots can create a surprisingly sweet and sophisticated look.
What you’ll need:
- Base coat
- Your favorite polish color (pastels like baby pink, mint green, or light blue work wonderfully)
- White or cream polish
- Dotting tools in various sizes
- Top coat
Steps:
- Apply your base coat and let it dry.
- Apply two coats of your favorite polish color and let it dry completely.
- Using a medium-sized dotting tool and white/cream polish, create a small dot near the cuticle on each nail.
- Using a smaller dotting tool, add a slightly larger dot on top of the first dot, making it look like a little ball of frosting or a candy.
- You can vary the colors of the dots or use a contrast color for the base. For an added touch, use the smallest dotting tool to add tiny dots around the main “candy” to mimic sprinkles.
- Let the dots dry thoroughly.
- Apply a generous layer of top coat to seal your design and add shine.
Design 2: Simple Floral Accents
Japanese nail art often features delicate flowers. Here’s how to create a simple version.
What you’ll need:
- Base coat
- A soft pastel polish for the base color (e.g., light pink, lavender, peach)
- White or cream polish for the petals
- A contrasting color (like yellow or light brown) for the center, or even a tiny dot of glitter polish
- A fine-tipped nail art brush or a small dotting tool
- Top coat
Steps:
- Perform your nail prep and apply base coat.
- Apply two coats of your chosen pastel polish. Let dry completely.
- Dip your nail art brush into the white/cream polish. On one side of your nail (near the cuticle or on the tip), create 3-5 small, slightly overlapping petal shapes. Don’t worry about perfection; slightly imperfect petals look natural and charming.
- Alternatively, use a small dotting tool to make 5 tiny dots in a circular pattern to form a flower shape.
- Once the petals are dry, use a very small dotting tool or the tip of your brush to place a tiny dot of yellow, light brown, or glitter polish in the center of your flower.
- Let everything dry completely.
- Apply your top coat carefully, ensuring you don’t smudge the design.
Design 3: Chic Minimalist Lines
Minimalist designs are a huge part of modern J-Nail, offering a sophisticated and clean look that’s super easy to achieve.
What you’ll need:
- Base coat
- Your favorite neutral or nude polish
- A metallic polish (gold, silver, or rose gold) or a contrasting bold color
- A very fine-tipped nail art brush or striping tape
- Top coat
Steps:
- Prep nails and apply base coat.
- Apply two coats of your neutral polish. Let dry thoroughly until there’s no tackiness.
- Option A (Brush): Dip your fine-tipped brush into the metallic or contrasting polish. Carefully draw one or two thin, clean lines across your nail. You can place them horizontally near the tip, vertically from cuticle to tip, or diagonally.
- Option B (Striping Tape): Cut small pieces of metallic striping tape and carefully apply them to your nail to create lines or geometric shapes.
- Once the lines are in place (and dry if using polish), carefully apply your top coat. If using striping tape, make sure the tape is entirely sealed under the top coat.
| Design Idea | Key Elements | Difficulty | Embellishment Ideas |
|---|---|---|---|
| Sweet Dots | Polka dots, small circles | Easy | Glitter dots, pastel combinations |
| Simple Floral | Petals, center dots | Easy | Tiny pearls, glitter centers |
| Minimalist Lines | Thin lines, geometric patterns | Easy | Metallic finishes, negative space |
| Glitter Gradient (Ombre) | Transitioning glitter from tip to base | Beginner-Intermediate | Fine glitter, chunky glitter |
Beyond the Basics: Exploring More Techniques
Once you’ve mastered the simple designs, you might feel ready to try a few more advanced techniques that are popular in Japanese nail art. Don’t rush; take your time and enjoy the process!
Water Marbling Effect
This technique creates beautiful, organic swirling patterns. It takes a little practice but is so worth it!
What you’ll need:
- Base coat
- Polishes for your design (2-3 contrasting colors work best)
- A cup or bowl of room temperature water
- A toothpick or needle
- Clear tape or petroleum jelly (to protect skin)
- Top coat
Steps:
- Prep your nails and apply a thick layer of base coat. Let it dry.
- Apply a white or light-colored polish as your base on each nail. This makes the marbled colors pop. Let it dry completely.
- Apply clear tape around your nail or a thin layer of petroleum jelly on the skin around your nail. This is crucial for easy cleanup.
- Fill your cup of water with drops of your chosen polishes. Let them spread naturally.
- Use a toothpick to gently swirl the colors together, creating a marbled pattern. Don’t over-swirl!
- Quickly dip your taped/protected finger into the water pattern, angling it to capture the design on your nail.
- Gently remove your finger from the water. Remove the tape or clean up the petroleum jelly and excess polish from your skin.
- Let the design dry. This can take a bit longer than regular polish.
- Apply your top coat.
- External Resource: For a more visual guide, check out resources on water marbling nail art techniques for detailed demonstrations.
3D Charms and Embellishments
Japanese nail art is famous for its dimensional aspects. Many nail salons offer services using acrylic or gel to create raised designs, but you can also use pre-made charms for an easier 3D effect.
What you’ll need:
- All your basic nail preparation tools and polish
- 3D nail charms (tiny bows, fruits, rhinestones, pearls, small figurines)
- Strong nail glue or a thick top coat/nail gel (UV lamp may be needed for gel)
- Tweezers (for precise placement of small charms)
- Top coat
Steps:
- Prepare your nails and apply your base color. Let it dry thoroughly.
- Decide where you want to place your charm(s). A single charm on an accent nail is a great start.
- Using Nail Glue: Apply a small amount of nail glue to the back of your charm or directly onto the nail where you want to place it. Use tweezers to carefully position the charm. Hold it in place for a few seconds until it adheres.
- Using Thick Top Coat/Gel: Apply a small bead of thick top coat or specialized nail gel to the nail. Then, gently press your charm into the gel. If using UV gel, cure it under a UV lamp according to the product instructions.
- Be careful not to apply too much glue or gel, as it can look messy.
- Once the charm is securely attached and dried/cured, you can apply a top coat. Be cautious around the charm—you might want to paint around delicate 3D elements rather than directly over them to preserve their shape.
Using Stencils for Intricate Designs
Stencils are game-changers for creating precise and complex patterns that would be difficult to freehand.
What you’ll need:
- Base coat
- Polishes for your design.
- Nail stencils (you can find many adhesive types online); choose designs like lace, geometric patterns, or floral motifs.
- A makeup sponge or a dense brush for sponging/dabbing
- Top coat
Steps:
- Prep your nails and apply your base color of polish. Let it dry completely.
- Carefully peel a stencil from its backing and apply it firmly to your nail. Ensure all edges are sealed down to prevent polish from bleeding underneath.
- For dabbing: Apply a small amount of your contrasting polish onto a palette or piece of foil. Dip the tip of your makeup sponge or brush into the polish, dabbing off any excess. Gently dab the polish over the stencil area on your nail.
- For sponging: Alternatively, you can load a makeup sponge with polish and sponge it over the stencil.
- Carefully peel off the stencil while the polish is still slightly wet. This prevents the polish from lifting off with the stencil.
- Let the design dry thoroughly.
- Apply your top coat.
Incorporating Japanese Nail Art into Your Style
The beauty of Japanese nail art is its versatility. You can go for subtle accents or full-on creative statements, depending on your mood and the occasion.
Choosing Colors and Themes
Pastel Power: Soft pinks, lavenders, mint greens, and baby blues are staples for a delicate, sweet look.
Metallics & Glitters: Gold, silver, rose gold, and holographic glitters add instant glam and sophistication. They are perfect for accents or full coverage.
Seasonal Vibes: Think cherry blossoms for spring, ocean motifs for summer, warm oranges and reds for autumn, and snowflakes or rich jewel tones for winter.
Cute Characters: If you’re a fan of anime or cute kawaii characters, don’t hesitate to try painting simple versions or using nail stickers. Sanrio characters are a popular choice!
Elegant Neutrals: Nude, beige, and milky white bases paired with fine gold lines or tiny pearls offer a chic, understated elegance.
Occasions for J-Nails
Everyday Chic: Simple accent nails with minimalist lines or tiny flowers can elevate your daily look.
Work appropriate: Opt for neutral bases with subtle metallic accents or delicate French tips with a J-detail.
Fun Outings & Parties: This is where you can go all out with 3D charms, bright

