Get party-ready with dazzling holiday nail designs for your Christmas party! This guide offers easy, beginner-friendly looks using classic Christmas colors and simple techniques to make your nails sparkle.
Get ready to shine at your Christmas party! The holidays are all about joy, sparkle, and a touch of glamour. And what better way to express that festive spirit than with stunning holiday nail designs? Whether you’re a complete beginner or looking for quick, chic ideas, I’ve got you covered. We’ll explore simple yet sophisticated looks that anyone can create, turning your nails into mini works of art that complement your party outfit perfectly. Say goodbye to boring nails and hello to festive fabulousness!
Your Ultimate Guide to Christmas Party Nail Designs
The Christmas party season is upon us, and it’s the perfect time to let your nails join the celebration! From classic red and green to glittering accents, there’s a holiday nail design for everyone. We’ll break down some essential looks that are achievable, even if you’ve never done nail art before. Get ready to impress yourself and everyone else at the party with your fabulous fingertips!
Essential Christmas Nail Colors
Before we dive into designs, let’s talk about the color palette that screams “Christmas”! These are your go-to shades for instant festive vibes:
Classic Red: The ultimate Christmas color. Perfect for a bold statement or as a base for intricate designs.
Emerald Green: Rich and elegant, green adds a sophisticated holiday touch.
Deep Burgundy/Wine: A darker, moodier alternative to red that feels very luxurious.
Sparkling Gold: For that essential touch of holiday shimmer and glam.
Pure White: A clean, crisp color that looks chic on its own or as a canvas for detailed art.
Navy Blue: A surprisingly festive alternative to black, offering a starry night-sky feel.
Silver: Another metallic that brings instant sparkle and elegance.
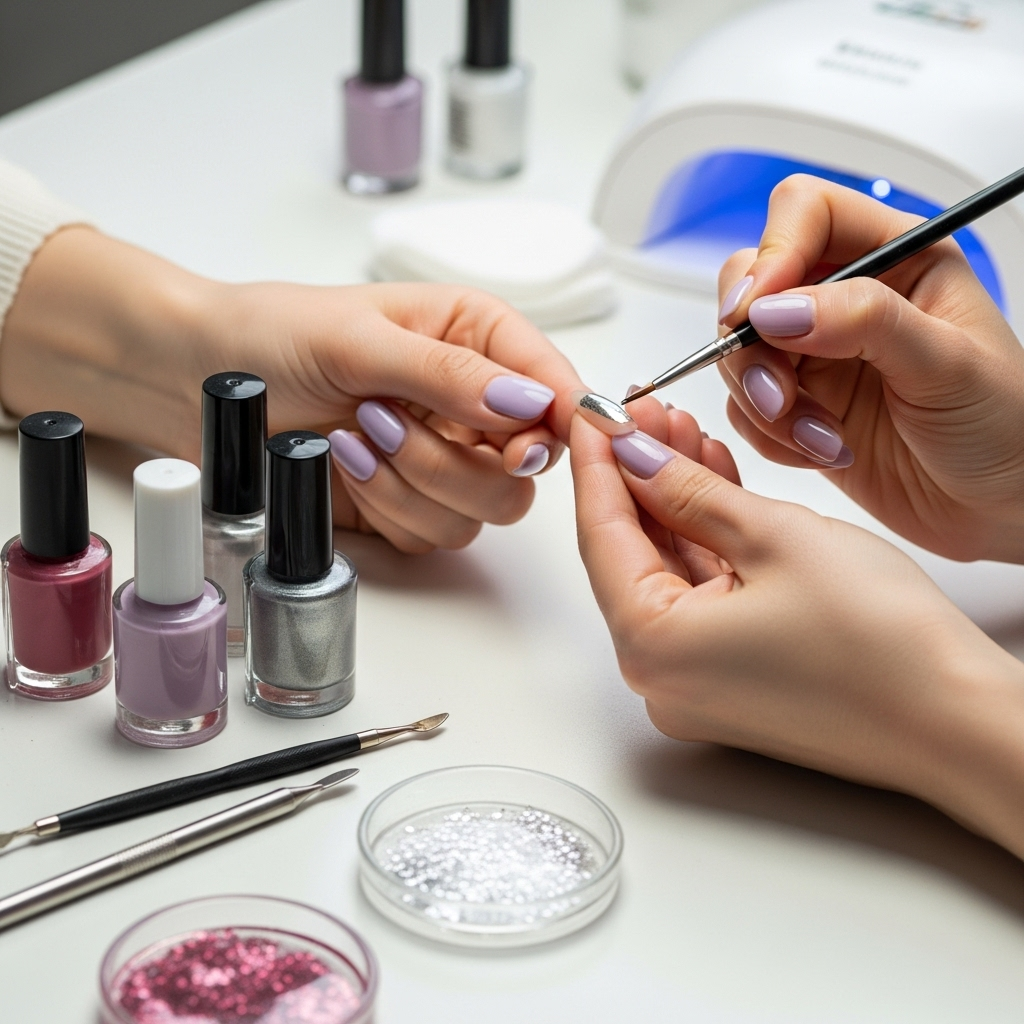
Must-Have Tools for Easy Holiday Nail Designs
You don’t need a professional salon to create beautiful holiday nail designs. Here are a few beginner-friendly tools that will make your DIY manicure process a breeze:
Nail Polish: Your chosen festive colors!
Top Coat: Crucial for sealing your design and adding extra shine.
Base Coat: Protects your natural nails and helps polish adhere better.
Fine-Tipped Brush or Dotting Tool: Perfect for creating small details like dots, lines, and simple shapes. A toothpick can also work in a pinch!
Glitter Polish or Loose Glitter: For adding that essential festive sparkle.
Nail Polish Remover & Cotton Swabs: For cleaning up any mistakes cleanly.
Optional: Nail Stickers or Gems: For those who want instant, effortless embellishments.
You can find a great selection of quality nail art tools online and at most beauty supply stores. For keeping your tools clean, a good nail polish remover is key. Check out resources on basic nail care and tool maintenance from The American Academy of Dermatology.
Beginner-Friendly Holiday Nail Designs for Your Christmas Party
Let’s get creative! These designs are all about simplicity and maximum festive impact.
1. The Classic Red and Gold Sparkle
This is a timeless look that’s incredibly easy to achieve.
How to Do It:
1. Prep: Start with a base coat on clean, dry nails.
2. Base Color: Apply two thin coats of your favorite classic red polish. Let dry completely.
3. Accent Nail: On one or two accent nails (like your ring fingers), paint a thin, elegant stripe or a half-moon shape using a gold glitter polish.
4. Top Coat: Once the gold accents are dry, seal everything with a generous layer of top coat.
Why it Works: The contrast between the solid red and the shimmering gold is sophisticated and unmistakably festive. It’s elegant enough for any party but simple enough for a quick DIY.
2. Sparkling Snowflakes on a Navy Sky
Capture the magic of a winter wonderland right on your fingertips!
How to Do It:
1. Prep: Apply a base coat.
2. Base Color: Paint your nails with two coats of a deep navy blue polish. Let it dry thoroughly. This dark base makes white and silver pop beautifully.
3. Snowflakes: Using a fine-tipped white polish or a silver glitter polish, gently dot or draw simple snowflake shapes on one or two accent nails. Don’t worry about perfection; abstract dots can look just as magical! A dotting tool is excellent here for uniform dots.
4. Top Coat: Apply a clear top coat to seal the design.
Tip: For an extra touch of frost, you can trace the edges of your painted snowflakes with a tiny bit of silver glitter polish.
3. Chic Glitter Gradient (Ombre)
This is a fantastic way to incorporate glitter without being over-the-top.
How to Do It:
1. Prep: Base coat.
2. Base Color: Apply one or two coats of your chosen base color. White, nude, or even a soft grey work beautifully for this. Let it dry.
3. Glitter Application: Take a glitter polish (gold, silver, or a festive mix). Start by dabbing the glitter polish onto the tip of your nail.
4. Blend: Use a clean brush or a nail sponge to gently blend the glitter down towards the cuticle, creating a gradient effect. You want more glitter at the tip and less as it goes down the nail.
5. Second Layer: Apply another layer of glitter polish to build up the intensity at the tip, blending again for a smooth transition.
6. Top Coat: Finish with a thick layer of top coat to smooth out the texture of the glitter.
Why it Works: A glitter gradient is stylish, forgiving, and adds instant festivity. It looks sophisticated and modern.
4. Festive French Tips
Give the classic French manicure a holiday makeover!
How to Do It:
1. Prep: Base coat.
2. Base Color: Apply one coat of a sheer nude or pale pink polish. Let it dry.
3. Holiday Tips: Instead of white, use a festive color for your tips! Think a deep red, emerald green, or even a sparkly gold. You can use a thin brush to carefully paint the tips, or employ nail guides for a cleaner line.
4. Optional Accent: For an extra festive touch, add a tiny dot of glitter or a small gem where the tip meets the nail bed on one accent nail.
5. Top Coat: Seal your masterpiece with a fresh layer of top coat.
Tip: If painting neat tips is tricky, try using a glitter polish for the tips – it’s more forgiving and looks extra festive!
5. Simple Polka Dots with a Twist
Polka dots are fun, easy, and can be made festive with the right colors.
How to Do It:
1. Prep: Base coat.
2. Base Color: Choose a festive base color like white, cream, or a deep berry shade. Apply two coats. Let it dry completely.
3. Dotting: Using a contrasting festive color and a dotting tool (or the tip of a toothpick), create polka dots on your nails. For Christmas, try red dots on a white base, or gold dots on a navy base.
4. Placement: You can cover the whole nail or just place a few strategically on the tips or near the cuticle.
5. Top Coat: Apply a top coat to protect your design.
Pro-Tip: For a holiday sparkle, use a glitter polish for your dots!
6. The “Christmas Sweater” Nail
Get creative with simple patterns inspired by your favorite holiday knitwear.
How to Do It:
1. Prep: Base coat.
2. Base Color: A solid color like cream, white, or a muted red/green works well. Apply two coats and let dry.
3. Pattern: Using a fine-tipped brush and a contrasting color (like red on cream, or white on green), paint simple patterns. Think:
Tiny stripes.
Small Xs.
Little diamond shapes.
A single holly leaf.
4. Placement: Focus your pattern on one or two accent nails. Keep it simple to avoid looking cluttered.
5. Top Coat: Seal with a top coat.
Why it Works: This design embraces the cozy, homemade feel of the holidays and can be surprisingly chic.
7. Glamorous Gem Accents
Sometimes, all you need is a little sparkle.
How to Do It:
1. Prep: Base coat.
2. Base Color: Apply your favorite festive polish (red, green, gold, or even black for a dramatic look). Let it dry completely.
3. Apply Gems: Carefully place small nail gems or rhinestones onto your nails using a dot of top coat or specialized nail glue. A tweezer can help with placement.
4. Placement Ideas:
A single gem at the base of the nail.
A small cluster on an accent nail.
A simple line of gems along the free edge.
5. Top Coat: Apply a top coat around the gems to secure them, avoiding coating them directly if you want them to maintain maximum shine.
Tip: For a secure hold, apply a tiny bit of nail glue and then carefully place the gem. This is especially good for clusters.
Table: Holiday Nail Design Quick Reference
Here’s a handy table to help you choose your perfect Christmas party nail look!
| Design Name | Key Colors | Difficulty (Beginner) | Festive Factor | Best For |
| :———————— | :—————————- | :——————– | :————- | :——————————— |
| Classic Red & Gold Sparkle | Red, Gold | Very Easy | High | A touch of sparkle |
| Navy Sky Snowflakes | Navy Blue, White/Silver | Easy | High | Winter wonderland appeal |
| Chic Glitter Gradient | Any Base + Glitter (Gold/Sil) | Easy | Very High | Glamorous & modern |
| Festive French Tips | Red/Green/Gold + Nude/Pink | Medium | Medium | Elegant with a holiday twist |
| Simple Polka Dots | Contrasting Festive Colors | Easy | Medium | Playful & fun |
| “Christmas Sweater” Nail | Cream/White + Red/Green | Medium | Medium | Cozy & charming |
| Glamorous Gem Accents | Any Festive Color + Gems | Easy | Very High | Maximum sparkle & luxury |
Frequently Asked Questions about Holiday Nail Designs
Here are some common questions beginners have about creating festive nail designs for Christmas parties:
Q1: How do I prevent my nail polish from chipping quickly, especially with designs?
A1: Always start with a good base coat to protect your nails and help polish grip. Apply polish in thin layers, as thick coats are more prone to chipping. Crucially, finish with a high-quality top coat and reapply it every couple of days. Make sure each layer is completely dry before applying the next.
Q2: My nail art always looks messy. What are some tips for cleaner lines or dots?
A2: Cleanliness comes with practice and the right tools! Use a fine-tipped brush or a dotting tool for precision. Before you start a design, get a small amount of nail polish remover and cotton swabs ready to clean up any slips immediately. You can also use liquid latex or even tape around your nail cuticle to create a barrier that catches.
Q3: I have short nails. Can I still do festive holiday nail designs?
A3: Absolutely! Short nails are fantastic for nail art. Simple designs like glitter tips, a single accent nail with a festive symbol (like a tiny snowflake or star), or a classic red polish can look incredibly chic on short nails. The key is to keep designs proportionate to the nail size.
Q4: How do I make glitter polish look smooth and not chunky?
A4: Glitter polish can add texture. To smooth it out, focus on applying thin coats. A thicker application of a good, smoothing top coat is your best friend here. Sometimes, a “ridge-filling” base coat can help create a smoother canvas before applying glitter.
Q5: I’m not artistic at all. What’s the easiest way to get a festive design?
A5: Don’t worry! Nail stickers and decals are your secret weapon for instant festive art. You can find them in countless Christmas themes – snowflakes, reindeer, ornaments, and more. Simply apply your base polish, let it dry, place the sticker, and seal with a top coat. It’s foolproof and looks impressive!
Q6: How long should I let each coat of nail polish dry?
A6: While you want to avoid smudging, overly long drying times aren’t always necessary. For most polishes, waiting about 2-5 minutes between thin coats is sufficient before applying the next. For designs or top coats, ensure the underlying polish is dry to the touch. Quick-dry top coats can be a game-changer!
Q7: Can I use regular craft glitter on my nails?
A7: It’s best to use cosmetic-grade or nail-specific glitter. Craft glitter particles can be sharp or too large, which might not adhere well, chip easily, and could potentially be abrasive to your nail or surrounding skin. Nail glitter is designed for a smoother finish and safe application.
Maintaining Your Festive Manicure
Once your beautiful holiday nail designs are complete, you’ll want them to last through all your parties and festivities.
Be Gentle: Avoid using your nails as tools to open cans or scrape things. This is the fastest way to chip any polish.
Moisturize: Keep your cuticles and hands moisturized daily with a good cuticle oil or hand cream. Happy cuticles mean happier, healthier-looking nails.
Gloves: Wear rubber gloves when doing household chores, especially washing dishes.
* Touch-Ups: If you notice a tiny chip, you can sometimes carefully clean it up and apply a small amount of top coat to seal it and prevent further damage.
Conclusion
There you have it! Creating stunning holiday nail designs for your Christmas party doesn’t have to be complicated. With a few essential colors, simple tools, and a little bit of creativity, you can achieve beautiful, festive nails that will be the perfect finishing touch to your holiday look. Whether you opt for the classic red and gold, a starry navy sky, or a glamorous glitter gradient, remember that the most important thing is to have fun and express your personal style. So grab your polishes, put on some festive music, and get ready to let your nails light up the room this Christmas! Happy polishing, and have a wonderful holiday season!