Quick Summary: Elevate your holiday look with essential and chic nail designs! Discover easy DIY techniques, trendy color palettes, and simple embellishments to create festive, stylish manicures that sparkle for any celebration.
Getting your nails holiday-ready can feel like a big task, right? You want them to look festive and chic without spending hours or a fortune. It’s easy to feel overwhelmed by all the sparkly ideas out there. But don’t worry! With a few simple tricks and the right inspiration, you can create gorgeous holiday nail designs yourself. We’re going to break it all down, from picking colors to adding that perfect touch of dazzle. Get ready to discover how easy and fun creating beautiful holiday nails can be!
Your Go-To Guide for Essential & Chic Holiday Nail Designs
Hello, fellow nail lovers! It’s Lisa Drew from Nailerguy, and I’m so excited to dive into the most wonderful time of the year for nail art – the holidays! Think shimmering metallics, deep jewel tones, festive reds and greens, and of course, all the sparkle you can dream of. Whether you’re a total beginner looking for your first DIY holiday manicure or a seasoned pro wanting fresh ideas, this guide is for you. We’ll cover everything from the must-have tools to super simple, yet incredibly chic, design ideas that will have your nails looking festive for every party, gathering, or cozy night in.
Why Holiday Nails Matter
Our nails are like tiny canvases for self-expression, and during the holidays, they’re the perfect accessory to complete your festive outfit. A well-done holiday manicure can boost your mood, add a touch of glamour, and really get you into the holiday spirit. It’s a small detail that makes a big impact. Plus, mastering a few easy designs means you can always have fabulous nails, no matter the occasion, without needing to book expensive salon appointments.
Essential Tools for Your Holiday Nail Art Toolkit
Before we get to the fun designs, let’s make sure you have the right tools. You don’t need a professional kit to create amazing holiday nails. Here are some basics that will make your DIY experience much smoother:
- Nail File and Buffer: For shaping and smoothing. A good buffer can make your polish look professionally applied!
- Cuticle Pusher/Orange Stick: To gently push back your cuticles for a clean nail bed.
- Base Coat: This is crucial! It protects your natural nails and helps your polish last longer.
- Top Coat: Seals your design, adds shine, and prevents chipping. A quick-dry top coat is a lifesaver!
- Dotting Tools: These come in various sizes and are perfect for creating dots, small festive elements, or even simple shapes.
- Thin Nail Art Brush: A fine-tipped brush is great for drawing lines, snowflakes, or delicate patterns.
- Tweezers: For precisely placing small embellishments like glitter or rhinestones.
- Nail Polish Remover & Cotton Pads: For clean-ups and mistakes.
- Your Chosen Nail Polishes: We’ll talk colors next!
You can find most of these items at drugstores or beauty supply stores. For a deeper dive into nail file types and how to use them effectively, you might find resources from organizations like the Nails Magazine helpful.
Choosing Your Holiday Color Palette
The holidays offer a rich and festive color palette. Here are some of the most popular and versatile shades that work beautifully for holiday nail designs:
| Color Family | Shades to Consider | Holiday Vibe |
|---|---|---|
| Classic Reds | Crimson, Cherry Red, Burgundy, Merlot | Festive, traditional, bold, elegant |
| Deep Greens | Emerald, Forest Green, Olive Green | Sophisticated, nature-inspired, rich |
| Winter Whites & Neutrals | Pure White, Cream, Silver, Grey, Nude | Elegant, minimalist, icy, chic |
| Metallics & Glitters | Gold, Silver, Rose Gold, Bronze, Holographic Glitter | Glamorous, celebratory, dazzling |
| Jewel Tones | Sapphire Blue, Amethyst Purple, Ruby Red | Luxurious, deep, enchanting |
Don’t be afraid to mix and match! A classic red nail with a silver glitter accent nail is a foolproof combination. Or, try a deep emerald green base with gold foil details for a touch of luxury.
Easy & Chic Holiday Nail Design Ideas (Beginner-Friendly!)
Now for the fun part! These designs are all achievable at home with minimal fuss. We’ll start with the simplest and build up slightly.
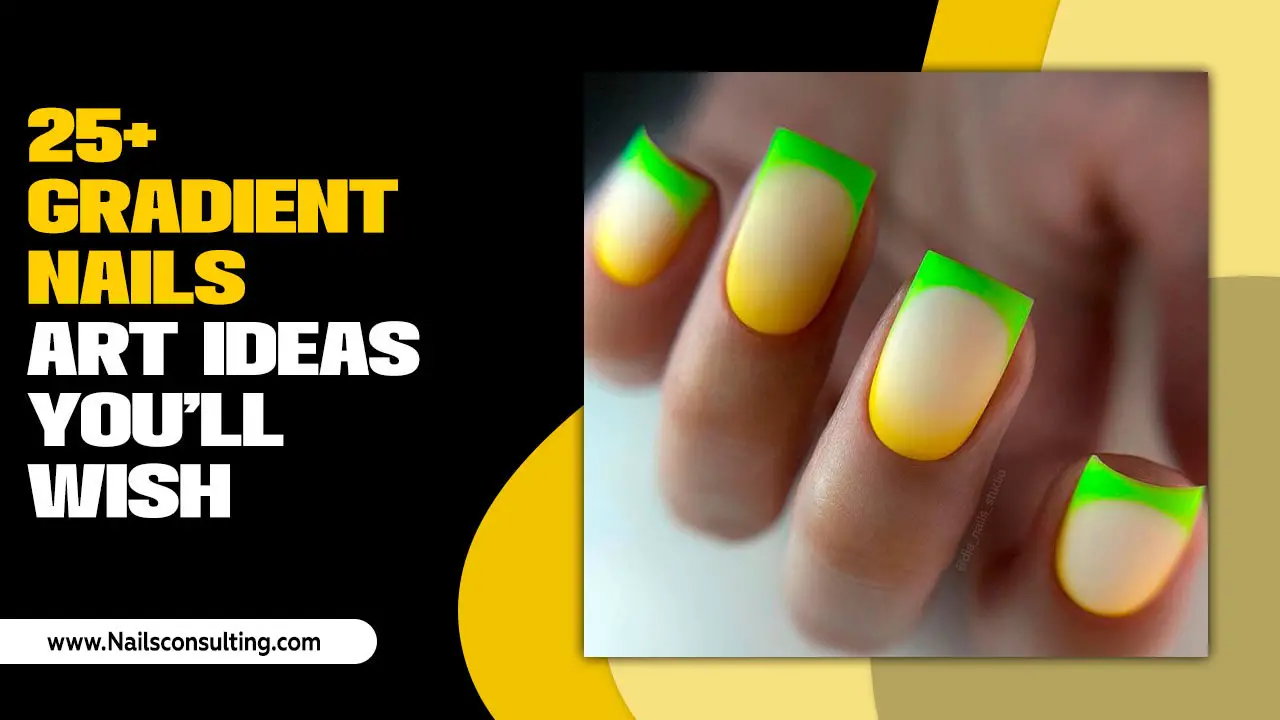
1. The Glitter Gradient
This is a showstopper that’s surprisingly easy. It looks like you spent hours, but it’s a quick win!
- Prep: Start with a clean nail, apply your base coat, and let it dry completely.
- Base Color: Apply one or two coats of your chosen base polish. Think deep red, navy blue, or even a sheer nude. Let it dry thoroughly.
- Glitter Time: Take a glitter polish (gold, silver, or holographic are perfect). Dab the glitter polish onto the tip of your nail, concentrating the glitter there.
- Blend: Use the brush of the glitter polish to gently pull some of the glitter down towards the middle of your nail, creating a gradient effect. You can also use a clean makeup sponge to dab the glitter on for a smoother transition.
- Build It Up: If you want more glitter intensity, add another layer, focusing more glitter on the tip and blending less.
- Seal It: Once completely dry, apply a thick layer of your shiny top coat to smooth out any texture from the glitter and seal everything in.
Pro Tip: For a more intense glitter look, apply glitter polish over a slightly damp base color to help it adhere better.
2. Simple Snowflake Accent
Snowflakes are the quintessential holiday motif. This design adds a touch of winter magic.
- Prep: Base coat, then apply your main polish color. A deep blue, grey, or white works beautifully. Let it dry completely.
- Accent Nails: Choose one or two nails (like your ring finger) to be your snowflake nails.
- The Dotting Method: Use a small dotting tool or the tip of a toothpick. Dip it into white or silver polish.
- Create a Star: On your accent nail, make a small dot in the center. Then, draw four straight lines radiating outwards from that dot, like axes.
- Add Flakes: On each of those four lines, create two smaller diagonal lines at the end, mimicking the arms of a snowflake.
- Refine (Optional): If the lines are a bit shaky, you can use a thin nail art brush with a tiny bit of polish to clean them up or add sharper points.
- Add Sparkle: A tiny dot of silver glitter polish in the center of the snowflake or a sprinkle of fine glitter over the wet polish can enhance the look.
- Seal: Apply top coat once everything is dry.
Friendly Encouragement: Don’t worry if your first snowflake isn’t perfect! The charm is in the handmade feel. Practice makes perfect, and even slightly imperfect snowflakes look cute and festive.
3. The Metallic French Tip
This is a chic, modern twist on a classic French manicure, perfect for a sophisticated holiday vibe.
- Prep: Apply base coat and one or two coats of your nude, sheer pink, or pale grey polish. Ensure it’s completely dry.
- The Metallic Line: Take your metallic polish (gold, silver, or rose gold). You can do this in a few ways:
- Freehand: Carefully paint a thin line directly onto the tip of your nail.
- Using a Guide: Apply nail guides (you can find these at beauty stores) just below the free edge of your nail. Paint the metallic polish over the tip. Carefully remove the guide while the polish is still slightly wet for a crisp line.
- Dotting Tool: Use a fine dotting tool to create a clean metallic line across the tip.
- Clean Up: Use a small brush dipped in nail polish remover to clean up any wobbly lines.
- Seal: Once dry, seal your design with a generous layer of top coat.
Why it works: The metallic sheen adds instant glamour without being over-the-top, making it perfect for work holiday parties or elegant dinners.
4. Minimalist Holiday Accents
Sometimes, less is more! These subtle touches can make a big statement.
- Tiny Stars or Dots: On a neutral or deep-colored base, use a fine brush or dotting tool to add a few tiny gold or silver stars or dots along the cuticle line or the tip of one or two nails.
- Gold Foil Flakes: After applying your base color and letting it dry, apply a thin layer of foil glue or a sticky top coat to small sections of your nail. Use tweezers to carefully place small gold foil flakes onto the sticky areas. Seal with top coat. These add a beautiful abstract shimmer.
- Matte Finish with Shine: Paint your nails in a festive color like deep green or burgundy. Once dry, apply a matte top coat. Then, use a regular shiny top coat to add one or two small dots or a thin line on one nail for contrast.
SEO Tip: When searching for these items, try terms like “nail foil flakes,” “mini star nail stickers,” or “nail art dotting tools.”
5. The “Ugly Sweater” Inspired Nail
This is where you can have a lot of fun and get creative! Think about the patterns on your favorite holiday sweater.
- Simple Shapes: Use dotting tools and thin brushes to create small zig-zags, stripes, or plaid patterns in festive colors on a neutral or contrasting background.
- Mini Pom-Poms: For a 3D effect, you can carefully glue tiny craft pom-poms (make sure they are very small!) onto your nails using strong nail glue. This is definitely a statement look!
- Candy Cane Stripes: Paint your nails alternating red and white polish. Once dry, use a thin red or white striper polish to create diagonal candy cane stripes.
Creating these patterns requires a steady hand. If freehand is too challenging, consider using nail art stamping plates – they’re designed to transfer intricate patterns onto your nails!
Advanced Sparkle: Embellishments for Extra Glam
Want to take your holiday nails to the next level? Embellishments are your best friend!
Rhinestones and Gems
Small rhinestones or nail gems can add incredible sparkle. Use a dot of nail glue or a sticky top coat to adhere them. Place them strategically: a tiny gem at the base of a nail, a small cluster on an accent nail, or even creating a simple shape like a star or a tree with multiple gems.
Glitter Bombs
Sometimes, you just need full-on glitter! Apply a glitter polish all over. For maximum sparkle, you can even “flood” your nail with fine glitter by applying a thick layer of clear polish or gel and dipping your nail into a pot of loose cosmetic glitter. Be sure to tap off the excess and seal thoroughly with a top coat or builder gel.
Metallic Studs
Small metallic studs in shapes like stars, moons, or simple circles can add a cool, edgy vibe to your holiday manicure.
Safety Note: Always use cosmetic-grade glitters and embellishments specifically designed for nails. Ensure any glue used is safe for skin and nail contact. If using gel products, proper curing under a UV/LED lamp is essential. For more on nail product safety, refer to guidelines from the U.S. Food and Drug Administration (FDA).
Holiday Nail Care Tips
To keep your holiday nails looking their best and to ensure healthy nails year-round, remember these simple care tips:
- Moisturize: Dry air can be tough on nails and cuticles. Use cuticle oil daily and hand cream regularly.
- Protect Your Polish: Wear gloves when doing chores, especially washing dishes, to prevent chipping and protect your hands.
- Avoid Using Nails as Tools: Don’t use your nails to open cans or scrape things. This can lead to breaks and chips.
- Gentle Removal: When removing polish, especially glitter, use an acetone-based remover and soak a cotton ball, pressing it onto the nail for a minute before wiping. This reduces harsh scrubbing.
- Take Breaks: If you wear polish constantly, give your nails a break every so often to let them breathe and rehydrate.
FAQs About Holiday Nail Designs
Q1: What are the most popular nail polish colors for the holidays?
A1: Classic festive colors like deep reds, emerald greens, frosty blues, elegant silvers, golds, and rich burgundies are always popular. Don’t forget shimmering glitters for that extra holiday sparkle!
Q2: How can I make my DIY holiday nail designs last longer?
A2: Always start with a good base coat, apply thin, even layers of polish, and finish with a high-quality, shiny top coat. Reapplying top coat every 2-3 days can also help extend your manicure.
Q3: I’m a beginner. What’s the easiest holiday nail design to try?
A3: The glitter gradient is incredibly beginner-friendly! Simply dab glitter polish onto the tips of your nails over a base color and blend it down. It looks impressive with minimal effort.
Q4: Can I make nail art last if my job doesn’t allow colorful polish?
A4: Absolutely! Opt for sheer nudes, pale beiges, or clear polishes with subtle accents like a fine metallic stripe at the tip, a single tiny gem, or a minimalist dotting pattern. These are often acceptable in professional settings.
Q5: How do I remove stubborn glitter polish?
A5: Soak a cotton pad with acetone-based nail polish remover, place it on your glitter-covered nail, and wrap it with aluminum foil. Let it soak for about 5-10 minutes, then the glitter should slide off easily with a gentle wipe.
Q6: Where can I find nail art supplies like dotting tools or fine brushes?
A6: You can find these essential tools at most drugstores, beauty supply stores, and online retailers like Amazon or specialized nail art supply websites.
Q7: My nails are thin and brittle. How can I care for them during the holidays?
A7: Always use a strengthening base coat. Keep nails moisturized with cuticle oil and hand cream. Avoid harsh removers, and give your nails a break from polish when you can. Consider a nail strengthener treatment before applying holiday colors.
Conclusion: Your Sparkling Holiday Nails Await!
See? Creating stunning holiday nail designs doesn’t have to be complicated or expensive. Whether you opt for a dazzling glitter gradient, a chic metallic French tip, or a playful snowflake accent, you have the tools and inspiration to make your nails shine. Remember, the most important thing is to have fun and express your personal style. These designs are meant to bring joy and add that extra sparkle to your festive season. So, gather your polishes, pick your favorite design, and get ready to rock some absolutely gorgeous holiday nails. Happy painting, and wishing you a beautiful, sparkling holiday season!


