Create stunning Valentine’s Day heart nail designs with this beginner-friendly guide! Learn essential techniques, gather your tools, and get ready to express your love with beautiful, achievable manicures perfect for the holiday.
Valentine’s Day is the perfect time to let your nails do the talking! Feeling a little intimidated by intricate nail art? Don’t worry! We’re diving into the wonderful world of heart nail designs, and trust me, they’re much easier than you think. Whether you’re a total beginner or just looking for some fresh inspiration, this guide is packed with everything you need. We’ll cover the basics, show you simple ways to create adorable hearts, and help you achieve salon-worthy results right at home. Get ready to fall in love with your nails all over again!
Frequently Asked Questions About Heart Nail Designs
Q1: What are the easiest ways to do a heart nail design for Valentine’s Day?
For beginners, the simplest methods involve using a dotting tool to create two dots and then connecting them with a brush, or using a fine-tip nail art brush to freehand a heart shape. You can also use tape as a stencil or even the tip of a toothpick! We’ll cover these in detail.
Q2: What colors are best for Valentine’s Day heart nails?
Classic Valentine’s colors include various shades of red, pink, and white. However, don’t limit yourself! Metallics like rose gold and silver, deep purples, or even black can be stunning. The key is to choose colors that you love and that complement each other.
Q3: How long does DIY nail art usually take?
For simple heart designs, you can expect to spend anywhere from 20 minutes to an hour, depending on how many nails you’re decorating and how detailed you want to get. More complex designs might take longer, but the basic ones are quick and easy!
Q4: Do I need special nail art brushes?
While specialized nail art brushes are super helpful for precision, you can absolutely start with a fine-tip eyeliner brush (make sure it’s clean and dedicated only to nail art!), a toothpick, or even the edge of a beauty blender sponge for some techniques. We’ll discuss tool options.
Q5: How can I make my heart nail design last longer?
Proper nail preparation is key! Make sure your nails are clean, dry, and free of oils. Always use a good base coat and finish with at least two layers of a high-quality top coat. Curing under a UV or LED lamp (if using gel polish) also significantly extends wear time.
Q6: Can I create heart designs on short nails?
Absolutely! Heart designs look adorable on short nails. Smaller hearts or single heart accents on an accent nail often work best. You can also opt for minimalist heart outlines or French tip designs with heart shapes. Don’t let nail length hold back your creativity!
Q7: What if my heart shapes aren’t perfect?
Perfection isn’t the goal when you’re starting out! Embrace the charm of handmade designs. Slight imperfections can add character. Practice makes progress, and with each attempt, your shapes will become more refined. Plus, a unique, slightly imperfect heart can be super cute!
Heart Nail Design for Valentine’s Day: Essential Guide
Valentine’s Day is all about love, and what better way to show some love than with a fabulous heart nail design? Whether you’re planning a romantic date night, a fun Galentine’s celebration, or just want to feel extra festive, a touch of nail art can be the perfect accessory. Forget complicated tutorials; we’re breaking down how to create gorgeous heart nails that are totally achievable, even if you’re new to nail art. Excited? You should be!
Why Heart Nail Designs Are Perfect for Valentine’s Day
Heart nail designs are a classic for a reason! They’re instantly recognizable symbols of love and devotion, making them a natural fit for Valentine’s Day. Beyond their thematic appropriateness, heart designs are incredibly versatile. They can be big and bold, small and sweet, minimalist or detailed, and adapted to countless color palettes. This adaptability means you can create a look that perfectly suits your personal style and outfit. Plus, the joy of seeing little hearts on your fingertips can bring a smile to your face all day long!
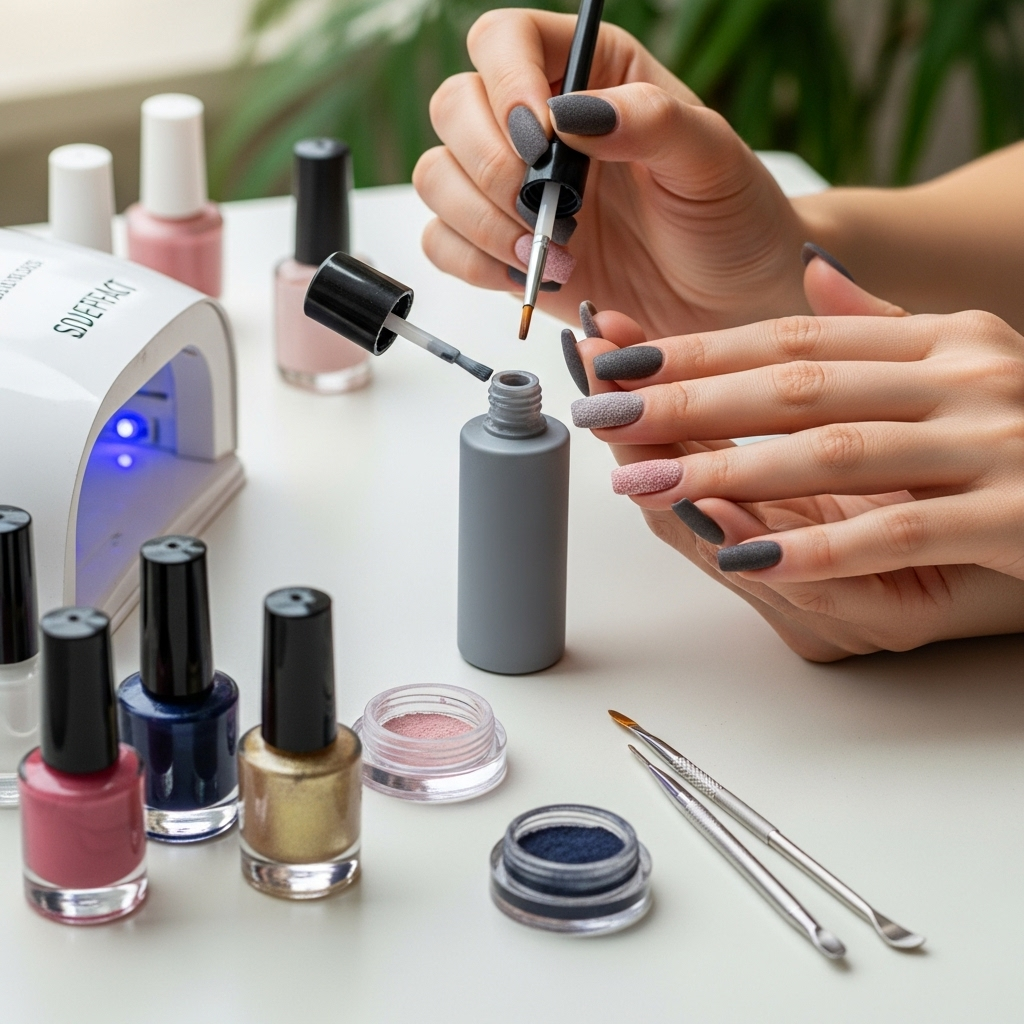
Your Valentine’s Day Heart Nail Toolkit
Before we start painting, let’s gather our supplies! Having the right tools makes all the difference, turning a potentially messy job into a fun, creative session. Don’t worry if you don’t have everything; we’ll talk about easy swaps.
Base Coat and Top Coat
These are non-negotiable! A good base coat protects your natural nails from staining and helps polish adhere better. A quality top coat seals your design, adds shine, and prevents chipping, making your manicure last significantly longer. Look for one that offers good chip resistance.
Nail Polish Colors
Choose your favorite shades! For Valentine’s Day, think about:
- Classic Red, Pink, and White: The timeless trio.
- Nudes and Pastels: For a softer, more subtle look.
- Metallics: Rose gold, gold, and silver add a touch of glam.
- Deep Jewel Tones: Like burgundy, emerald, or sapphire for a sophisticated twist.
- Black: A bold and chic base that makes other colors pop.
Application Tools
This is where the magic happens! Here are options, from easiest to more precise:
- Toothpicks: Super accessible! The pointed tip is great for small dots and fine lines.
- Dotting Tools: These come in various tip sizes and are designed for creating dots and simple shapes. They offer more control than toothpicks. You can find affordable sets online.
- Fine-Tip Nail Art Brushes: Essential for detailed work, freehand designs, and clean lines. A liner brush (long and thin) or a detail brush (shorter bristles with a fine point) is ideal. Look for synthetic bristles that are easy to clean.
- Small Craft Brush or Eyeliner Brush: If you have a clean, fine-tipped brush reserved for beauty use, it can work wonders.
- Dotting Pen: A pen-style tool with a small ball tip, great for consistent dots.
Cleanup Tools
Mistakes happen, and that’s okay! These help tidy up edges:
- Brush tip cuticle pen with nail polish remover.
- A small cleanup brush (like a flat concealer brush) dipped in remover.
- Cotton swabs (though they can sometimes leave cotton fuzzies).
Optional Extras
- Stencils or Nail Stickers: For a super quick and foolproof heart.
- Rhinestones or Glitter: To add some sparkle!
- Cuticle Oil: To hydrate and nourish your cuticles after the manicure.
Nail Prep: The Foundation for Flawless Hearts
Before you even think about painting, proper nail prep is crucial. It ensures your polish adheres well, lasts longer, and your nails look their best.
- Clean Your Nails: Remove any old polish. Wash your hands with soap and water to ensure there’s no natural oil or residue.
- Shape Your Nails: File your nails to your desired shape. Ensure you file in one direction to avoid weakening the nail.
- Push Back Cuticles: Gently push back your cuticles using an orangewood stick or a cuticle pusher. Avoid cutting them unless you are experienced, as it can lead to infection.
- Buff (Optional): Lightly buff the surface of your nails to create a smooth canvas and remove any shine. This helps polish adhere better.
- Apply Base Coat: Apply one thin layer of base coat and let it dry completely. This prevents staining, especially with darker polishes.
Easy Heart Nail Techniques for Beginners
Ready to create some love on your fingertips? Here are a few of our favorite beginner-friendly heart nail design methods!
Technique 1: The Dot and Connect (Using a Dotting Tool or Toothpick)
This is arguably the easiest way to get a neat heart shape. It’s perfect for small, dainty hearts you can place anywhere on the nail.
What You’ll Need:
- Your base color polish (e.g., white, pink, black)
- Your heart color polish (e.g., red, pink)
- Dotting tool or toothpick
- Top coat
Steps:
- Paint your nails with your base color polish and let it dry completely.
- Dip the tip of your dotting tool or toothpick into your heart color polish.
- On your nail, create two distinct dots positioned side-by-side, where the top of your heart will be. Think of them as the two top curves.
- Now, carefully connect the bottom of these two dots with a single, smooth stroke using the same tool or a fine-tip brush. Aim this stroke downwards to create the point of the heart.
- You can then gently fill in the shape with more polish from your tool or use a fine-tip brush for cleaner edges.
- If needed, create a second, smaller heart on another nail or accent nail.
- Let the heart design dry thoroughly.
- Apply a generous layer of top coat, ensuring it covers the entire nail and the heart design.
Technique 2: The Freehand Heart (Using a Fine-Tip Brush)
This method gives you more control for slightly larger or more stylized hearts. It takes a little practice, but the results are wonderfully personal.
What You’ll Need:
- Your base color polish
- Your heart color polish
- A fine-tip nail art brush (liner or detail brush)
- A small amount of nail polish remover for cleanup
- Top coat
Steps:
- Apply your base color and let it dry completely.
- Pour a small amount of your heart color polish onto a clean surface (like a piece of foil or a tile) to make it easier to load your brush.
- Dip your fine-tip brush into the polish, ensuring you have enough to draw a decent shape without being clumpy.
- Start by creating a V-shape at the top of where your heart will be.
- From the ends of the V, draw two curved strokes downwards, meeting at a point at the bottom. Think of drawing two “U” shapes that connect at the top V.
- Fill in the heart shape with your brush. If you made any wobbly lines, you can use the dry brush to gently smooth them out or use a cleanup brush dipped in remover to refine the edges.
- If you make a significant mistake, it’s often easier to wipe it off with remover and start again while the polish is still wet.
- Repeat on other nails, or create smaller hearts for an all-over design.
- Allow the design to dry completely before applying top coat.
Technique 3: The Tape Stencil Heart
Perfect for sharp, clean heart shapes, especially if you’re doing a French tip heart or a half-and-half design!
What You’ll Need:
- Base polish
- Heart color polish
- Nail polish or crafting tape (painter’s tape works well)
- Small scissors
- Top coat
Steps:
- Apply your base color polish and let it dry thoroughly. This is crucial so the tape doesn’t lift the polish.
- Cut a small piece of tape. Fold it in half and cut a small V-shape notch out of the folded edge. When you unfold it, you’ll have a heart shape cut out of the tape. Alternatively, you can cut a small strip of tape and then cut a small V-shape out of the middle of the strip to create a border.
- Carefully place the tape over your nail where you want the heart shape to appear. Ensure the edges are pressed down firmly to prevent polish from bleeding underneath.
- Paint over the stencil with your heart color polish. For a French tip heart, apply the color only to the tip area.
- While the polish is still wet, carefully peel off the tape. This is the trickiest part – do it slowly and at an angle.
- Allow the color to dry completely.
- Apply a top coat.
Technique 4: The Reverse Gradient Heart
This is a fun, slightly more artistic take where the heart is created by blending colors. It looks impressive but is quite simple!
What You’ll Need:
- Base polish
- Two or three complementary polish colors (e.g., a darker pink and a lighter pink, or red and pink)
- A clean sponge (makeup sponge or dedicated nail art sponge)
- A small amount of nail polish remover for cleanup
- Top coat
Steps:
- Apply your base color and let it dry.
- On your sponge, apply stripes of your chosen colors next to each other. For instance, dark pink, then light pink.
- Quickly and gently dab the sponge onto your nail. You’ll get a gradient effect. Repeat this process until you achieve the desired opacity and blend. You might need to reapply polish to the sponge for each nail.
- Once the gradient is dry, use a fine-tip brush or toothpick with a contrasting color (like white or a darker shade) to create a heart shape on top of the gradient. You can do this the dot-and-connect method or freehand it.
- Let the heart design dry and seal with a top coat.
Valentine’s Day Heart Nail Design Ideas
Now that you know the techniques, let’s brainstorm some adorable designs!
Classic and Chic
- Red French Tip Hearts: A red polish used to create a French tip, with a tiny white or pink heart painted near the cuticle.
- White Base with Red Heart Accent: Simple and elegant. Paint all nails white or a soft nude, and paint a single, perfect red heart on one or two accent nails.
- Black Base with Pink Hearts: A bold and sophisticated choice.
Cute and Playful
- Polka Dot Hearts: Use the dotting tool to create an all-over pattern of small red or pink polka dots on a white or pastel base.
- Heart-Shaped Confetti: Mix tiny heart glitter with your top coat or apply small, individual heart decals for a fun, festive look.
- Ombre Hearts: Create a gradient background and then paint a heart on top using a contrasting color.
Minimalist Masterpiece
- Outline Hearts: Use a very fine brush to draw thin outlines of hearts in a contrasting color on a sheer nude or pastel base.
- Single Tiny Heart: A single, small heart placed at the base of one accent nail.
- Heart-Shaped Negative Space: Use tape to create a heart shape, leaving a section of your natural nail (or a sheer base coat) showing through.
With Extra Sparkle
- Glitter Hearts: Use glitter polish to create your heart shapes, or apply fine glitter over a wet polish heart.
- Rhinestone Hearts: Create your heart shape with polish, then carefully place small rhinestones to outline or fill the heart.
- Holographic Hearts: Use a holographic polish for your hearts to catch the light beautifully.
Getting More Advanced: Tips for Next-Level Hearts
Once you master the basics, you might want to try these tips to elevate your heart nail game.
Layering Colors
To achieve richer, deeper heart colors without multiple thick coats, try layering. For example, apply a thin layer of bright red, let it dry, and then add another thin layer. Or, use a white polish as a base for your heart color to make it pop even more, especially on darker nail polishes.
Using Gel Polish
If you have a UV or LED lamp for curing gel polish, your designs will be much more durable and less prone to smudging. Gel polish allows you to build up thickness and create dimension, and it dries instantly under the lamp, making intricate designs easier to manage.
Adding Dimension with 3D Elements
For a truly eye-catching design, consider 3D elements. You can use acrylic powder mixed with monomer to sculpt tiny hearts, or use special 3D gel paints that don’t self-level. Even small rhinestones arranged in a heart shape can add a beautiful 3D effect.
Common Mistakes and How to Fix Them
Don’t let a little oopsie ruin your vibe! Here are common issues and their easy fixes:
Smudged Polish
Fix: If the polish is still wet, try to gently nudge it back into place with a toothpick or clean brush. If it’s mostly dry, it’s usually best to gently remove the affected nail with polish remover and start that nail again. Patience is key!
Uneven Heart Shapes
Fix: Gently use a fine cleanup brush dipped in nail polish remover to carefully neaten up the edges. Think of it like erasing and redrawing. You can also use a thin brush with your base color to clean up any stray marks around the heart.
Polish Bleeding Under Tape
Fix: This usually happens if the base color wasn’t fully dry or the tape edges weren’t sealed down properly. For minor bleeds, a cleanup brush with remover can help. For bigger issues, it might be best to remove and retry tape placement after ensuring the base is bone dry.
Too Much Polish on Brush or Tool
Fix: This often leads to blobs or fuzzy lines. Wipe off excess polish on the rim of the bottle or a piece of paper towel before applying it to the nail. Smaller amounts give you more control.
Nail Care Tips for Healthy Hands This Valentine’s Season
Beautiful nails are healthy nails! Taking care of them ensures your designs look even better and your mani lasts longer.
- Moisturize Regularly: Dry hands and cuticles can ruin even the prettiest manicure. Apply cuticle oil daily and hand cream after washing your hands.
- Protect Your Nails: Wear gloves when doing chores, especially washing dishes or using cleaning products.
- Avoid Using Nails as Tools: Resist the urge to scrape, pry, or tap with your nails, as this can cause chips and breaks.
- Give Nails a Break: If you wear polish constantly, give your nails a week or two now and then to breathe.
- Healthy Diet: Proper nutrition, especially biotin, zinc, and iron, can contribute to stronger, healthier nails.
Embrace Your Unique Heart Nail Journey
Creating heart nail designs for Valentine’s Day is a wonderful way to express your personal style and add a festive touch to your look. Remember, nail art is about creativity and fun. Don’t be afraid to experiment with colors, techniques, and patterns. The most important tool you have is your imagination!
Whether you opt for a classic red heart on a nude base, a playful pink and white combination, or something entirely unique, the goal is to enjoy the process and love the result. These simple techniques can be adapted to suit any skill level, proving that beautiful nail art is well within your reach.
So, gather your polishes, find your favorite tools (even if it’s just a toothpick!), and get ready to paint some love onto your nails. You’ve got this! Happy Valentine’s Day, and happy polishing!