Discover genius and effortless hand-painted nail designs! This guide unlocks simple techniques and creative ideas so you can achieve salon-worthy, personalized manicures right at home, even on your first try.
Dreaming of gorgeous, unique nails but think intricate nail art is out of reach? You’re not alone! Many of us admire stunning hand-painted designs but feel a little intimidated to try them ourselves. The good news? Achieving beautiful, personalized nail art at home is totally doable – and it doesn’t require a professional artist’s touch. With a few simple tools and a little bit of patience, you can transform your nails into tiny masterpieces.
Forget expensive salon visits for basic designs. We’re talking about simple patterns, elegant accents, and playful touches that you can create with a steady hand and some fun polishes. This guide is your friendly roadmap, breaking down everything you need to know, from gathering your tools to mastering a few “wow” worthy techniques guaranteed to impress. Get ready to unleash your inner artist and give your nails the personality they deserve!
Your Handy Toolkit for Hand-Painted Nails
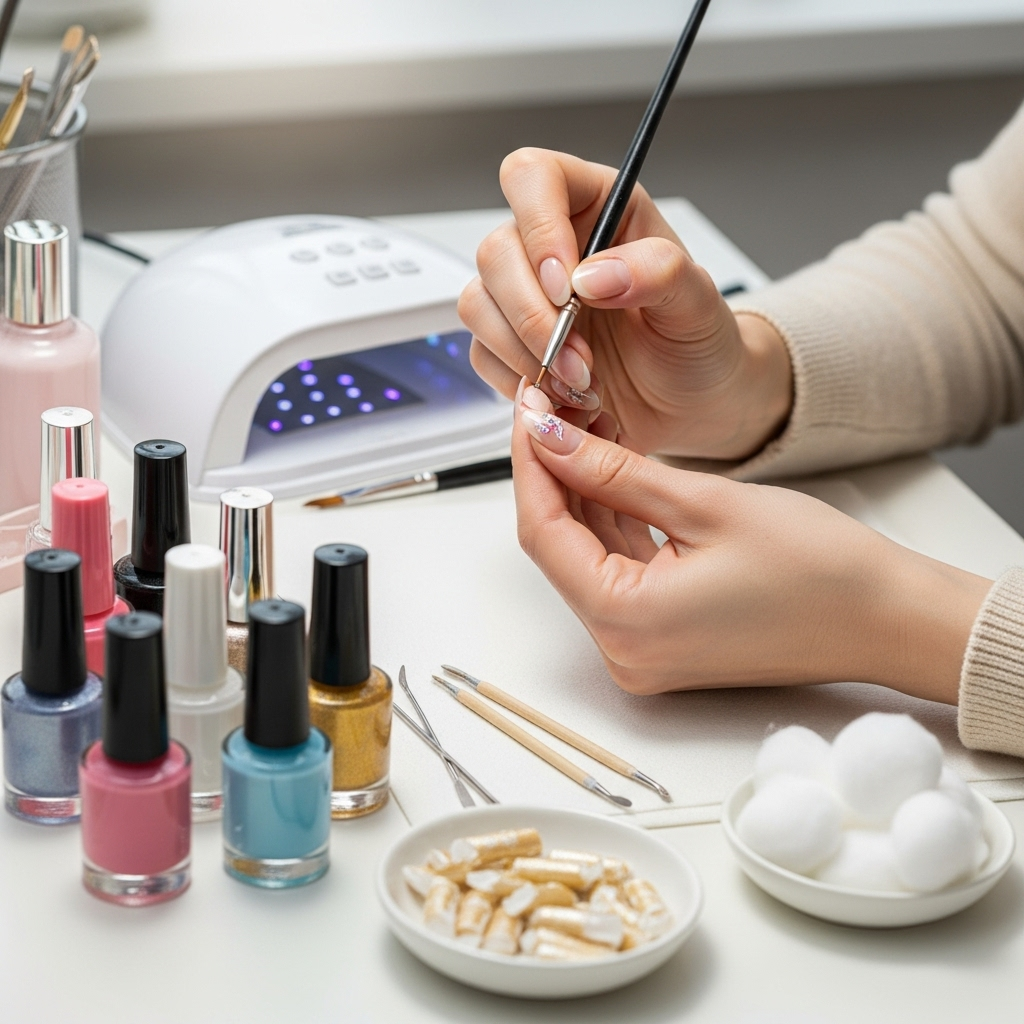
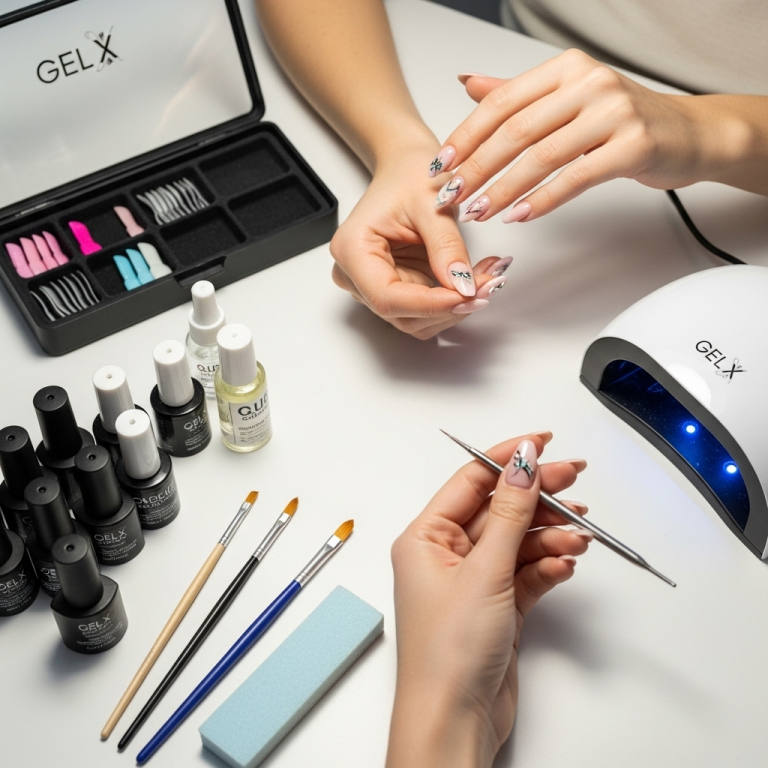
Before we dive into the fun designs, let’s make sure you have the right gear. Think of these as your artist’s brushes, but for your nails! You don’t need a ton of fancy items; a few essentials will get you started. Having these handy will make the painting process so much smoother and more enjoyable.
Here’s what you’ll want to have before you begin:
- Base Coat: This is your canvas primer! It protects your natural nail from staining and helps your polish adhere better. Think of it as a protective shield.
- Top Coat: The ultimate protector and shine booster! A good top coat seals in your design, adds gloss, and prevents chips, making your hand-painted art last longer.
- Nail Polish Colors: Start with a few core colors you love. You’ll also want a contrasting color for your designs and maybe a neutral for a base.
- Thin Nail Art Brush or Dotting Tool: These are your magic wands. A very fine-tipped brush allows for delicate lines and details, while a dotting tool is perfect for creating perfect dots of various sizes. You can find excellent, affordable options from brands like]Born Pretty (an external, reputable retailer for nail art supplies).
- Toothpicks or an Orange Stick: These are surprisingly versatile! They can be used for cleanup, creating tiny dots, or even carefully guiding polish.
- Nail Polish Remover & Cotton Swabs/Pads: For inevitable little oopsies and cleaning up edges. A small amount of remover on a cotton swab can fix a stray line in a flash.
- Patience & Creativity: The most important tools! Don’t be afraid to experiment and have fun with it.
Preparing Your Canvas: Nail Prep Basics
Just like any great artwork, beautiful hand-painted nails start with a well-prepped canvas. Taking a few extra minutes for proper nail preparation makes a world of difference in how your polish applies and how long your design lasts. It’s all about making your nails smooth, clean, and ready for art!
Follow these simple steps:
- Clean Nails: Start with clean, dry nails. Remove any old polish completely. Wash your hands to get rid of any oils.
- Shape Them Up: File your nails to your desired shape. Aim for smooth, even strokes.
- Cuticle Care: Gently push back your cuticles using an orange stick or a cuticle pusher. This creates a cleaner surface for painting and prevents polish from lifting. Avoid cutting them too deeply, as this can lead to damage. For more detail on healthy cuticles, the American Academy of Dermatology offers essential tips on cuticle care.
- Buff Slightly (Optional): If your nails are very shiny, a light buffing can help polish adhere better. Don’t overdo it, as this can weaken the nail.
- Apply Base Coat: Apply one thin layer of your chosen base coat. Let it dry completely – this usually takes about a minute.
Effortless Hand-Painted Nail Designs for Beginners
Now for the really fun part! These designs are chosen for their simplicity and high impact. They look intricate but are surprisingly easy to achieve, even if you’ve never painted your nails before. Let’s get our brushes ready!
1. The Perfect Dot
Dots are a classic for a reason! They’re versatile, easy, and can be made in any color combination. Plus, they require minimal artistic skill.
What you’ll need:
- Base polish
- A dotting tool or the rounded end of a toothpick
- A contrasting polish for the dots
How to do it:
- Apply your base polish color and let it dry completely.
- Dip the ball end of your dotting tool or toothpick into your contrasting polish. You don’t need a huge blob, just a nice, even coat.
- Gently press the dotting tool onto your nail to create a clean dot. Lift straight up.
- Repeat to create as many dots as you like. You can make them all the same size or vary them for a playful look.
- Pro Tip: For different sized dots, use dotting tools with different ball sizes or the tip and side of a toothpick.
2. Simple Stripes
Lines are another fantastic beginner design. Whether you go for thin, delicate lines or bold, graphic stripes, they add a touch of sophistication.
What you’ll need:
- Base polish
- A fine-tipped nail art brush
- A contrasting polish for the lines
- Nail polish remover and a steady hand for cleanup
How to do it:
- Apply your base polish and ensure it’s completely dry.
- Dip your fine-tipped brush into the contrasting polish. Wipe off any excess on the edge of the bottle to avoid drips.
- Starting at one edge of your nail, gently guide the brush across to create a straight line. Don’t press too hard; let the polish do the work.
- For a French tip style, draw a line along the free edge of your nail. For accent stripes, place them strategically on your nail bed.
- Pro Tip: If you’re nervous about freehanding, you can use tape as a guide! Place strips of tape (like Scotch tape or washi tape) on your dried base polish, paint over or between them, and peel them off quickly once the new polish is slightly tacky.
3. The Accent Micro-French
This is a super chic and modern take on the classic French manicure. Instead of a full white tip, you’re adding just a thin, colored line to the very edge of your nail.
What you’ll need:
- Base polish (nude or sheer pink looks great here)
- A fine-tipped nail art brush
- A bright or metallic polish for the accent line
How to do it:
- Apply your chosen base polish and let it dry fully.
- Load your fine-tipped brush with the accent polish.
- Very carefully, paint a thin line along the very tip of your nail. Go slowly and steadily for the best result.
- Pro Tip: Practice on a piece of paper first to get a feel for the brush and the amount of polish you’re using.
4. Glitter Ombre
Achieve a beautiful, gradient effect with glitter polish. This looks amazing and is surprisingly simple to manage, hiding any minor imperfections.
What you’ll need:
- Base polish
- Glitter polish (a finer glitter works best for ombre effects)
- A makeup sponge or the tip of your fine-tip brush
How to do it:
- Apply your base polish and let it dry completely.
- If using a makeup sponge: Apply a small amount of glitter polish to the sponge. Gently pat the sponge onto the tip of your nail, building up the glitter intensity. You can layer this a few times.
- If using a brush: Apply glitter polish to the very tip of your nail. Then, using a clean section of the brush, gently pull the glitter down the nail to create a fading effect.
- Pro Tip: For a smoother transition, you can apply a coat of clear polish over the glitter once it’s dry, then apply another thin layer of glitter to build up the density at the tip.
5. Geometric Fun with Tape
Tape isn’t just for straight lines! It’s a fantastic tool for creating fun geometric patterns that look super polished.
What you’ll need:
- Base polish
- 1-2 contrasting polishes
- Washi tape, painter’s tape, or Scotch tape
- Scissors or a craft knife
How to do it:
- Apply your base color and let it fully dry. This is crucial, or the tape will peel it all off.
- Cut pieces of tape and arrange them on your nail to create geometric shapes – think triangles, squares, or even simple chevrons.
- Paint over the taped sections with your contrasting color(s). You can even use multiple colors in different taped-off areas.
- While the new polish is still wet, carefully peel off the tape. The cleaner your edges, the better the design will look.
- Pro Tip: Ensure the tape is pressed down firmly to prevent polish from seeping underneath.
Here’s a quick comparison of tools for creating hand-painted nail designs:
| Tool | Best For | Ease of Use (Beginner) | Notes |
|---|---|---|---|
| Thin Nail Art Brush | Lines, swirls, small details, filling in patterns | Moderate (requires practice) | Control is key. Clean after each use. |
| Dotting Tool (various sizes) | Dots, small circles, precise placement of glitter | Easy | Great for patterns like polka dots and constellation effects. |
| Toothpick (rounded end) | Small dots, cleanup, guiding polish | Easy | A great free alternative to dotting tools. |
| Makeup Sponge | Ombre effects, sponging on colors, textured looks | Easy | Can create soft blends and gradient effects. |
| Tape (Washi, Painter’s, Scotch) | Straight lines, geometric shapes, French tips | Easy to Moderate (depends on pattern complexity) | Essential for clean lines and sharp edges. Ensure base coat is fully dry. |
Advanced Strokes for the Adventurous Artist
Once you’re comfortable with the basics, you might feel ready to try a few designs that offer a little more flair. These still follow beginner-friendly principles but offer a step up in visual interest.
6. The Marbled Masterpiece
Achieve a swirling, stone-like effect that looks incredibly chic. This technique uses water to create the magic!
What you’ll need:
- A cup of room-temperature water
- Toothpicks
- A base polish (optional, but recommended)
- 2-3 coordinating polish colors
- Top coat
- Clear tape for protecting your skin (optional)
How to do it:
- Apply your base polish and let it dry completely.
- (Optional) Apply clear tape around the nail, leaving just the nail plate exposed. This helps catch excess polish.
- Fill a small cup with room-temperature water.
- Gently drop a few drops of each polish color onto the surface of the water. They will spread out and create colorful rings.
- Use a toothpick to swirl the colors together gently, creating a marbling effect. Don’t over-swirl!
- Dip your nail into the water, making sure the polish design coats the nail.
- While your nail is still in the water, use the toothpick to pull away the excess polish from around your nail.
- Carefully lift your nail out of the water. Remove the tape and gently wipe away any remaining excess polish with a cotton swab dipped in remover.
- Let it dry thoroughly before applying a top coat.
- External Resource: For a visual guide on this technique, check out tutorials on water marbling, a popular technique in nail art.
7. Blooming Flowers
Soft, romantic flowers are surprisingly easy when you use a “blooming” technique with your brushes.
What you’ll need:
- Base polish (a light color like white, pastel, or nude)
- A small detail brush or a fan brush
- A contrasting polish for petals (e.g., pink, purple, red)
- A dotting tool or another fine brush for the center
- A dotting color for the center (e.g., yellow, black)
How to do it:
- Apply your base color and let it dry completely.
- Dip your detail brush into the petal polish. You want a good amount of polish on the brush without it being overly drippy.
- Gently dab the brush onto the nail, then lightly “pull” or flick the brush away from the center in petal-like strokes. You can create simple curves or more pointed shapes.
- Repeat this motion around a central point to form your flower.
- Use a dotting tool or fine brush to add a dot of contrasting color for the flower’s center.
- Pro Tip: For a softer look, you can use a slightly damp (with clean water) brush to blend the edges of the petals ever so slightly while the polish is still wet.
8. Leafy Accents
Bring a touch of nature to your nails with simple, elegant leaf shapes. These are perfect for adding a touch of detail to a solid color or a French tip.
What you’ll need:
- Base polish
- A fine-tipped nail art brush
- Green or your desired leaf color polish
- A slightly darker shade of green or brown for vein details (optional)
How to do it:
- Apply your base polish and let it dry fully.
- Dip your fine-tipped brush into the main leaf color.
- Starting at the point where the leaf will attach to your nail, press the brush down and gently lift it away, creating a teardrop shape. Flip the brush and repeat on the other side to form a basic almond shape.
- Alternatively, make two small dots and connect them with a curved line, then fill in.
- For veins: Use an even finer brush or the tip of a toothpick with the darker color to draw a line down the center of the leaf and a few smaller lines branching off.
- Pro Tip: Think of leaves as elongated teardrops connected at one end. Practice on paper until you get the hang of the shape and pressure.
Maintaining Your Masterpieces: Longevity Tips
You’ve created (or are about to create!) some beautiful hand-painted nails. Now, let’s make them last! A little care goes a long way in keeping your art looking fresh and chip-free.
- Top Coat is Your Best Friend: Apply a fresh layer of top coat every 2-3 days. This reinforces your design and adds shine.
- Be Gentle: Try to avoid using your nails as tools. Don’t scratch labels, pry things open, or engage in activities that could chip your polish.
- Moisturize: Keep your cuticles and hands hydrated with cuticle oil and hand lotion. Dry skin can make polish look dull and lead to chipping.


