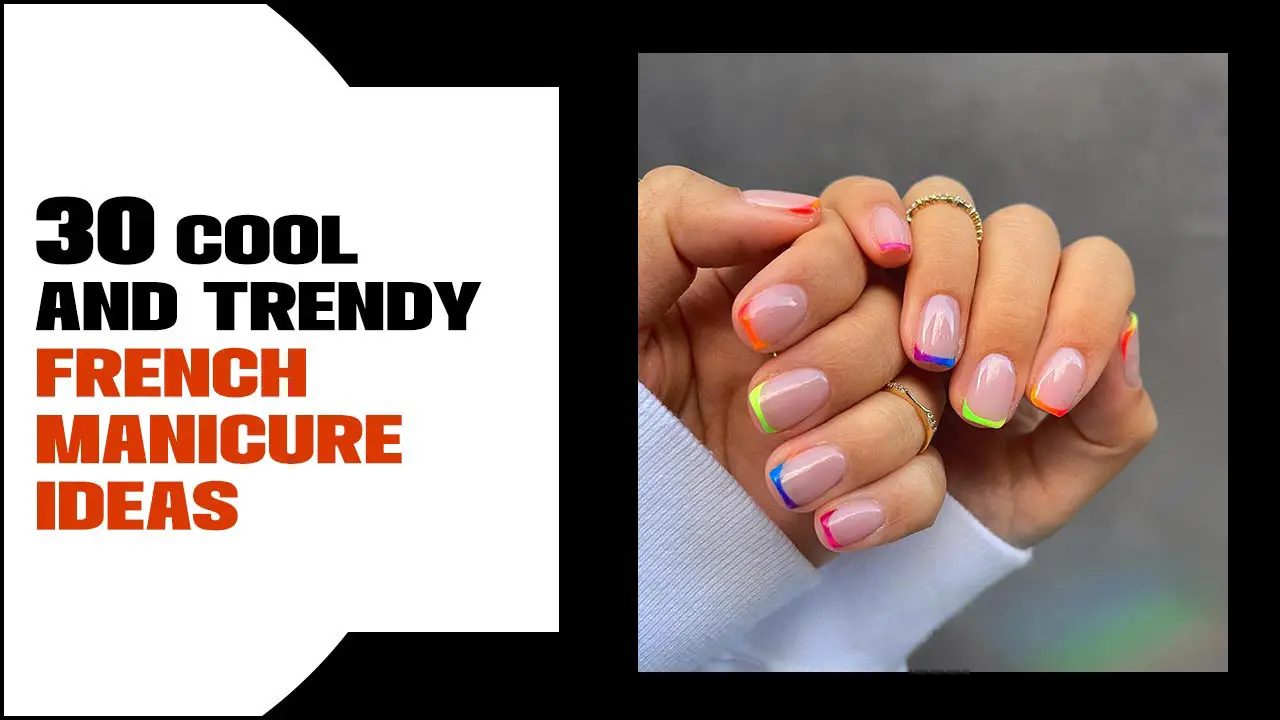
Gradient nail art offers a smooth, beautiful blend of colors on your nails, creating a stunning ombré effect. It’s surprisingly easy to achieve at home with a few simple tools and techniques, allowing you to express your style with vibrant, custom looks.
Hey gorgeous nail lovers! Ever look at those perfectly blended, multi-colored nails and think, “Wow, I could never do that!”? I used to feel the same way, but I’m here to tell you that gradient nail art, or ombré nails as they’re often called, are totally achievable for everyone. It’s like magic, but with nail polish! This technique makes your nails look super chic and professional, even if you’re just starting out with nail art. We’ll break down exactly how to get those flawlessly blended colors, so get ready to elevate your manicure game.
<h2>What Exactly is Gradient Nail Art?</h2>
<p>Gradient nail art is a style of nail design where colors transition smoothly from one shade to another. Think of a sunset, a rainbow, or even a gemstone – that beautiful, seamless blend of hues is what we aim for on our nails. It’s the opposite of sharp lines; instead, it’s all about a soft, flowing transition. This technique adds depth and dimension to your manicure, making your nails a real focal point. It’s incredibly versatile, working with any color combination you can dream up, from subtle pastels to bold neons.</p>
<h2>Why You’ll Love Gradient Nails</h2>
<p>Gradient nails are a popular choice for so many reasons. They look sophisticated and polished without being difficult to achieve once you know the trick. Plus, they’re incredibly customizable! You can create gradients that match your outfit, the season, or just your mood. And the best part? With a few simple tools, you can master this technique right at home. No need for expensive salon visits to get this trendy look.</p>
<h2>Essential Tools for Your Gradient Masterpiece</h2>
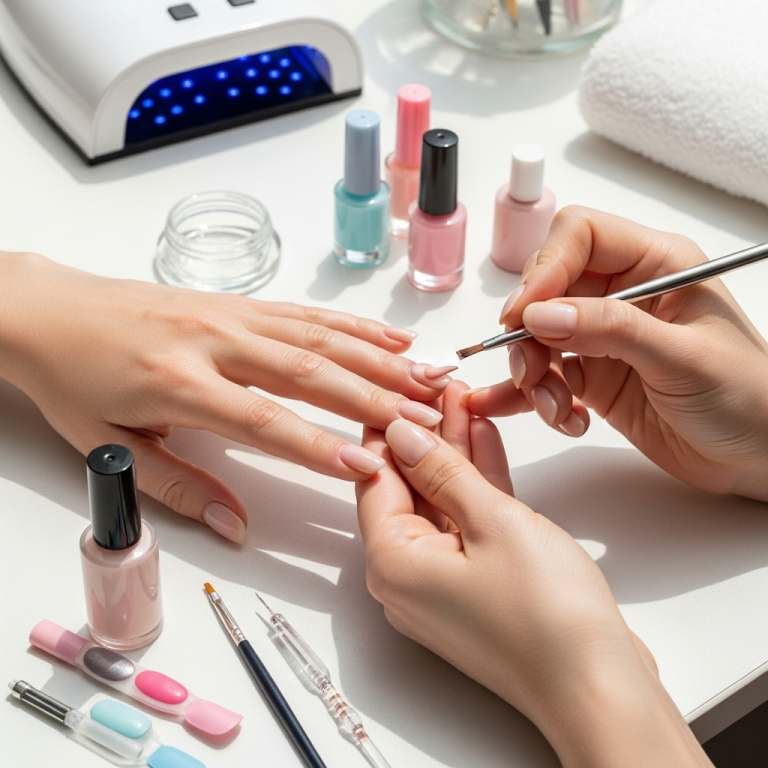
<p>Gathering the right tools is half the battle when it comes to nail art! For gradient nails, you don’t need a whole professional kit. Here’s a simple list of what you’ll need to get started. Having these on hand will make the process so much smoother and more enjoyable.</p>
<ul>
<li><strong>Nail Polish:</strong> Choose at least two colors that complement each other. For beginners, stick to 2-3 colors to start.</li>
<li><strong>Cosmetic Sponge or Makeup Sponge:</strong> A regular makeup wedge sponge is perfect! You can cut a piece off to make it easier to handle.</li>
<li><strong>Top Coat:</strong> To seal the design and add shine.</li>
<li><strong>Base Coat:</strong> Protects your natural nails and helps polish adhere better.</li>
<li><strong>Clear Tape or Petroleum Jelly:</strong> To protect your skin from polish.</li>
<li><strong>Orange Stick or Cuticle Pusher:</strong> For cleanup.</li>
<li><strong>Nail Polish Remover:</strong> For any accidental smudges.</li>
</ul>
<h2>Step-by-Step: Your First Gradient Nail Art</h2>
<p>Ready to create some magic? This is the most common and beginner-friendly way to achieve a beautiful gradient. Follow these steps, and you’ll be amazed at your own handiwork! Don’t worry if your first attempt isn’t absolutely perfect; practice makes progress.</p>
<h3>Step 1: Prep Your Nails</h3>
<p>Start with clean, dry nails. File them to your desired shape and push back your cuticles. Apply a thin layer of base coat and let it dry completely. This step is crucial for nail health and helps your polish last longer.</p>
<h3>Step 2: Protect Your Skin</h3>
<p>This is a little trick to keep your fingers clean. Apply a thin layer of petroleum jelly (like Vaseline) around your cuticle and the sides of your nails. Alternatively, you can carefully wrap your fingers with clear tape, leaving only the nail plate exposed. This creates a barrier so you don’t get polish all over your skin.</p>
<h3>Step 3: Prepare Your Palette (The Sponge)</h3>
<p>Grab your cosmetic sponge. For a two-color gradient, you’ll paint two stripes of your chosen colors side-by-side on a flat surface, like a piece of foil or a plastic lid. Make sure the colors are touching but not truly mixed. If you’re using three colors, paint three stripes in the order you want them to appear (e.g., light to dark). Some people like to slightly dab the sponge on the polish first to get an even coat, but painting directly onto a surface you’ll press onto the nail is more common for this technique.</p>
<h3>Step 4: Apply the Polish to the Sponge</h3>
<p>Paint thick, solid stripes of your chosen nail polish colors directly onto your cosmetic sponge. Position the colors next to each other, ensuring they touch where you want the blend to begin. Work quickly, as nail polish can dry fast! If you’re using more than two colors, arrange them in stripes according to your desired gradient order. For example, if you want pink to orange to yellow, paint thin stripes of pink, then orange, then yellow next to each other on the sponge.</p>
<h3>Step 5: Create the Gradient on Your Nail</h3>
<p>Gently press the sponge onto your nail. You’ll want to roll it slightly from side to side to help the colors transfer and blend. Don’t press too hard, or you might just push the polish off the sponge. Lift and repeat if necessary to build up the color. For a more intense gradient, you might need to reapply polish to the sponge and press again.</p>
<p>Here’s a pro tip for better blending:</p>
<ul>
<li>After the first press, lift the sponge. Reapply polish to the sponge, and press onto the nail again, focusing on the transition area. This helps create a smoother blend.</li>
</ul>
<h3>Step 6: Clean Up the Edges</h3>
<p>Now for the slightly messy part! Use your orange stick or cuticle pusher dipped in nail polish remover to gently clean up any polish that got onto your skin. If you used petroleum jelly, it should wipe away easily. If you used tape, carefully peel it off. Be precise to keep your cuticle line neat.</p>
<h3>Step 7: Add a Top Coat</h3>
<p>Once the polish is dry to the touch, apply a generous layer of top coat. This will seal your gradient, smooth out any texture from the sponge, and add a beautiful shine that makes your gradient pop! Let it dry completely.</p>
<h2>Trying Different Gradient Techniques</h2>
<p>The sponge method is fantastic for a classic horizontal or vertical ombré. But once you’ve mastered that, you might want to explore other fun ways to create gradients. Here are a couple of simple variations you can try:</p>
<h3>Vertical Gradient</h3>
<p>Instead of painting stripes side-by-side on the sponge, paint them horizontally. Then, when you press the sponge onto the nail, the colors will blend vertically, from cuticle to tip. This can give a sleek, elongating effect.</p>
<h3>Diagonal Gradient</h3>
<p>Often, just angling the sponge as you press can create a diagonal blend. Experiment with the angle to see what looks best! This adds an unexpected twist to the classic look.</p>
<h3>Freehand Gradient</h3>
<p>This is for the brave and ambitious! Using a thin brush, you can paint colors onto the nail and then use a clean, slightly damp brush to blend the edges where the colors meet. It takes a steadier hand, but it offers ultimate control. You can find excellent tutorials on blending polish directly on the nail surface from reputable beauty sources.</p>
<h3>Glitter Gradient</h3>
<p>Want to add some sparkle? A glitter gradient is super easy and always impressive. Apply your base colors as usual, then use a sponge or a brush to dab glitter polish onto the tips or nails, blending it down towards the cuticle. This is a fun way to make any mani party-ready! A good source for understanding nail polish ingredients and their effects can be found on sites like the <a href=”https://www.fda.gov/cosmetics/cosmetic-ingredients/nail-polish-and-nail-care-products” target=”_blank”>U.S. Food & Drug Administration (FDA)</a>, ensuring you’re using safe products.</p>
<h2>Choosing Your Color Combinations</h2>
<p>The beauty of gradient nail art is the endless possibility of color combinations! Here are some ideas to get your creativity flowing:</p>
<table>
<thead>
<tr>
<th>Vibe/Look</th>
<th>Color Combinations</th>
<th>Where to Wear It</th>
</tr>
</thead>
<tbody>
<tr>
<td>Sunset Dream</td>
<td>Yellow, Orange, Pink, Purple</td>
<td>Vacation, Summer Parties, Everyday Joy</td>
</tr>
<tr>
<td>Ocean Breeze</td>
<td>Light Blue, Teal, Deep Blue, White accents</td>
<td>Beach Day, Poolside, Relaxing Weekends</td>
</tr>
<tr>
<td>Pretty Pastels</td>
<td>Lavender, Mint Green, Baby Pink, Sky Blue</td>
<td>Spring Events, Bridal Showers, Delicate Style</td>
</tr>
<tr>
<td>Berry Burst</td>
<td>Fuchsia, Raspberry, Deep Plum</td>
<td>Evening Out, Fall Style, Romantic Dinners</td>
</tr>
<tr>
<td>Monochromatic Chic</td>
<td>Different shades of the same color (e.g., light pink to deep red)</td>
<td>Work, Business Casual, Sophisticated Looks</td>
</tr>
</tbody>
</table>
<h2>Tips and Tricks for Flawless Gradients</h2>
<p>Even with a great tutorial, a few extra tips can really elevate your gradient game. These small adjustments make a big difference in the final look.</p>
<ul>
<li><strong>Work Quickly:</strong> Nail polish dries fast, especially when spread thin on a sponge. Have all your colors ready and apply them to the sponge and then to your nail without delay.</li>
<li><strong>Sponge Density Matters:</strong> A sponge with a finer texture tends to give a smoother blend than a very coarse one. You can experiment with different types of makeup sponges.</li>
<li><strong>Build Up Color Gradually:</strong> Instead of trying to get opaque coverage in one go, apply 2-3 thin layers using the sponge. This allows for better blending and a less cakey finish.</li>
<li><strong>Don’t Over-Soak the Sponge with Polish:</strong> Too much polish can make it hard to get clean lines and can lead to a “muddy” gradient. Just enough to transfer the color is key.</li>
<li><strong>Clean Up Immediately:</strong> Don’t let the polish dry on your skin before cleaning up. The sooner you wipe away the excess, the easier it is to achieve a perfect cuticle line.</li>
<li><strong>Use a Good Top Coat:</strong> A top coat doesn’t just add shine; it can help meld the colors together a bit more, smoothing out any visible sponge texture. A quick-dry top coat is a lifesaver!</li>
<li><strong>Practice on Tips First:</strong> If you’re nervous about doing it on your actual nails, try practicing on artificial nail tips first. This lets you get a feel for the sponging and blending technique without the pressure.</li>
</ul>
<h2>Troubleshooting Common Gradient Nail Art Issues</h2>
<p>Even with the best intentions, things can sometimes go awry. But don’t worry! Most common gradient nail art problems have simple solutions. Here’s how to fix them.</p>
<table>
<thead>
<tr>
<th>Problem</th>
<th>Solution</th>
</tr>
</thead>
<tbody>
<tr>
<td>Colors look muddy or mixed together</td>
<td>You might be pressing too hard or too many times, causing the colors to blend too much on the sponge. Try using less polish on the sponge or pressing more gently with fewer dabs. Ensure colors are distinct stripes on the sponge initially.</td>
</tr>
<tr>
<td>Spongy texture is visible</td>
<td>Apply one or two more thin layers of top coat. A good top coat, especially one that is slightly thicker like gel-like top coats, can smooth out the texture. Make sure your polish layers underneath were dry before topping.</td>
</tr>
<tr>
<td>Polish isn’t transferring well</td>
<td>Your nail polish might be too thin, or you’re not using enough. You may need to add a bit more polish to the sponge. Also, ensure your sponge isn’t too dry; a slightly damp (not wet!) sponge can sometimes pick up polish better.</td>
</tr>
<tr>
<td>Too much polish on skin and hard to clean up</td>
<td>Next


