For a beginner-friendly, elegant touch, gold leaf nail art is surprisingly easy to achieve with simple tools and a steady hand. Follow these proven steps for stunning DIY manicures that sparkle!
Dreaming of nails that shimmer with a touch of luxury? Gold leaf nail art can seem like it belongs in a pro salon, but I’m here to tell you it’s totally doable at home! Many of us get a little intimidated by intricate designs, thinking we need a degree in nail art. The truth is, gorgeous gold leaf manis are within your reach. What if I told you that with just a few basic supplies and my straightforward guide, you can create dazzling gold accents on your nails in no time? Get ready to elevate your nail game with a touch of glam that’s easier than you think!
What is Gold Leaf Nail Art?
Gold leaf nail art is a trendy technique that involves applying delicate, flaky pieces of real or imitation gold foil onto your nails. These thin sheets of gold catch the light beautifully, adding a luxurious, sophisticated shimmer to any manicure. It’s a versatile style, ranging from subtle, scattered accents to full-coverage, glamorous finishes. Whether you’re a nail art novice or looking to add a new skill to your repertoire, gold leaf designs offer an instant upgrade to your nail aesthetic.
Why You’ll Love Gold Leaf Nails
There are so many reasons why gold leaf nail art has become a favorite among beauty lovers. For starters, it’s incredibly versatile. You can go for a minimalist look with just a few flecks, or embrace a bolder style with more coverage. It’s also surprisingly forgiving, meaning even if your application isn’t perfect, the natural shimmer of the gold often hides minor imperfections. Plus, it adds a touch of elegance without being overly complicated to achieve at home. It’s a budget-friendly way to get a high-end look.
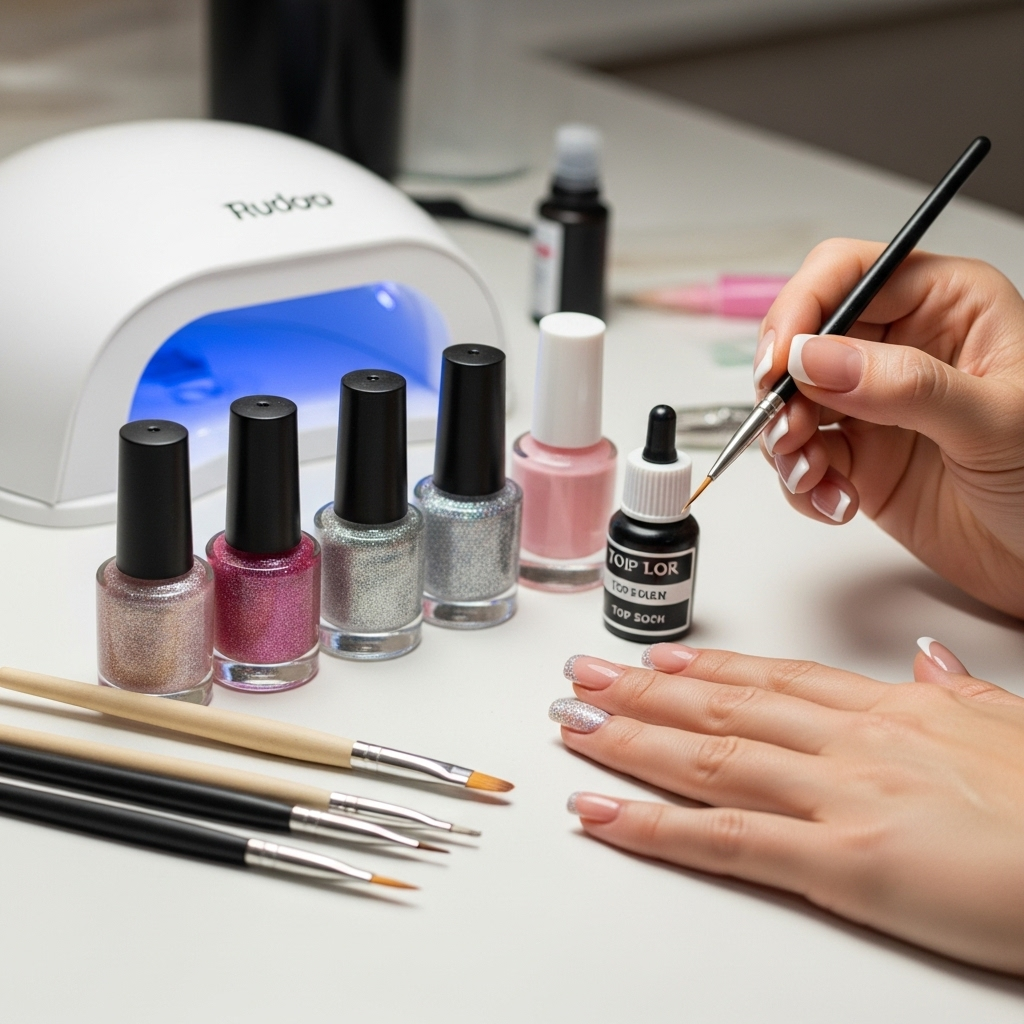
What You’ll Need: Your Gold Leaf Nail Art Toolkit
Gathering the right supplies is the first step to success. Don’t worry, you probably have most of these on hand already! Having everything ready makes the process smooth and enjoyable. Think of this as your personal nail art starter kit for all things gold!
- Base Coat: Essential for protecting your natural nails and ensuring your polish adheres properly.
- Your Favorite Nail Polish Color: This will be the canvas for your gold leaf.
- Gold Leaf Flakes or Sheets: You can find these online or at most beauty supply stores. They come in various sizes and shapes.
- Nail Glue or Sticky Base Coat: This is what helps the gold leaf adhere to your nails. Many brands offer specialized nail glues for foil.
- Tweezers: Fine-tipped tweezers are crucial for picking up and placing the delicate gold leaf pieces precisely.
- Top Coat: To seal your design and add shine, protecting your beautiful gold leaf.
- Optional: Small Brush or Cotton Swab: For gently pressing down the gold leaf and cleaning up any stray pieces.
Gold Leaf Nail Art Step-by-Step: Your Easy Guide
Ready to get glowing? Follow these simple steps, and you’ll be rocking stunning gold leaf nails in no time. We’ll go through each stage so you can feel confident with every move.
Step 1: Prep Your Nails
Just like any great manicure, a good foundation is key. Start by cleaning your nails and removing any old polish. Gently push back your cuticles and lightly buff your nail surface. This ensures your base coat and subsequent layers will adhere smoothly, giving you a professional-looking finish.
A good nail prep routine makes all the difference. For more tips on nail preparation, check out this guide from the American Academy of Dermatology on general nail care practices.
Step 2: Apply Your Base Coat and Color
Apply a thin layer of your base coat and let it dry completely. Then, apply your chosen nail polish color. You might need two coats for full opacity. Make sure each layer is completely dry before moving on to the next step. Patience here really pays off for a smooth finish!
Step 3: Apply the Adhesive
This is where the magic begins! You have a couple of options here:
- Using Nail Glue: Apply a small amount of nail glue to the area of the nail where you want the gold leaf to stick. Work in small sections, as the glue can dry quickly.
- Using a Sticky Base Coat: Some polishes are designed to remain tacky for a specific amount of time, perfect for adhering foils. Apply this type of polish and wait for it to become sticky (usually a few minutes, check product instructions).
The key is to have a sticky surface ready for the gold leaf. Too wet, and it might just dissolve or smudge; too dry, and it won’t adhere.
Step 4: Apply the Gold Leaf
Now for the truly exciting part! Carefully take your tweezers and pick up a small piece of gold leaf. Gently press it onto the sticky area of your nail. Don’t aim for perfection; the beauty of gold leaf is its organic, scattered look. You can apply it as sparingly or generously as you like. Use your finger or a clean brush to gently press down the edges so they lay flat against the nail.
Pro Tip: If using gold leaf sheets, you can tear or cut them into smaller pieces for more control. Working with flakes is often easier for beginners as they are already small and manageable.
Step 5: Seal the Deal with a Top Coat
Once you’re happy with the placement of your gold leaf, it’s time to seal it in. Apply a generous layer of top coat over your entire nail. This will not only protect your beautiful gold leaf but also smooth out any rough edges and add a lovely shine. Be sure to cap the free edge of your nail with the top coat to prevent chipping.
Allow the top coat to dry completely. You might want to apply a second layer of top coat for extra durability, especially if you’re prone to polish chipping. This step is crucial for making your gold leaf nail art last!
Gold Leaf Placement Techniques for Beginners
Getting the placement just right can be the trickiest part for newcomers. But don’t stress! Here are a few easy ways to place your gold leaf that look super chic and are very beginner-friendly:
- Scattered Flecks: This is the easiest and most popular look. Simply press small pieces of gold leaf onto random spots of your sticky nail. A few strategically placed flecks look elegant and take seconds to apply.
- Ombre Effect: Apply more gold leaf near the cuticle or the tip of your nail and gradually less as you move towards the center. This creates a beautiful gradient effect.
- Accent Nail: Choose one nail (like your ring finger) to be your gold leaf accent. You can cover this nail more heavily or create a specific pattern with the gold.
- Edge Highlight: Apply gold leaf very carefully along the very edge or tip of your nail for a subtle, modern shimmer. This requires a steadier hand but looks incredibly sophisticated.
Remember, the goal is to have fun and express your personal style. The unique texture and shimmer of gold leaf tend to look good no matter how it’s applied!
Gold Leaf Nail Art Variations and Ideas
Once you’ve mastered the basics, the possibilities for gold leaf nail art are endless! Here are some ideas to inspire your next manicure:
| Design Idea | Description | Best For |
|---|---|---|
| Classic Gold Flakes | Scattered, random placement of small gold leaf pieces. | Beginners, everyday wear, subtle elegance. |
| Full Gold Coverage | Completely cover the nail with gold leaf for a bold, metallic statement. | Special occasions, glamorous looks. |
| Gold French Tips | Apply gold leaf only to the tips of the nails for a twist on the classic French manicure. | Chic, modern, sophisticated. |
| Gold Geometric Shapes | Use tweezers to carefully place gold leaf to form lines, squares, or other patterns. | Creative, artistic, slightly more advanced but achievable. |
| Gold Leaf with Glitter | Pair gold leaf flakes with complementary glitter polish for extra sparkle. | Party-ready, maximum shine. |
| Gold Leaf with Solid Colors | Use gold leaf as an accent on a single color nail, or mix and match colors across nails. | Versatile, allows for personal color choices. |
Choosing Your Gold
Gold leaf comes in different shades, from deep antique gold to bright, shiny yellow gold. Pick a shade that complements your skin tone or the rest of your outfit. Some kits even include rose gold or silver leaf, offering even more creative options!
Pairing with Different Polish Colors
Gold leaf looks stunning against practically any base color, but here are a few pairings that really pop:
- Deep Jewel Tones: Emerald green, sapphire blue, ruby red, and amethyst purple create a rich contrast.
- Classic Neutrals: Black, white, nude, and grey provide an elegant and sophisticated backdrop.
- Pastels: Soft pinks, blues, and lavenders offer a more delicate and ethereal feel.
- Glowy Sheers: Build up sheer polish with gold leaf for a subtle, sun-kissed shimmer.
Troubleshooting Common Gold Leaf Nail Art Issues
Even with the easiest techniques, nail art can sometimes throw us a curveball. Here are some common issues and how to fix them:
| Problem | Solution |
|---|---|
| Gold Leaf Won’t Stick | Your adhesive might be too dry. Reapply a fresh layer of nail glue or ensure your sticky base coat is still tacky. Avoid applying too much glue, which can cause the leaf to clump. |
| Gold Leaf is Crinkled or Torn | Apply the gold leaf gently. If it tears, don’t worry! Many times, the crinkled, uneven texture adds to the charm. For major tears, you can try to layer another piece over it or gently press down the edges with a clear polish. |
| Uneven Application / Too Much Gold | If you’ve applied too much and it looks messy, don’t panic! Once the adhesive is dry, you can use a firm brush (like a fluffy makeup brush or a clean nail art brush) to gently brush away excess, loose flakes. Then, apply a thick layer of top coat to smooth everything out. |
| Gold Leaf Looks Dull | A good top coat is key! Ensure you’re using a quality top coat and applying it generously. For an extra shine boost, consider a gel top coat (if you use gel polish) or a quick-dry, high-shine top coat. |
| Gold Leaf Falls Off Quickly | This is usually a top coat issue. Make sure you’re sealing the entire nail, including the edges, with a good top coat and letting it dry completely. Consider a second layer of top coat for added protection. |
Maintaining Your Gold Leaf Manicure
To keep your gorgeous gold leaf nails looking their best for as long as possible, a little care goes a long way. Think of it like preserving a delicate piece of art!
- Wear Gloves: Whenever doing household chores, washing dishes, or anything that involves prolonged water exposure, wear rubber gloves. Water is the enemy of any manicure.
- Be Gentle: Avoid using your nails as tools. Don’t try to pick at things or scrape surfaces with your nails, as this can lift the gold leaf or polish.
- Reapply Top Coat (Optional): If you notice your top coat is starting to wear down after a few days, you can carefully apply another thin layer to refresh the shine and protection.
- Moisturize: Keep your hands and cuticles hydrated with a good hand cream and cuticle oil. Healthy nails and skin make your manicure look even better.
By following these simple maintenance tips, you can extend the life of your beautiful gold leaf art and enjoy it for days to come.
Frequently Asked Questions About Gold Leaf Nail Art
Q1: Is gold leaf nail art safe for my natural nails?
A: Yes, when applied and removed properly, gold leaf nail art is safe for your natural nails. Using a good base coat protects your nails, and gentle removal (avoiding harsh scraping) prevents damage.
Q2: Can I use real gold leaf?
A: You can, but edible gold leaf is often used for nail art. It’s very delicate and safe for this purpose. Most commercially available “gold leaf” for nails is imitation gold foil, which is more affordable and just as effective for achieving the look.
Q3: How long does gold leaf nail art typically last?
A: With proper application and care, gold leaf nail art can last as long as a regular manicure, typically 5-7 days, sometimes longer if you’re very careful and use a durable top coat.
Q4: Do I need special tools for gold leaf nail art?
A: You don’t need a lot of specialized tools. The essentials are fine-tipped tweezers and a good liquid adhesive (like nail glue or a sticky base coat). A small brush or cotton swab can also be helpful for pressing down the leaf.
Q5: Can I remove gold leaf easily?
A: Yes. To remove, soak your nails in regular nail polish remover. Gently wipe away the polish and gold leaf. For tougher removal, you can soak a cotton ball in remover, place it on your nail, wrap it in foil, and leave it for a few minutes.
Q6: What’s the difference between gold foil and gold leaf for nails?
A: For nail art purposes, “gold foil” and “gold leaf” are often used interchangeably. They both refer to thin, delicate metallic flakes or sheets applied to the nail. True gold leaf is made of actual gold, while most nail products use imitation foil for affordability and ease of use.
Q7: Can I combine gold leaf with gel polish?
A: Absolutely! You can apply gold leaf over cured gel polish using a gel tack (sticky residue from the gel) or a special gel foil glue. Always finish with a gel top coat and cure under a UV/LED lamp.
Conclusion: Shine On with Your DIY Gold Leaf Nails!
See? Transforming your nails into shimmering works of art with gold leaf is not only achievable but also incredibly fun! You’ve learned the essential tools, the step-by-step process from nail prep to sealing, and even some tips for troubleshooting and maintenance. Remember, the beauty of gold leaf nail art is its organic charm and the way it catches the light. Don’t strive for unattainable perfection; instead, embrace the creative process and let your personal style shine through. Whether you opt for subtle accents or a full gilded look, you now have the confidence and the know-how to create stunning, salon-worthy manicures right in your own home. So go ahead, gather your supplies, and let your fingertips dazzle!</