Glow in the dark nails are a fun, vibrant nail art trend that truly shines when the lights go down! They’re surprisingly easy for beginners to achieve using special polishes, and offer a unique way to express your style for parties, festivals, or just everyday magic.
Ever feel like your manicure is missing that extra sparkle, especially when the sun sets? You’re not alone! Sometimes, even the most beautifully crafted nails can seem a little… ordinary in low light. It’s a common frustration when you want your style to stand out, day or night. But what if I told you there’s a magical way to make your fingertips beam with personality after dark? Get ready to discover the enchanting world of glow in the dark nails! We’ll guide you through everything you need to know, from choosing the right colors to creating your own stunning designs. Let’s make your nails the life of the party!
What Are Glow In The Dark Nails?
Glow in the dark nails are exactly what they sound like: manicures that emit a visible light in low-light or completely dark conditions. This isn’t achieved with regular nail polish; it requires special pigments that absorb light energy when exposed to a light source (like sunlight or a UV lamp) and then release that energy as a luminous glow. This creates a captivating, almost otherworldly effect that’s perfect for making a statement.
The magic behind these dazzling nails lies in phosphorescent pigments. These are safe, non-toxic substances incorporated into nail polish formulations. When these pigments are activated by light, they store energy. Once the light source is removed and the surroundings become dark, they release this stored energy as visible light. The intensity and duration of the glow can vary depending on the quality of the polish and how long they’ve been exposed to light.
This trend has exploded in popularity for events like music festivals, Halloween, parties, or even just for a fun, unique look. They’re a fantastic way to add an element of surprise and creativity to your personal style, turning your nails into a conversation starter.
Why Are Glow In The Dark Nails So Popular?
The sheer novelty and visual impact of glow in the dark nails are undeniable. Imagine your fingertips softly glowing during a concert, at a dimly lit restaurant, or during a late-night gathering. It’s a playful and unexpected way to accessorize and express yourself. Here’s why they’ve captured so many hearts:
- Unique Visual Appeal: They offer a “wow” factor that regular polish simply can’t match, especially in low light.
- Fun & Playful: Glow in the dark nails add an element of fun and whimsy to any look.
- Perfect for Events: They are a hit for parties, concerts, festivals, Halloween, and any occasion where you want to stand out.
- Easy to Achieve: With the right products, creating these nails at home is surprisingly straightforward.
- Versatile Designs: They can be incorporated into countless nail art designs, from simple solid colors to intricate patterns.
- Boosts Confidence: Sporting a unique and eye-catching manicure can give your confidence a lovely lift.
Essential Trends in Glow In The Dark Nails
Glow in the dark nails aren’t just about a single solid color anymore. The trend has evolved to incorporate a variety of styles, techniques, and aesthetics. Here are some of the hottest trends you’ll want to try:
1. Classic Glow Solid Colors
This is the simplest way to embrace the trend. A full-coverage application of a vibrant glow-in-the-dark polish on all nails. Think electric blues, neon greens, hot pinks, or sunny yellows that transform into an ethereal glow after dark.
2. Dual-Chrome Glow
These polishes have a base color that’s visible in regular light, but they reveal a completely different, glowing color in the dark. For example, a nail might look deep purple in the light but glow bright green when it’s dark. This creates a stunning and surprising visual effect.
3. Glow French Tips
Give the classic French manicure a luminous twist. Instead of white tips, use a glow-in-the-dark polish to outline the tips of your nails in vibrant, glowing colors. It’s subtle yet impactful!
4. Ombre Glow
Achieve a seamless blend of two or more glow-in-the-dark colors, creating a gradient effect that glows. This can be done horizontally, vertically, or diagonally across the nail for an artistic touch.
5. Glow Accents & Nail Art
Use glow-in-the-dark polishes as accents over a base color. Think glowing dots, stripes, stars, or even simple shapes. This is a fantastic way for beginners to experiment with the trend without committing to full coverage.
6. Neon Glow with Blacklight Activation
While technically not “glow-in-the-dark” (which is phosphorescent), many neon polishes also react intensely under blacklights. This is a closely related trend that’s incredibly popular for parties and raves, creating a vibrant, almost fluorescent look under UV illumination.
7. Subtle Glow with Clear Top Coats
For a more understated look, some brands offer clear top coats infused with glow-in-the-dark pigments. You can apply these over any existing polish for a hint of hidden radiance when the lights dim.
How to Get Stunning Glow In The Dark Nails: A Beginner-Friendly Guide
Ready to create your own glowing masterpieces? It’s easier than you think! Here’s a step-by-step guide to achieving professional-looking glow in the dark nails at home.
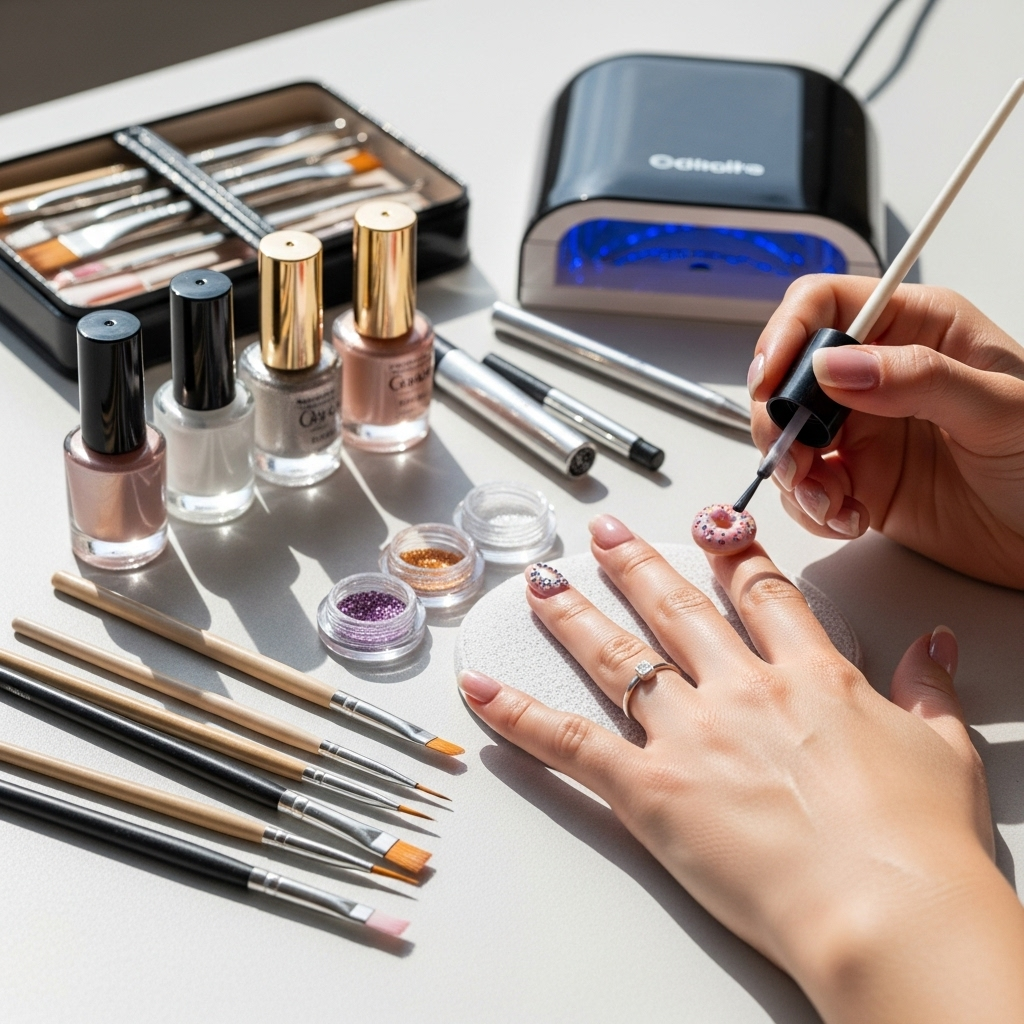
What You’ll Need:
Gathering the right supplies is key to a successful and long-lasting glow. Here’s a list of essentials:
- Glow-In-The-Dark Nail Polish: This is your star ingredient! Choose your desired colors and finish.
- Base Coat: Protects your natural nails and helps polish adhere better.
- Top Coat: Seals your polish, adds shine, and protects against chipping. Opt for a quick-dry or gel-finish top coat for extra durability.
- Nail File & Buffer: To shape and smooth your nails.
- Cuticle Pusher/Orange Stick: To gently push back cuticles.
- Rubbing Alcohol or Nail Polish Remover: To cleanse the nail surface.
- Cotton Pads/Lint-Free Wipes: For cleaning.
- Optional: UV/LED Lamp: If you’re using gel-based glow polish.
- Optional: Thin Nail Art Brush: For creating designs.
- Optional: Your favorite regular nail polish: For layering or creating accent nails.
Step-by-Step Application:
Follow these simple steps for a flawless glow-up:
- Prepare Your Nails: Start by cleaning your nails. Remove any old polish. Gently push back your cuticles with a cuticle pusher or orange stick. Shape your nails using a nail file and smooth the surface with a buffer if needed. Ensure your nails are clean and dry.
- Apply Base Coat: Apply a thin, even layer of your base coat. This step is crucial for preventing staining and ensuring your glow polish adheres properly. Let it dry completely.
- Apply Glow Nail Polish (First Coat): Apply your chosen glow-in-the-dark nail polish. For most polishes, two thin coats provide the best color payoff and glow intensity. Let the first coat dry for a minute or two before applying the second.
- Apply Glow Nail Polish (Second Coat): Apply a second thin coat of the glow polish. Make sure to get even coverage. Allow this coat to dry thoroughly. This is where the glow pigments are most concentrated.
- Consider a Layering Trick (Optional): If you want a more vibrant glow, consider applying a white or nude base color first, letting it dry, and then applying your glow polish. White, in particular, can make the glow color pop more vibrantly and evenly.
- Apply Top Coat: Once your glow polish is completely dry, apply a generous layer of your top coat. This will add shine, protect your manicure, and help seal in the glow pigment. If using a quick-dry top coat, you won’t have to wait too long!
- Activate the Glow: Expose your nails to a light source for a few minutes – natural sunlight or a bright artificial light works best. Then, step into a dark room and admire your glowing nails!
Tips for Maximum Glow:
Want to make your glow last and shine its brightest? Here are some pro tips:
- Charge Frequently: The glow effect depletes over time. Recharge your nails by exposing them to light periodically.
- Avoid Harsh Chemicals: When cleaning or doing chores, wear gloves. Harsh detergents can strip away the top coat and damage the polish.
- Use a Good Top Coat: A high-quality, durable top coat is essential for sealing in the glow pigments and preventing premature fading or chipping.
- Consider White/Light Base: Applying a layer of white or a light-colored polish before your glow polish can significantly enhance the vibrancy and visibility of the glow.
- Layering is Key: For most glow polishes, two thin coats are better than one thick coat for even application and optimal glow.
Glow In The Dark Nail Polish Types
Not all glow nail polishes are created equal! Understanding the different types available will help you choose the best option for your desired effect and application method.
1. Standard Glow Nail Polish
These are the most common and easiest to find. They work like regular nail polish but contain phosphorescent pigments. They dry to the touch relatively quickly and typically last a few days to a week with a good top coat.
2. Gel Glow Nail Polish
These polishes require a UV or LED lamp to cure (harden). They offer superior durability, a high-gloss finish, and can last up to two to three weeks. The glow effect is often more potent and longer-lasting compared to standard polishes.
3. Glow Pigment Powders
These are finely milled powders that you can mix into clear nail polish, gel polish, or acrylics. This offers the ultimate customization, allowing you to create your own unique shades and control the intensity of the glow. This method requires a bit more practice but allows for incredible creativity.
4. Glow Stickers/Decals
For a super easy, no-fuss approach, glow-in-the-dark nail stickers or decals are available. You simply peel and stick them onto your nails. They’re a fun, temporary option perfect for events.
Comparing Glow Polish Types: Pros and Cons
Choosing the right type of glow polish depends on your lifestyle, desired longevity, and how much effort you want to put in. Here’s a quick comparison:
| Feature | Standard Glow Polish | Gel Glow Polish | Glow Pigment Powders |
|---|---|---|---|
| Application Ease | Very Easy (like regular polish) | Requires UV/LED lamp, slightly more involved | Requires mixing, potentially tricky for beginners |
| Drying Time | Air dries quickly | Cures under lamp (seconds to minutes) | Depends on the clear base used |
| Durability | Moderate (a few days to a week) | High (2-3 weeks) | Depends on the base polish used |
| Glow Intensity | Good to Very Good | Excellent, often longer-lasting | Highly customizable |
| Cost | Generally affordable | Moderate (polishes can be pricier, plus lamp cost) | Powders are affordable, but you need a base |
| Removal | Standard nail polish remover | Requires gel remover or soaking | Depends on the base polish |
Glow In The Dark Nail Art Ideas for Beginners
Don’t feel like you need to be a pro artist to rock glow in the dark nails! Start with these simple yet stunning designs:
- The Accent Nail: Paint all your nails with a regular polish color you love. Then, choose one nail (like your ring finger) and apply one or two coats of glow-in-the-dark polish over the top. It’s a subtle burst of magic!
- Dotting Delight: After applying your base color and top coat to all nails, use the tip of a bobby pin, a toothpick, or a dotting tool dipped in glow polish to create small dots on your nails. Spread them out, cluster them, or create simple patterns.
- Glow Tips: Instead of white French tips, carefully paint the tips of your nails with a glow polish. A steady hand and a thin brush can help!
- Simple Shapes: Use a fine nail art brush and glow polish to paint easy shapes like tiny stars, moons, or hearts on a solid base color.
- Stripe It Up: After your base color is dry, use painter’s tape (carefully placed and removed while the glow polish is slightly wet for clean lines) or a steady hand with a thin brush to create simple vertical or horizontal stripes with glow polish.
Safety and Pigment Information
It’s important to know what you’re putting on your nails. Glow-in-the-dark nail polishes are formulated with phosphorescent pigments that are released as light. These pigments are generally considered safe for cosmetic use.
The key phosphorescent pigments used in nail products are typically strontium aluminate (which provides a brighter, longer-lasting glow) or zinc sulfide. Reputable manufacturers ensure these pigments are safe for skin contact and nail application. When purchasing glow-in-the-dark nail polish, always look for products from trusted brands that clearly list their ingredients or state they are “cosmetic grade.”
You can find more information on cosmetic ingredients and safety regulations from organizations like the U.S. Food and Drug Administration (FDA), which regulates cosmetics. Ensuring your products are from reputable sources is the best way to guarantee safety and a brilliant glow.
How to Charge and Maintain Your Glow
The “glow” effect in your nails relies on light activation. Think of it like a glow stick – it needs to be “recharged” to keep shining!
Charging Your Nails:
- Sunlight: The strongest and most effective way to charge your glow nails is by exposing them to direct sunlight. A few minutes can provide a good, long-lasting glow.
- Bright Artificial Light: A strong desk lamp, a UV/LED lamp (especially if using gel polish), or even a bright overhead light can also charge your nails.
- Recharge as Needed: The glow will naturally fade over time as the stored energy is released. Simply expose your nails to a light source again to reactivate them. This is easy to do throughout the day or evening.
Maintaining Your Glow:
- Protect Your Top Coat: As mentioned, a good top coat is your best friend. It shields the polish and the glow pigments from chipping and fading. Reapply the top coat every couple of days if needed.
- Wear Gloves for Chores: Protect your manicure from harsh chemicals and prolonged water exposure by wearing rubber gloves when cleaning, washing dishes, or doing gardening.
- Avoid Excessive Filing: When touching up or re-filing, be gentle. Aggressively filing can remove the top coat or even damage the layers of polish, reducing the glow’s longevity.
Troubleshooting Common Glow Nail Issues
Even with the best intentions, you might run into a few minor hiccups. Here’s how to fix them:
- “My nails aren’t glowing enough!”
- Cause: Insufficient charging time, weak light source, or polish formula.
- Solution: Try charging under direct sunlight for 5-10 minutes. Ensure you’ve applied at least two thin coats of the glow polish. If using a regular polish, consider using a white base color first to make the glow pop. Some formulas are just less potent, so might need a trusted brand.
- “The glow fades too quickly!”
- Cause: Top coat isn’t sealed properly, or the polish is old.
- Solution: Ensure your top coat is fully dry and covers the entire nail, including the free edge. Reapply a fresh layer of top coat every 2-3 days. If the polish is very old, the pigments might have degraded.
- “My polish is clumpy or streaky.”