Turn your nails into a nighttime spectacle with stunning glow in the dark nail design ideas! Perfect for beginners, these easy and fun looks will light up any occasion, making your manicure truly unforgettable.
Ever wish your nails could do more than just look pretty? Imagine them lighting up a party, adding a pop of magic to your evening, or simply making you smile when the lights go down. That’s the magic of glow-in-the-dark nail designs! It’s a super fun way to express yourself, and guess what? It’s totally achievable, even if you’re new to nail art.
Sometimes, nail trends can feel a bit intimidating, right? But with glow-in-the-dark polish, you don’t need to be a pro to create looks that truly shine. We’re going to dive into some amazing ideas that are easy to do at home, along with everything you need to know to get started. Get ready to discover how to make your nails the life of the party!
Unlock Your Inner Glow: Beginner-Friendly Glow in the Dark Nail Design Ideas
Glow-in-the-dark nails are the ultimate accessory for anyone who loves to have fun and stand out. Whether you’re heading to a concert, a party, or just want to add a touch of magic to your everyday, these designs are surprisingly simple to create. Let’s explore some dazzling ideas that are perfect for nail enthusiasts of all levels!
Why Glow-in-the-Dark Nails Are a Must-Try
These aren’t just any nail polishes; they’re little jars of enchantment! They absorb light during the day (or under a lamp) and then release it as a beautiful, often vibrant, glow once the lights are dimmed. This effect is perfect for adding a surprise element to any outfit or occasion. It’s a playful way to experiment with your style and add a unique flair that’s sure to get noticed.
Essential Tools for Your Glow-Up
Don’t worry, you don’t need a professional nail salon setup to achieve these glowing looks. A few key items will set you up for success:
- Glow-in-the-Dark Nail Polish: The star of the show! You can find these in a variety of colors, from neon pinks and greens to electric blues and whites. Some are more subtle in daylight and pop more at night, while others are bright all day.
- Base Coat: This protects your natural nails and helps your polish adhere better.
- Top Coat: Seals your design, adds shine, and helps it last longer.
- Nail File and Buffer: For shaping and smoothing your nails.
- Cuticle Pusher: To gently care for your cuticles.
- Lint-Free Wipes: For a clean application surface.
- Optional: Dotting Tools, Thin Brushes, or Toothpicks: For creating simple patterns and details.
The Building Blocks: Preparing Your Nails
Before we get to the fun designs, a little prep goes a long way for a smooth, long-lasting manicure. Follow these simple steps:
- Cleanse: Start with clean, dry nails. Remove any old polish with a nail polish remover.
- Shape: Gently file your nails to your desired shape.
- Buff: Lightly buff the surface of your nails to create a smooth canvas.
- Cuticle Care: Push back your cuticles gently.
- Clean Again: Wipe your nails with a lint-free wipe to remove any dust.
- Base Coat: Apply one thin layer of base coat and let it dry completely. This step is crucial for protecting your nails and ensuring your glow polish adheres well.
Stunning Glow-in-the-Dark Nail Design Ideas for Everyone
Now for the exciting part! Here are some simple yet impactful designs that anyone can try:
1. The Solid Glow Statement
Description: This is the easiest way to rock glow-in-the-dark nails! Apply one or two coats of your chosen glow polish over your base coat. The bolder the color, the more striking the effect.
Why it works for beginners: It requires no special skills beyond basic polish application. It’s chic, simple, and lets the glow do all the talking.
Pro-Tip: For a more intense glow, apply your glow polish over a white base coat. White acts as a bright canvas, making the glow pigment more prominent.
2. Dotted with Delight
Description: Add a playful touch to your solid glow base or even your natural nails. Use a dotting tool, the tip of a toothpick, or even the end of a bobby pin to create small, evenly spaced dots. You can use a contrasting glow color or the same color for a subtle effect.
Why it works for beginners: Creating dots is incredibly easy and forgiving. You can make them as perfect or as whimsical as you like.
Get the look:
- Apply a base coat and let it dry.
- Apply one or two coats of your main polish (can be a solid color or a glow polish).
- Dip your dotting tool in a glow-in-the-dark polish.
- Gently press the tool onto your nail to create dots. Experiment with spacing and size.
- Let dry completely, then add a top coat.
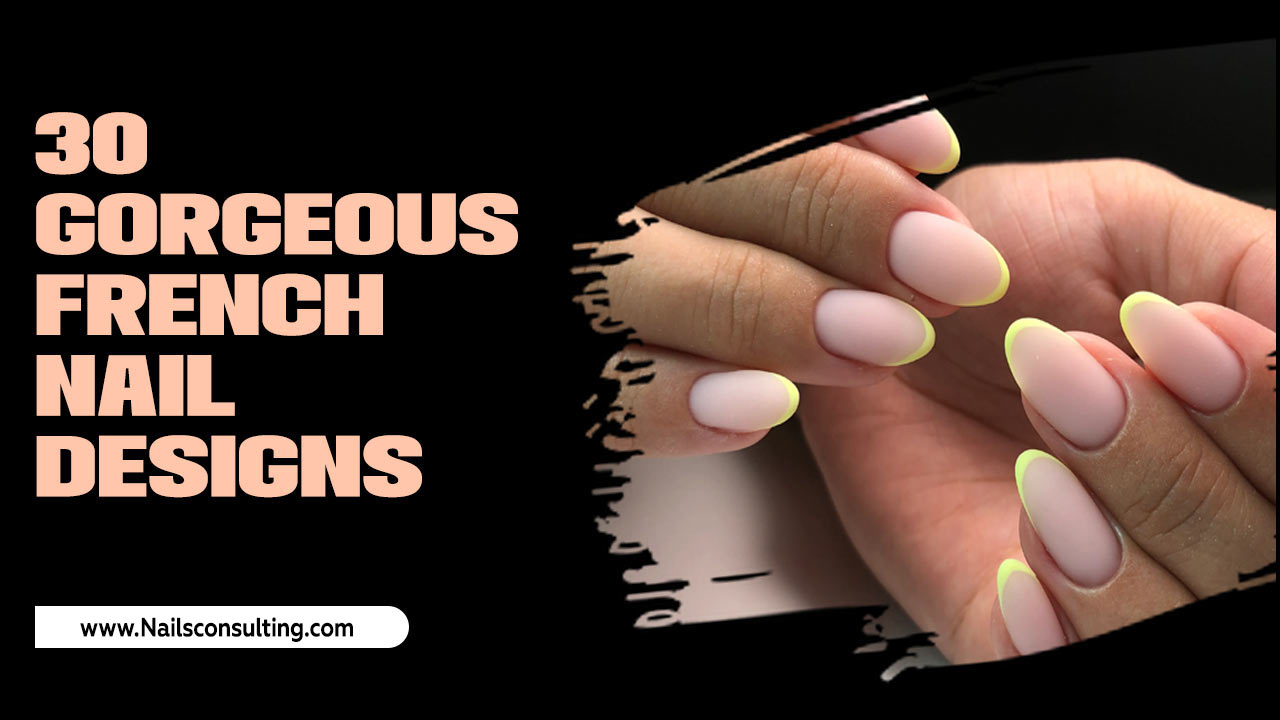
3. The French Tip Twist
Description: Give the classic French manicure a glowing update! Instead of white tips, use a vibrant glow-in-the-dark polish for the tips. This creates a subtle glow that’s apparent in the dark, adding a fun surprise to a sophisticated look.
Why it works for beginners: While French tips can be tricky, focusing just on the tips with a glow polish is more forgiving. You can freehand it or use guide stickers if you prefer precision.
Get the look:
- Apply base coat and let it dry.
- Apply a sheer nude or light pink polish if desired, or just proceed to the tips.
- Carefully paint a thin line of glow-in-the-dark polish across the tip of each nail.
- Allow to dry, then apply a top coat.
4. Ombre Glow Dreams
Description: Transition your nails through a gradient of color that glows! You can blend two glow polish colors together, or blend a regular polish with a glow polish. A sponge is your best friend here.
Why it works for beginners: The sponge technique is very forgiving and creates a blended effect that hides any imperfections.
Get the look: Use a makeup sponge or a dry kitchen sponge. Apply two contrasting glow polishes (or one regular and one glow polish) side-by-side on a piece of foil. Dab the colors onto the sponge, then gently press the sponge onto your nail, rocking it slightly to blend the colors. Repeat for opacity, letting each layer dry slightly. Clean up the edges and apply a top coat.
5. Starry Night Sparkle
Description: Create a mesmerizing night sky on your nails! Use a dark blue or black base polish. Once dry, use a fine brush dipped in white or yellow glow polish to create small dots and specks, mimicking stars. You can add larger dots for a brighter glow effect.
Why it works for beginners: Creating tiny speckles is much easier than drawing intricate patterns. The imperfect, random nature of stars makes this forgiving.
Get the look:
- Apply base coat.
- Apply one or two coats of dark polish (e.g., navy blue, black).
- Once dry, dip a fine brush into a white or yellow glow polish.
- Lightly flick the brush or gently dab to create tiny dots and specks across the nail.
- Add a few slightly larger dots if you like.
- Seal with a top coat.
6. Geometric Glow Accents
Description: Use tape or stencils to create sharp, clean geometric shapes with glow-in-the-dark polish. Think stripes, triangles, or chevrons. You can make the geometric shapes the accent or use them over a solid base color.
Why it works for beginners: Stencils and tape do the hard work of creating clean lines for you. It’s a great way to achieve a professional look with minimal fuss.
Get the look:
- Apply a base coat and your desired base color. Let it dry completely.
- Apply nail art tape or stencils to create your desired geometric design. Ensure the tape is pressed down firmly to prevent polish bleeding.
- Apply glow-in-the-dark polish over the taped areas.
- Carefully remove the tape while the polish is still slightly wet.
- Let dry, then apply a top coat.
Choosing Your Glow: A Quick Guide to Polish Types
Not all glow polishes are created equal! Understanding the differences can help you pick the best one for your desired effect.
| Type of Glow Polish | Daytime Appearance | Glow Intensity | Best For |
|---|---|---|---|
| Neon Glow | Bright, vibrant neon colors (pink, green, orange) | High – very noticeable glow | Bold statements, parties, festivals |
| Subtle Glow | Pastel or light colors, sometimes clear | Moderate – a soft, ethereal glow | Everyday wear with a hint of magic, delicate designs |
| Dual-Chrome Glow | Shimmery or metallic finish in daylight | Varies, can be quite strong | Adding complexity and visual interest |
| Glow Top Coat | Clear or a very light shimmer | Can be layered over any polish for a glowing effect | Experimenting with existing polishes, adding glow to any look |
Maximizing Your Glow: Tips and Tricks
Want your glow to be as bright and long-lasting as possible? Here are some expert secrets:
- Charge Up: Expose your freshly polished nails to a bright light source (sunlight or a strong lamp) for a few minutes before heading into darkness. The longer the “charge,” the brighter and longer the glow.
- Layering is Key: For solid glow looks, apply 2-3 thin coats rather than one thick one. This builds up the glow pigment for maximum impact.
- White Base is Your Friend: As mentioned, a white base coat will significantly boost the brightness of most glow-in-the-dark polishes.
- Avoid Oil-Based Products: Some cuticle oils or lotions can break down nail polish. Apply them after your top coat is fully dry.
- Seal it Tight: Always finish with a good quality top coat. This not only adds shine but also protects your design and helps “lock in” the glow effect.
Where to Find Amazing Glow-in-the-Dark Polishes
You’re in luck! Glow-in-the-dark nail polishes are becoming more widely available. You can find them at:
- Drugstores and Beauty Supply Stores: Many popular nail polish brands now carry glow-in-the-dark options, especially in their seasonal or novelty lines.
- Online Retailers: Websites like Amazon, Etsy, and dedicated beauty supply sites offer a vast selection, including indie brands with unique glow pigments.
- Specialty Nail Art Shops: If you’re serious about nail art, these shops often stock professional-grade glow powders and polishes.
When purchasing, read reviews to gauge the brightness and longevity of the glow. Some pigments are more potent than others!
Beyond Polish: Glow Powders and Effects
For those who fall in love with the glow effect and want to experiment further, consider glow-in-the-dark acrylic powders or dip powders. These can be mixed into clear acrylic or gel overlays for a more durable, encapsulated glow that lasts for weeks. You can also find loose glow pigments that can be applied with a brush or incorporated into gel polish for custom creations.
If you’re interested in the science behind pigments that glow, you can look into phosphorescent materials. These are substances that absorb and store light energy and then emit it slowly over time, creating the glow effect. Understanding how pigments like zinc sulfide or strontium aluminate work can be fascinating for any DIYer!
Frequently Asked Questions About Glow-in-the-Dark Nails
Q1: Are glow-in-the-dark nail polishes safe for my natural nails?
A1: Yes, most glow-in-the-dark nail polishes are formulated with the same ingredients as regular polishes and are safe to use. Always use a base coat to protect your natural nails from staining and drying out. Removing polish gently is also key!
Q2: How long do glow-in-the-dark nails last?
A2: The glow effect typically lasts for a few hours after being exposed to light. The polish itself, with a good top coat, can last 1-2 weeks depending on your activities and nail care habits.
Q3: Do glow-in-the-dark nail polishes need special lights to charge?
A3: No, they charge under any light source, but brighter lights like direct sunlight or a UV lamp will charge them faster and make them glow brighter. Regular indoor lighting works too, but might give a subtler glow.
Q4: Can I mix glow-in-the-dark polish with regular top coat?
A4: You can, but it might dilute the glow effect of the polish. It’s usually best to apply the glow polish directly and then seal it with a clear, non-glow top coat. Some brands also offer glow top coats!
Q5: How do I achieve the brightest glow possible?
A5: To get the brightest glow, apply your glow polish over a white or light-colored base coat. Ensure the polish pigment is concentrated (use 2-3 thin coats) and “charge” your nails under a strong light source before going into darkness.
Q6: Can children use glow-in-the-dark nail polish?
A6: Many glow polishes are marketed as non-toxic and water-based, making them safer options for children. However, always check the product’s label for age recommendations and ingredients. Adult supervision is advised during application.
Conclusion: Shine On with Your Amazing Glow Nails!
There you have it – a whole universe of stunning, beginner-friendly glow-in-the-dark nail design ideas! From simple solid colors to creative starry nights and geometric accents, there’s a look to suit every mood and occasion. Remember, the most important thing is to have fun with it, experiment, and let your creativity shine.
Nail art should be an enjoyable way to express yourself, and glow-in-the-dark polishes make it incredibly accessible and exciting. Gather your tools, pick your favorite colors, and get ready to light up the night. Your nails are about to become your coolest accessory, and we can’t wait to see how brilliantly you shine!


