Glossy nail art is all about achieving a high-shine, polished finish that makes your designs pop. This guide breaks down the essential techniques and tools for creating stunning, mirror-like manicures at home, even if you’re a beginner. Get ready to elevate your nail game!
Dreaming of nails that gleam like polished jewels? Achieving that irresistible glossy finish can feel like a secret only pros know, but it’s totally within reach! Many of us have struggled with dull finishes or designs that just don’t shine as bright as we imagined. Don’t worry, you’re not alone! This guide is here to demystify the art of glossy nails. We’ll walk you through the simple, step-by-step techniques and essential tools you need to transform your nails into dazzling works of art. Get ready to discover how easy it is to get that salon-worthy shine right at your fingertips!
Glossy Nail Art: Your Beginner’s Toolkit
Welcome to the exciting world of glossy nail art! Before we dive into creating stunning designs, let’s get you acquainted with your essential toolkit. Think of these as your magic wands for achieving that perfect, high-shine finish. You don’t need a ton of fancy gadgets to start; a few key items will set you up for success. Having the right tools makes all the difference, turning a potentially frustrating process into a fun and rewarding creative session.
Must-Have Tools for Glossy Nails
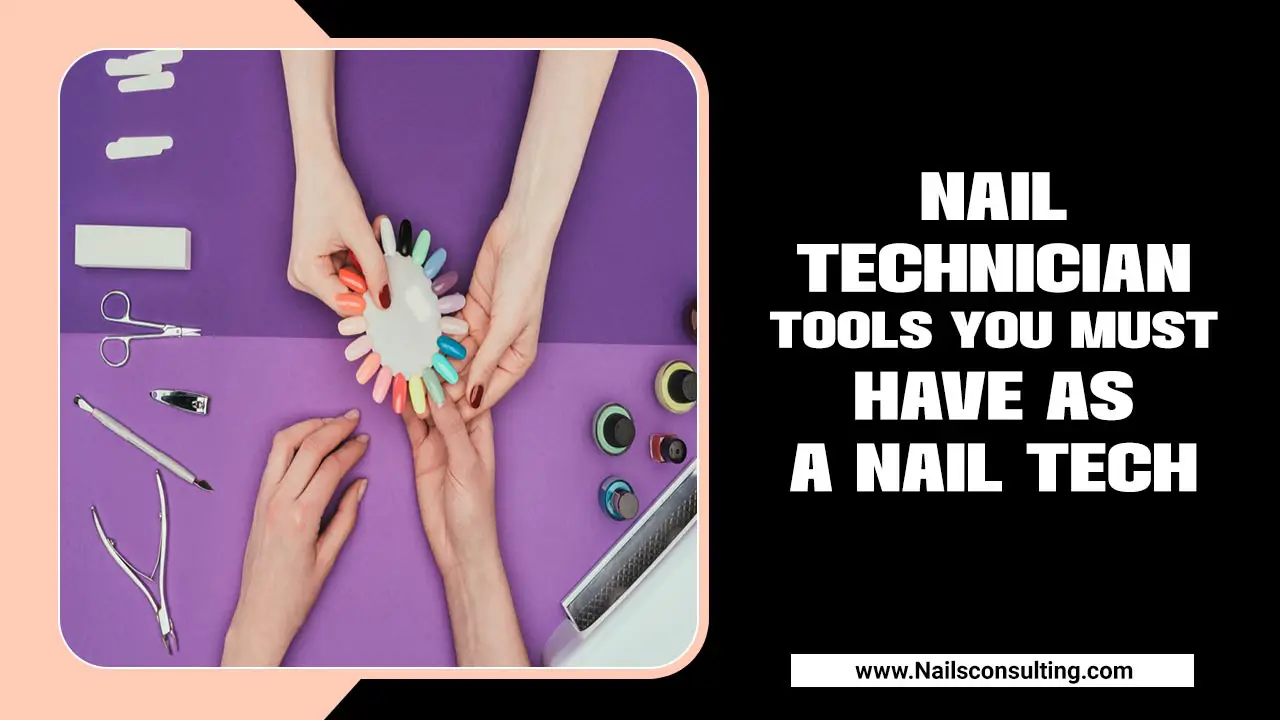
Having the right gear makes all the difference when you’re aiming for that perfect glassy shine. Here’s what you’ll want to have on hand:
- Base Coat: This is your nail’s best friend! It smooths out imperfections, helps your polish adhere better, and protects your natural nails from staining.
- Color Polish: Choose your favorite shades! Gel polishes tend to offer a more durable and intensely glossy finish than traditional polishes, but regular polishes can also achieve a beautiful sheen.
- Top Coat: The absolute star of the show for glossiness! A good top coat seals your design, adds incredible shine, and protects against chips. Look for “high-shine” or “gel-like” formulas.
- Nail File: For shaping your nails to perfection. A smooth edge helps your polish apply evenly.
- Buffer: A multi-sided buffer is great for smoothing the nail surface before applying polish.
- Cuticle Pusher/Orange Stick: To gently push back your cuticles for a clean canvas.
- Lint-Free Wipes: Essential for removing dust and oil without leaving fuzzy bits behind.
- Rubbing Alcohol or Nail Prep Dehydrator: To ensure your nails are clean and oil-free for maximum polish adhesion. A clean nail surface is key to a long-lasting gloss.
- UV/LED Lamp: If you’re using gel polish, this is non-negotiable. It cures (hardens) the gel polish and top coat, creating that super durable, glossy finish. They are widely available online from retailers like Amazon.
- Dotting Tools or Fine Detail Brushes: For creating simple, yet effective nail art designs that will look amazing with a glossy finish.
Choosing Your Polish: Regular vs. Gel
When it comes to achieving that coveted glossy sheen, both regular nail polish and gel polish have their pros and cons. Understanding the differences can help you choose the best option for your desired look and lifestyle.
| Feature | Regular Nail Polish | Gel Nail Polish |
|---|---|---|
| Glossiness/Shine | Good, but can dull over time. Needs a high-shine top coat. | Exceptional, mirror-like shine that lasts. |
| Durability | Prone to chipping and scratching within a few days. | Very durable, resistant to chipping and scratching for 2-3 weeks. |
| Application Process | Simple: base coat, color coats, top coat. Air dries. | Requires base coat, color coats, top coat, and curing under a UV/LED lamp after each step. |
| Removal | Easy with standard nail polish remover. | Requires acetone soak or specific gel polish remover, can be more time-consuming. |
| Tools Needed | Polish, remover, cotton pads. | Polish, remover, UV/LED lamp, file, buffer, lint-free wipes. |
| Best For | Quick color changes, experimenting, those without a lamp. | Long-lasting manicures, high-impact shine, intricate designs. |
For beginners who want to experiment without a big initial investment, regular polish is a fantastic start. You can achieve a beautiful gloss with a high-quality top coat and a bit of care. If you’re after that super-shiny, chip-proof finish that lasts for weeks, investing in a gel polish kit is definitely the way to go!
The Foundation: Prepping Your Nails for Gloss
Think of nail prep as setting the stage for a dazzling performance. A flawless glossy finish starts with perfectly prepared nails. Skipping this crucial step is like trying to paint a masterpiece on a dirty canvas – it just won’t look as vibrant or last as long. Proper preparation ensures your polish adheres beautifully and your shine stays brilliant. Let’s get those nails ready to shine!
Step-by-Step Nail Prep
Get ready to create the perfect canvas for your glossy nail art. Follow these simple steps:
-
Remove Old Polish: If you have any old polish on, gently remove it with a non-acetone remover on a cotton pad. Non-acetone is a bit gentler on your nails.
-
Shape Your Nails: Use a nail file to shape your nails. File in one direction to prevent weakening the nail. Aim for a smooth edge; rough edges can make polish application uneven.
-
Buff the Surface: Gently buff the surface of your nails with a buffer. This smooths out any ridges and helps the base coat grip better. Don’t over-buff, or you could thin your nails.
-
Push Back Cuticles: Use a cuticle pusher or an orange stick to gently push back your cuticles. This creates a clean nail bed for polish application, making your manicure look neat and professional.
Pro Tip: Never cut your cuticles! They protect your nail matrix from infection. Gently pushing them back is the safest and most effective method.
-
Cleanse and Dehydrate: This is SUPER important for longevity and shine. Wipe each nail thoroughly with rubbing alcohol or a nail dehydrator using a lint-free wipe. This removes any oils or residue that could prevent your polish from sticking properly. Ensure nails are completely dry before moving on.
Once your nails are prepped, they’re ready for the magic of color and shine to begin!
Achieving the Ultimate Gloss: Essential Techniques
Now for the fun part – creating that enviable glossy finish! It’s all about applying your polish correctly and choosing the right products. Don’t worry if your first attempt isn’t salon-perfect; practice makes progress, and you’ll quickly get the hang of it. We’ll cover the key techniques to ensure your nails look their glossiest.
The Art of Polish Application
Applying nail polish smoothly is the secret to a professional-looking, glossy finish. Here’s how to do it right:
-
Apply Base Coat: Start with a thin, even layer of your base coat. This protects your nails and creates a smooth surface. Let it dry completely.
-
First Color Coat:
- Dip your brush into the polish, but don’t overload it. Wipe one side of the brush on the bottle neck to remove excess polish.
- Start with a stroke down the center of your nail, from cuticle to free edge.
- Follow with two more strokes: one on each side of the center stroke, from cuticle to free edge.
- Aim to cover the nail in three strokes. Avoid flooding the cuticle area.
- The goal is a thin, even coat. Don’t worry if it’s not fully opaque yet; the second coat will perfect it.
-
Second Color Coat: Apply a second thin, even coat, following the same three-stroke method. This coat should provide full, opaque coverage and enhance the shine. Let this coat dry until it’s no longer gummy to the touch, especially if using regular polish.
-
Tackling Streaks and Bubbles: If you notice streaks, wait a moment for the polish to slightly thicken before applying the next stroke. For bubbles, it often means the polish is too thick or applied too quickly. Try using thinner coats and letting them dry a bit more between applications.
The Power of Top Coat
The top coat is your magical finisher, sealing in your color and adding that irresistible shine that defines glossy nail art. It’s the step that truly elevates your manicure.
-
Ensure Polish is Dry (or Cured for Gel): For regular polish, wait until the color coats are dry to the touch but not fully hardened. For gel, ensure it’s properly cured under your lamp according to product instructions.
-
Apply Generously: Apply a generous, but not goopy, layer of your high-shine top coat. Go from cuticle to free edge, just like with your color coats.
-
Cap the Free Edge: This is a key trick for preventing tip wear and extending the life of your manicure. Drag the brush lightly along the very edge of your nail (the tip that you can see from the front).
-
Cure (for Gel): If you’re using a gel top coat, cure it under your UV/LED lamp according to the manufacturer’s instructions. This hardens the top coat, locking in the gloss and durability.
-
Remove Tackiness (if applicable): Some gel top coats leave a sticky “inhibitory layer” after curing. Gently wipe this off with a lint-free wipe soaked in rubbing alcohol or a dedicated gel cleanser.
Using a high-quality, fast-drying top coat for regular polish or a dedicated gel top coat will give you that stunning, mirror-like finish that lasts!
Glossy Nail Art Designs for Beginners
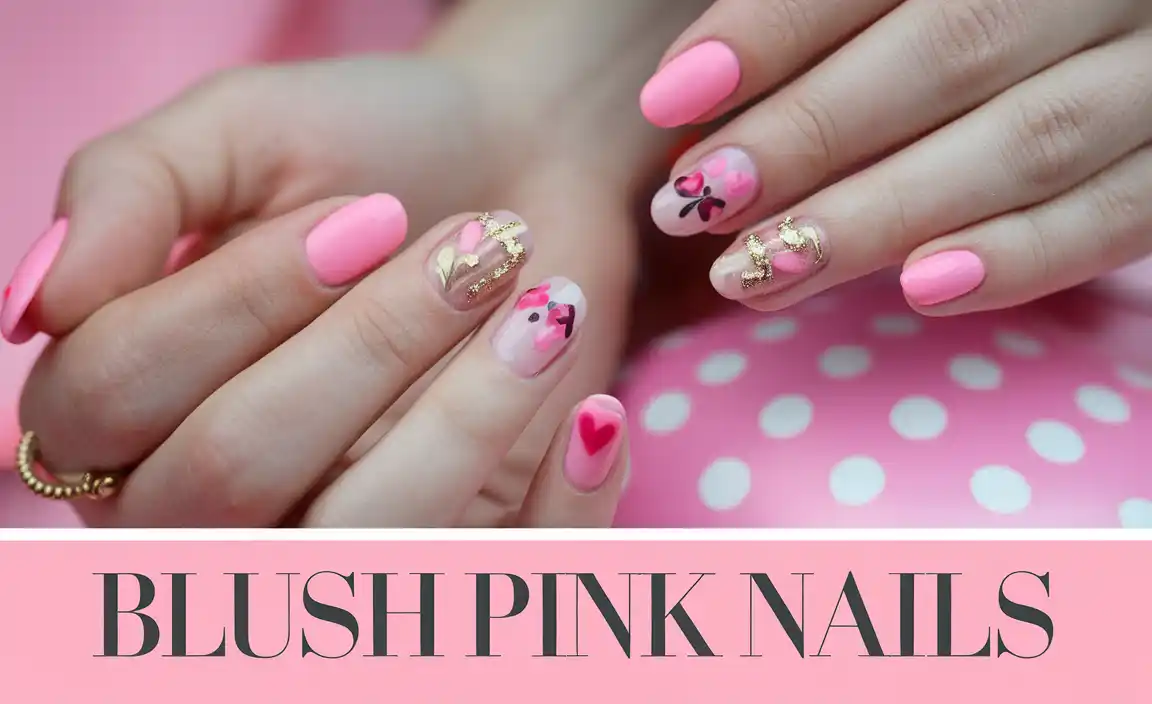
Once you’ve mastered the art of achieving a glossy base, you’re ready to add some flair! The beauty of glossy nails is that even the simplest designs look incredibly chic and polished. You don’t need to be a Picasso to create something stunning. Let’s explore some easy yet impactful design ideas that will make your glossy nails the star of the show.
Simple & Chic Glossy Looks
These designs are perfect for easing into nail art while maximizing that beautiful glossy shine.
-
The Classic Gloss: Sometimes, all you need is a single, perfect color polished to a high gloss. Choose a bold shade like deep red, emerald green, or a classic nude. The shine does all the talking!
-
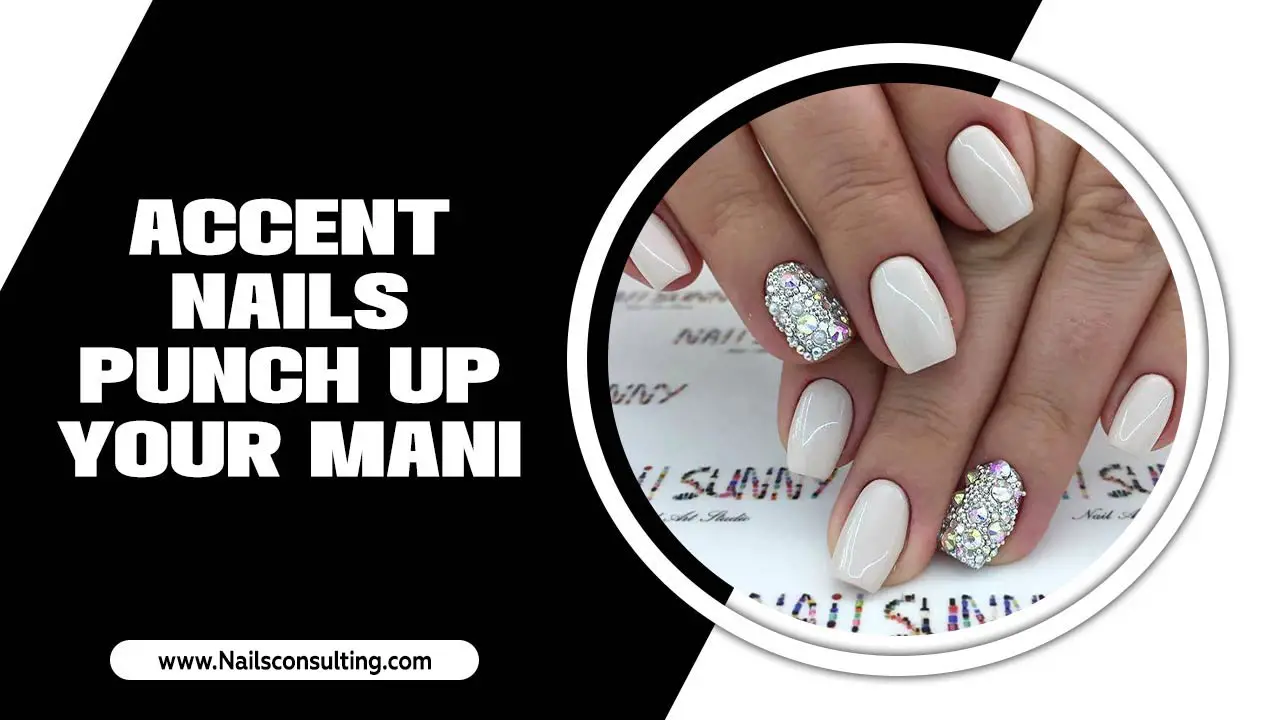
Accent Nail Magic: Paint all nails with your chosen glossy color, then use a contrasting or complementary shade for one accent nail (usually the ring finger). You can do a solid color, or add a simple stripe or dot to the accent nail for a little extra interest.
-
Subtle Sparkle: After applying two coats of your glossy color and before your top coat, try adding a single strip of fine glitter tape or a few scattered glitter particles over one or two nails. Seal everything with your top coat for a touch of glamour.
-
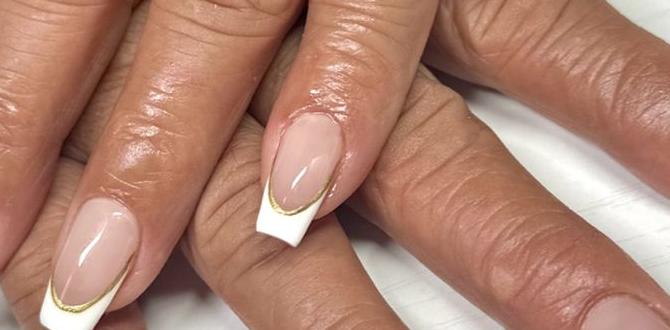
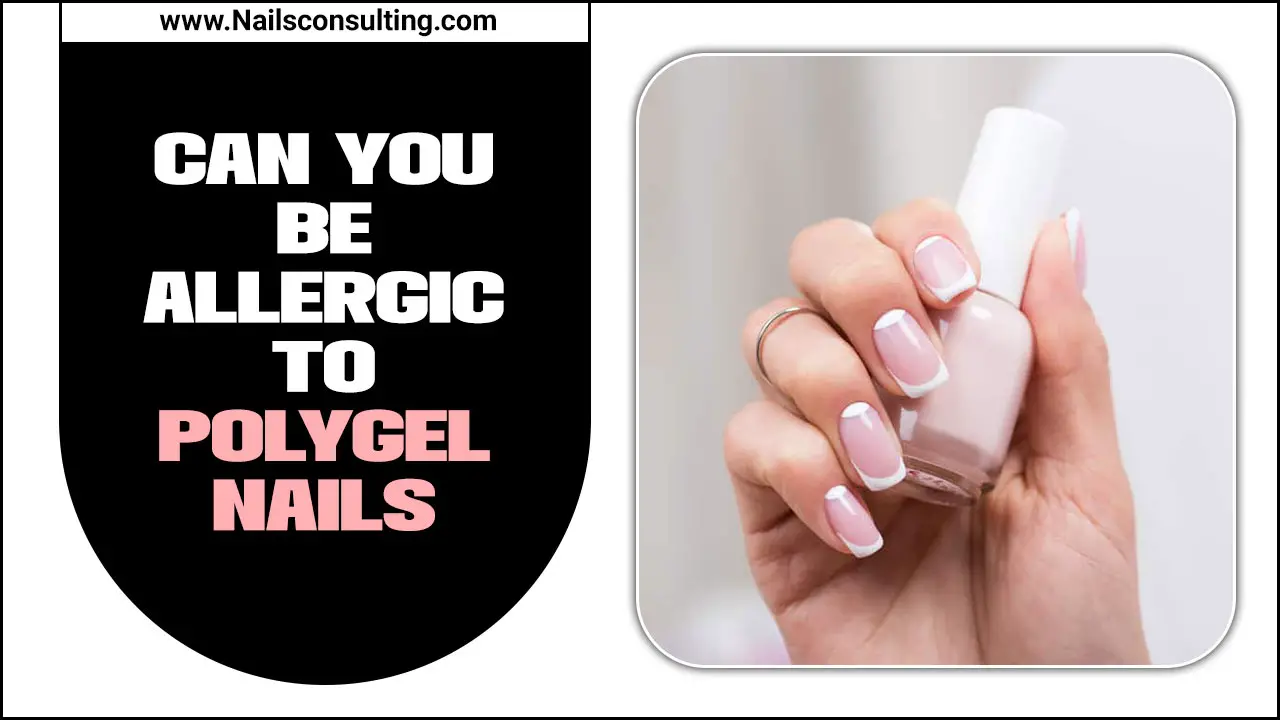
The French Gloss: A modern twist on the classic French manicure. Use a nude or sheer pink base, and then apply a crisp, glossy white or colored tip. The sharp contrast with the glossy finish looks so sleek.
-
Minimalist Dots: After applying your base color and top coat (or on top of a cured gel color before the final top coat), use a dotting tool to add a few small dots in a corner or along the cuticle line. You can use a metallic polish for the dots for an extra touch of luxury.
Don’t be afraid to experiment! The key is to start simple and build your confidence. Almost any design will look fantastic with that high-shine finish.
Adding Gloss to Nail Art Elements
Want to add depth and dimension to your nail art? Glossy finishes can make even the simplest elements pop!
-
Glossy Stripes: Use striping tape to create sharp, clean lines. Apply your base color, apply tape, paint over it with a contrasting color, carefully remove tape while polish is still wet (or after curing gel). Then, finish with a generous top coat over the entire nail.
-
Geometric Shapes: Similar to stripes, use tape to create geometric patterns (triangles, squares). Paint within the taped-off areas. The crisp lines and glossy finish create a modern, sophisticated look.
-
Marble Effect: Achieve a marbled look by swirling two or three colors together on your nail using a wet-on-wet technique with regular polish, or by layering colors and using a brush dipped in alcohol/cleaner for gel. A glossy top coat will make the swirls incredibly vibrant and deep.
-
Ombre Shine: Blend two colors seamlessly for an ombre effect. Use a makeup sponge to dab and blend the colors. A glossy top coat smooths out the transition and makes the colors look like they’re glowing.
-
3D Elements: For more advanced techniques, consider using 3D nail art elements like rhinestones, pearls, or charms. Apply them to wet gel polish or a strong nail glue, then carefully build gel top coat around them to secure them and create a smooth, glossy surface that encases the embellishments.
Remember, the gloss is the unifying factor here. It brings all the colors and elements together into a cohesive, high-shine masterpiece.
Maintaining Your Glossy Manicure
You’ve worked hard to achieve those stunning glossy nails, so let’s make them last! Proper care will keep your manicure looking fresh and your shine dazzling for as long as possible. It’s all about a few simple habits and being mindful of what your hands are doing.
Tips for Longevity
Keep that glass-like shine going with these maintenance tips:
-
Reapply Top Coat: Every 2-3 days, gently buff your nails with a fine grit buffer and reapply a thin layer of your high-shine top coat. This refreshes the shine and adds an extra protective layer.

