Gem nail art adds dazzling sparkle and intricate designs to your manicure, making your nails look like precious jewels. This guide breaks down essential stunning gem nail art designs, tools, and beginner-friendly techniques to help you create professional-looking, sparkly nails at home.
Dreaming of nails that shimmer and sparkle like a treasure chest? Gem nail art might seem complicated, but achieving those stunning, jeweled looks is totally doable for beginners! Sometimes, we get frustrated when our nail art doesn’t turn out quite like we imagined, especially with fiddly bits like gems. But don’t worry! With the right approach and a few simple tips, you can transform your nails into tiny works of art that catch everyone’s eye. Ready to add some serious bling to your fingertips? Let’s dive into the sparkly world of gem nail art!
What is Gem Nail Art?
Gem nail art is all about adorning your nails with small decorative elements that resemble gemstones. These can range from tiny rhinestones and crystals to larger, more elaborate charms and pearls. The goal is to elevate a basic manicure into something extraordinary, adding texture, shine, and a touch of luxury. Think of it as adding the perfect accessories to your outfit—but for your nails!
Why Choose Gem Nail Art?
Gem nail art is incredibly versatile and offers a unique way to express your style. Here’s why it’s a fantastic choice:
- Instant Glamour: A few well-placed gems can transform a simple polish color into a show-stopping look.
- Personalization: You can customize your designs with different colors, shapes, and sizes of gems to match your mood, outfit, or occasion.
- Eye-Catching: Gem nails are guaranteed to get attention and compliments. They’re perfect for special events, holidays, or just when you want to feel a little extra special.
- Beginner-Friendly Options: Many gem nail art techniques are surprisingly easy to master, making them accessible even if you’re new to nail art.
- Variety of Styles: From minimalist single gem accents to full-blown glitter and gem mosaics, there’s a gem nail art style for everyone.
Essential Tools for Gem Nail Art
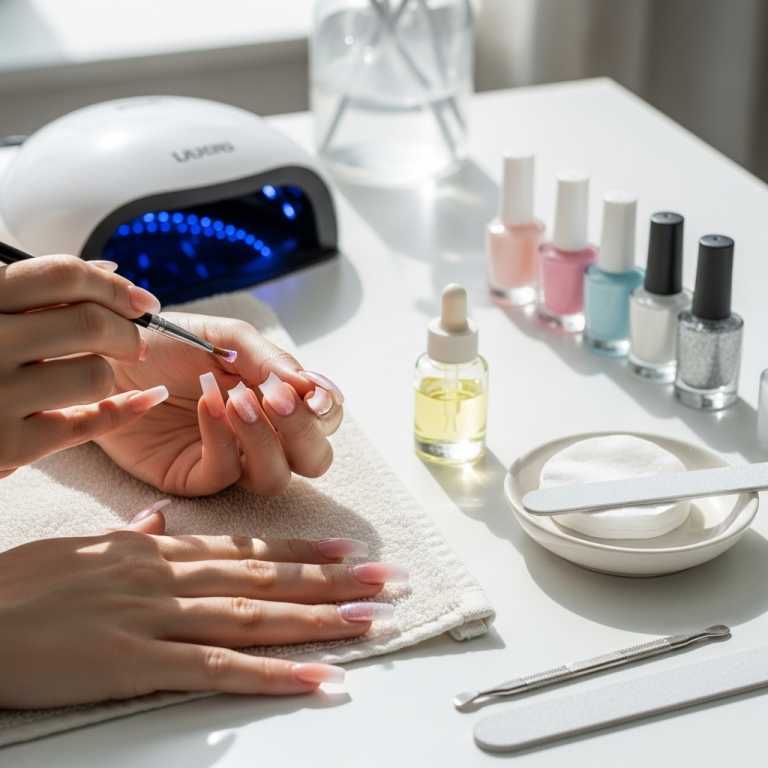
Before you start sticking gems, having the right tools makes all the difference. You don’t need a professional salon setup; a few key items will get you started:
1. Base Coat and Top Coat
These are non-negotiable! A good base coat protects your natural nails and helps polish adhere better. A durable top coat seals in your design (including the gems!) and provides a glossy finish that lasts.
Pro Tip: For gem art, consider a thicker, more robust top coat if you can find one, as it helps to encapsulate the gems and prevent them from snagging. Ensure your gems are fully covered without losing their sparkle.
2. Nail Polish or Gel Polish
Choose your favorite colors! Whether you prefer classic creme polishes or long-lasting gel polishes, these form the canvas for your gem art.
Gel polish is often preferred for gem nail art because its sticky inhibition layer (the tacky surface left after curing) can help diamonds adhere securely. Plus, gel polish is generally more durable.
3. Gems and Embellishments
This is where the fun begins! You’ll find an endless variety:
- Rhinestones: The classic choice, available in various sizes, shapes (round, oval, square, teardrop), and AB (Aurora Borealis) finishes for extra shimmer.
- Crystals: Often cut with more facets for superior sparkle, similar to real gemstones.
- Pearls: Add a sophisticated, classic touch.
- Studs and Charms: Metal embellishments with unique shapes like hearts, stars, or bows.
- Glitter: Fine or chunky glitter can be used alone or as a base for gems.
You can find gem kits online or at beauty supply stores. Look for assortments that offer a good mix of sizes and styles to experiment with.
4. Application Tools
Precision is key when placing small gems. Here are your best friends:
- Tweezers: Fine-tipped, pointed tweezers are essential for picking up and precisely placing small gems.
- Wax Pencil / Dotting Tool with Wax Tip: These tools have a sticky tip designed to pick up small rhinestones and place them accurately. All you need is a bit of pressure. Some creative folks even use the tip of an orange stick or a slightly dampened paintbrush.
- Dotting Tools: These have various sized metal balls at the end, perfect for applying small dots of nail glue or polish to secure gems, or for picking up and placing larger embellishments.
5. Nail Glue or Strong Top Coat/Gel Builder
How will you make those gems stick? You have a few options:
- Nail Glue: A small amount is often enough to secure individual gems. Use sparingly to avoid a messy look.
- Your Top Coat or Builder Gel: For gems applied onto wet polish or gel, your top coat (for regular polish) or a sticky inhibition layer of uncured gel can hold them in place. For a super secure hold, especially with heavier gems, a tiny bead of builder gel cured under a UV/LED lamp is the strongest option. Think of builder gel as a super-strong, clear adhesive.
External Resource: For more on nail care basics, including the importance of base and top coats, the U.S. Food & Drug Administration (FDA) offers consumer information on cosmetics, which covers nail products.
Essential Stunning Gem Nail Art Designs for Beginners
Let’s get creative! Here are some easy-to-achieve gem nail art designs that look incredibly chic:
1. The Single Gem Accent
This is the ultimate beginner-friendly design and a classic for a reason. It’s elegant, subtle, and requires minimal effort.
How-To:
- Apply your base coat, followed by 1-2 coats of your chosen nail polish color. Let it dry completely, or if using gel, cure and wipe off the inhibition layer.
- Apply a small dot of your top coat (or nail glue/builder gel if you want extra security) to the nail where you want your gem. You can place it on the cuticle line, the center, or the tip.
- Using your wax pencil or tweezers, pick up a single gem (a medium-sized rhinestone or a small pearl works beautifully) and carefully place it onto the dot of polish/glue.
- Gently press down to secure.
- For extra longevity, carefully apply a thin layer of top coat around the gem, being careful not to flood the stone and dull its shine. If using gel, carefully apply a tiny bit of builder gel or top coat around the gem and cure.
Variations: Try a different gem on each accent nail (e.g., ring finger), or place a small gem at the base of every nail.
2. The Gem Outline
This design uses small gems to create a subtle frame or accent line on your nail. It’s sophisticated and draws attention to the shape of your nail.
How-To:
- Apply your base coat and nail polish. Ensure the polish is fully dry or cured.
- Decide where you want your outline: along the free edge (tip), around the cuticle, or creating a diagonal line across the nail.
- Apply a thin line of nail glue or builder gel along the path where you want to place your gems. If using regular polish, you can sometimes get away with placing gems directly into a wet top coat, but glue/builder gel offers more security.
- Using your wax pencil or tweezers, pick up tiny gems (often the smallest size rhinestones work best) and
carefully place them one by one along the line of glue/gel. - Once all gems are placed, allow the glue/gel to dry/cure completely.
- Carefully apply a thin layer of top coat around the gems to seal them in. Again, avoid flooding the gems.
Variations: Outline only the smile line of a French tip, trace the cuticle, or create a geometric design.
3. The Gem Cluster / Gradient
This trend involves graduating the size of gems or creating a beautiful cluster. It looks intricate but is quite manageable.
How-To:
- Start with your polished nails (dry or cured).
- Apply small dots of nail glue or builder gel in the pattern you want. For a cluster, start with a larger dot and build outwards. For a gradient, start with a larger area of glue/gel at one end (e.g., the cuticle) and gradually taper it down.
- Using your wax pencil or tweezers, begin placing your gems. For a gradient, start with the largest gems at the widest part of your glue/gel application and gradually move to smaller gems as you taper. For a cluster, arrange different sizes around a central point.
- Continue placing gems until you achieve your desired look. Don’t be afraid to mix shapes and sizes within the cluster for added interest.
- Once complete, let the glue/gel cure.
- Carefully apply a thin layer of top coat around the edges of the cluster, ensuring not to obscure the gems. For gel, use builder gel or top coat and cure.
Variations: Create a waterfall of gems flowing down the nail, or a dense sparkling “bedazzled” section.
4. The French Tip with a Gem Twist
Elevate the classic French manicure by adding a gem or two.
How-To:
- Create your French tips as usual using polish or gel. Ensure the white tips are fully dry or cured.
- Decide where you want to place your gem(s). Common spots are the base of the smile line (one gem in the center) or along the line of the French tip (a few small gems).
- Apply a tiny amount of nail glue or builder gel where the gem(s) will go.
- Place your chosen gem(s) using your tool.
- Seal with a thin layer of top coat, being careful around the gems. Cure if using gel.
Variations: Try a colored French tip with clear gems, or a nude base with a sparkly gem at the cuticle.
5. Mixed Media Magic
Combine gems with other nail art elements like glitter, chrome powder, or even hand-painted designs.
How-To:
- Start with your base design. This could be a solid color, a glitter gradient, or a chrome effect. Let it dry/cure.
- Plan where your gems will fit in. For example, add gems to the blank spaces of a marble design, or place them strategically over a glitter base.
- Apply your adhesive (nail glue, builder gel) and carefully place your chosen gems.
- Once secure and set, seal the design with a top coat, taking care not to dull the sparkle.
Pro Tip: If applying gems over glitter, make sure the glitter is securely sealed first with a layer of top coat or builder gel, leaving a small space for your gem adhesive.
Table: Gem Nail Art Design Ideas & Difficulty
Here’s a quick overview of some popular designs and how easy they are to try as a beginner:
| Design Idea | Description | Beginner Difficulty | Key Tools Needed | Tips for Success |
|---|---|---|---|---|
| Single Gem Accent | One gem placed on an accent nail. | Easy | Tweezers/Wax Pencil, Top Coat/Glue, Gem | Start small! A single rhinestone or pearl is simple and elegant. |
| Gem Outline | Small gems line a nail feature (cuticle, tip). | Medium | Tweezers/Wax Pencil, Nail Glue/Builder Gel, Small Gems | Use a steady hand. A thin bead of adhesive is crucial. |
| Gem Cluster/Gradient | Multiple gems in a group, often varying in size. | Medium | Tweezers/Wax Pencil, Nail Glue/Builder Gel, Various Gems | Plan your arrangement. Start with larger gems if graduating. |
| French Tip Gem | Classic French tip with gem adornment. | Easy | Tweezers/Wax Pencil, Top Coat/Glue, Gem | A gem at the cuticle base is simplest. |
| Mixed Media | Gems combined with glitter, chrome, or paint. | Medium | All above, plus base art elements | Ensure each layer is secure before adding gems. |
Tips for Long-Lasting Gem Nail Art
Want your sparkly creations to last? Follow these tips:
- Prep is Key: Always start with clean, dry nails and a good base coat. Buffing the nail surface very lightly can help with adhesion for some glues.
- Use the Right Adhesive: For regular polish, a sturdy top coat can work for lighter gems. For anything heavier or for longer wear, nail glue or builder gel is recommended. Consider the differences in nail adhesives to choose the best for your needs.
- Don’t Overdo the Glue: Too much glue or gel can create a messy, visible blob. A tiny bead or thin line is usually sufficient.
- Seal, Seal, Seal: Once your gems are in place and secure, apply a careful layer of top coat around them. You want to encapsulate the base of the gem and the surrounding nail, not flood the top surface of the gem itself, which can dull its shine.
- Cure Gel Properly: If you’re using gel polish and builder gel, ensure adequate curing time under your UV/LED lamp as per the manufacturer’s instructions.
- Be Gentle: While gems add sparkle, they can also catch on things. Be mindful of your nails when opening cans, typing intensely, or brushing your hair.
- Consider Overlays: Heavy gem designs might benefit from an acrylic or gel overlay applied over the top to fully encase and protect them for maximum durability. Consult a professional if you’re unsure.
Frequently Asked Questions (FAQ)
Q1: How do I prevent my gems from falling off?
A1: Ensure your nail surface is clean and dry. Use a strong adhesive like nail glue or builder gel. Apply gems carefully and seal them with a top coat around the base. Avoid touching the gems immediately after application.
Q2: Can I put gems on regular nail polish?
A2: Yes! For regular polish, you can often place gems into a slightly tacky top coat, or use nail glue. For the best hold, apply gems to fully dry polish, then seal carefully with a top coat.
Q3: What’s the easiest way to pick up tiny gems?
A3: A wax pencil is designed for this and works like a charm! Fine-tipped tweezers are also effective. Some people use a slightly dampened brush or the tip of an orange stick.
Q4: How do I make my gem nail art last longer?
A4: Use a strong adhesive, seal the gems well with a top coat, and be gentle with your nails. For gel manicures, use builder gel for extra strength and consider an overlay for very elaborate designs.
Q5: Where is the best place to buy nail gems?
A5: You can find a wide variety of nail gems online (Amazon, Etsy, specialized nail art supply stores) and at beauty supply stores. Look for kits that offer a good mix of shapes and sizes.
Q6: Can I combine different types of gems in one design?
A6: Absolutely! Mixing rhinestones, pearls, and studs can add incredible depth and interest to your designs. Just make sure they are all secured with your chosen adhesive.
Conclusion
See? Gem nail art isn’t just for the pros! With these essential designs and beginner-friendly tips, you’re totally equipped to add some dazzling sparkle to your fingertips. Whether you’re aiming for a subtle shimmer with a single accent gem or a bold statement with a sparkling cluster, the key is to have fun with it and let your creativity shine. Experiment with different gem placements, colors, and combinations to find what

