In recent years, gel polish has become popular for those looking for long-lasting and durable nail colour. With its glossy finish and chip-resistant formula, it’s no wonder many people have switched from traditional nail lacquers.
However, with the rise of nail art and stamping techniques, a common question arises – can you use gel polish for stamping? This begs whether gel polish is a suitable medium for stamping designs onto nails or if it is limited to solely being used as a base color.
Here, it aims to delve into the specifics of using gel polish for stamping, exploring its limitations and potential benefits. We will also discuss the necessary tools and techniques for successful gel polish stamping and offer tips and advice for those looking to try this technique.
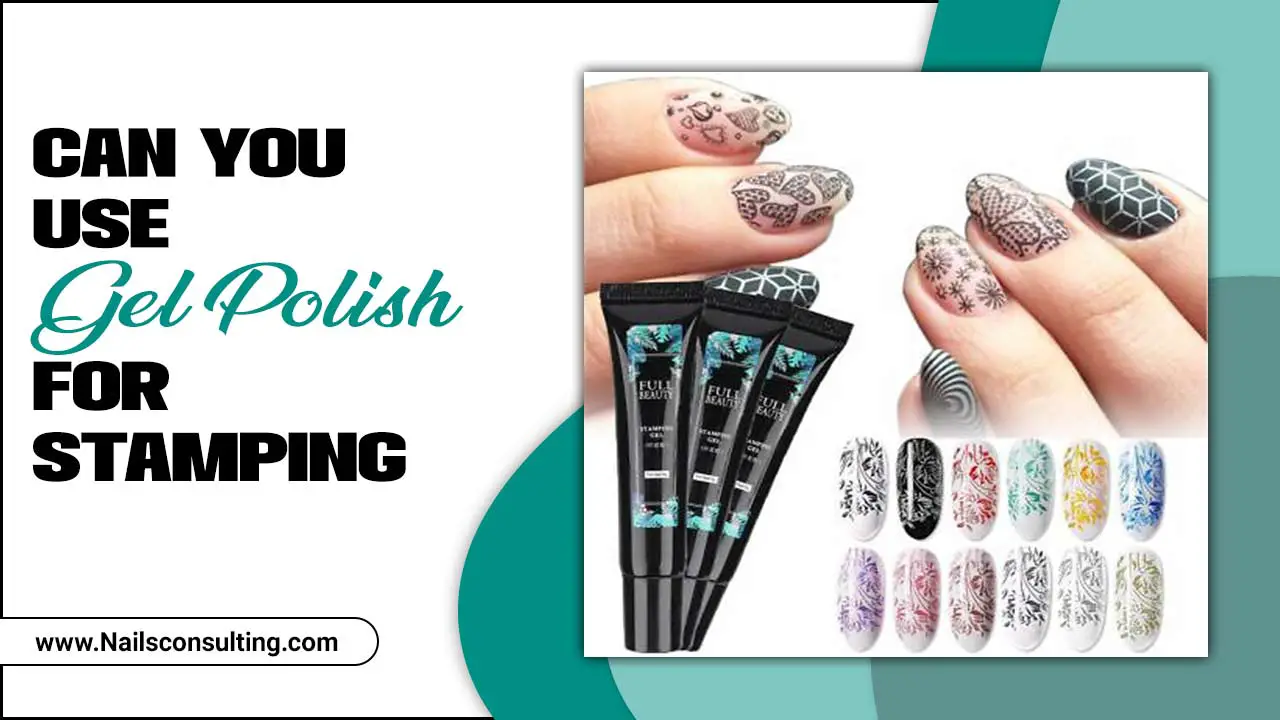
What Is Gel Polish?
Gel polish, also famous as soak-off gel or gel nail polish, is cured under a UV or LED lamp to achieve a long-lasting and durable finish. Developed in the 1980s, gel polish has gained immense popularity due to its ability to provide a chip-free and glossy appearance for up to two weeks, making it a preferred choice for individuals seeking salon-quality manicures.
What sets gel polish apart from traditional nail polishes is its unique formula. It comprises a combination of oligomers, monomers, and photoinitiations that undergo a chemical reaction known as polymerization when exposed to UV or LED light. This process causes the gel polish to harden and adhere to the natural nail, resulting in a glossy and chip-resistant finish.
Can You Use Gel Polish For Stamping? Explained
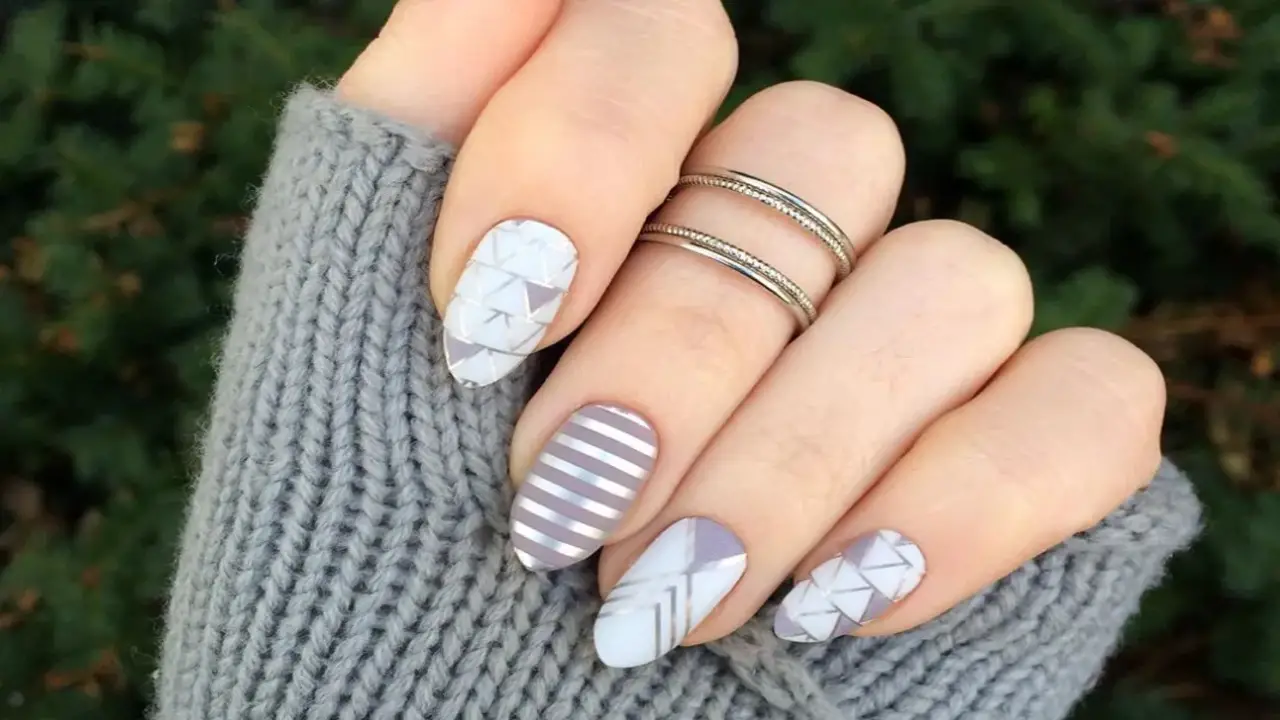
Yes, you can use gel polish for stamping. A UV or LED lamp cures gel polish, creating a long-lasting and durable manicure. While traditional stamping polishes are typically handy for nail art stamping, gel polish can also be handy for this technique.
To use gel polish for stamping, you will need a nail stamping kit that includes a stamping plate, a stamping tool, and a scraper. Apply a base coat and cure it under the lamp. Then, apply a thin layer of gel polish and cure it. Next, select a design from the stamping plate and apply a layer of gel polish over it. Use the scraper to remove the excess polish and quickly transfer the design onto the stamping tool.
Finally, stamp the design onto your nail and cure it once more. Using gel polish for stamping is a great way to create intricate and detailed nail designs. Here are four steps to help you achieve the perfect stamped manicure:
1. Prepare Your Nails
Preparing your nails is the first step to using gel polish for stamping. Start by cleaning your nails thoroughly and removing any old polish or residue. Next, shape and file your nails to your desired length and shape.
Push back your cuticles with a cuticle pusher or orange stick, and be careful not to damage the nail bed. By properly preparing your nails, you can ensure that the gel polish adheres well and that your stamping design looks flawless.
2. Apply The Gel Polish
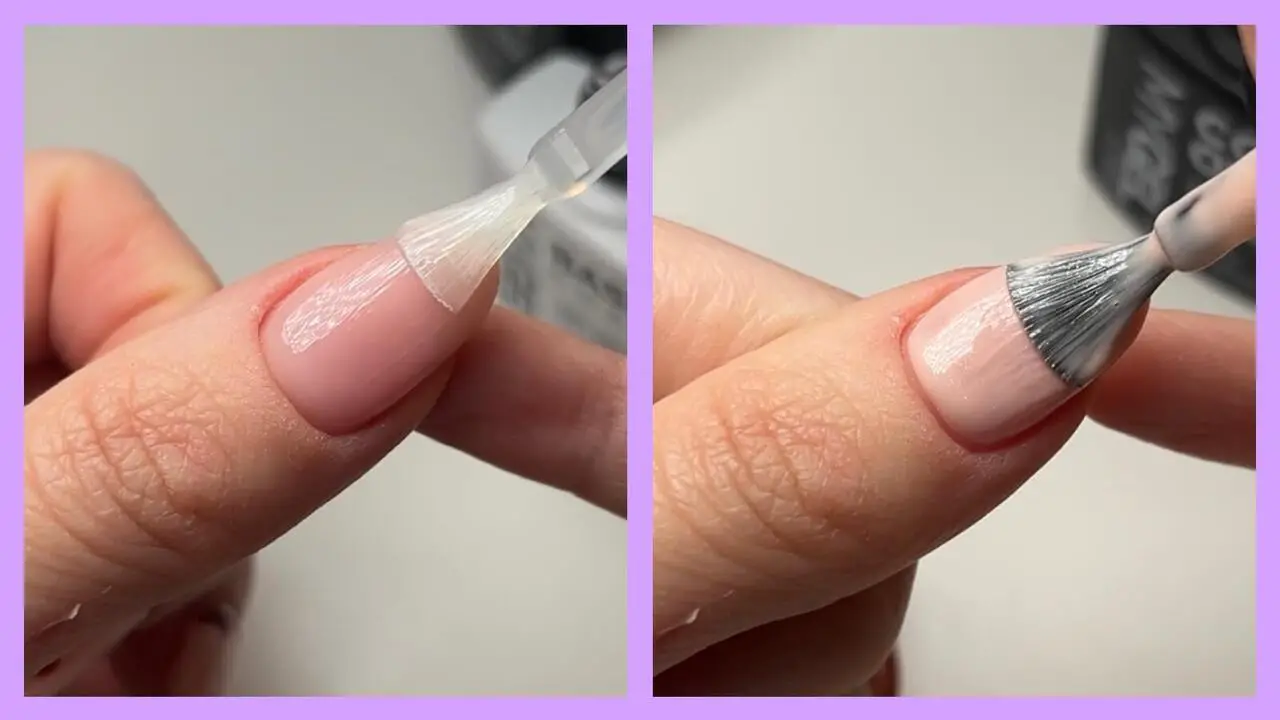
Once you have prepared your nails and chosen the desired stamping design, it’s time to apply the gel polish. Start by applying a thin, even layer of gel polish to your nail, covering the entire surface. Be careful not to apply too much polish, as this can cause smudging and distortion of the stamped design.
After applying the gel polish, cure it under a UV or LED lamp according to the manufacturer’s instructions. This will ensure that the polish sets and dries properly, giving you a long-lasting and flawless stamped design on your nails.
3. Choose Your Stamping Design
Choosing the right stamping design is an important step when using gel polish. There are countless designs available, from intricate patterns to simple shapes, so you have plenty of options to choose from. Consider the occasion or event you will be attending, as well as your style and preferences.
You can browse through online galleries or create your custom designs. Just make sure that the design you choose fits well on your nails and complements the colour of your gel polish. Once you have chosen your stamping design, you are ready to move on to the next step in creating beautiful and unique nail art with gel polish.
4. Stamp Onto Your Nails
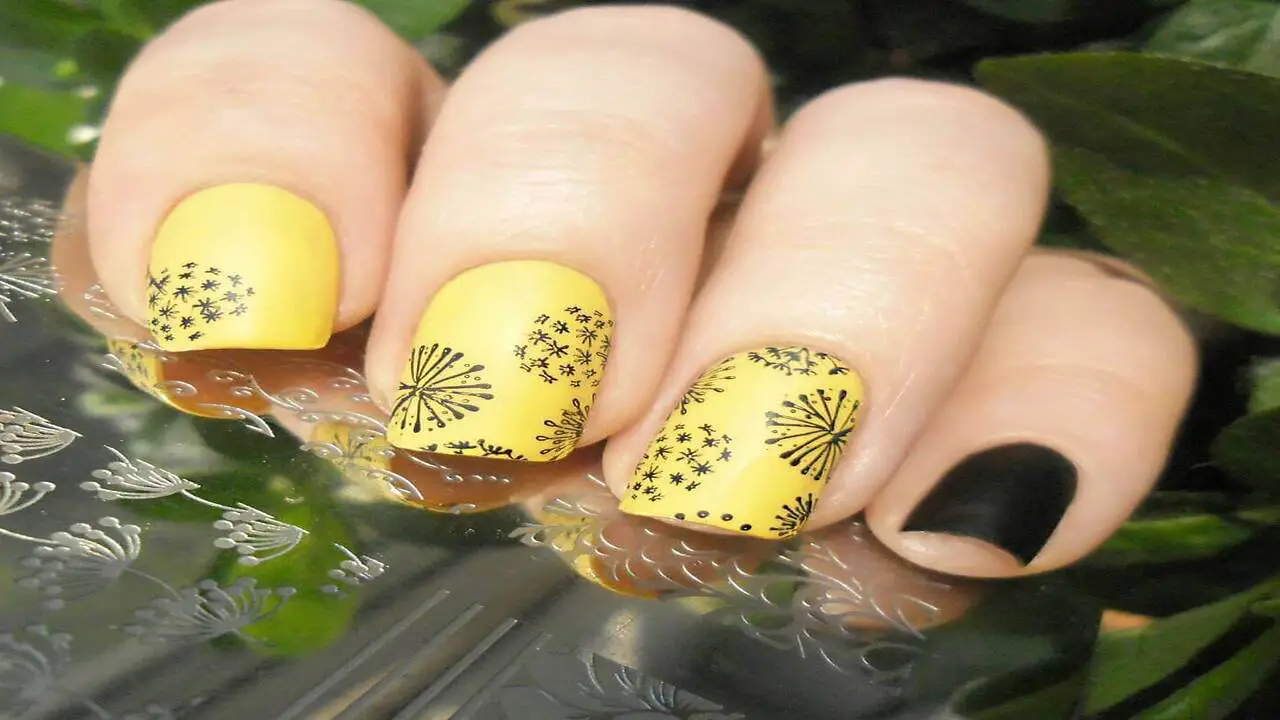
Once you have applied the gel polish and cured it under a UV or LED lamp, it’s time to stamp it onto your nails. Here are 4 steps to help you achieve flawless stamped designs:
- Choose a stamping plate with a design of your choice and apply a generous amount of stamping polish to the design.
- Use a scraper at a 45-degree angle to remove excess polish from the plate, leaving only the design filled.
- Quickly press the stamper onto the plate, transferring the design onto the stamper head.
- Align the stamper with your nail and gently roll or press down to transfer the design onto your nail.
Repeat this process for each nail until you achieve your desired look. Finish off with a top coat to seal your stamped designs, and enjoy your beautiful gel polish stamped manicure.
Recommended Gel Polish Brands For Stamping
Stamping and selecting the right gel polish brand is essential to achieve precise and stunning designs. The market has recently witnessed an influx of gel polish brands specifically formulated for stamping purposes. These brands have gained popularity among nail artists and enthusiasts due to their exceptional performance and reliable results. Some recommended gel polish brands for stamping are:
- Born Pretty – Known for its wide range of stamping gel polishes that provide excellent pigmentation and easy application.
- MoYou London – Offers a variety of stamping gel polishes with vibrant colours and good opacity for clear stamping designs.
- Bundle Monster – Offers stamping gel polishes that are highly pigmented and provide crisp and clean stamped designs.
- Pueen – Known for their stamping gel polishes with a thick consistency, perfect for creating intricate stamping designs.
- Ya Qin An – Offers stamping gel polishes with good opacity and various colours suitable for stamping on different nail art designs.
- Maniology – Provides a range of stamping gel polishes that are highly pigmented and compatible with various stamping plates.
Creative Ideas And Designs For Gel Polish Stamping
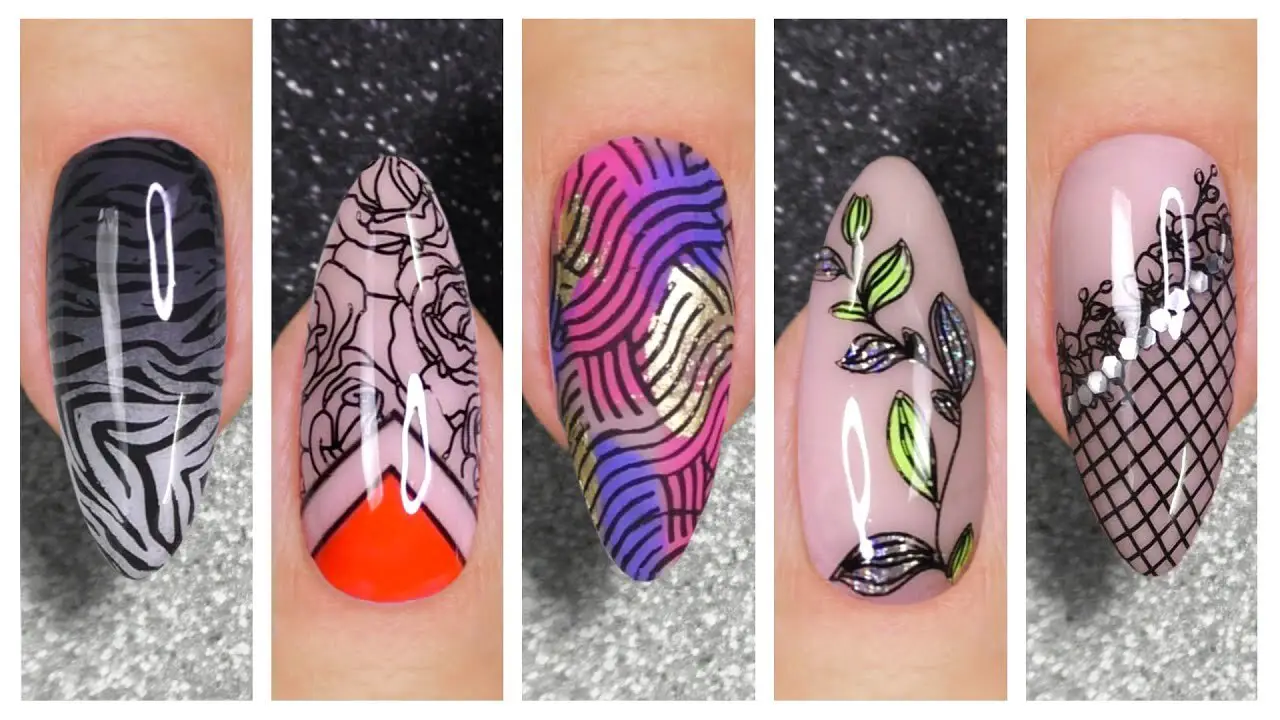
Gel polish stamping is a popular nail art technique that allows you to create intricate and detailed nail designs using gel polish. However, whether or not gel polish can be handy for stamping is a question many nail enthusiasts ask.
The answer to this question is both yes and no. While gel polish can technically be handy for stamping, it is not ideal. Gel polish is famous for its durability and long-lasting properties, which makes it resistant to smudging and chipping. Here are some creative ideas and designs for gel polish stamping:
- Floral Patterns: Using gel polish stamping plates, create beautiful flower designs on your nails. Experiment with different colour combinations and stamping techniques to achieve stunning floral patterns.
- Geometric Designs: Using geometric stamping plates to create modern, minimalist nail designs. Play with different shapes, lines, and angles to create unique and eye-catching patterns.
- Abstract Art: Let your creativity flow and create abstract designs using gel polish stamping. Combine different stamping images and colours to create one-of-a-kind nail art that stands out.
- Animal Prints: Opt for animal print stamping plates to achieve trendy and stylish nail designs. Whether it’s leopard, zebra, or snakeskin patterns, gel polish stamping allows you to recreate these prints with precision and detail.
Tips And Techniques For Using Gel Polish For Stamping
Stamping is a popular technique in nail art that allows individuals to create intricate designs and patterns on their nails. While various tools and methods are available for stamping, one particular approach that has gained significant attention is gel polish. Gel polish, known for its durability and long-lasting effects, has proven to be an ideal medium for stamping due to its unique properties. Tips and techniques for using gel polish for stamping are below:
- Use a sticky base coat: Before applying the gel polish for stamping, apply a sticky base coat. This will help the stamping design adhere better to the nail.
- Choose the right stamping plate: Look for stamping plates specifically designed for gel polish. These plates have deeper etchings and are more suitable for transferring the design onto the nail.
- Use a thick, opaque gel polish: For stamping, it is important to use a gel polish that is thick and opaque. Thin or sheer gel polishes may not transfer the design properly.
- Apply the gel polish to the stamping plate: Apply a generous amount of gel polish onto the desired design on the stamping plate. Use a scraper to remove excess polish, leaving the design filled.
- Transfer the design onto the nail: Quickly and firmly press the stamp onto the design, ensuring the entire design is picked up.
Troubleshooting Common Issues With Gel Polish And Stamping

When using gel polish and stamping techniques, it’s not uncommon to run into a few bumps along the way. However, with some troubleshooting, you can overcome these common issues and achieve the desired results. One common issue is smudging or smearing the stamped design when applying gel polish.
This can be caused by not allowing enough time for the polish to fully dry before stamping or applying too much pressure when transferring the design. To prevent this, give the base colour ample time to cure and use a light touch when stamping. Another issue is the difficulty in picking up the full design on the stamp.
This can be due to improper scraping or using a stamp that is too firm. To fix this, scrape off excess polish at a 45-degree angle and consider using a softer stamp for better transfer. By troubleshooting these common issues, you can achieve flawless gel polish and stamped designs every time.
Pros And Cons Of Using Gel Polish For Stamping
Using gel polish for stamping can offer both pros and cons. On the positive side, gel polish provides a long-lasting and durable result, ensuring that your stamped designs stay intact for an extended period. Using gel polish for stamping has several pros and cons. Here is some information:
Pros:
- Long-lasting: Gel polish is known for its durability and longevity. When used for stamping, it can provide an extended wear time compared to regular nail polish.
- Smudge-proof: Gel polish sets and dries quickly under a curing lamp, making it resistant to smudging and smearing during stamping.
- Vibrant colours: Gel polish comes in a wide range of colours, allowing for vibrant and bold stamped designs on your nails.
- Easy to clean: Excess gel polish can be easily removed with a cotton pad soaked in rubbing alcohol, making correcting mistakes easier or cleaning the stamping tools.
Cons:
- Skill requirement: Using gel polish for stamping requires some skill and practice. It may take time to master the technique and achieve clean and precise stamped designs.
- Equipment needed: Stamping with gel polish is typically required.
Things To Keep In Mind When Using Gel Polish For Stamping
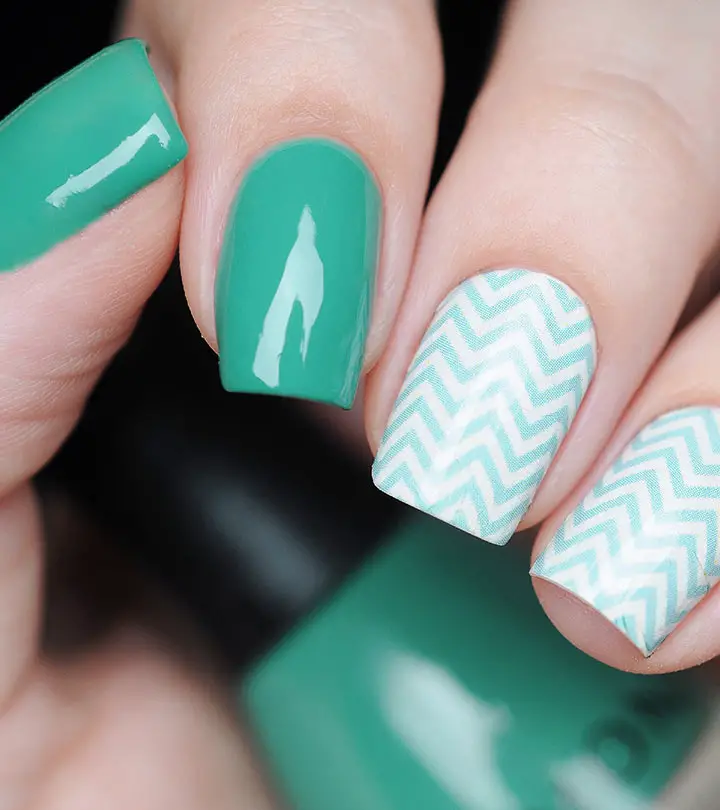
Gel polish can indeed be handy for stamping purposes. Stamping with gel polish can give your nail designs a longer-lasting and more durable finish than regular nail polish. However, there are a few things to keep in mind when using gel polish for stamping:
- Choose the right gel polish: Not all brands are suitable for stamping. Look for gel polishes specifically formulated for stamping or ones with a thicker consistency, which will work better for this technique.
- Use a stamping plate: Stamping plates have intricate designs that can be transferred onto your nails using gel polish. Use a plate with deep, well-defined etchings for better results.
- Cure properly: After stamping the design onto your nail, cure the gel polish under a UV or LED lamp according to the manufacturer’s instructions. This will ensure the gel polish sets and adheres properly to your nails.
Conclusion
We have explored the topic “can you use gel polish for stamping”. While gel polish is primarily used for creating long-lasting and durable manicures, it can also be effectively used for stamping. This versatile product offers various colours and finishes, making it a popular choice among nail technicians and enthusiasts.
Gel polish can provide precise and intricate stamping designs with proper technique and practice. However, it is important to note that not all gel polishes are suitable for stamping, so it is important to research and choose the right product for this technique. Gel polish can be a valuable tool for adding unique and detailed designs to manicures.
FAQs
1.Can Gel Polish Be Used For Stamping Nail Art Designs?
Ans: Yes, gel polish can be handy for stamping nail art designs. Gel polish is a versatile and durable nail product you can cure under a UV or LED lamp, making it the perfect medium for stamping nail art. The thick consistency of gel polish allows the stamping design to transfer easily onto the nail, creating crisp and detailed designs.
2.What Are The Advantages Of Gel Polish?
Ans: Gel polish has several advantages over regular nail polish regarding stamping. Firstly, the UV or LED lamp cures gel polish, making it more durable and long-lasting, helping it stay put for weeks without chipping or peeling. This makes it ideal for stamping intricate designs that need to last.
3.Are Any Specific Techniques Or Tools Required When Using Gel Polish For Stamping?
Ans: When using gel polish for stamping, experts recommend using a sticky base coat and a clear top coat specifically designed for gel polish. This helps the stamped design adhere better to the nails and ensures a longer-lasting finish. Using a quality stamping plate and a firm, squishy stamping tool for precise and clean designs is also important.
4.Does Gel Polish Provide Better Durability?
Ans: Yes, gel polish does provide better durability compared to regular nail polish. A UV or LED lamp cures gel polish, creating a hard and durable finish that lasts up to two weeks without chipping or peeling. Daily activities such as typing, washing dishes, or using harsh chemicals are less likely to affect it.
5.Are There Any Limitations Or Challenges When Using Gel Polish For Stamping?
Ans: Yes, there are limitations and challenges when using gel polish for stamping. Gel polish is typically thicker than regular stamping polish, making achieving crisp and precise stamped designs more difficult.

