Gel Nail Art: Effortless Styles for Beginners! Learn simple, gorgeous gel nail art designs and techniques to elevate your manicure game at home. Get salon-worthy nails with our easy-to-follow guide.
Dreaming of beautiful, long-lasting gel nails that turn heads? You’re not alone! Many of us love the idea of gorgeous gel manicures, but the thought of creating intricate nail art at home can feel overwhelming. You might worry about making a mess, not having the right tools, or ending up with a design that looks… well, less than perfect. But guess what? Achieving stunning gel nail art doesn’t require a fancy salon or years of practice. With a few simple tricks and some easy-to-master styles, you can create beautiful, eye-catching nails right from your own home. Get ready to unleash your inner artist!
This guide is all about making gel nail art accessible and fun for everyone, especially if you’re just starting out. We’ll walk through everything you need to know, from picking the right colors to trying out proven, effortless designs. No more nail art frustration! Let’s dive into how you can create your own fabulous gel nail art.
What You’ll Need to Get Started
Before we jump into the fun of creating art, let’s make sure you have the essentials. Don’t worry, it’s not a long or expensive list! Having the right tools makes all the difference, turning a potentially tricky process into a smooth and enjoyable one.
The Bare Essentials
- UV/LED Nail Lamp: This is non-negotiable for curing gel polish. LED lamps cure faster and are generally more energy-efficient.
- Gel Base Coat: Prepares your nail for color and helps it adhere better.
- Gel Top Coat: Seals your design, adds shine, and protects against chipping. Choose between a shiny or matte finish!
- Gel Nail Polish Colors: Start with a few favorite shades. You can always expand your collection later.
- Nail Cleanser/Rubbing Alcohol: For wiping away the sticky residue after curing.
- Lint-Free Wipes: Essential for a clean finish – regular cotton balls leave fuzzy bits!
- Nail Files and Buffers: To shape your nails and prep the surface.
- Cuticle Pusher/Orange Stick: To gently push back your cuticles for a clean canvas.
Nice-to-Have Tools for Art
Once you’re comfortable with the basics, these tools can help you get more creative:
- Thin Nail Art Brushes: For fine lines, details, and intricate designs. A set with various tip sizes is great.
- Dotting Tools: These have small metal balls on the end, perfect for creating dots, swirls, and even tiny flowers.
- Striping Tape: Adhesive tape that comes in thin lines, perfect for geometric designs.
- Stencils: For quick and easy patterns.
- Glitter, Foils, or Gems: For adding that extra sparkle and dimension.
Your First Step to Perfect Gel Nails: Prep!
Think of nail prep as laying the foundation for your masterpiece. Skipping this step is like painting on a dusty canvas – it won’t stick well and won’t look its best. Proper prep ensures your gel polish lasts longer and looks smoother.
Easy Prep Steps
- Clean Your Nails: Wash your hands thoroughly and dry them well.
- Push Back Cuticles: Gently use a cuticle pusher or orange stick to push back the skin around your nail base. This gives you more nail surface to work with and a neater look.
- Shape Your Nails: Use a nail file to shape your nails to your desired length and form. File in one direction to avoid weakening the nail.
- Buff the Surface: Lightly buff the surface of your nails with a fine-grit buffer. This removes shine and creates a slightly rough texture, helping the polish adhere. Don’t over-buff!
- Clean Again: Wipe your nails with a nail cleanser or rubbing alcohol on a lint-free wipe. This removes any dust, oils, or residue. Ensure they are completely dry.
Proven & Effortless Gel Nail Art Styles
Now for the fun part! These styles are perfect for beginners and deliver maximum impact with minimal effort. You’ll be amazed at what you can create!
The Chic French Tip (Reimagined)
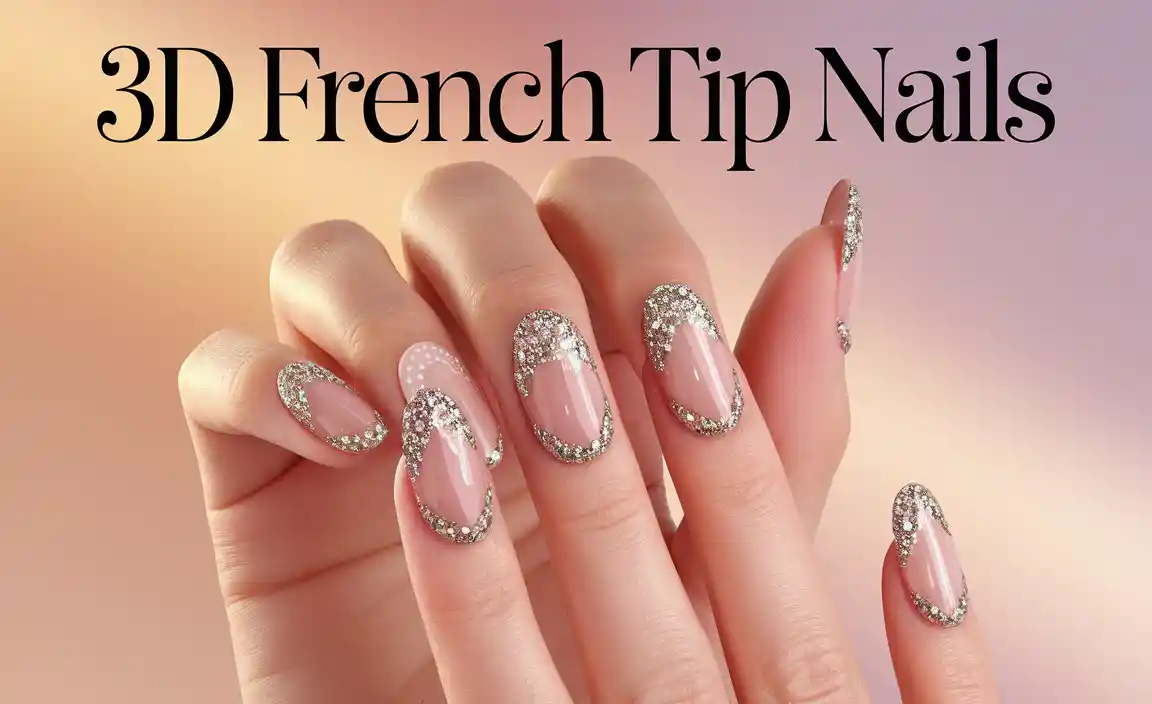
The classic French tip is timeless, but we can give it a modern twist! Instead of plain white, try colors that pop or even a glittery tip.
How to Do It:
- Apply a thin layer of gel base coat and cure under your lamp.
- Apply your chosen color polish (e.g., nude, pink, or even a sheer white) in one or two thin coats, curing each layer.
- Using a very fine brush or a dotting tool, carefully paint a smile line at the tip of your nail with a contrasting color (like a bright pink, electric blue, or metallic gold).
- Cure your accent color layer.
- Apply a thin layer of gel top coat and cure. Wipe off the sticky residue.
Pro Tip: For a super clean line, practice drawing the smile line on a piece of paper first. If you make a mistake, you can gently wipe it away with a nail cleanser and a fine brush before curing and try again!
The Elegant One-Color Swoosh
This is incredibly simple but looks sophisticated. It’s perfect for when you want a touch of flair without a complicated design.
How to Do It:
- Apply base coat and cure.
- Apply your main gel polish color in 1-2 thin coats, curing each layer.
- Using a fine nail art brush, dip it into a slightly different, complementary color (or even a glitter polish).
- Draw a single, fluid swoosh or curve across one or two nails. You could do it from the bottom corner up to the side, or a gentle curve across the top.
- Cure the accent swoosh.
- Apply top coat and cure. Wipe off the sticky residue.
Why it works: The single, flowing line adds visual interest without being loud. It draws the eye and feels very artistic.
The Dazzling Gradient (Nail Ombre)
This technique blends two or more colors together for a beautiful, seamless effect. It looks complex, but it’s surprisingly easy with the right method!
How to Do It (Sponge Method):
- Apply base coat and cure. Apply your lightest color as a base and cure.
- Cut a small piece of a makeup sponge or a dedicated gradient sponge.
- Apply stripes of two or three gel polish colors side-by-side onto the sponge. Make sure the colors touch so they can blend.
- Gently dab the sponge onto your nail, pressing lightly. You might need to reapply polish to the sponge and dab a few times to build up the color intensity.
- Cure your gradient nails.
- Apply top coat and cure. Wipe off the sticky residue.
Tip: Clean up any smudges around your cuticles before curing with a fine brush dipped in nail cleanser. This makes a huge difference!
The Playful Dot Party
Dots are your best friend for simple, cute nail art. You can use a dotting tool or even the tip of a toothpick!
How to Do It:
- Apply base coat and cure.
- Apply your base color polish in 1-2 coats, curing each.
- Dip your dotting tool (or toothpick) into a contrasting gel polish color.
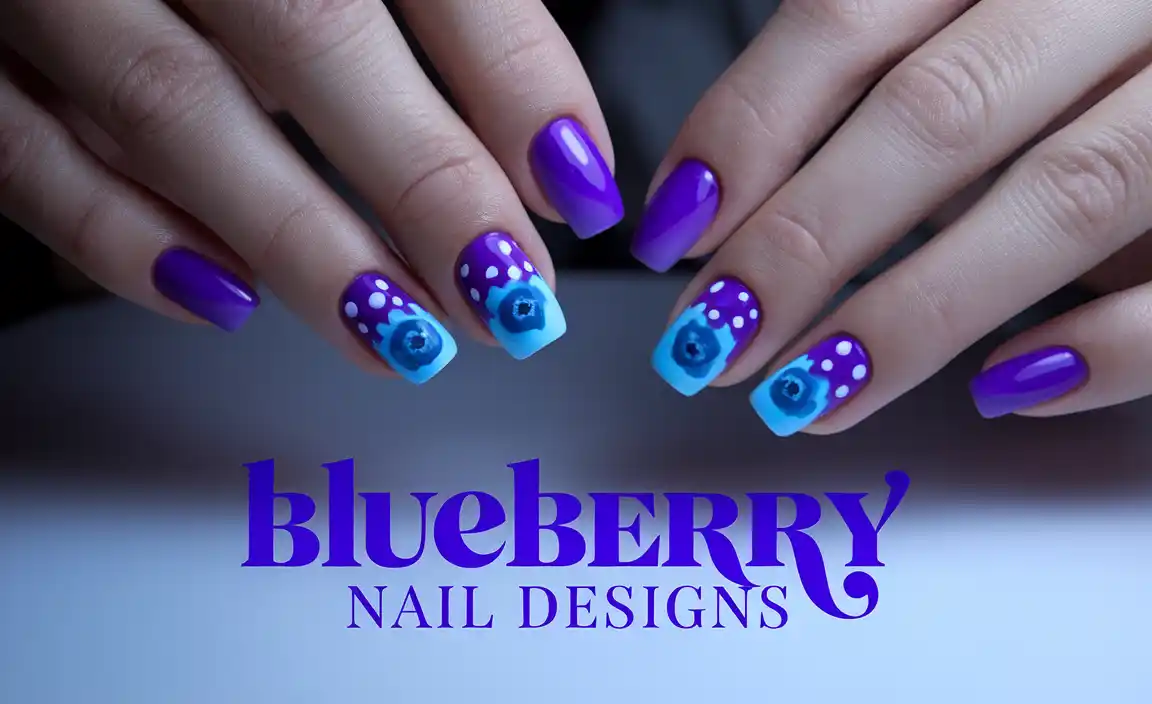
- Create dots on your nails. You can make a pattern (like a polka dot nail), or place individual dots strategically – perhaps one large dot near the cuticle, or a few scattered along the side.
- Cure your dotted nails.
- Apply top coat and cure. Wipe off the sticky residue.
Variations: Try different sized dots by using different ends of your dotting tools. You can also create tiny flowers by making a few dots close together or simple swirls.
The Bold Geometric Lines
This style uses tape to create sharp, clean lines for a modern, graphic look. It’s fantastic for a chic and edgy vibe.
How to Do It:
- Apply base coat and cure.
- Apply your base color polish in 1-2 coats, curing each.
- Once your base color is fully cured and cool, carefully place strips of nail art tape onto your nail to create the shapes you want. This could be stripes, triangles, or squares.
- Apply a contrasting gel polish color over the taped areas, ensuring you completely cover the tape and the nail surface around it.
- Cure the colored section.
- Using tweezers, carefully peel off the nail art tape while the polish is still uncured. This is crucial for crisp lines!
- Apply a thin layer of top coat over the entire nail and cure. Wipe off the sticky residue.
Important Note: Make sure your base coat is fully cured and completely cool before applying the tape. Also, working quickly to remove the tape after painting is key!
The Glitter Accent Nail
Sometimes, all you need is a little sparkle! An all-glitter accent nail is easy, festive, and instantly glamorous.
How to Do It:
- Perform your nail prep as usual.
- Apply base coat and cure.
- Apply your chosen main color polish to your non-accent nails, curing each layer.
- For your accent nail, apply a thin layer of gel polish that complements your glitter color. Cure it.
- Apply a thin layer of top coat (or preferably, a gel glue designed for larger embellishments if using chunky glitter) to your accent nail.
- Dip your accent nail into a pot of fine glitter, or use a brush to pick up glitter and gently press it onto the sticky top coat. You can cover the whole nail or just a section.
- Gently tap off any excess glitter.
- Apply a generous amount of top coat over the glitter to really seal it in. Make sure to cap the free edge. Cure.
- Wipe off the sticky residue.
Pro Tip: For a super smooth finish over glitter, you might need two layers of top coat, curing each one. You can also use a builder gel to encapsulate chunky glitter for an even smoother, more durable finish.
Essential Gel Nail Care Tips
To keep your beautiful gel nail art looking its best for as long as possible, a little TLC goes a long way. These tips will help maintain the shine, prevent chips, and keep your nails healthy.
Keeping Your Gel Nails Fabulous
- Avoid Harsh Chemicals: Try to wear gloves when doing household chores, especially those involving cleaning products or prolonged water exposure. Chemicals can break down the gel.
- Moisturize Regularly: Dry cuticles and skin can make manicures look old before their time. Apply cuticle oil and hand lotion daily.
- Don’t Pick or Peel: Resist the urge to pick at or peel off your gel polish. This can damage your natural nail underneath. For safe removal, look up proper gel polish soaking methods or visit a salon.
For more on safe nail practices, the American Academy of Dermatology has great resources: American Academy of Dermatology – Nail Care. - File Gently: If your gel polish does start to lift, use a fine-grit file to smooth it down gently rather than trying to peel it.
- Sunscreen is Your Friend: While UV lamps are designed for nail curing, prolonged unprotected sun exposure for your hands can potentially affect nail health. Some people opt for fingerless gloves when using UV lamps, though this is a personal choice. The FDA offers guidance on UV lamps and sunlamps.
Troubleshooting Common Gel Nail Issues
Even with the best intentions, sometimes things don’t go perfectly. Here are solutions to a few common beginner hiccups:
| Problem | Possible Cause | Solution |
|---|---|---|
| Gel is not curing (still sticky/wet) | Lamp is not strong enough, bulbs are old, or nails were in the lamp too briefly. | Ensure lamp is functioning correctly and bulbs are recent. Expose nails for the full recommended time for each product layer. Avoid applying polish too thickly. |
| Gel is lifting or peeling at the edges | Improper nail prep (oils left on nail), polish not capped at the free edge, or polish is too thick. | Thoroughly clean and dehydrate nails before application. Always “cap” the free edge by running the brush along the very tip of your nail with each coat. Apply thin layers. |
| Gel looks bumpy or uneven | Polish applied too thickly, uneven brush strokes, or debris on the nail before curing. | Apply gel polish in thin, even coats. Ensure your workspace is clean and free of dust. Use a clean brush for application. |
| Top coat lost its shine (dull) | Oils from hands, residue from cleansing, or top coat applied too thinly and chipped. | Ensure you are using a proper gel cleanser and lint-free wipes to remove the sticky layer. Reapply a fresh layer of top coat if needed. Avoid touching oily surfaces before the top coat is fully cured. |
Your Gel Nail Art Journey Begins
You’ve got the tools, you’ve mastered the prep, and you’re armed with gorgeous, simple designs. This is just the start! Gel nail art is a fantastic way to express yourself and add a little sparkle to your everyday life. Don’t be afraid to experiment. Try mixing elements from different styles – a glitter accent on a French tip, or dots on a gradient nail. The beauty of gel is its durability and high shine, making your creations


