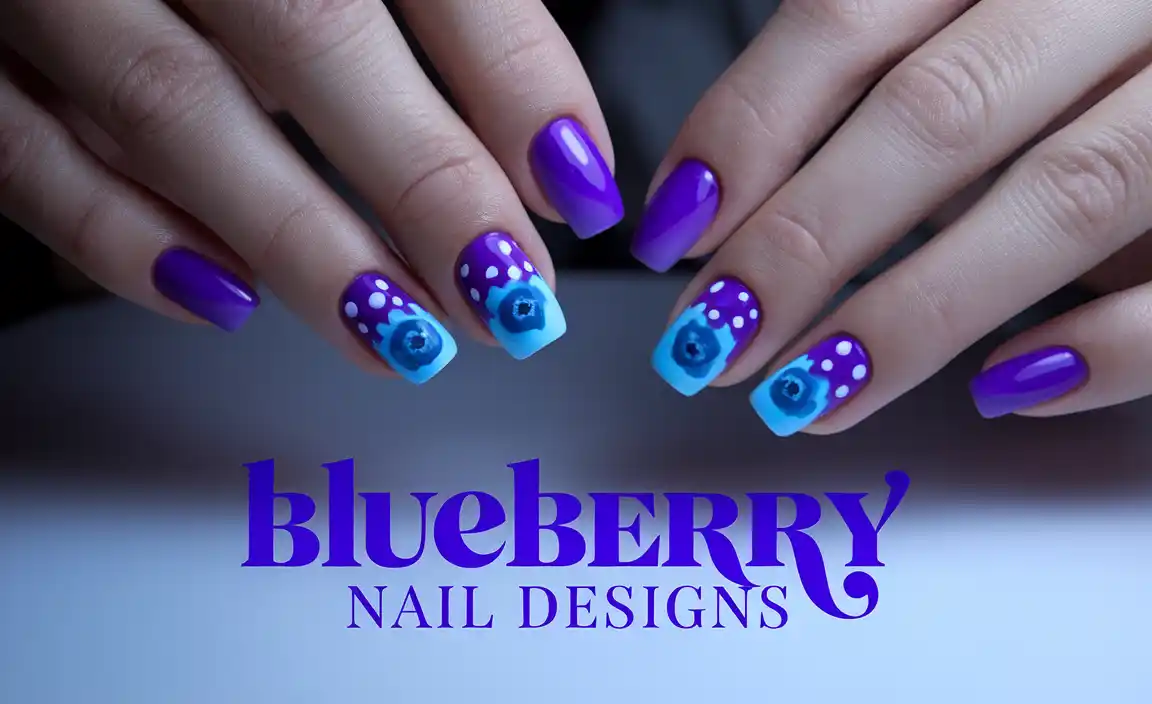
Galaxy swirl nail design is an achievable, mesmerizing manicure that mimics the cosmic beauty of nebulae and stars. With simple tools and a few easy steps, you can create this stunning look right at home, transforming your nails into miniature galaxies!
Looking for a nail design that’s out of this world? The galaxy swirl nail design is a fantastic way to add some cosmic magic to your fingertips. It might look complex, but with a few basic supplies and this guide, you’ll be swirling nebulae onto your nails like a pro! This design is perfect for anyone wanting to express their creativity and add a touch of wonder to their everyday look. Get ready to discover how easy it is to create your own starry sky!
What You’ll Need to Create Your Galaxy Swirl Masterpiece
Gathering the right tools is the first step to any successful DIY nail art. Don’t worry, you probably have most of these already! For a stunning galaxy swirl, you’ll want a few key items. Think of this as packing for your own personal nail art adventure.
Essential Nail Polish Colors
The heart of your galaxy swirl lies in your color palette. Deeper, darker hues create the perfect base for cosmic art.
- Base Coat: Essential for protecting your natural nails and making your polish last longer. A good clear base coat is a must.
- Dark Blues, Purples, and Black: These are your primary galaxy colors. Think deep navy, rich violet, and midnight black.
- Lighter Blues, Pinks, or Whites: For adding those vibrant nebulae streaks and highlights.
- Silver or White Glitter Polish: To mimic distant stars and add sparkle.
- Top Coat: To seal your design, add shine, and protect your masterpiece from chips.
Application Tools for Swirling Perfection
These tools will help you blend and swirl your colors to create that iconic galaxy effect.
- Small Sponge (makeup sponge or kitchen sponge): This is your secret weapon for blending colors seamlessly. A slightly damp sponge works wonders.
- Toothpick or Dotting Tool: Perfect for adding those tiny star dots and fine details.
- Fine-Tipped Brush: Useful for cleaning up edges and drawing delicate lines.
- Optional: Thin Stamping Plates or Stencils: If you want to add extra cosmic patterns or star shapes.
- Rubbing Alcohol or Nail Polish Remover: For cleaning your tools between steps.
| Tool | Purpose | Beginner Tip |
|---|---|---|
| Base Coat | Protects nails, smoother application | Apply one thin layer and let it dry completely. |
| Dark Polishes (e.g., navy, black) | Foundation of the galaxy | Use sparingly; a little goes a long way! |
| Lighter/Bright Polishes (e.g., pink, light blue) | Nebula and swirl effect | Apply sparingly over the dark base. |
| Sponge | Blending and texture | Dab gently, don’t rub, to avoid muddying colors. |
| Glitter Polish | Stars and shimmer | Apply a light coat or dab strategically. |
| Top Coat | Shine and protection | Apply a generous, smooth layer to lock everything in. |
Step-by-Step Guide to Creating Your Galaxy Swirl Nails
Ready to dive in? Follow these simple steps to create your own stunning galaxy swirl nail design. Remember, nail art is all about practice and having fun, so don’t worry if your first attempt isn’t perfect!
Step 1: Prep Your Canvas
Good nail art starts with well-prepped nails. This ensures your polish adheres well and your manicure lasts longer.
- Clean Your Nails: Make sure your nails are free from any old polish, oils, or lotions. A quick swipe with nail polish remover or rubbing alcohol works wonders.
- Shape Your Nails: File your nails to your desired shape. Even edges make for a neater finish.
- Apply Base Coat: Paint one thin, even layer of your clear base coat. Allow it to dry completely before moving on. This protects your natural nails from staining and helps your colors adhere better. You can learn more about the importance of base coats and proper nail preparation on the FDA’s consumer updates on cosmetics.
Step 2: Lay Down the Dark Galaxy Base
This is where your galaxy truly begins to form.
- Apply Your Darkest Shade: Paint one or two thin coats of your darkest polish color (black, deep navy, or deep purple). Let each coat dry completely. This dark base represents the vastness of space.
- Optional: Add a Second Dark Shade: If you’re using black as your base, you might want to add a very thin layer of a very dark blue or purple on top while it’s still slightly wet for a subtle gradient effect. This is entirely optional and depends on the depth you want.
Step 3: Create the Cosmic Swirls with Your Sponge
This is the most exciting part where the galaxy comes to life!
- Prepare Your Sponge: Lightly dampen a small piece of your makeup or kitchen sponge with water and gently squeeze out excess moisture. You can also use a dry sponge, but a slightly damp one often helps blend the colors more smoothly. If using a brand-new sponge, you might want to cut off the smoother outer layer to get a more porous surface.
- Apply Colors to the Sponge: Next, apply small stripes of your chosen galaxy colors (dark blue, purple, pink, or even a touch of white) directly onto the damp sponge. Don’t overload it! A little bit of each color is sufficient. You want distinct color stripes, not a muddy mess.
- Dab Onto Nails: Gently press the sponge onto your dark base-coated nail. Use a light, dabbing motion rather than a rolling or rubbing motion. This transfers the colors and creates a blended swirl effect. Reapply polish to the sponge and dab again if needed to build up the intensity or blend more colors.
- Blend and Layer: You can repeat this process with different color combinations on the sponge, dabbing over areas to build depth and the swirling nebula effect. If you want more vibrant swirls, add a touch of a lighter color (like pink or light blue) onto the sponge and dab gently over areas where you want those colors to pop. Remember to clean your sponge after each nail or switch to a clean section of the sponge to avoid muddying your colors.
- Clean Up Edges: Immediately after sponging, use a small brush dipped in rubbing alcohol or nail polish remover to clean up any polish that got on your skin or cuticles. This gives a super neat finish.
Step 4: Add Your Stars
No galaxy is complete without twinkling stars!
- Glitter Galore: Take your silver or white glitter polish. You can apply a light, even coat for a full starry sky, or use a toothpick or the brush of the glitter polish to strategically dab small dots and clusters of glitter onto your nails. This creates varying densities of stars, making it look more natural.
- Small Dots: For even tinier, more distinct stars, dip a dry toothpick or dotting tool into white or silver polish and gently tap small dots onto your nails. Vary the size and spacing for a realistic effect.
- Optional: Streaks and Details: If you want to add some subtle light streaks or enhance the swirl effect, you can take a very fine brush, dip it into a tiny amount of white or light blue polish, and draw delicate, wispy lines over your dried galaxy design. This adds a luminous quality.
Step 5: Seal the Deal with a Top Coat
This final step locks in all your hard work.
- Apply Top Coat: Once everything is completely dry, apply one generous, smooth layer of your clear top coat. This will seal the design, add a beautiful glossy finish, and protect your galaxy swirl from chipping. Make sure to cap the free edge of your nail by running the brush along the tip of your nail.
- Let it Dry: Allow your top coat to dry completely. This might take a few minutes, so be patient to avoid smudges!
Tips for Galaxy Perfection and Troubleshooting
Even with the best guides, sometimes things don’t go exactly as planned. Here are some tips to help you achieve flawless galaxy nails and what to do if you hit a snag.
Advanced Techniques and Variations
Once you’ve mastered the basic galaxy swirl, you can experiment with these ideas for even more dazzling designs.
- Color Blending: Don’t be afraid to mix and match colors! Try a deep purple base with pink and teal swirls, or black with vibrant blues and greens.
- Texture: For a more textured look, use a slightly dried-out sponge to create a more mottled effect.
- Holographic Elements: Incorporate holographic glitter or polish for an extra ethereal shimmer that catches the light.
- Stamping: Use galaxy-themed stamping plates with metallic or white polishes for precise star patterns or celestial motifs.
- Matte Finish: Instead of a glossy top coat, opt for a matte top coat for a sophisticated, velvety finish.
Common Galaxy Nail Problems and Solutions
| Problem | Solution |
|---|---|
| Colors are muddy/blended too much. | Use less polish on the sponge, dab more gently, and clean your sponge often. Ensure layers are dry before sponging. |
| Sponge is leaving too much texture. | Use a finer-textured sponge or a slightly damp one. Dab very lightly. |
| Polish is smudging while applying glitter or top coat. | Ensure each layer is completely dry before proceeding to the next. You can also use a quick-dry top coat which helps prevent smudging. |
| Cuticles are messy after sponging. | Always clean up edges with a brush and remover immediately after sponging, before the polish fully dries. Alternatively, surrounding your nails with a liquid latex barrier before starting can make cleanup a breeze. For inspiration on nail prep and cleanup, resources like BeautyTap provides excellent tips on nail art preparation. |
| Lack of contrast between colors. | Ensure you are using distinctly different shades. Apply lighter colors more sparingly and strategically to highlight. |
| Glitter is clumping. | Apply glitter polish in thin layers or dab it on with a toothpick for more controlled placement. You can also gently spread out clumpy glitter with the tip of your toothpick. |
Maintaining Your Galaxy Swirl Nails
To keep your cosmic manicure looking its best for as long as possible:
- Moisturize Regularly: Keep your hands and cuticles hydrated with cuticle oil and hand cream. Dryness can lead to chips and peeling.
- Wear Gloves: When doing household chores, especially washing dishes or cleaning, wear gloves to protect your nails from harsh chemicals and prolonged water exposure.
- Avoid Using Nails as Tools: Resist the urge to pick or scrape with your nails, as this can cause chips and lift the polish.
- Touch-Ups: If a small chip occurs, you can try to carefully touch it up with a bit of polish and top coat.
Frequently Asked Questions About Galaxy Swirl Nails
Q1: Is the Galaxy Swirl Nail Design difficult for beginners?
Not at all! While it looks intricate, the sponging technique is very forgiving. With a few basic supplies and this guide, beginners can achieve a stunning galaxy swirl effect with practice.
Q2: What colors are best for a galaxy swirl?
The classic galaxy swirl uses deep blues, purples, and black as a base, with lighter blues, pinks, or white for nebulae effects. Silver or white glitter is essential for stars. However, you can get creative and use any color combination you love!
Q3: How do I get the swirl effect without it looking muddy?
The key is to use your colors sparingly on the sponge and dab gently. Avoid over-blending or using too much polish on the sponge. Clean your sponge frequently between dabs, and ensure your base layers are dry before sponging.
Q4: Can I use my regular makeup sponges?
Yes, standard makeup sponges (like those for foundation) work perfectly! You can also use a clean kitchen sponge cut into small pieces. Just make sure the sponge has a porous texture for best results.
Q5: How do I add the stars realistically?
You can use a glitter polish for a general starry effect. For more control, use a toothpick or dotting tool to place tiny dots of white or silver polish. Varying the size and density of these dots will make your galaxy look more authentic.
Q6: How long will a galaxy swirl nail design last?
With a good base coat and a durable top coat, your galaxy swirl nails can last anywhere from 7 to 14 days, depending on your nail care habits and how well you avoid chipping.
Q7: What is the best way to clean off galaxy nails?
Regular nail polish remover works well. For stubborn glitter, an acetone-based remover or a soak-off method (soaking a cotton ball in remover, placing it on the nail, wrapping with foil, and letting it sit for a few minutes) can be effective. Explore best practices for nail polish removal from reputable sources like NailCareHQ for optimal results.
Conclusion: Your Cosmic Creation Awaits
Creating a galaxy swirl nail design is a wonderfully rewarding process. It’s a chance to blend colors, experiment with textures, and manifest your own little piece of the universe on your fingertips. From the deep allure of space to the sparkle of distant stars, this design offers endless possibilities for self-expression.
Don’t be discouraged if your first attempt isn’t exactly what you envisioned. Nail art is a journey, and every practice session brings you closer to mastering the technique. Embrace the playful side of creativity, have fun with the colors, and enjoy the unique beauty you bring to life. So, gather your polishes, grab your sponge, and get ready to swirl your way to an absolutely stellar manicure. Your cosmic masterpiece awaits you!

