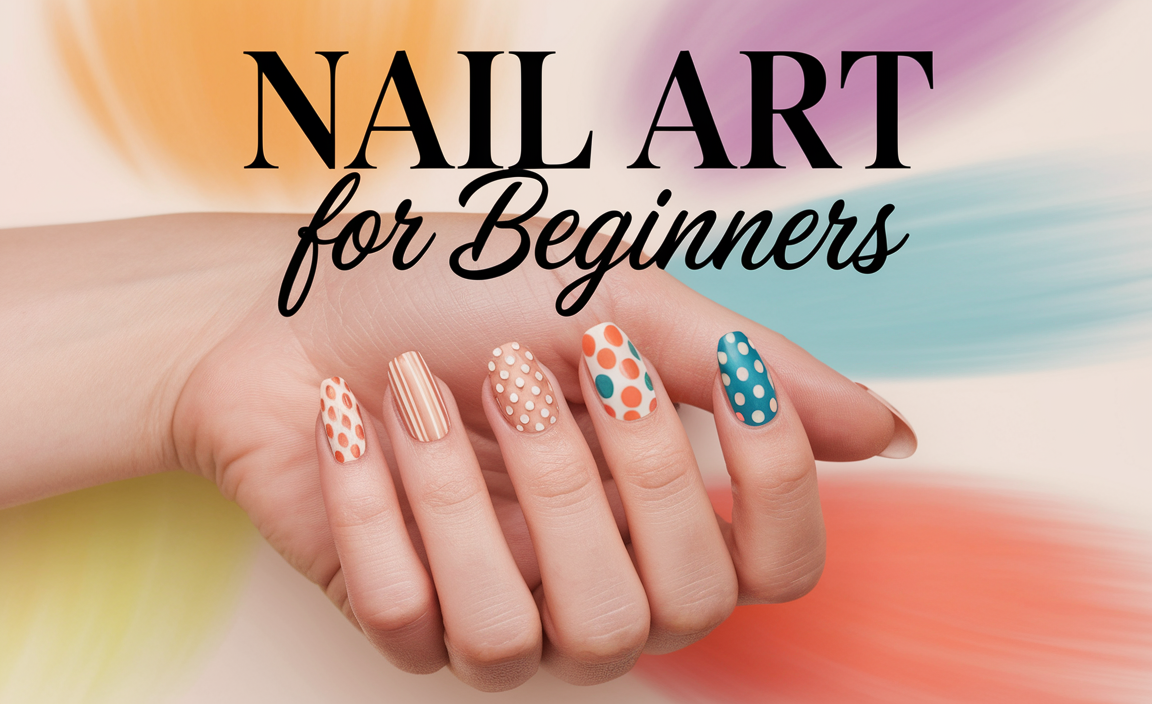
Dive into delightful fruit nail designs! Learn easy, fun ways to create adorable fruity manicures with simple steps and essential tools, perfect for beginners looking to add a pop of color and personality to their nails.
Hello nail art lovers! Are your nails feeling a little bit… plain? Do you crave a splash of vibrant color and some playful designs that are super easy to recreate? Well, you’ve come to the right place! Fruit nail designs are absolutely trending and for good reason – they’re cheerful, unique, and surprisingly simple to master. Forget complicated techniques; we’re going to break down how you can bring a tiny, adorable fruit stand right to your fingertips. Get ready to experiment and express your sunny side with these genius fruit nail ideas. Let’s get painting!
Why Fruit Nail Designs are a Sweet Choice
Fruit nail designs have become a go-to for so many people, and there’s a delicious reason why! They offer a fantastic way to brighten up your look and add a touch of playful sophistication. Whether you’re heading to a summer party, a tropical vacation, or just want to bring some cheer to your everyday, these designs are versatile and eye-catching. Plus, they’re incredibly beginner-friendly, meaning you don’t need to be a nail art pro to achieve stunning results.
These designs are also a fantastic canvas for self-expression. From tiny, detailed watermelon slices to bold, abstract fruity patterns, the possibilities are endless. They’re a conversation starter and a mood booster, all rolled into one. And the best part? You can tailor them to fit any occasion or personal style.
Essential Tools for Your Fruity Manicure Adventure
Before we dive into creating, let’s gather our essential tools. Don’t worry, you probably have most of these at home already! Having the right tools makes the process so much smoother and more enjoyable.
Base Coat: To protect your natural nails and help your polish last longer.
Top Coat: To seal your design, add shine, and prevent chipping.
Nail Polish in Various Colors: Think reds, pinks, yellows, oranges, greens, and whites/creams for the fruits, plus a black or dark brown for tiny details like seeds.
Fine-Tipped Nail Art Brush or Dotting Tool: This is key for drawing small details like seeds or creating perfect little dots. A toothpick can work in a pinch!
Clean-up Brush or Cotton Swabs: For tidying up any polish that lands where you don’t want it.
Nail Polish Remover: To correct mistakes and clean up edges.
Optional: Striping Tape: For creating clean lines, especially useful for designs like strawberries or layered fruits.
Optional: Nail Stencils or Stickers: For a super quick and easy way to add fruit elements if you’re short on time or prefer not to paint freehand.
Having a good selection of colors will really bring your fruit designs to life. Don’t be afraid to mix and match or even create your own custom shades!
Beginner-Friendly Fruit Nail Design Tutorials
Let’s get our hands busy! Here are some super simple fruit nail designs that even a total beginner can do. We’ll walk through them step-by-step.
1. The Classic Strawberry Accent Nail
This design is a fan favorite! It’s cute, recognizable, and incredibly easy to adapt.
What you’ll need: Red nail polish, green nail polish, a dotting tool or toothpick, white or black polish for seeds.
Steps:
1. Apply Base Coat: Start with a clean nail and apply your favorite base coat. Let it dry completely.
2. Paint the Strawberry Body: Paint a small, curved ‘U’ shape on the tip of one or two nails using red polish. This will be your strawberry. You can also paint the entire nail red for a bolder look.
3. Add the Green Cap: Once the red is dry, use your fine-tipped brush or dotting tool to paint a small, jagged green cap on top of the red shape. Think of little leaves sticking out.
4. Dot the Seeds: Using white or black polish and your dotting tool (or the fine brush tip), carefully add tiny dots to the red strawberry body to represent seeds.
5. Seal with Top Coat: Apply a clear top coat to protect your adorable strawberry design and add a glossy finish.
2. Simple Watermelon Slices
Who doesn’t love watermelon? This design is perfect for summer vibes!
What you’ll need: Green polish, a lighter green or white polish, red polish, black or dark brown polish, a fine-tipped brush.
Steps:
1. Apply Base Coat: Start with a clean nail and apply your base coat.
2. Paint the Rind: On the tip of your nail, paint a curved stripe with dark green polish. Above that, paint a slightly smaller, parallel stripe with a lighter green or white polish. This forms the rind.
3. Fill with Red: Fill the remaining space on the nail tip with vibrant red polish.
4. Add Seeds: Use your fine brush or dotting tool with black or dark brown polish to draw a few small, curved seed shapes within the red area.
5. Seal with Top Coat: Finish with a clear top coat for shine and durability.
Pro Tip: For a neat rind, try using striping tape to create clean lines between the colors.
3. Cheerful Cherry Duo
This design is sweet and simple, perfect for a playful accent.
What you’ll need: Red nail polish, black polish, a fine-tipped brush or dotting tool, green polish (optional for leaves).
Steps:
1. Apply Base Coat: Get your base coat on and let it dry.
2. Paint the Cherry: Paint two small, round circles of red polish on one or two nails. You can place them close together on a single nail.
3. Add the Stem (Optional): Use your fine brush with black polish to draw a short stem or two connecting the cherries if you like. You can even add a tiny green leaf at the top of the stem.
4. Tiny Seed Detail (Optional): For a bit more realism, add one or two minuscule black dots inside each cherry.
5. Seal with Top Coat: Apply your top coat to lock everything in place.
4. Citrus Twist (Orange/Lemon/Lime)
These bright and zesty designs are sure to make your nails pop!
What you’ll need: Orange, yellow, or green polish, black polish, fine-tipped brush or dotting tool.
Steps for Orange Slice:
1. Base Coat: Apply your base coat and let it dry.
2. Paint the Orange: Paint a rounded shape with orange polish on your nail.
3. Add Lines: Use a fine brush with dark orange or black polish to draw thin, curved lines radiating from an imagined center outwards, mimicking the segments of an orange slice. You can also add a few tiny black dots for texture.
4. Top Coat: Seal with a clear top coat.
Steps for Lemon/Lime Wedge:
1. Base Coat: Apply your base coat and let it dry.
2. Paint the Wedge: Use a yellow (lemon) or green (lime) polish to paint a wedge shape on the tip of your nail. Imagine a pie chart slice.
3. Add Seeds: With your fine brush and black polish, add a couple of small, curved seed shapes within the wedge.
4. Top Coat: Finish with a clear top coat.
5. Berry Cute Designs (Blueberry/Raspberry)
Tiny berries are incredibly charming and easy to create.
What you’ll need: Blue or purple polish (for blueberries), red or pink polish (for raspberries), white polish, fine-tipped brush or dotting tool.
Steps for Blueberries:
1. Base Coat: Apply your base coat.
2. Paint the Berries: Use a dotting tool to place small, round dots of blue or purple polish on your nail. You can cluster a few together.
3. Add Highlights: Dip your dotting tool into a tiny bit of white polish and add a small highlight dot to each blueberry for a 3D effect.
4. Top Coat: Seal with clear top coat.
Steps for Raspberries:
1. Base Coat: Apply your base coat.
2. Paint the Berries: Use red or pink polish. Create small, irregular bumpy shapes with your brush or dotting tool to mimic the texture of raspberries. You can overlap them slightly.
3. Add Seed Dots (Optional): For extra detail, use a very fine brush with a darker shade of red or a touch of black to add tiny dots.
4. Top Coat: Finish with your top coat.
Mastering the Art: Pro Tips for Fruit Nail Designs
Even with simple designs, a few expert tips can elevate your fruit nail art from good to absolutely gorgeous!
Thin Coats are Key: Apply multiple thin coats of polish rather than one thick one. This ensures even drying and a smoother finish, preventing dreaded bumps and smudges.
Let it Dry (Really!): Impatience is the enemy of nail art. Ensure each layer of polish or paint is completely dry before adding the next. This is crucial for preventing the colors from bleeding and for achieving clean lines.
Clean Up is Crucial: Keep a clean-up brush (a fine brush with a slightly angled tip works wonders) dipped in nail polish remover handy. Use it to carefully swipe away any polish that got onto your skin or cuticles. This makes your design look professionally done! You can find great tools for this on reputable beauty supply sites.
Dotting Tool Power: If you don’t have a dotting tool, the tip of a toothpick or even the end of an eyeliner brush can work for creating small dots and details like seeds. Experiment with different sizes of dots for varied looks.
Practice Makes Perfect: Don’t get discouraged if your first attempt isn’t flawless. Nail art takes practice! Try out designs on paper or on your non-dominant hand first.
Balance Your Design: You don’t need to cover every nail with fruit. An accent nail or two often makes a stronger statement and is easier to maintain.
Embrace Texture: For some fruits, like raspberries or mulberries, embracing a slightly bumpy or textured application can actually enhance the realism!
Beyond the Basics: Creative Fruit Nail Variations
Once you’ve mastered the simple designs, why not try some fun variations?
Fruity French Tips
Instead of white, use colorful polishes to create fruit-themed French tips. Imagine a juicy watermelon pink tip, or a zest yellow tip for a lemon-inspired look.
Gradient Fruit Nails
Create a gradient base with two or three colors that represent a fruit (e.g., yellow to orange for a peach). Then, add a subtle fruit outline or pattern.
Abstract Fruit Patterns
Instead of painting a whole fruit, think about the shapes and colors. Use dots, triangles, and lines in fruity color palettes to create an abstract, modern art-inspired look. You can find inspiration for color combinations from sources like Canva’s guides on fruit color palettes.
Fruity Nail Art Stickers & Decals
For the quickest results or if freehand painting isn’t your jam, high-quality nail art stickers and decals are amazing. They come in countless fruit designs and are super easy to apply over a base and top coat.
When to Rock Your Fruit Nail Designs
Fruit nail designs are incredibly versatile and suit almost any occasion!
Summer Fun: They are a natural fit for warmer months, beach trips, and outdoor gatherings.
Tropical Vacations: Perfect for adding a festive touch to your holiday spirit.
Casual Everyday Wear: They add a splash of personality and brightness to your daily look.
Parties & Celebrations: From birthdays to BBQs, they’re a fun and festive choice.
Just Because! Sometimes, you just need a little joy on your fingertips, and fruit designs deliver!
Caring for Your Fruity Manicure
To ensure your fruity creations last as long as possible, follow these simple care tips:
Reapply Top Coat: Every 2-3 days, reapply a fresh layer of top coat. This reinforces the design, adds shine, and helps prevent chips.
Avoid Harsh Chemicals: When cleaning or washing dishes, wear gloves. Harsh detergents can break down the polish and affect the design.
Moisturize: Keep your cuticles and hands well-moisturized. Healthy nails and skin make any manicure look its best.
* Be Gentle: Avoid using your nails as tools to pick, scrape, or pry. This can cause chipping and damage.
Frequently Asked Questions About Fruit Nail Designs
Q1: Are fruit nail designs difficult for beginners?
A1: Not at all! Many fruit nail designs, like simple strawberry dots or basic watermelon slices, are very easy to learn. We’ve outlined several beginner-friendly options in this guide!
Q2: What colors do I absolutely need for fruit nail designs?
A2: You’ll want a variety! Key colors include red (strawberries, cherries), green (leaves, limes), yellow/orange (lemons, oranges), pink (raspberries), and blue/purple (blueberries). White or black is also essential for details like seeds or highlights.
Q3: How can I make my fruit nail designs look more realistic?
A3: Use a fine-tipped brush for detailed seeds or patterns. Adding subtle highlights with white or a lighter shade can create depth. Practicing different shapes and textures will also help.
Q4: What should I do if I mess up a fruit design?
A4: Don’t worry! Keep nail polish remover and a clean-up brush or cotton swab handy. You can carefully wipe away the mistake and try again. For small errors, a carefully placed seed or detail can often cover it up!
Q5: Can I use nail stickers or stencils for fruit designs?
A5: Absolutely! Nail stickers and stencils are fantastic tools, especially for beginners or for achieving intricate designs quickly. They offer professional-looking results with minimal effort.
Q6: How long do fruit nail designs typically last?
A6: With a good base coat, careful application, and regular top coat touch-ups every few days, your fruit nail designs can last anywhere from 7 to 14 days, depending on how well you care for your hands.
Q7: Are there specific tools I need besides nail polish?
A7: A fine-tipped nail art brush or dotting tool is highly recommended for details like seeds. A clean-up brush for tidying edges, along with a good base and top coat, are also essential.
Conclusion: Your Nails Just Got a Whole Lot Sweeter!
There you have it – your guide to creating adorable and genius fruit nail designs! We’ve covered the must-have tools, broken down simple step-by-step tutorials for your favorite fruits, and shared pro tips to ensure your manicures look amazing. Remember, nail art is all about fun and self-expression, so don’t be afraid to get creative, experiment with colors, and put your own unique spin on these designs.
Whether you opt for a single accent nail or go all out with a fruity theme across all your digits, these designs are guaranteed to bring a smile to your face and brighten your day. So, grab your polishes, find your favorite fruity inspiration, and start painting. Your nails are about to become the sweetest accessory! Happy painting!


