Get juicy, vibrant nails with simple fruit-inspired nail designs! Perfect for beginners, these ideas use bright colors and fun patterns to make your manicure pop. Discover easy tutorials and stunning looks that are sure to brighten your day and your fingertips!
Ever glance at a perfectly ripe strawberry or a slice of juicy watermelon and think, “Wow, that would look amazing on my nails!”? You’re not alone! Fruit-inspired nail designs are a fantastic way to inject some fun, color, and playful charm into your look. They’re incredibly versatile, working for a casual day out or even a themed party. However, diving into nail art can sometimes feel a little intimidating, especially if you’re just starting. You might worry about making a mess, not having the right tools, or if the design will even turn out. But don’t you fret! This guide is here to make fruit nail art totally achievable and super enjoyable for everyone.
We’ll break down everything you need to know, from basic prep to creating some of the sweetest designs you’ve ever seen. Get ready to transform your nails into a miniature fruit stand of deliciousness. Let’s get started!
Why Fruit Nails are a Summer (and Anytime!) Must-Have
Fruit motifs on nails aren’t just a passing trend; they’re a timeless celebration of nature’s vibrant palette. Think about it: the sunshine yellow of a lemon, the deep blush of a raspberry, the cool green of a lime. These colors naturally evoke feelings of happiness, freshness, and zest for life. They’re a delightful way to express your personality and add a pop of cheer to any outfit. Plus, they’re wonderfully forgiving for beginners! A little smudge here or a slightly wobbly line there can often be incorporated into the charming, homemade feel of fruit art.
Beyond the aesthetic appeal, fruit nail designs are incredibly adaptable. You can go for a full-on fruit fantasia with each nail sporting a different design, or opt for a subtle nod with a single accent nail featuring a tiny strawberry. They’re perfect for warmer months when nature is in full bloom, but honestly, who can resist a cute cherry or a sweet pineapple any time of year? They’re a playful escape and a fantastic conversation starter.
Getting Started: Your Fruit Nail Art Toolkit
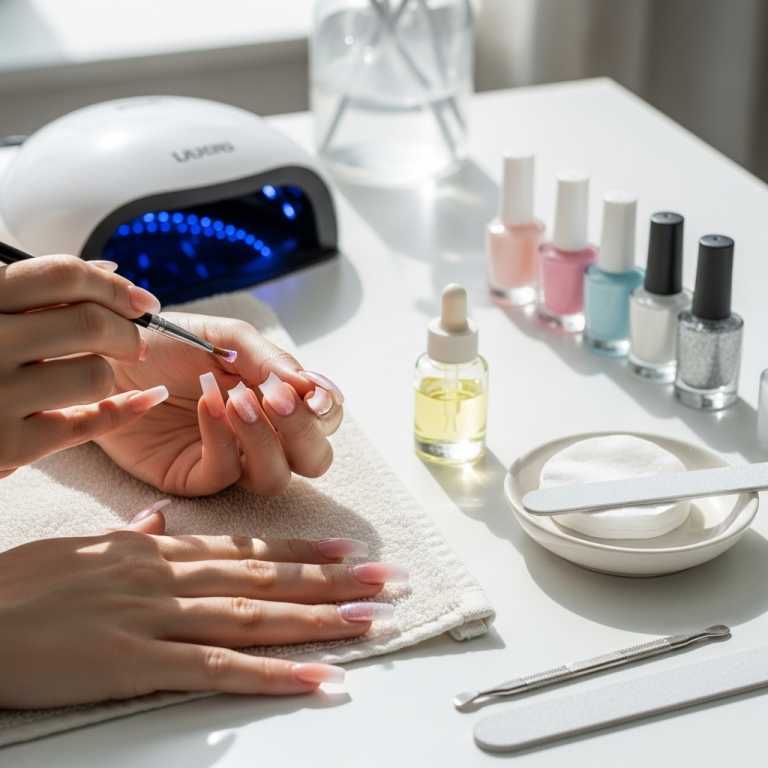
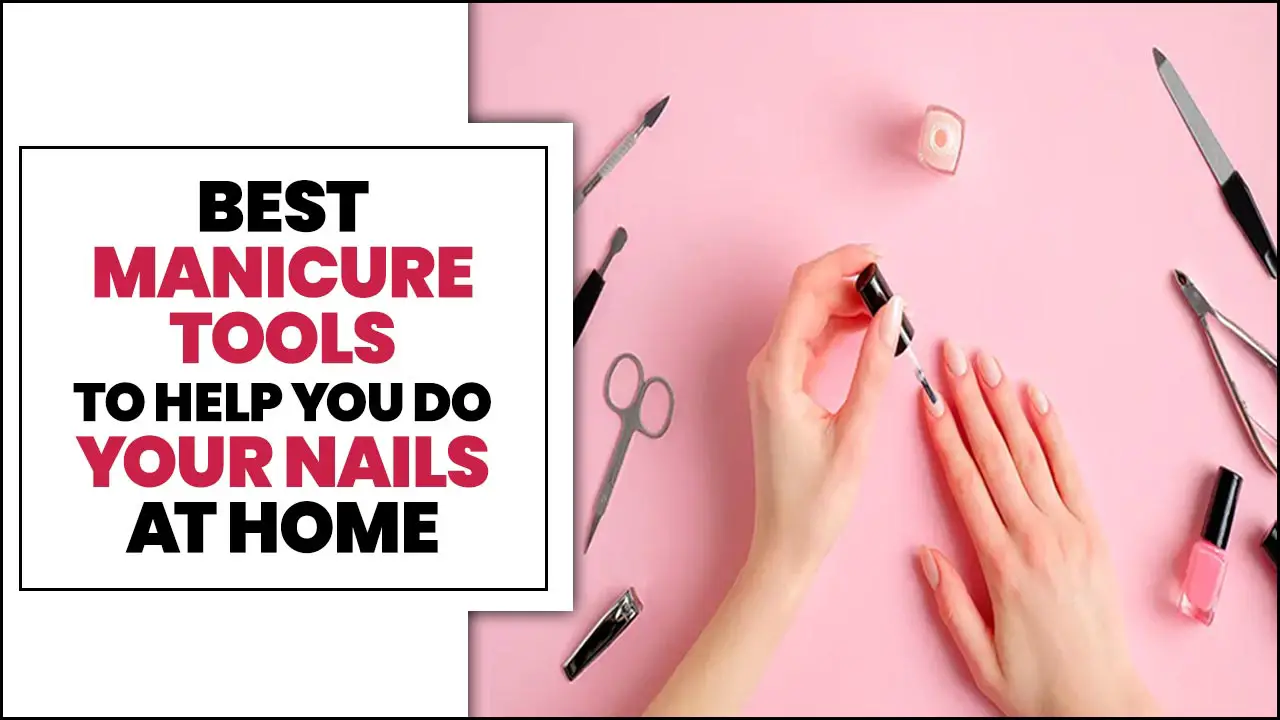
You don’t need a professional nail salon in your bathroom to create amazing fruit-inspired nail designs. A few essential tools and some basic supplies will set you up for success. Starting with the right tools makes all the difference, ensuring your creations look neat and are easier to achieve. Think of these as your friendly nail art sidekicks!
Essential Nail Art Supplies:
- Base Coat: This protects your natural nails from staining (especially from bright colors!) and helps your polish last longer.
- Top Coat: Seals your design, adds shine, and prevents chipping, making your manicure last for days.
- Nail Polish in Various Colors: You’ll need a palette that includes bright reds, oranges, yellows, greens, pinks, and whites. Don’t forget a good black or dark brown for outlines and details.
- Thin Nail Art Brushes: These are crucial for drawing details like seeds, stems, and fine lines. A set with different tip sizes is ideal.
- Dotting Tools: These have small metal balls on the end and are perfect for creating dots (like seeds or water droplets) and small circles. They come in various sizes.
- Toothpick or Orange Stick: Handy for cleaning up small mistakes, picking up tiny glitter pieces, or spreading polish for larger areas.
- Nail Polish Remover: Essential for correcting errors and cleaning up cuticles after painting.
- Cotton Balls/Pads: For applying nail polish remover.
Optional (But Helpful!) Tools:
- Nail Art Pens: Pre-filled with polish and a fine tip, these can be easier for beginners to use for drawing details.
- Stencils: If freehand drawing isn’t your thing, stencils can help create clean shapes.
- Dotting Tool Holder: To keep your dotting tools organized.
Remember, you don’t need everything all at once! Start with a few basic colors, a good base and top coat, and a thin brush or dotting tool. You’ll be amazed at what you can create.
Prep Like a Pro: The Foundation for Fabulous Fruit Nails
Before you even think about painting on that tiny strawberry, proper nail preparation is key! A clean, smooth canvas ensures your design looks professional and lasts longer. It’s like preparing a canvas before painting a masterpiece – you want it perfect!
Your Quick Prep Checklist:
- Clean Your Nails: Remove any old nail polish. Wash your hands with soap and water to get rid of any oils or dirt.
- Shape Your Nails: File your nails to your desired shape. Smooth edges so polish adheres evenly.
- Push Back Cuticles: Gently push back your cuticles using an orange stick or cuticle pusher. This gives you more surface area to work with and a neater finish.
- Buff (Optional): Lightly buff the surface of your nails to create a smooth base for polish. Be gentle!
- Apply Base Coat: Apply one thin layer of base coat and let it dry completely. This step is super important!
Taking these few moments for preparation will significantly improve the final look and longevity of your fruit-inspired nail art. It’s the secret step that elevates DIY manicures!
Step-by-Step: Adorable Fruit Inspired Nail Designs for Beginners
Ready to get creative? Let’s dive into some of the easiest and most popular fruit nail designs. We’ll cover the basics so you can nail these looks with confidence!
1. The Classic Strawberry: Sweet & Simple
The strawberry is a beginner’s best friend! Its simple shape and iconic color make it instantly recognizable and easy to paint.
What You’ll Need:
- Red nail polish
- Green nail polish
- Black or dark brown nail polish
- Thin nail art brush or dotting tool
- White nail polish (optional, for highlights)
Steps:
- Paint the Base: Apply one or two coats of red nail polish to your nail. Let it dry completely.
- Add the Stem: Using your thin brush and green polish, paint a small V-shape or a few leaves at the top of the red base. You can also use a dotting tool to create a small green dot.
- Create the Seeds: With your dotting tool or the very tip of your thin brush, carefully add tiny black or dark brown dots over the red surface to mimic seeds. Don’t worry about perfect placement; organic looks are great!
- Add Highlights (Optional): For extra dimension, use a tiny dot of white polish on a toothpick to add a small highlight or two.
- Seal with Top Coat: Once everything is dry, apply a clear top coat to protect your masterpiece.
2. The Zesty Lemon/Lime Slice: Bright & Cheerful
These citrus designs are super easy and add a burst of sunshine to your nails. You can do full slices or just half-moons.
What You’ll Need:
- Yellow or light green nail polish
- White nail polish
- Thin nail art brush
- Optional: A fine glitter polish in a coordinating color
Steps for Slices:
- Base Color: Paint your nail yellow for lemon or light green for lime. Apply a second coat if needed and let it dry.
- Create the “Segments”: Using your thin brush and white polish, paint thin, slightly curved lines radiating from the base of the nail towards the tip, like tiny wedges. You can also create a simple half-moon shape at the tip of your nail.
- Add Details: For a more realistic look, you can add a few tiny dots of white within the segments.
- Glitter or Shine (Optional): For a fun twist, add a layer of clear glitter polish over the top before the final top coat.
- Seal it Up: Apply a clear top coat to seal your design.
3. The Cute Cherry Duo: Playful & Pretty
Cherries are iconic and surprisingly simple to replicate. Focus on the round shape and the stem.
What You’ll Need:
- Red nail polish
- Black nail polish
- Thin nail art brush
- Optional: Green polish for leaves
Steps:
- Red Base: Paint your nail a vibrant red. Allow it to dry.
- Form the Cherry Ball: Using your thin brush and red polish, carefully paint a small, near-perfect circle or slightly oval shape on your nail. You can also just use the red polish itself if you’re feeling confident with the brush it came with.
- Add the Stem: With your thin brush and black polish, draw a small, straight line extending upwards from the top of the red circle to create the stem.
- Optional Leaf: Add a tiny, simple green leaf shape at the base of the black stem.
- Seal and Shine: Once dry, finish with a protective top coat.
4. The Tropical Pineapple: Bold & Funky
Pineapples have a distinct texture and color that translate beautifully to nails.
What You’ll Need:
- Yellow or golden orange nail polish
- Green nail polish
- Brown or black nail polish
- Thin nail art brush or dotting tool
Steps:
- Pineapple Body: Paint your nail yellow. Let it dry.
- Create the Diamond Pattern: Using your thin brush and brown or black polish, paint subtle, slightly curved diagonal lines going in both directions to create a diamond or criss-cross pattern, mimicking the pineapple’s texture. You don’t need to be perfect; messy lines add character!
- Add the Green Crown: With your thin brush and green polish, paint a few spiky leaf shapes extending from the top base of your nail. Think of sharp, pointed shapes.
- Seal It: Apply a good top coat once everything is dry.
5. Berry Accents: Tiny & Tempting
Small fruits like blueberries or raspberries make for charming accent nails.
What You’ll Need:
- Blue or deep pink/red nail polish
- Black or dark brown polish (for blueberry seeds)
- Thin nail art brush or dotting tool
- Green polish (optional, for raspberry seeds/stems)
Steps for Blueberries:
- Blue Base: Paint your nail a nice shade of blue. Let it dry.
- Add Blueberries: Use your dotting tool or the tip of your brush to create small, round dots of the same blue polish. You can cluster a few together for a bunch effect.
- Seed Details: While the blue dots are still slightly wet, use a toothpick to carefully create one or two tiny indentations or “dimples” on each berry to mimic the natural look. Alternatively, add tiny black dots.
- Seal: Apply a top coat.
Steps for Raspberries:
- Pink/Red Base: Paint your nail a raspberry pink or deep red.
- “Drupelet” Texture: Using your thin brush and the same color, create small, irregular circular shapes clustered together to form a raspberry shape. You can also use a dotting tool to create many small dots close together.
- Tiny Seeds: Add even tinier dots of black or dark brown for seeds.
- Optional Green Touch: A tiny green stem or leaf piece can be added at the base for detail.
- Top Coat: Seal with a clear top coat.
Tips for Perfecting Your Fruit Nail Art
Even with the easiest designs, a few pro tips can elevate your fruit-inspired manicures from good to absolutely delicious!
- Thin Layers are Key: Resist the urge to slather on thick coats of polish. Thin, even layers dry faster and look much neater.
- Clean As You Go: Keep your nail polish remover and a cleanup brush (an old, flat eyeliner brush works well!) handy. Dip the brush in remover and carefully neaten up any smudges or wobbly lines around the cuticle and edges of your nail.
- Patience is a Virtue: Let each layer dry completely before moving on to the next. This is especially important when adding details like seeds or stems.
- Practice Makes Perfect: Don’t get discouraged if your first attempt isn’t flawless. Every nail artist started somewhere! Practice on paper or even just a few nails to get the hang of the brushes and techniques.
- Color Combinations for Impact: Think about contrasting colors. A bright yellow lemon looks even more vibrant against a crisp white background or a simple nude base.
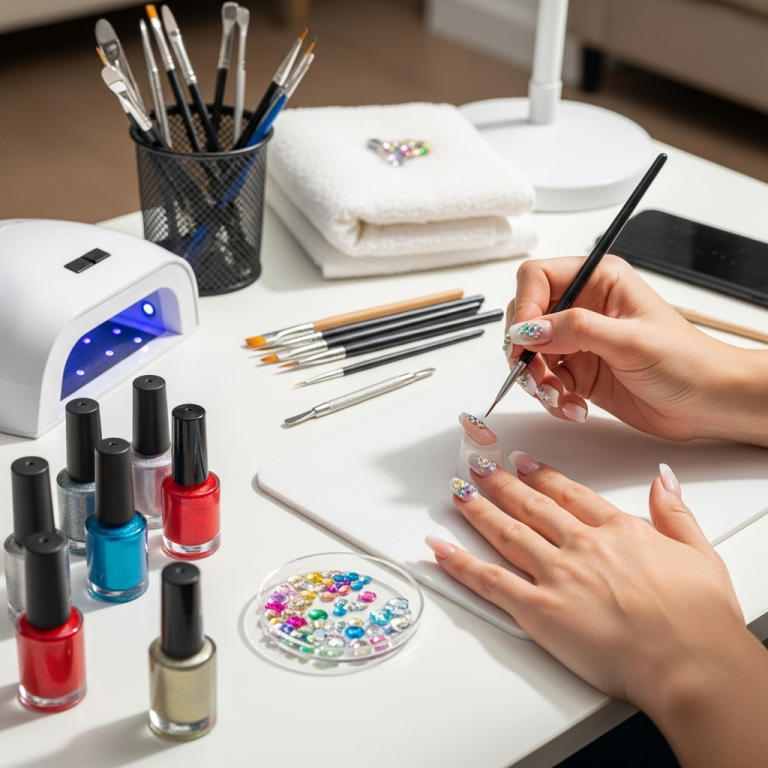
- Accessorize: Add small rhinestones for dew drops or tiny glitter accents to make your fruit pop!
Beyond the Basics: Exploring Fruit Nail Design Variations
Once you’ve mastered the simple fruit shapes, you can start experimenting with more intricate and creative variations. Fruit doesn’t just mean whole fruits or slices; think about patterns, textures, and combined elements!
Fruity Ombre and Gradient Nails:
Instead of solid colors, blend shades of your chosen fruit color. For a sunset peach ombre, start with a deep orange at the base and gradually blend into a soft pink or yellow at the tip. You can even add tiny fruit dots or slices on top of the gradient for an extra layer of fun.
Watermelon Nails:
This is a classic! Paint the base of your nail green, then add a curved layer of pink or red, and finally a thin black line for the rind. Tiny black dots can represent seeds. A simple half-moon shape at the tip is also a cute way to do this.
| Design Element | Color Palette Suggestion | Key Technique |
|---|---|---|
| Strawberry | Red, Green, Black | Simple shape, dotting for seeds |
| Citrus Slice (Lemon/Lime) | Yellow/Green, White | Radiating lines or half-moon |
| Cherry | Red, Black | Circle with a vertical stem line |
| Pineapple | Yellow/Orange, Green, Brown/Black | Diamond texture, spiky crown |
| Watermelon | Green, Pink/Red, Black | Layered colors representing rind, fruit, seeds |
| Berry Cluster | Blue/Purple/Pink, Black | Small dots clustered together |
Abstract Fruit Patterns:
Instead of realistic depictions, try abstract interpretations. Use geometric shapes in fruit colors, or create splatters and swirls that evoke the essence of fruit. A splatter of red and pink polishes can look like a playful berry stain, while wavy lines of green and yellow can suggest kiwi.
Fruit Charms and 3D Elements:
For a more advanced touch, you can use small fruit-shaped charms or even create simple 3D elements using acrylic or gel. These add a unique texture and dimension to your nails, turning them into tiny works of art.
Maintaining Your Fruit-Inspired Manicure
You’ve spent time creating a delicious-looking fruit nail design, so you’ll want it to last! Here’s how to keep your fruity nails looking fresh.
- Wear Your Top Coat Faithfully: Always finish with a good quality top coat. Reapply a thin layer every 2-3 days to help maintain shine and prevent chipping.
- Be Gentle: Avoid using your nails as tools. Try not to scrape or pick at anything, as this can lift the polish and design.
- Moisturize: Keep your hands and cuticles hydrated with lotion or cuticle oil. Healthy cuticles make your whole manicure look better and can prevent hangnails that might interfere with your designs.
- Gloves for Chores: When doing dishes or cleaning, wear rubber gloves to protect your nails from harsh chemicals and prolonged water exposure, which can weaken polish.
Frequently Asked Questions (FAQ) about Fruit Nail Designs
Q1: Are fruit nail designs difficult for beginners?
A: Not at all! Many fruit designs, like the strawberry or simple lemon slices, are very beginner-friendly. They often involve basic shapes and dotting, which are easy to learn. Start with simple designs, and you’ll build confidence.


