French tip nail design ideas are all about reinventing the classic! From subtle updates to bold color twists, these essential styles offer a fresh take on a timeless manicure. Discover easy ways to elevate your French tips for a chic, polished look that’s perfect for any occasion, even for beginners.
Ah, the French tip! It’s a classic for a reason, right? That crisp white line against a soft pink or nude base just screams elegance. But sometimes, even classics can start to feel a little, well, classic. If you’ve ever found yourself wanting to spice up your go-to French manicure but felt a bit hesitant, you’re in the right place! We’ve all stared at our nails, wondering how to add that little something extra without going overboard.
Don’t worry, creating beautiful French tip nails is totally achievable, and you don’t need to be a pro artist! This guide is here to show you the most popular and stylish French tip nail design ideas. We’ll break down the essential styles, share some super easy DIY tips, and help you discover your new favorite look. Get ready to fall in love with French tips all over again!
Why French Tips Endure: The Timeless Appeal
The French manicure has been a staple in the beauty world for decades, and its enduring popularity is no accident. It’s a style that offers a sophisticated and clean aesthetic that complements any outfit and occasion. The subtle contrast between the natural nail color and the white tip creates a polished look that elongates the fingers and makes hands appear more refined.
Think about it: a perfectly executed French tip is like a little black dress for your nails – it never goes out of style. This timeless appeal makes it a go-to for weddings, professional settings, and everyday wear. Its understated elegance means it can be dressed up or down, making it incredibly versatile. Plus, it’s a fantastic base for subtle nail art or can stand entirely on its own.
The beauty of the French tip lies in its simplicity and the illusion it creates. It’s known for making nails look healthy and well-groomed. For those who love a polished look without a lot of fuss, the classic French is an absolute champion. Understanding its appeal is the first step to appreciating the modern variations we see today.
Essential French Tip Nail Design Ideas
Ready to explore some fabulous French tip variations? These styles are popular for a reason – they offer a fresh twist on the classic while keeping that elegant vibe. We’ll cover everything from subtle color changes to more playful designs.
The Classic French: Still a Champion
Before we branch out, let’s give a nod to the original! The classic French manicure features a natural-looking pink or nude base with a crisp, opaque white tip. It’s the epitome of clean, elegant nails. If you’re new to nail art or simply love a sophisticated look, this is your starting point. The key to a perfect classic French is a clean, precise smile line.
DIY Tips for a Perfect Classic French:
- Prep is Key: Start with clean, dry nails. Push back your cuticles and gently buff the nail surface for better polish adhesion.
- Base Coat: Apply one to two coats of a sheer pink or nude polish for your base color. Let it dry completely.
- The White Tip: This is where you have options!
- Freehand: Use a thin nail art brush dipped in white polish to draw your smile line. Practice makes perfect!
- Stencils: Use French tip guide stickers. Place them carefully along your desired smile line and paint the tip. Remove the stencil while the polish is still slightly wet.
- Dotting Tool: Some find it easier to dab polish onto the tip and then refine the shape.
- Top Coat: Seal everything with a high-shine top coat for durability and a glossy finish.
For those who want a more natural feel, consider using a milky white polish for the tip instead of a stark opaque white. This offers a softer, more diffused look.
Colored Tips: A Splash of Fun
Why stick to white when the rainbow awaits? Colored French tips are a fantastic way to add personality to your manicure without straying too far from the classic silhouette. This is one of the easiest ways to update your look.
Popular Colored Tip Choices:
- Pastel Power: Soft blues, lilacs, mint greens, and pale pinks offer a delicate and trendy upgrade.
- Bold & Bright: Think vibrant reds, electric blues, hot pinks, or sunny yellows for a statement look.
- Metallics: Gold, silver, rose gold, or even iridescent tips add a touch of glam.
- Deep & Moody: Burgandy, deep teal, or forest green tips can offer a sophisticated alternative for fall and winter.
How to Achieve: Simply replace the white polish in the classic French tip application with your chosen color. You can do a single color on all nails or mix and match for a playful effect.
Reverse French Tips: The Unexpected Twist
This design flips the script by placing the color or accent at the base of the nail, near the cuticle, instead of the tip. It creates a captivating crescent shape.
Getting the Reverse French Right:
- Apply your base color as usual.
- Use a fine nail art brush or a small dotting tool to create a crescent shape along your cuticle line.
- Fill in the crescent with your accent color.
- Alternatively, some people use a sticker to create a clean line and then paint the moon shape.
The reverse French can be done with contrasting colors, or you can use a metallic or glitter polish for a subtle shimmer at the base. This style often looks chic with a nude or sheer base.
Double French Tips: Layered Sophistication
Add depth and dimension by layering two French tips! This involves creating one smile line and then adding a second, thinner line above or below it in a different color.
Ideas for Double French Tips:
- Classic with a Twist: A white tip with a thinner black or gold line just above it.
- Color Blocking: A pink tip followed by a thinner blue line.
- Subtle Shine: A sheer pink base with a white tip, and then a fine glitter line tracing the white tip’s edge.
Application Tip: Patience is crucial here. Ensure the first line is completely dry before carefully applying the second, thinner line with a steady hand or a nail art brush.
Glitter French Tips: Sparkle and Shine
Who doesn’t love a bit of sparkle? Glitter is a fantastic way to add glamour to your French tips, making them perfect for parties or just a bit of everyday dazzle.
Glitter French Variations:
- Glitter Tips: Replace the white polish entirely with a glitter polish.
- Glitter Smile Line: Create a classic white or colored tip, and then trace the smile line with a fine glitter polish.
- Glitter Accent: Apply a solid glitter polish to just the tips, leaving the base natural.
- Full Glitter Base with Clear/White Tip: A bold choice where the entire nail is covered in glitter, with a traditional French tip painted over it.
“Glitter polish can sometimes be tricky to apply smoothly. Using a sponge can help build up the glitter density for a full-tip effect,” says nail artist and blogger Sarah Chen (Chen, 2023).
Embellished Tips: Adding Flair
Take your French tips to the next level with small embellishments. This can include anything from tiny rhinestones to delicate charms.
Embellishment Ideas:
- Rhinestone Accents: Place a few small gems along the smile line or at the base of one or two nails.
- Pearls: Tiny pearls can create a very elegant, vintage feel when placed along the smile line.
- Studs: Small metallic studs can add a edgier vibe.
Application: Use a dot of nail glue or a thick top coat to adhere small embellishments securely. It’s best to keep these minimal for a chic look.
Ombre French Tips: Blended Beauty
The ombre effect, a smooth gradient from one color to another, can be stunningly applied to French tips. Instead of a sharp line, the color fades seamlessly.
Creating Ombre French Tips:
- Gradient Tips: Apply a base color. Then, using a makeup sponge, dab from the tip of the nail upwards, blending a second color (or white) into it.
- Subtle Blend: A very soft transition from the natural nail color to a pastel or nude tip can be achieved with careful blending.
This technique requires a bit of practice, but the result is a sophisticated and modern look.
Cut-Out French Tips: Edgy and Modern
For a truly unique look, try cut-out French tips. This involves leaving a small section of the natural nail showing through the tip color, creating a geometric effect.
Achieving Cut-Out Tips:
- Apply your base color.
- Use a precision brush or stencil to outline where your tip will be.
- Carefully paint the tip color, ensuring you leave a small gap or “cut-out” along the smile line.
This design is bold and fashion-forward, perfect for those who want to stand out.
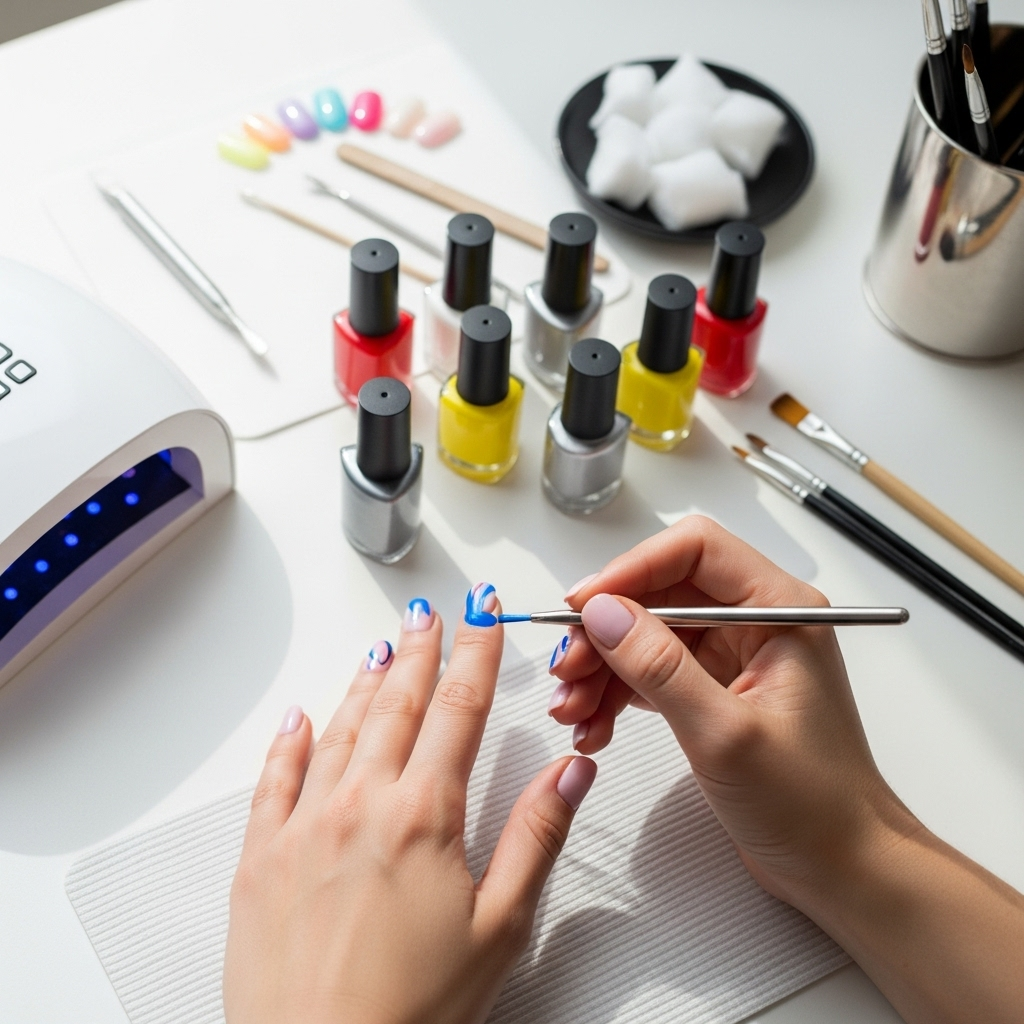
French Tip Nail Design Tools & Supplies
To achieve these stunning French tip designs, having the right tools makes all the difference. You don’t need a professional salon’s worth of equipment; a few key items will set you up for success.
Must-Have Supplies:
- Nail Polish: Base coat, your chosen colors (nudes, pinks, whites, and accent shades), and a good quality top coat.
- Nail Files & Buffers: For shaping and preparing the nail surface.
- Cuticle Pusher/Orange Stick: To gently care for your cuticles.
- Nail Polish Remover & Cotton Pads: For clean-up mistakes.
Helpful Tools for Precision:
- Thin Nail Art Brush: Essential for freehand lines and details. Look for brushes with very fine bristles.
- Dotting Tools: Great for creating small dots and can help with shaping the French tip line.
- French Tip Guide Stickers/Stencils: These adhesive guides help create clean, crisp smile lines, especially for beginners. You can find various shapes online or at beauty supply stores.
- Makeup Sponge: Ideal for creating ombre effects.
- Tweezers: For precise placement of any embellishments like gems or pearls.
When choosing polishes, consider the formula. Quick-dry formulas can be a lifesaver when you’re in a hurry. For intricate designs, opt for polishes with good pigment saturation so you only need one or two coats.
Step-by-Step: Creating Your Own French Tips (Beginner Friendly!)
Let’s walk through a simplified process for creating a beautiful French tip design at home. We’ll focus on a colored tip variation, which is just as easy as the classic!
Materials Needed:
- Base Coat
- Sheer Nude or Pink Polish (optional, for base color)
- Your Chosen Tip Color Polish
- Top Coat
- French Tip Guide Stickers OR a thin nail art brush
- Nail Polish Remover & Cotton Swabs (for cleanup)
The Process:
- Prepare Your Nails: Start with clean, dry nails. Ensure all old polish is removed. Gently push back your cuticles and buff the nail surface lightly to create a smooth canvas.
- Apply Base Coat: Apply one coat of base coat to protect your natural nails and help the polish adhere better. Let it dry completely.
- Apply Base Color (Optional): If you’re using a sheer nude or pink polish for your base color, apply one to two thin coats now. Allow each coat to dry thoroughly. This step gives your nails a healthy, polished look before the tip is added.
- Apply French Tip Guides (If Using): Carefully place a French tip guide sticker across your nail, about 1-2mm from the free edge. Ensure the sticker is pressed down firmly to prevent polish from bleeding underneath.
- Paint the Tip:
- With Guides: Dip your chosen tip color polish brush into the bottle, wipe off excess, and carefully paint the area of the nail above the sticker. Apply one or two thin coats for opacity.
- Without Guides (Freehand): Use a thin nail art brush dipped in your tip color polish. Starting from one side of your smile line, draw a curved line across the tip of your nail, then connect it on the other side. Aim for a smooth curve.
- Remove Guides (If Used): While the tip polish is still slightly wet (not fully dry, but not pooling), gently and slowly peel off the sticker. This ensures a cleaner line and prevents lifting.
- Cleanup: Use a cotton swab dipped in nail polish remover to carefully clean up any smudges or mistakes around the cuticle and sides of your nails.
- Apply Top Coat: Once all the polish is completely dry, apply one to two coats of a good quality top coat. This seals your design, adds shine, and protects against chipping.
Remember, practice is key! Don’t get discouraged if your first attempt isn’t perfect. Every time you try, you’ll get better. For online resources on nail shaping and care, the American Academy of Dermatology features helpful insights: AAD Nail Care Guidelines.
French Tip Design Ideas Table
Here’s a quick overview of some popular French tip styles and their characteristics:
| Style Name | Description | Best For | Difficulty (Beginner) |
|---|---|---|---|
| Classic French | Sheer base with opaque white tip. | Everyday elegance, formal events. | Easy to Medium (depending on precision) |
| Colored Tips | Sheer base with colored tip instead of white. | Adding personality, matching outfits. | Easy |
| Reverse French | Accent color at the cuticle (moon shape). | Unique, modern look. | Medium |
| Double French | Two colored lines create layered effect. | Adding depth, sophisticated detail. | Medium to Hard |
| Glitter French | White, colored, or clear tip using glitter polish. | Parties, holidays, adding sparkle. | Easy to Medium |
| Ombre French | Smooth color gradient on the tip. | Soft, blended, modern look. | Medium to Hard |
| Embellished Tips | Classic or colored tips with added gems/pearls. | Glam, luxurious, statement nails. | Medium |
Tips for Longevity and Maintenance
Once you’ve achieved your perfect French tip manicure, you’ll want it to last! A little care goes a long way in keeping your nails looking fresh and chip-free.
Extending Your Manicure’s Life:
- Daily Reinforcement: Apply an extra layer of top coat every 1-2 days to keep the shine and protection fresh.
- Protect Your Hands: Wear gloves when doing household chores, washing dishes, or when using cleaning products. Chemicals and prolonged water exposure can weaken polish and nails.
- Avoid Using Nails as Tools: Don’t use your nails to scrape, pry, or open things. This is a surefire way to chip or break them.
- Moisturize: Keep your hands and cuticles hydrated. Dry cuticles can lead to hangnails, which can detract from your manicure. Use cuticle oil daily.
- Gentle Removal: When it’s time to change your polish, use an acetone-free remover if possible, and soak your nails to avoid harsh scrubbing that can damage the nail plate.
Regular touch-ups with top coat are the easiest way to maintain the look and prevent minor wear from becoming major chips. Pay attention to the edges of your nails where wear often starts.
Frequently Asked Questions about French Tip Nail Designs
Q1: What is the easiest way for a beginner to do French tips?
A: The easiest way for beginners is to use French