French ombre nail designs for brides offer a chic, modern twist on a classic look, providing a sophisticated and customizable option for wedding day nails that blend seamlessly with any bridal style.
Choosing your wedding day nails is a fun part of planning, but it can feel overwhelming with so many options! You want something that’s elegant, complements your dress, and truly makes your hands feel special. If you’re dreaming of a look that’s both timeless and on-trend, French ombre nails are an absolutely stunning choice. They offer a softer, more graduated version of the traditional French manicure, giving you a beautiful, ethereal glow perfect for your big day. Ready to dive into this gorgeous trend? We’ll guide you through everything you need to know to achieve breathtaking French ombre nails, from understanding the look to DIY tips and inspiration.
What are French Ombre Nails and Why Are They Perfect for Brides?
French ombre nails, also known as “baby boomer” nails, are a beautiful blend of the classic French manicure and the trendy ombre technique. Instead of a harsh line separating the white tip from the nude or pink base, the colors smoothly transition into each other. This creates a soft, gradient effect that looks incredibly natural yet sophisticated.
For brides, this technique is practically tailor-made. Here’s why they’re an essential choice for your wedding day:
- Timeless Elegance with a Modern Twist: They offer the refined look of a French manicure but with a softer, more contemporary feel. This makes them versatile enough to suit any wedding theme or bridal style, from vintage to modern.
- Universally Flattering: The soft gradient can be adapted to various skin tones, creating a natural-looking enhancement and making your hands appear graceful and polished.
- Subtle Sophistication: Unlike heavily embellished nails, French ombre provides a chic and understated beauty. They draw attention to your hands in a refined way, perfect for showcasing your engagement ring.
- Photogenic Appeal: The smooth color transition photographs beautifully, adding a touch of elegance to your wedding portraits without overpowering your bridal look.
- Durability and Longevity: With proper application and care, French ombre nails can last throughout your wedding festivities and honeymoon, looking gorgeous from “I do” to your first dance.
Understanding the French Ombre Effect
The magic of French ombre lies in its seamless transition. Imagine a delicate blush pink or a soft nude base that gradually lightens towards the tips, where it melts into a creamy white. This is different from a traditional French manicure where there’s a distinct, crisp white tip. The ombre effect looks almost like a natural nail’s healthy blush and tip, but elevated for a special occasion.
The key elements that define the French ombre look are:
- The Base Shade: This is typically a sheer pink, nude, or milky white polish that forms the foundation of the nail. It should be chosen to complement your skin tone.
- The Transition: This is where the magic happens! A lighter shade, usually a soft white or a very pale pink, is blended into the base color. The graduation should be smooth and subtle, not abrupt.
- The Tip: While not as stark as a traditional French tip, the outermost edge of the nail will have a touch more white, providing a finished, polished look.
Popular French Ombre Nail Designs for Brides
While the core French ombre design is beautiful on its own, there are several ways to personalize it for your wedding day. These variations allow you to add your unique touch while staying true to the elegant aesthetic.
The Classic Baby Boomer
This is the quintessential French ombre. It features a sheer pink or nude base that transitions smoothly into a soft, milky white tip. It’s the most natural-looking and universally flattering option, perfect for the bride who loves understated elegance.
Sparkle & Shine Ombre
For a touch of bridal glitz, consider incorporating subtle glitter or shimmer into your French ombre. You can have a fine glitter gradient blended into the white tip, or a touch of iridescent shimmer over the entire nail. This adds a dreamy, ethereal quality without being too flashy.
Subtle Embellishments
Elevate your French ombre with delicate, minimalistic embellishments. Think a single tiny rhinestone at the base of one nail, a delicate pearl accent on the cuticle line, or a tiny metallic strip. These add a special touch that feels bridal without overwhelming the design. For inspiration on delicate nail art, the Allure beauty team has a fantastic collection of ideas.
Almond or Stiletto Shapes
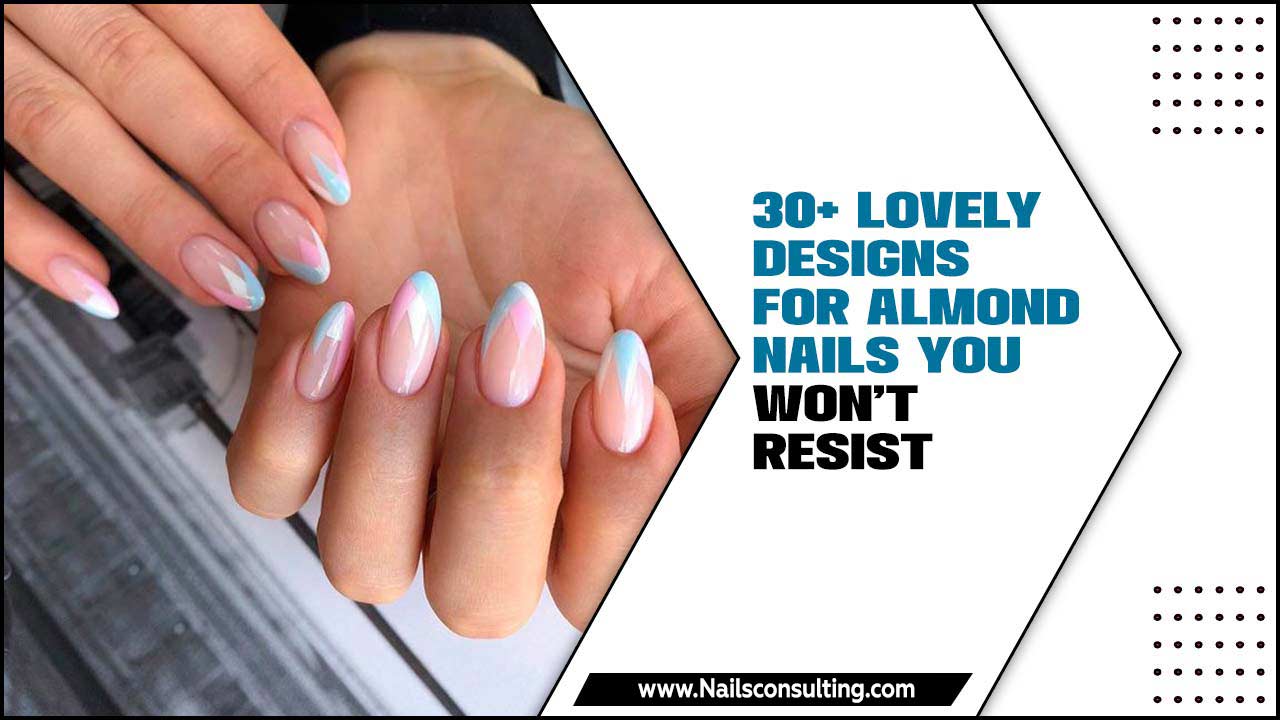
The French ombre design looks particularly stunning on longer nail shapes like almond or stiletto. The elongated shape enhances the gradient effect, creating a graceful, slender appearance. Shorter, squoval, or rounded shapes also look beautiful, offering a softer, more everyday elegance.
Color Variations
While classic white is traditional, you can play with soft, muted tones. A very pale peach or a hint of lavender blended into the white can add a unique, personalized touch, especially if it complements your wedding color palette.
DIY French Ombre Nails: A Step-by-Step Guide for Beginners
Achieving a beautiful French ombre effect at home is definitely achievable, even if you’re new to nail art! The key is patience and the right tools. Here’s a beginner-friendly guide. You might want to check out helpful resources from nail experts, like the Nail Care Co blog for more in-depth tips and product recommendations.
Materials You’ll Need:
- Base coat polish
- Sheer pink or nude nail polish
- Opaque white nail polish
- Top coat polish
- A makeup sponge (a beauty blender or a regular cosmetic sponge cut into small pieces works well)
- Small scissors to cut the sponge
- Clean-up brush (an old, thin paintbrush or a dedicated nail art brush)
- Nail polish remover
- Optional: Glitter or shimmer polish, cuticle oil
Step-by-Step Application:
- Prep Your Nails: Start with clean, dry nails. Push back or trim your cuticles and gently buff your nails to create a smooth surface. Apply a thin layer of base coat and let it dry completely.
- Apply the Base Color: Paint two thin coats of your sheer pink or nude polish onto your nails. Ensure each coat is fully dry before moving to the next step. This creates your foundation.
- Prepare the Sponge: Cut a small piece of your makeup sponge. You want a piece that’s easy to hold and dab with.
- Apply Polish to the Sponge: Apply a stripe of your sheer pink/nude polish and a separate stripe of your opaque white polish directly onto the sponge, side-by-side. Work quickly as the polish will start to dry on the sponge.
- Create the Ombre Effect: Gently dab the sponge onto the tip of your nail. Start with the white polish end of the sponge on the tip of your nail, and the pink/nude end slightly overlapping onto the nail. You want to dab and blend the polish onto the nail until you achieve a gradient effect. You may need to reapply polish to the sponge and repeat for a more opaque or blended look.
- Build the Color (if needed): If the color isn’t opaque enough or the blend isn’t quite right after the first attempt, let it dry slightly and repeat the sponging process. You can also go back over the transition area with a thin brush and a touch of the base color to refine the blend.
- Let it Dry: Allow the ombre layer to dry for a few minutes.
- Clean Up Edges: Dip your clean-up brush into nail polish remover. Carefully brush away any polish that got onto your skin around the nail. This step is crucial for a polished, professional finish.
- Apply Top Coat: Once completely dry, apply a generous layer of top coat. This seals the design, adds shine, and helps the colors meld together even further for a smooth finish. For extra shine and smoothing, consider a gel-like top coat.
- Final Touches: Apply cuticle oil to moisturize your skin and cuticles.
Tools and Techniques to Master Your French Ombre
While the sponge method is popular, there are other ways to achieve beautiful French ombre nails. Understanding these techniques can help you find what works best for your skill level and desired outcome.
Here’s a breakdown of common tools and their uses:
| Tool | Description | How it Works for Ombre |
|---|---|---|
| Makeup Sponge/Beauty Blender | A porous applicator used for makeup, easily cut into small pieces for nail art. | Dabbed with polish colors, it blends them onto the nail surface, creating a gradient effect. |
| Small Fan Brush | A brush with widely spread bristles, resembling a fan. | Use with liquid latex or painter’s tape around the nail edge. Polish is applied to the brush and then “fanned” upwards from the tip to create a softer transition. |
| Thin Nail Art Brush | A fine-tipped brush for detailed work. | After applying colors, this brush can be used to gently blend the edges between the base and tip colors for a more seamless transition. It’s also great for touch-ups and cleanup. |
| Clear Top Coat (for blending) | A transparent, quick-drying polish. | Can be used with a sponge or brush on the transition line to gently “blur” the edges of the two colors together, creating a softer gradient. |
| Nail Polish Remover | A solvent for removing nail polish. | Essential for cleaning up any polish that lands on the skin around the nail, ensuring a clean and professional finish. |
Tips for a Flawless Blend:
- Work in Thin Layers: It’s always better to build up color and blend gradually rather than applying thick coats that can look messy and smudge easily.
- Drying Time is Key: Ensure each layer is adequately dry before adding the next, especially when using the sponge. This prevents colors from mixing unintentionally and creating muddy effects.
- Practice Makes Perfect: Don’t get discouraged if your first attempt isn’t perfect. Practice on a nail or an old nail file to get a feel for the sponge and the blending.
- Seal It Well: A good top coat is crucial for smoothing out any texture from the sponge and giving your ombre a glossy, seamless finish.
French Ombre vs. Traditional French Manicure
It’s helpful to understand the differences between the tried-and-true French manicure and the modern French ombre to see why the latter is so popular for brides today.
| Feature | Traditional French Manicure | French Ombre Nail Design |
|---|---|---|
| Tip Style | Sharp, opaque white line at the tip of the nail. | Soft, graduated blend from a base color to white at the tip. |
| Transition | Abrupt, defined line between the white tip and the base color. | Smooth, seamless gradient for a natural, blended look. |
| Overall Look | Classic, crisp, polished, and sharp. | Elegant, soft, modern, ethereal, and natural. |
| Application Difficulty (DIY) | Can be tricky to get a perfect, straight line. | Requires a blending technique (sponge or brush), which can be easier for beginners to achieve a soft look. |
| Best For | Brides seeking a very traditional and clean aesthetic. | Brides wanting a modern, softer, and more romantic take on a classic look. |
The “baby boomer” style, as French ombre is often called, offers a more contemporary and romantic feel that aligns beautifully with many modern wedding trends. It’s less about a stark contrast and more about a harmonious flow of color.
Maintaining Your French Ombre Wedding Nails
To ensure your wedding day nails look perfect from morning to night, proper care is essential. Whether you get them done professionally or DIY, these tips will help!
- Moisturize, Moisturize, Moisturize! Dry cuticles and skin detract from even the most beautiful nails. Apply cuticle oil regularly, especially in the days leading up to the wedding and on the big day itself.
- Be Gentle: Avoid using your nails as tools. Don’t try to pry things open or scrape surfaces, as this can chip or break even strong nails.
- Protect Your Polish: Wear gloves when doing household chores, especially washing dishes or cleaning.
- Carry a Clear Top Coat: A quick touch-up with clear top coat can revive shine and smooth out any minor imperfections.
- Avoid Harsh Chemicals: Prolonged exposure to harsh chemicals like cleaning agents can weaken nail polish.
Frequently Asked Questions (FAQ)
Q1: What is the difference between French ombre and a classic French manicure?
A: A classic French manicure has a distinct, crisp white line at the tip of the nail. French ombre, also known as “baby boomer” nails, features a smooth, blended gradient transition from a nude or pink base to a soft white tip, creating a more natural and modern look.
Q2: Are French ombre nails suitable for all wedding styles?
A: Absolutely! The soft, elegant nature of French ombre makes them incredibly versatile. They can complement rustic, modern, classic, vintage, and bohemian wedding themes perfectly.
Q3: Can I do French ombre nails at home?
A: Yes, you can! With a makeup sponge, a few key polishes (base coat, nude/pink, white, top coat), and a bit of patience, beginners can achieve a beautiful French ombre effect. Practice is key!
Q4: How long do French ombre nails typically last?
A: With proper application and care, regular nail polish French ombre can last 1-2 weeks. Gel or acrylic French ombre can last 2-3 weeks or even longer, making them a durable option for brides.
Q5: What nail shape is best for French ombre?
A: French ombre looks beautiful on almost any nail shape! Almond and stiletto shapes can enhance the elegant gradient, while shorter square or squoval shapes offer a softer, more natural look. The choice depends on your personal preference.
Q6: Can I add glitter or other embellishments to my French ombre nails?
A: Definitely! A touch of subtle glitter blended into the white tip, a few small rhinestones at the cuticle, or a pearl accent can add a beautiful bridal sparkle without detracting from the elegance of the design.
Q7: What colors are typically used for French ombre?
A: The most common colors are a sheer pink or nude for the base, blending into an opaque or milky white for the tip. However, you can experiment with soft variations like pale peaches or subtle lilacs for a personalized touch.
Incorporating French Ombre into Your Bridal Beauty Routine
Your wedding day is a celebration of you, and your nails are a key part of your overall look. French ombre nails offer a sophisticated canvas that enhances your natural beauty rather than overshadowing it. They are a testament to the idea that sometimes, less is more, especially when it comes to such a significant event.
Consider scheduling a trial manicure a few weeks before your wedding day. This allows you to experiment with different shades of pink or nude for the base, the intensity of the white tip, and any potential embellishments. It also gives you a chance to see how the color looks against your skin tone and with your chosen wedding attire.
Looking for inspiration? Browse bridal magazines, Pinterest boards specifically for wedding nails, or talk to your nail technician. They can offer expert advice on what shades and styles will best suit you and your wedding theme. You can find many stunning examples on sites like Brides.com.
Conclusion
French ombre nail designs for brides are more than just a trend; they are a beautiful, versatile, and elegant choice that perfectly complements the magic of a wedding day. Whether you opt for a classic baby boomer, a hint of sparkle, or a subtle color variation, this design offers a sophisticated and timeless look that will make your hands feel exceptionally special. Embrace the smooth transitions, the soft hues, and the overall refined aesthetic. With a little practice or a trusted nail professional, you can achieve the stunning French ombre nails of your dreams, adding that final, perfect touch to your bridal ensemble. Your hands will be camera-ready and radiating elegance as you say “I do” and embark on your new journey!


