Formal nail designs are your secret weapon for polished elegance. Discover easy, chic looks that elevate any special occasion, proving that sophisticated style can be simple to achieve. Get ready to impress!
Dressing up for a big event often means thinking about your outfit, hair, and makeup, but what about your nails? Sometimes, getting your nails just right for a formal occasion can feel like a puzzle. You want something stunning but not over-the-top, and you definitely don’t want to spend hours struggling with tricky techniques. It’s a common frustration: finding that perfect balance of elegance and effortlessness for your fingertips. But don’t worry! This guide is here to simplify everything. We’ll walk you through beautiful, easy-to-create formal nail designs that will make your hands look gorgeous. Get ready to unlock your inner nail artist and discover looks that are as chic as they are simple to master.
Why Formal Nail Designs Matter
Your hands do a lot of talking, even when you’re not saying a word! At formal events, whether it’s a wedding, a gala, a fancy dinner, or a significant business meeting, your nails are in the spotlight. They can be the finishing touch that pulls your entire look together, adding a touch of sophistication and attention to detail. Think about it: when you shake hands, gesture, or simply hold a glass, your nails are visible. Having beautifully done nails can boost your confidence immensely, making you feel put-together and truly ready for the occasion. It’s not about being fussy; it’s about presenting your best self, and that includes every detail, right down to your manicure.
Nail Prep: The Foundation for Flawless Designs
Before we dive into the fun part – the designs – let’s talk about the canvas. Perfect nails start with a solid prep routine. Just like a painter prepares their canvas, we need to prepare our nails for their moment in the spotlight. This is where the magic truly begins, setting the stage for any design to look its absolute best. Skipping these steps is like trying to build a house on shaky ground; the results won’t be as stable or as beautiful. A little bit of TLC now will make all the difference!
Step 1: Cleanse and Remove
Start by removing any old nail polish. Use a good quality nail polish remover, preferably one that’s acetone-free if your nails tend to be dry. A lint-free cloth or cotton pad works best to avoid leaving fuzzy bits behind.
Step 2: Shape Up
Gently file your nails into your desired shape. For formal looks, classic shapes like almond, oval, or a soft square often look most elegant. Always file in one direction to prevent splitting and damage. Consider using a glass nail file for a super smooth finish; they are gentle and effective, leaving the nail edge sealed. You can find excellent tips on proper filing techniques from resources like the American Academy of Dermatology Association, which offers great advice on nail health.
Step 3: Cuticle Care
Gently push back your cuticles with an orangewood stick or a cuticle pusher. If needed, you can apply a drop of cuticle oil to soften them first. Avoid cutting your cuticles, as they act as a protective barrier against infection. If you have excess skin, very carefully snip it away with sterile cuticle nippers.
Step 4: Buff Away Imperfections
Lightly buff the surface of your nails with a fine-grit buffer. This removes ridges and creates a smooth surface for polish to adhere to. Be gentle; you’re aiming for smoothness, not to thin out your nail. Finally, wash your hands to remove any dust.
Step 5: Hydrate and Prime
Apply a nail strengthener or a base coat. A good base coat protects your natural nail from staining and helps your polish last longer. For formal events, a clear or sheer nude base coat often works beautifully and provides a clean look.
Essential Tools for Effortless Formal Nails
You don’t need a professional salon’s worth of equipment to create stunning formal nail designs. A few key tools can make a world of difference. Having the right items on hand means you can achieve that polished look with ease and confidence. These are the workhorses of any home manicure, especially when aiming for elegance.
- Nail Polish Remover: Acetone-free is often kinder to nails and cuticles.
- Cotton Pads or Lint-Free Wipes: For smooth, residue-free polish removal.
- Nail File: A fine-grit file (glass or metal) for shaping without damage.
- Cuticle Pusher/Orangewood Stick: For gently tidying cuticles.
- Nail Buffer: A fine-grit buffer to smooth nail surfaces.
- Base Coat: Essential for protection and polish longevity.
- Top Coat: Seals the polish and adds shine.
- Nail Polish in Your Chosen Colors: For the designs themselves.
- Optional: Dotting Tools, Thin Brushes, or Toothpicks: For adding simple details.
Effortless Formal Nail Designs: Simple Yet Sophisticated
Now for the exciting part! These designs are chosen for their elegance and ease of execution. They require minimal fuss but deliver maximum impact, perfect for any formal affair. We’ll focus on looks that are timeless and chic.
1. The Classic French Manicure with a Twist
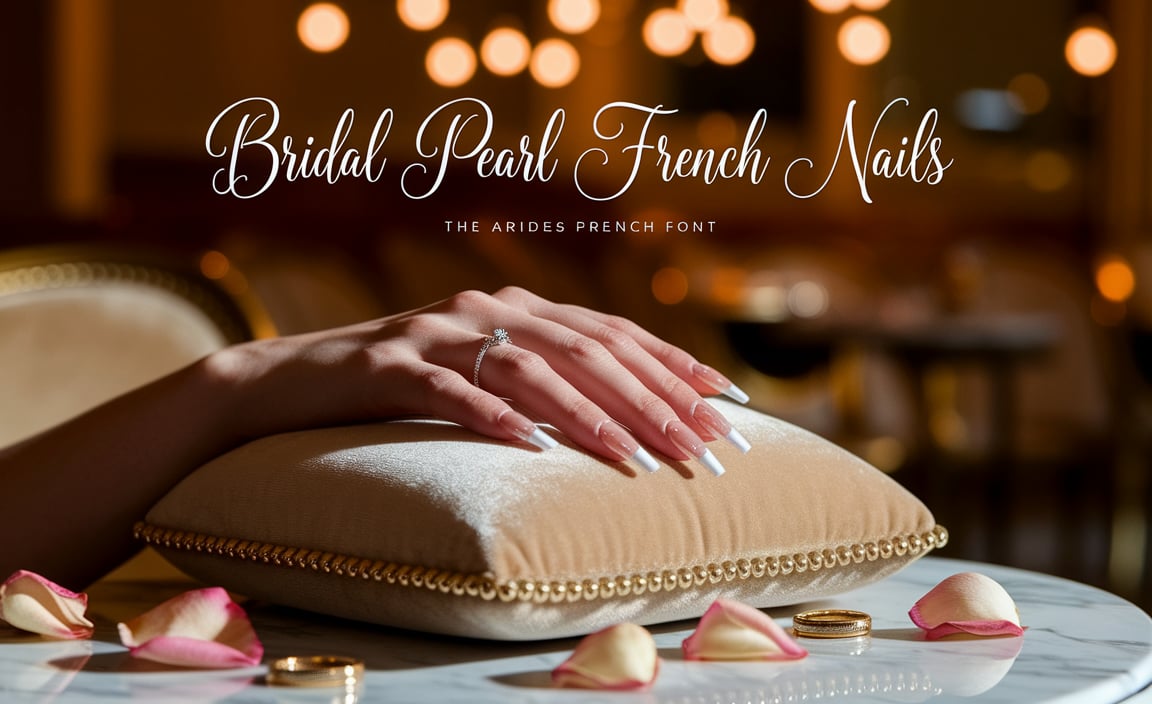
The French manicure is the epitome of timeless elegance. For a modern twist, try a colored tip or a glittery accent. It’s subtle, sophisticated, and always appropriate.
How-To:
- Start with your base coat and let it dry completely.
- Apply one or two coats of a sheer nude, pink, or milky white polish. Let it dry.
- For the tips: Use a fine brush or a French manicure guide sticker. Dip the brush into a white polish (or a shimmery nude, rose gold, or even a deep jewel tone for a twist!) and carefully paint a thin smile line across the tip of each nail. Alternatively, use a nude polish for a “baby boomer” effect, blending the white tip softly into the nail bed.
- For a twist: Instead of white, use a metallic polish like silver, gold, or rose gold for the tips.
- Let the tips dry thoroughly.
- Apply a clear, glossy top coat to seal the design and add shine.
2. The Sophisticated Solid Shade
Sometimes, the most impactful look is a single, stunning color. For formal events, opt for deep, rich tones or elegant neutrals. Think about shades like deep burgundy, classic navy, sophisticated emerald green, timeless black, or a chic nude.
How-To:
- Prep your nails as usual, including base coat.
- Apply two thin coats of your chosen solid color.
- Ensure each coat is completely dry before applying the next.
- Finish with a high-shine top coat for a professional, glossy look that lasts.
3. Subtle Shimmer Overlay
Add a touch of understated glamour to any solid color with a glitter or shimmer top coat. This is incredibly easy and instantly elevates a simple manicure.
How-To:
- Apply your chosen solid nail polish color (or even a sheer neutral).
- Once the color is dry, apply one or two coats of a fine glitter polish or a shimmering holographic top coat. Look for subtle micro-glitters rather than chunky ones for a more formal feel.
- Finish with a clear top coat to smooth out any texture from the glitter and lock it in.
4. The Minimalist Accent Nail
Why do all your nails the same when one can stand out? An accent nail is a fantastic way to add a focal point without being overwhelming. This works beautifully with neutrals, deep colors, or even pastels.
How-To:
- Paint all nails except one (usually the ring finger) with your chosen base color.
- On your accent nail, try a contrasting but complementary color, a metallic shade, or a subtle design like a single stripe or a few dots.
- For a metallic accent: Use a beautiful rose gold, silver, or champagne polish.
- For a subtle design: Use a dotting tool or a toothpick dipped in a metallic or contrasting color to create a few small dots in a line or a cluster.
- Once dry, apply a top coat to seal all nails.
5. The Chic Monochrome Gradient
A gradient, or ombré, effect using different shades of the same color can look incredibly sophisticated. It’s less intricate than it looks and adds a beautiful depth to your nails.
How-To:
- Start with your base coat.
- Apply a base shade (e.g., a light grey).
- Using a makeup sponge (a new, dry cosmetic sponge works best), apply a slightly darker shade (e.g., medium grey) to the tip of the sponge.
- Lightly dab the sponge onto the tip of your nail, blending downwards. You might need to build up the color gradually.
- Alternatively, use a makeup wedge. Apply two colors to the wedge for a more distinct two-tone gradient, or three colors for a multi-tone effect. Dab onto the nail.
- Clean up any polish that got onto your skin with a cleanup brush dipped in remover.
- Once dry, apply a top coat to smooth out the gradient and add shine.
6. The Polished Metallic Sheen
Metallic polishes are incredibly popular for formal occasions because they instantly convey luxury. Think of liquid chrome, brushed metal, or a sophisticated gold/silver/rose gold.
How-To:
- Ensure your nails are perfectly prepped and smooth. A base coat is crucial.
- Apply one or two coats of your chosen metallic polish. Metallic formulas can sometimes be streaky, so apply thin, even coats and avoid over-brushing.
- Be patient and let each coat dry thoroughly.
- Add a high-shine top coat. Be aware that some top coats can dull the reflective quality of metallics, so test on a swatch if possible or opt for a thin layer.
Choosing the Right Colors and Finishes
The hues and finishes you choose play a significant role in how formal your nail design appears. For formal settings, it’s generally best to lean towards classic, sophisticated choices, but don’t be afraid to inject a touch of personality.
| Category | Recommended Formal Colors | Ideal Finishes | Notes for Beginners |
|---|---|---|---|
| Neutrals | Nude, beige, cream, soft pink, milky white, light grey | Cream, satin, sheer | Universally flattering and easy to pair with any outfit. |
| Deep & Rich Tones | Burgundy, deep red, navy blue, forest green, plum, charcoal grey, black | Cream, satin, subtle shimmer | Create a dramatic yet sophisticated look. Ensure clean application. |
| Metallics | Gold, silver, rose gold, champagne, bronze | Shimmer, glitter (fine), chrome, metallic | Add instant glamour. Best applied thinly for a smooth, elegant sheen. |
| Pastels (with caution) | Dusty rose, pale blue, lilac | Cream, sheer | Can work for daytime formal events or weddings; choose muted tones. |
When selecting finishes, matte finishes can sometimes look more casual unless paired with a very deep or metallic color. For most formal events, a glossy or satin finish adds that touch of polish and sophistication. Sheers are excellent for a clean, natural look, while fine shimmers and subtle glitters can add a hint of sparkle without being overpowering. Avoid overly chunky glitters or neon colors for most formal settings.
Maintaining Your Formal Manicure
Once your beautiful design is complete, you’ll want it to last! Formal events can sometimes be long, so a little maintenance goes a long way.
- Reapply Top Coat: Every 1-2 days, reapply a clear top coat. This reinforces the shine, seals the polish, and adds a protective layer, helping to prevent chips.
- Protect Your Hands: Wear gloves when doing chores like washing dishes or cleaning. Harsh chemicals can break down even the best top coat.
- Carry a Touch-Up Kit: For longer events, consider bringing a mini top coat or a nail polish pen in your clutch for quick fixes if a chip occurs.
- Avoid Using Nails as Tools: Don’t use your nails to open cans, scrape labels, or pry things open.
Troubleshooting Common Nail Design Issues
Even the simplest designs can encounter minor hiccups. Here are some common problems and how to fix them:
- Streaky Polish:
- Problem: The polish isn’t going on smoothly.
- Solution: Apply thinner coats. Make sure your brush isn’t overloaded. For metallic polishes, try to do long, even strokes and resist going back over it once it starts to dry. A good top coat can often smooth out minor streaks.
- Bubbles in Polish:
- Problem: Small air bubbles appear on the nail surface.
- Solution: This often happens when polish is applied too thickly or while the previous layer is still wet. Let each layer dry completely before applying the next. Ensure your polish isn’t old or goopy; thin it with a nail polish thinner if necessary, but avoid using remover as a thinner.
- Chips and Dents:
- Problem: Minor chips or dents appear shortly after application.
- Solution: Ensure your base coat and top coat are applied correctly, covering the entire nail and sealing the edges. A quick swipe of top coat can often fix a small dent or minor chip if caught early.
- Smudged Polish:
- Problem: You accidentally smudge a wet nail.
- Solution: Don’t panic! Dip a small brush (like a fine art brush or even a clean toothpick) into nail polish remover and carefully clean up the smudge. You may need to re-apply a thin coat of the polish color and a fresh top coat to the affected nail.
FAQ: Your Formal Nail Design Questions Answered
Q1: What is the most classic formal nail design?
A: The classic French manicure, with its clean white tip and sheer base, is usually considered the most timeless and universally accepted formal nail design. A sophisticated solid color in a deep or neutral shade is also a very safe and elegant choice.
Q2: Can I wear dark nail polish to a formal event?
A: Absolutely! Dark colors like deep red, navy, plum, or charcoal grey are sophisticated and dramatic choices for formal events. They pair particularly well with evening wear and can add an edgy yet elegant touch.
Q3: How can I make my at-home formal manicure look professional?
A: The keys to a professional look are meticulous nail prep (clean, shaped, and smooth nails), clean lines (especially for French tips or accent designs), and a flawless, high-shine top coat. Apply polish in thin, even coats, and carefully clean up any mistakes with a cleanup brush.
Q4: How long do these simple formal nail designs typically last?
A: With proper prep and a good quality base and top coat, these simple designs can last anywhere from 5 to 10 days without chipping. Reapplying top coat every day or two can help extend their wear.
Q5: What’s the easiest way to achieve a French tip without guide stickers?
A: The easiest way is often with a fine-tipped nail art brush or even a clean toothpick dipped in polish. You can also try the “hand-hold” method: rest your finger gently on a flat surface, and use the brush to carefully paint the smile line. Alternatively, try the “dip” method: use a makeup sponge or a small amount of latex/peel-off polish around the cuticle area to catch mistakes.
Q6: Are glitter nails too informal for a formal event?
A: It depends on the glitter! Fine micro-glitters or a subtle shimmer top coat over a solid color can be very elegant for formal events. Chunky, large-particle glitters are generally


