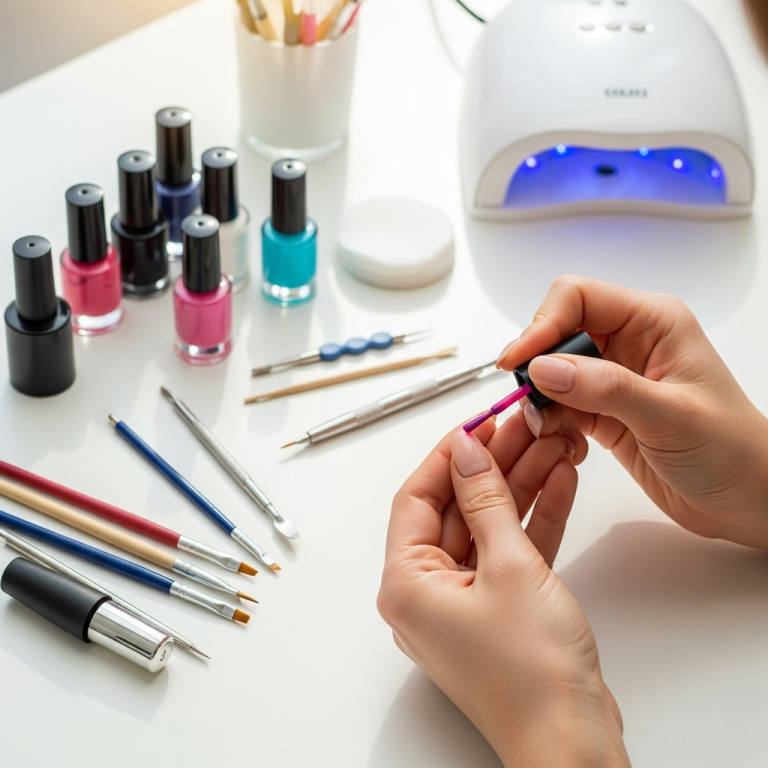
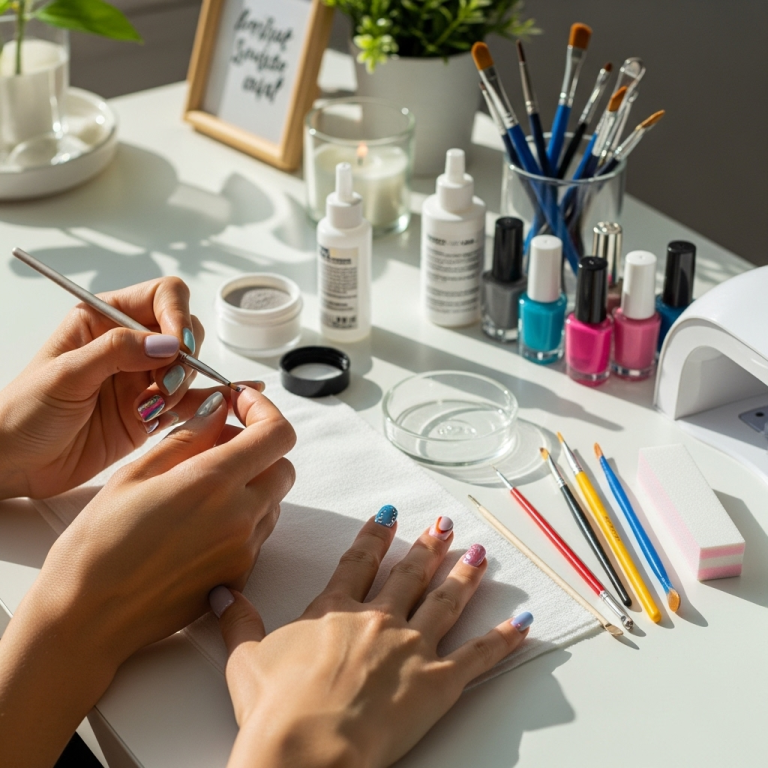
Fall nail design with brown tones is your go-to for chic, earthy elegance. These essential styles offer warmth and sophistication, perfect for the season. Discover easy ways to rock rich browns and complementary shades for a polished, on-trend look that suits any occasion and skill level.
Autumn has a way of calling us to embrace warmth, cozy textures, and rich, earthy colors. And what better way to reflect this beautiful transition than with our nails? If you’re looking to update your manicure for the season, you’re in luck! Fall nail designs featuring brown tones are incredibly versatile and always in style.
But sometimes, thinking about nail art can feel a little daunting, especially if you’re new to it. You might worry about whether you have the right tools, the right skills, or if a particular design will actually look good on you. We’re here to make it super simple and fun. Think of this as your friendly guide to rocking gorgeous brown nail looks, no matter your experience level. We’ll break down easy styles, tips, and ideas that will have you feeling confident and stylish all season long.
Ready to dive into the world of cozy, chic brown manicures? Let’s get started!
Why Brown Tones Are Perfect for Fall Nails
Brown is the quintessential fall color. It mirrors the changing leaves, the warm spices of seasonal treats, and the cozy feeling of a favorite sweater. Unlike some trendier colors, brown is a timeless neutral that offers sophistication and depth. It’s incredibly versatile, pairing beautifully with a wide range of other colors and finishes, making it the perfect base or accent for your fall nail designs.
Here’s why brown is your autumn nail BFF:
Earthy and Natural: Brown shades evoke the grounding elements of nature, bringing a sense of calm and warmth to your look.
Sophisticated Neutral: It’s a chic alternative to black or grey, offering a softer yet equally elegant vibe.
Versatile Shade Range: From light caramel and warm taupe to deep chocolate and rich espresso, there’s a brown for every skin tone and style preference.
Pairs Beautifully: Brown complements almost any color, including classic fall hues like deep reds, burnt oranges, olive greens, and creamy whites.
Essential Brown Nail Polish Shades to Stock Up On
Before we jump into designs, let’s talk about the stars of the show: the nail polishes themselves! Having a few key brown shades in your collection will open up a world of possibilities for your fall manicures.
Here are some must-have brown tones:
Caramel/Tan: A lighter, warm brown that’s bright and summery while still feeling autumnal. Great for a subtle, everyday chic look.
Taupe: This is your perfect neutral, a blend of grey and brown that’s sophisticated and modern.
Chocolate Brown: A classic, rich brown that’s deep and moody. This is a staple for any fall nail lover.
Espresso/Dark Brown: Almost black, these super-dark browns give a dramatic and edgy feel.
Muted Olive Brown: A brown with a distinct green undertone, offering an earthy, almost forest-like vibe.
Having these shades will give you a fantastic foundation for creating a variety of fall nail designs.
Beginner-Friendly Fall Nail Designs Using Brown Tones
Feeling inspired but not sure where to start? Don’t worry! We’ve rounded up some absolutely gorgeous and totally achievable fall nail designs featuring brown tones that are perfect for beginners. These are all about embracing the cozy vibes without needing advanced artistic skills.
1. The Classic Monochrome Manicure
Sometimes, the simplest approach is the most effective. A solid, beautifully applied coat of your favorite brown polish is a classic for a reason. It’s elegant, understated, and pairs with everything.
How to Achieve It:
1. Prep your nails: Start with clean, dry nails. Push back your cuticles gently and file them into your desired shape.
2. Apply a base coat: This protects your nails and helps the polish adhere better.
3. Apply two thin coats of your chosen brown polish: Let each coat dry for a minute or two before applying the next. Thin coats are key to a smooth, streak-free finish.
4. Apply a top coat: Seal in your color and add shine for a long-lasting manicure.
Pro Tip: Experiment with different finishes! A creamy matte brown can feel very chic, while a shimmery or metallic brown adds a touch of glam.
2. Simple Gradient Nails (Ombre)
A gradient, or ombre, effect creates a subtle blend of colors. For fall, you can play with lighter to darker browns on each nail, or blend a brown with another complementary fall shade.
How to Achieve It:
1. Prep and base coat: As usual, start with clean, prepped nails and a base coat.
2. Apply a lighter brown shade: Cover all nails with a lighter brown polish. Let it dry completely.
3. Create the gradient:
For a distinct color block: Use striping tape to create a clean line where you want the colors to meet, then paint the darker shade above or below the tape. Remove tape while polish is still wet!
4. Repeat if needed: You might need a second subtle application of the darker shade to deepen the effect.
5. Top coat: Seal everything with a clear top coat.
Variations: Try a gradient from nail to nail across your hand – light brown on your thumb, getting progressively darker to a deep espresso on your pinky.
3. Understated Accent Nail
This is a fantastic way to add a little something extra without committing to a full nail art design. Simply paint one or two nails in a different, complementary shade or finish.
How to Achieve It:
1. Prep and base coat: Always start with a good foundation.
2. Paint most nails: Apply your chosen classic brown polish to all nails except your accent nail(s).
3. Paint the accent nail: On your accent nail(s) (usually the ring finger or pinky), apply a different color or finish. Great options include:
A deep, rich burgundy or forest green.
A glitter polish in a coordinating shade.
A lighter, nude-brown shade for a subtle contrast.
4. Top coat: Finish all nails with a glossy top coat.
4. Subtle Twig or Leaf Accent Lines
This design uses thin lines to mimic natural elements, bringing a touch of the outdoors to your nails. It looks intricate but is surprisingly easy to achieve.
What You’ll Need:
Base coat and top coatYour favorite brown nail polish
A fine-tipped nail art brush or striping tool
Optional: A contrasting color for leaves (like a muted green or deep red)
How to Achieve It:
1. Prep nails and apply base coat.
2. Apply one or two coats of your main brown polish to all nails. Let it dry completely.
3. Dip your fine-tipped brush into a slightly darker brown polish (or a contrasting color).
4. Gently draw thin, irregular lines across one or two nails to resemble twigs or branches. Don’t aim for perfection; organic shapes look best!
5. For leaves: If using optional colors, draw small, simple leaf shapes at the end of some of your twig lines.
6. Top coat: Once completely dry, seal with a top coat.
For a more detailed tutorial on creating simple leaf shapes, you can check out resources on basic botanical illustration for inspiration on form.
5. Polka Dots in Different Browns
Polka dots are a classic nail art element that’s incredibly beginner-friendly. Using varying shades of brown creates a cohesive yet playful look.
What You’ll Need:
Base coat and top coatAt least two shades of brown polish (e.g., a medium brown and a dark brown)
A dotting tool (available at most beauty stores) or the tip of a bobby pin.
How to Achieve It:
1. Prep nails and apply base coat.
2. Apply one or two coats of your base brown polish to all nails. Let it dry until it’s no longer tacky.
3. Dip your dotting tool into your second brown polish.
4. Create dots: Place dots on your nails in a pattern you like. You can make them uniform, random, or varying sizes. Try different arrangements on each nail for a unique look.
5. Top coat: Once dry, seal with a top coat.
Tip: If you don’t have a dotting tool, the rounded end of a bobby pin or even the tip of a ballpoint pen can also work well for creating evenly sized dots!
Mid-Level Fall Nail Designs with Brown Tones
Ready to step up your game a bit? These designs require a little more precision but are still totally manageable for those who have some basic nail art experience.
1. Marble Effect Nails
Marble patterns look sophisticated and are surprisingly achievable with a few simple techniques. Brown marble is incredibly chic for fall.
What You’ll Need:
Base coat and top coat
A base brown shade (e.g., taupe)
A darker brown polish for veins
A white or cream polish for accents (optional)
A clean-up brush
Nail polish remover
How to Achieve It (One Method):
1. Prep nails and apply base coat.
2. Apply two thin coats of your base brown shade to all nails. Let dry completely.
3. For the marble effect:
On a palette or a piece of foil, place a few drops of your darker brown polish and a tiny drop of white/cream polish (if using).
Use your clean-up brush or a striping brush to swirl the colors together very lightly. You want streaks, not to mix them into a uniform color.
Gently dab and drag the brush across your nail, creating irregular vein-like patterns. Think organic, not perfect stripes.
Alternatively, use a plastic wrap technique: Apply a thin layer of top coat to your base color, then gently dab crumpled plastic wrap dipped in darker colors onto the nail.
4. Clean up edges: Use a brush dipped in nail polish remover to clean up any polish that got onto your skin.
5. Top coat: Once dry, seal with a clear top coat.
2. Color Blocking with Browns and Neutrals
Color blocking involves using distinct blocks of color to create a graphic, modern look. Playing with different brown shades and complementary neutrals like cream or beige is a perfect fall strategy.
What You’ll Need:
Base coat and top coat
Two or three complementary brown shades (e.g., caramel, chocolate)
A neutral shade (cream, beige, or off-white)
Striping tape or a fine-tipped brush
Nail polish remover
How to Achieve It (Using Striping Tape):
1. Prep nails and apply base coat.
2. Apply the first color: Paint about half or two-thirds of your nail with one brown shade. Let it dry completely.
3. Apply striping tape: Carefully place a striping tape precisely where you want the color divide to be. Press it down firmly to prevent polish bleed.
4. Apply the second color: Paint the remaining portion of your nail with your second brown or neutral shade. Let this coat dry until it’s no longer wet but still slightly pliable.
5. Carefully remove the tape: Gently peel off the striping tape at an angle.
6. Repeat: You can create multiple blocks on each nail or do different patterns across your nails.
7. Top coat: Once completely dry, apply a top coat.
3. Subtle Geometric Designs
Geometric patterns – think clean lines, triangles, or squares – can add an edgy, modern vibe to brown nails. They look more complex than they are, especially with the use of tape.
What You’ll Need:
Base coat and top coat
Your main brown polish
A contrasting polish (could be a lighter brown, metallic, or black)
Striping tape or a precision brush
Nail polish remover
How to Achieve It (Using Striping Tape):
1. Prep nails and apply base coat.
2. Apply your main brown polish to all nails. Let it dry thoroughly.
3. Apply striping tape: Create geometric shapes by placing strips of tape on your nails. For example, form an ‘X’ or create corner triangles. Ensure tape is pressed down firmly.
4. Apply the contrasting color: Paint over the taped areas with your secondary polish.
5. Remove tape: While the second color is still wet, carefully peel off the striping tape. This creates clean lines.
6. Top coat: Once everything is fully dry, apply a top coat.
4. Subtle Glitter Accents
A touch of sparkle can elevate any nail design. For fall, consider coppers, golds, or even a soft champagne glitter to complement your brown tones.
How to Achieve It:
Option 1: Glitter Top Coat: Apply your brown polish as usual. Once dry, apply a glitter top coat over it for a subtle shimmer.
Option 2: Glitter Gradient: Apply your brown polish. While the second coat is still wet, use a sponge or brush to pat a glitter polish onto the tips of your nails, blending downwards slightly.
Option 3: Glitter Accent Nail: Paint all nails in a brown shade, then dedicate one or two nails to a full glitter polish in a complementary shade.
Advanced Fall Nail Design Techniques with Brown Tones
These designs might take a little practice, but the result is totally worth it for a truly unique and stunning manicure!
1. Hand-Painted Fall Motifs
This is where you get to be a bit more artistic. Think small, delicate hand-painted elements like fall leaves, acorns, or cozy plaid patterns.
What You’ll Need:
Base coat and top coat
Your chosen brown base polish
Acrylic paints or finely pigmented nail polishes in fall colors (reds, oranges, greens, creams)
Ultra-fine detail brushes
How to Achieve It (Example: Hand-Painted Leaves):
1. Prep nails and apply base coat.
2. Apply your base brown polish to all nails. Let dry completely.
3. Using an ultra-fine brush and your chosen colors, paint small, simple leaf shapes. Look up simple leaf outlines online for reference. You can paint veins for added detail.
4. Layer colors: You can use multiple shades of brown, or add touches of red, orange, or yellow to the leaves.
5. Top coat: Once fully dry, seal with a top coat.
2. Textured Nails (Velvet or Suede Effect)
Achieve a luxurious, soft-touch finish with velvet or suede effect powders. These powders create a matte, velvety texture that’s incredibly chic.
What You’ll Need:
Base coat and top coat
Your chosen brown polish (a darker shade often works best)
Velvet or suede effect powder (available online or at beauty supply stores)
An applicator brush
How to Achieve It:
1. Prep nails and apply base coat.
2. Apply two thin coats of your brown polish. Crucially, do NOT apply a top coat.
3. Work quickly: While the second coat of polish is still wet, gently sprinkle the velvet powder all over the nail.
4. Cure (if using gel) or let dry: If using regular polish, let it dry completely. If using gel, cure under a UV/LED lamp.
5. Gently brush off excess powder: Use a fluffy brush to sweep away any loose powder.
6. Admire your texture! No top coat is needed for this effect.
3. Intricate Stamping Designs
Nail stamping is a fantastic way to get complex designs onto your nails with minimal artistic skill. Plates with fall themes are readily available.
What You’ll Need:
Base coat and top coat
Your main brown polish
A contrasting polish for stamping (gold, black, or a lighter brown can look great)
A nail stamping plate with fall designs
A stamper and scraper tool
How to Achieve It:
1. Prep nails and apply base coat.
2. Apply your main brown polish to all nails. Let dry completely.
3. Prepare your stamping plate: Apply a generous amount of your contrasting stamping polish over the desired design on the plate.
4. Scrape: Hold the scraper tool at a 45-degree angle and quickly scrape off the excess polish.
5. Stamp: Immediately roll the stamper tool over the design to pick it up.
6. Transfer: Roll the stamper onto your nail to transfer the design.
7. Clean up: Clean any stray polish from your skin with a brush dipped in remover.
8. Top coat: Once completely dry, apply a top coat (be gentle if using regular polish, as it can smudge stamped designs).
For more information on nail stamping techniques and best practices, you can explore resources from reputable nail art suppliers or tutorial sites. You might find a guide from a brand like Born Pretty or What’s On My Jelly helpful.
##


