Evening party nail designs with gems are your secret weapon for a dazzling, sophisticated look. Learn how to effortlessly add sparkle and dimension to your nails with this easy-to-follow guide. Create stunning, party-ready manicures that will turn heads.
Getting ready for an evening party often means thinking about your outfit, your hair, and your makeup. But what about your nails? They can be the perfect finishing touch, adding a pop of glamour and personality. If you’ve ever felt a little unsure about how to create a truly special nail look for a night out, especially one that sparkles, you’re not alone! Many of us want that stunning, put-together feel without spending hours at a salon or struggling with complicated techniques at home. The good news is, with a few simple steps and the right touches, you can achieve a gorgeous evening party nail design with gems that’s both sophisticated and totally achievable. Let’s dive in and get those nails party-ready!
Why Gems for Evening Party Nails?
Gems, rhinestones, and tiny jewels are like the fairy dust of the nail world, especially when it comes to evening events. They instantly elevate a simple manicure into something extraordinary. Think about it: a plain nail can be beautiful, but a nail with a strategically placed gem catches the light with every movement, adding a touch of luxury and undeniable sparkle. For evening parties, this is exactly what you want! The low light often makes these subtle glints even more noticeable and alluring. Plus, gems allow you to play with texture and dimension, making your nails a little piece of art.
What You’ll Need: Your Gem Manicure Toolkit
Don’t worry, you don’t need a professional nail studio to create amazing gem nail art! Here’s a breakdown of the essentials you’ll want to have on hand:
- Base Coat: To protect your natural nails and help your polish last longer.
- Nail Polish: Choose your favorite color! Darker shades or metallics often lend themselves beautifully to evening looks, but any color can be enhanced with gems.
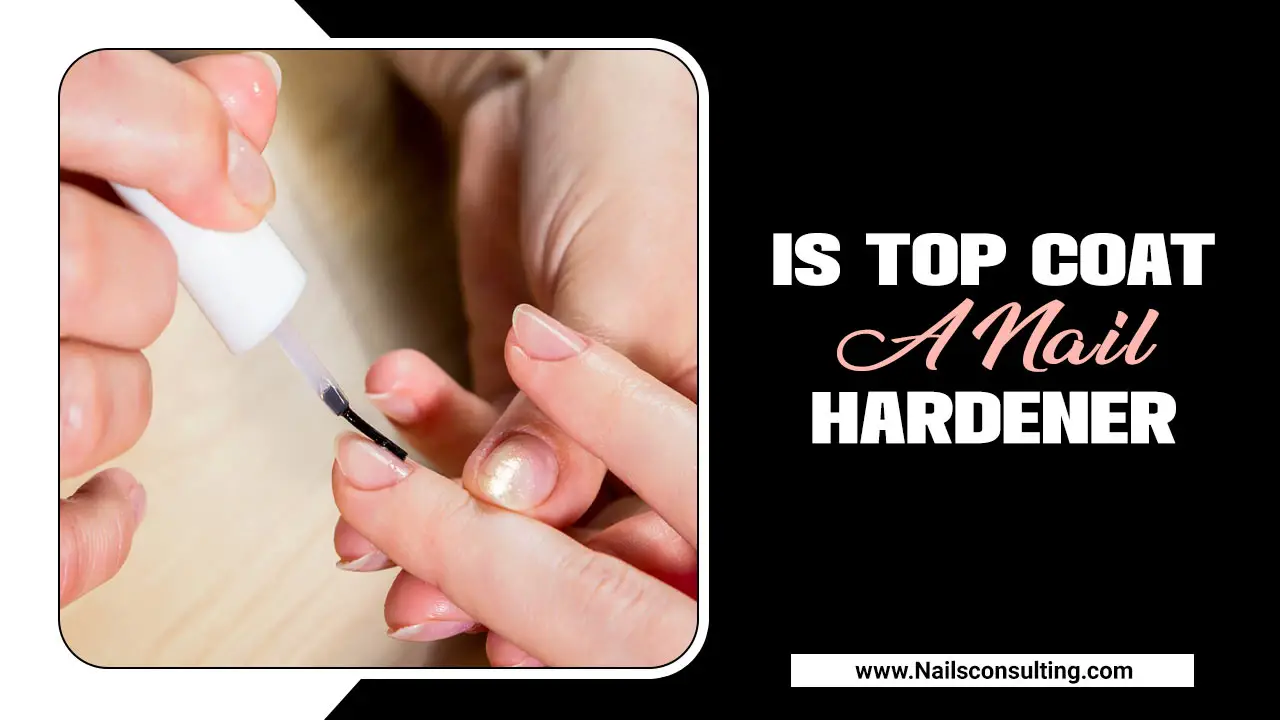
- Top Coat: Crucial for sealing everything in and adding that glossy finish.
- Gems & Jewels: These come in all sorts of shapes, sizes, and colors. Crystal rhinestones are a classic choice, but you can also find pearls, metallic studs, and even little charms. You can find these at most beauty supply stores or online.
- Nail Glue or Strong Top Coat: A specific nail glue designed for applying larger gems offers the best hold. Alternatively, a very sticky top coat can work for lighter, smaller gems.
- Precision Tweezers or Wax Pencil: A fine-tipped pair of tweezers or a special wax pencil (like a makeup pencil with a slightly sticky tip) is essential for picking up and placing tiny gems precisely.
- Orange Stick or Dotting Tool: Useful for nudging gems into place or applying small amounts of glue/top coat.
- Optional: Cuticle Oil: For a final touch of pampering and to keep your cuticles moisturized after your manicure.
Step-by-Step: Creating Your Stunning Evening Party Nail Design with Gems
Ready to bring on the bling? Follow these simple steps for a gem-tastic manicure:
Step 1: Prep Your Nails
A great manicure starts with great prep! This is crucial for making sure your design looks polished and lasts.
- Cleanse: Wash your hands thoroughly and remove any old nail polish.
- Shape: File your nails to your desired shape – almond and stiletto shapes are particularly elegant for evening looks.
- Cuticle Care: Gently push back your cuticles using an orange stick. Avoid cutting them unless you are very experienced, as this can lead to damage and infection. Healthy cuticles make a huge difference in the overall appearance of your nails.
- Buff (Optional): Lightly buff the surface of your nails to smooth out any ridges. This also helps polish adhere better.
- Clean Again: Wipe your nails with nail polish remover or rubbing alcohol to remove any dust or oils.
Step 2: Apply Your Base Coat
Apply a thin, even layer of your favorite base coat. This protects your nails from staining and creates a smooth surface for your color. Let it dry completely.
Step 3: Paint Your Nails
Now for the color! Apply two thin coats of your chosen nail polish. Darker shades like deep reds, navy blues, emerald greens, or sophisticated grays are perfect for evening. Metallics, like gold, silver, or rose gold, also make a stunning base for gem embellishments. Allow each coat to dry sufficiently before applying the next. Patience here is key for a flawless finish!
Step 4: Plan Your Gem Placement
Before you start gluing, take a moment to visualize where you want your gems to go. You can go for a single statement gem on one nail, a cascade down the side of your nail, a pattern across multiple nails, or even just a tiny cluster at the base. Some popular ideas include:
- Accent Nail: Decorate just one nail, perhaps your ring finger, with gems.
- French Tip Sparkle: Place gems along the white tip of a French manicure.
- Full Nail Coverage: For a truly glamorous look, cover an entire accent nail with small gems.
- Corner Detail: A few strategically placed gems in one corner of the nail can add subtle elegance.
- Line Accent: A fine line of small gems going up the center or side of the nail can be very chic.
Step 5: Apply the Gems
This is where the magic happens! There are a couple of ways to do this:
Method A: Using Nail Glue (Recommended for larger or heavier gems)
- Apply a tiny dot of nail glue where you want your first gem to be. Be precise – too much glue can look messy.
- Using your precision tweezers or wax pencil, carefully pick up a gem.
- Gently press the gem onto the dot of glue.
- If needed, use an orange stick or dotting tool to nudge the gem into its perfect position.
- Repeat for all your chosen gems. Remember to work quickly but carefully, as nail glue dries fast.
Method B: Using a Sticky Top Coat (Best for small, lightweight gems)
- Apply a small section of top coat to the area where you want to place your gem. Don’t spread it too thinly; you want it to be sticky enough to hold the gem.
- Using your tweezers or wax pencil, pick up a gem and place it onto the wet top coat.
- Gently press down to secure it.
- You can then go back and apply a tiny amount of top coat around the edges of the gem, being careful not to flood the surrounding nail area.
- Repeat for all gems.
Step 6: Seal the Deal (and the Gems!)
Once all your gems are in place and any glue has fully dried, it’s time to seal everything in.
- Apply a generous, but not sloppy, layer of top coat over your entire nail, including the gems. This is critical for longevity and shine.
- Be careful not to apply the top coat too thickly, as it can pool and make the gems look uneven.
- For extra security, you can carefully apply a small amount of top coat around the base of each gem, particularly if you used Method B.
Step 7: Final Touches
Let your top coat dry completely. This might take a bit longer when gems are involved. Once dry, you can apply a touch of cuticle oil for a polished, hydrated finish.
Gem Placement Inspiration: Beyond the Basics
Want to get even more creative with your evening party nail design with gems? Here are some ideas to spark your imagination:
The “Chandelier” Effect
On an accent nail, start with a larger gem at the base of your nail (near the cuticle) and then create a trailing effect with progressively smaller gems or a line of tiny ones, like a sparkling chandelier.
The Geometric Cluster
Arrange a few different sizes of same-colored gems in a neat geometric pattern, such as a triangle or a square, on each nail.
The “Jeweled Armor”
For a bolder statement, cover an entire accent nail with small rhinestones, creating a stunning, textured effect. This works especially well with silver or crystal gems on a dark background.
The Subtle Sparkle
If you prefer a more understated elegance, place just one tiny gem at the apex of your nail’s natural curve, or at the corner of a French tip.
Mixed Media
Combine gems with other nail art elements like glitter polish, metallic strips, or even hand-painted details for a truly unique design.
Choosing the Right Gems for Your Manicure
The world of nail gems is vast! Here’s a quick guide:
| Gem Type | Description | Best For | Ease of Application |
|---|---|---|---|
| Rhinestones (Acrylic & Crystal) | Sparkly, faceted stones that catch the light beautifully. Available in various colors and sizes. | Adding general sparkle, elaborate designs, accent nails. | Moderate (requires tweezers/wax pencil and glue or strong top coat). |
| Pearls | Smooth, lustrous beads that add a vintage or classic feel. | Elegant accents, French tips, delicate patterns. | Moderate (can be tricky to secure evenly with glue). |
| Metallic Studs | Small metal shapes (dots, squares, stars) that offer a modern, edgy look. | Geometric designs, adding texture, edgy accents. | Easy to Moderate (usually flat-backed, adhere well). |
| Flat-backed Charms | Small 3D embellishments like bows, hearts, or flowers. | Creating focal points, adding significant dimension. | Moderate to Difficult (require strong glue and careful placement). |
| Self-Adhesive Gems | Gems with a pre-applied adhesive backing. | Quick touch-ups, very simple designs, beginners. | Easy (peel and stick), but hold can be less durable. |
Tips for Gem Longevity
You’ve put in the effort to create a beautiful gem manicure, so you want it to last! Here are a few pro tips:
- Prep is Paramount: Ensure your nails are clean, dry, and free of oils before applying polish or gems.
- Strong Adhesive: Invest in good quality nail glue specifically for embellishments for the best hold.
- Proper Sealing: Make sure your top coat covers the edges of your gems without flooding the nail. Let each coat dry thoroughly.
- Avoid Harsh Chemicals: Try to minimize exposure to harsh chemicals, including cleaning products, that can break down polish and adhesive. Wear gloves when doing chores!
- Gentle Handling: Be mindful of your nails, especially when opening cans or performing tasks that might snag a gem.
- Touch-Ups: If a gem does come loose, don’t panic! You can often reapply it with a tiny dab of nail glue.
Troubleshooting Common Gem Manicure Issues
Even with the best intentions, sometimes things don’t go perfectly. Here are a few common hiccups and how to fix them:
- Gems Falling Off: This is usually due to insufficient adhesive or improper sealing. Apply a small dot of nail glue directly to the nail where the gem should go, then press the gem on firmly. Reapply top coat around the edges.
- Glue Visible or Messy: Carefully use an orange stick dipped in nail polish remover to gently lift away excess dried glue. For wet glue, try to wipe it away quickly with the edge of an orange stick.
- Gems Look Uneven: Sometimes the top coat can build up unevenly. You can carefully buff down any high spots once dry and reapply a thin layer of top coat.
- Gem Placement Isn’t Perfect: If the glue or top coat is still wet, you might be able to gently nudge the gem into place with your tweezers or dotting tool. If it’s dry, you may need to carefully lift it with a fine-tipped tool and reapply.
- Allergic Reaction: While rare, some people can be sensitive to nail glue or certain gem materials. If you experience redness, itching, or swelling, remove the gems immediately and consult a dermatologist.
The Benefits of DIY Evening Party Nail Design with Gems
Why should you consider doing your own gem manicures for parties? The advantages are plentiful!
| Benefit | Description |
|---|---|
| Cost-Effective | You save money compared to frequent salon visits. A few supplies can last for many manicures. |
| Convenience | Do your nails on your own schedule, without needing to book appointments. Perfect for last-minute events! |
| Customization | You have complete control over colors, gem types, placements, and entire design. Your nails, your style! |
| Skill Development | Each time you practice, your technique improves, leading to more intricate and professional-looking results. |
| Creative Outlet | Nail art is a fantastic way to express your creativity and personality. It’s fun and rewarding! |
| Perfect for Beginners | With simple techniques and the right tools, even those new to nail art can achieve stunning results. |
Popular Nail Colors for Evening Party Gem Designs
While any color can be jazzed up with gems, some hues are particularly well-suited for that evening glamour. Consider these popular choices:
- Classic Red: Timeless, bold, and always elegant. Red nails with gold or crystal gems are a winning combination.
- Deep Navy Blue: Sophisticated and mysterious, navy makes a fantastic backdrop for silver or iridescent gems.
- Emerald Green: Rich and luxurious, green pairs beautifully with gold or bronze accents.
- Burgundy/Wine: A darker, moodier shade of red that feels very chic and pairs well with metallic gems.
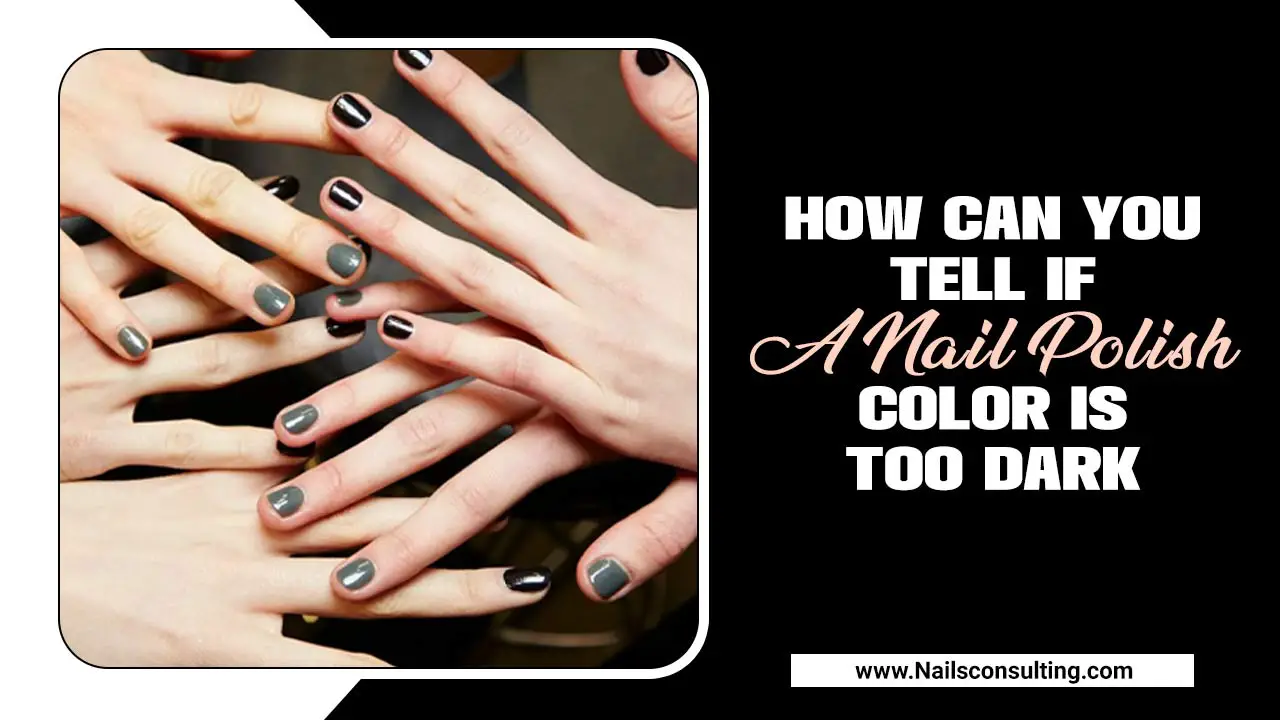
- Black: The ultimate sophisticated color. Black nails with silver, crystal, or even colored gems are incredibly striking.
- Champagne/Rose Gold: Soft metallics that offer a glamorous shimmer without being overpowering.
- Opaque White/Ivory: A clean, elegant base that makes colored gems pop, or pairs perfectly with pearly accents.
Frequently Asked Questions About Evening Party Nail Design with Gems
Q1: How do I make sure the gems stay on all night?
A1: Use a strong nail glue specifically designed for embellishments. Apply it precisely as a small dot where the gem will sit. Also, ensure you seal over the gems (but not too thickly) with a good quality top coat once the glue is dry.
Q2: Can I put gems on acrylic or gel nails?
A2: Absolutely! Gems adhere very well to acrylic and gel nails. In fact, the harder surface can sometimes make application easier. Just follow the same principles of using a strong adhesive and sealing properly.
Q3: What’s the easiest way to pick up tiny gems?
A3: A fine-tipped pair of tweezers is great for most gems. For very tiny ones or if you have trouble with tweezers, a makeup pencil with a slightly sticky or waxy tip (like an eyelash applicator or a lip liner pencil tip) works wonders. You can also buy special wax pencils designed for picking up gems.
Q4: How long should I wait before applying top coat after placing gems?
A4: If you used nail glue, wait for the glue to dry completely – this usually takes a minute or two. If you used a sticky top coat method, you can apply the sealing top coat fairly soon after placing the gems, as long as the initial top coat is still wet enough to hold them.
Q5: Can I put gems over regular nail polish, or does it have to be gel?
A5: You can definitely apply gems over regular nail polish! The key is ensuring the polish is completely dry before you start, and that you use a strong adhesive and a good top coat to seal everything in. Your chosen base color will determine the overall look. You can even use gel top coat over regular polish for extra durability if you choose.
Q6: How can I make my gem manicure look less “chunky”?
A6: Opt for


