Master classic and chic European nail designs with simple steps and easy-to-follow tips for a sophisticated look. Learn essential techniques to recreate these elegant masterpieces at home, boosting your confidence and style.
Ever scrolled through Pinterest or Instagram and admired those perfectly polished nails with a touch of European flair? You know, the ones that look effortlessly chic and sophisticated? It’s easy to feel a little intimidated, thinking you need professional skills to achieve them. But guess what? You don’t! European nail designs are all about elegance, subtlety, and clean lines, and they’re totally achievable for beginners. Think less is more! This guide will break down these beautiful styles into simple, manageable steps. Get ready to unleash your inner nail artist and create stunning looks that feel like a true masterpiece, right from your own home.
The Allure of European Nail Design
What exactly makes a nail design “European”? It’s a look that often embodies a sense of understated luxury and timeless elegance. Unlike some bolder trends, European styles tend to favor refinement, clean aesthetics, and a harmonious balance. You’ll often see a focus on quality over quantity, meaning the application is pristine and the design itself speaks volumes without being overly flashy.
This approach can stem from various cultural influences across Europe, each with its own subtle nuances. French manicures, for instance, have a classic Parisian vibe. Minimalist lines seen in Scandinavian design inspire a clean, modern look. Italian style might lean towards rich, sophisticated colors. Ultimately, European nail designs are about conveying poise, confidence, and a polished finish. They’re versatile enough for any occasion, from a day at the office to a glamorous evening out.
Key Elements of European Nail Designs
Before we dive into specific designs, let’s talk about the core components that define the European aesthetic. Understanding these will help you adapt any design and create your own variations.
- Cleanliness is Key: Impeccable cuticles, smooth nail surfaces, and precise polish application are non-negotiable. A well-prepped nail is the foundation of any elegant look.
- Understated Color Palettes: Think sophisticated neutrals, muted pastels, deep jewel tones, and classic reds. While vibrant colors are used, they are often applied with a refined touch.
- Subtle Embellishments: If bling is used, it’s usually minimal and strategically placed – perhaps a tiny stud or a delicate line.
- Focus on Shape: The nail shape plays a big role. Almond, oval, and squoval shapes are very popular and contribute to the elegant silhouette.
- Matte and Glossy Finishes: A mix of finishes can add depth and sophistication. A matte topcoat over a classic color can be surprisingly chic.
Essential Tools for European Nail Art
You don’t need a vast arsenal of expensive tools to create beautiful European-inspired nails. Here’s a beginner-friendly list of what you’ll find most useful:
- Nail File: For shaping your nails. A fine-grit file (around 180-240 grit) is best for natural nails.
- Cuticle Pusher/Orange Stick: To gently push back and tidy cuticles.
- Base Coat: Protects your natural nail and helps polish adhere better.
- Top Coat: Seals your design, adds shine, and prevents chipping. A quick-dry formula is a lifesaver!
- Nail Polish Remover: For clean-ups and correcting mistakes.
- Cotton Balls or Lint-Free Wipes: Essential for applying remover and cleaning brushes.
- Thin Nail Art Brush or Dotting Tool: For creating fine lines, dots, or small details.
- Your Chosen Nail Polishes: Select colors that fit the European aesthetic.
DIY European Nail Designs: Step-by-Step Tutorials
Let’s get creative! Here are a few essential European nail designs that are perfect for beginners to try at home.
1. The Modern French Manicure
The classic French got a makeover! This version is all about a softer, updated feel.
Tools Needed:
- Base Coat
- Sheer Nude or Milky Pink Polish
- White or Cream Polish
- Thin Nail Art Brush
- Top Coat
Steps:
- Start with clean, shaped nails. Apply your base coat and let it dry completely.
- Apply one or two thin coats of your sheer nude or milky pink polish. This creates a natural-looking base. Let it dry.
- Dip your thin nail art brush into the white or cream polish.
- Gently trace a thin, slightly curved line along the tip of each nail. Aim for a softer smile line than the traditional French. Don’t worry if it’s not perfectly identical – variation adds to the chic look!
- Allow the white tips to dry thoroughly.
- Apply a generous layer of top coat to seal the design and add a glossy finish.
2. Minimalist Lines
Simple, geometric, and oh-so-chic. This design relies on clean lines and classic colors.
Tools Needed:
- Base Coat
- Neutral Polish (e.g., beige, light grey, taupe)
- Black or Metallic Polish (gold or silver)
- Thin Nail Art Brush or Striping Tape
- Top Coat
Steps:
- Prepare your nails with a base coat and let it dry.
- Apply one or two coats of your chosen neutral polish. Ensure it’s completely dry before moving on.
- Option A (Brush): Dip your thin nail art brush into the black or metallic polish. Carefully paint a single, straight line either vertically down the center of the nail, horizontally across the tip, or diagonally from one corner.
- Option B (Striping Tape): Apply striping tape to your nail in the desired pattern (e.g., a straight line). Paint over the tape with your accent color. Once the polish is slightly tacky (not fully dry), carefully peel off the tape to reveal a crisp line.
- Let the accent line dry completely.
- Apply a top coat to protect your minimalist masterpiece.
3. Subtle Gradient (Baby Boomer)
A softer, more blended version of the French manicure, the Baby Boomer is incredibly popular for its natural and elegant look. It transitions from a milky pink or nude base to a soft white tip.
Tools Needed:
- Base Coat
- Milky Pink or Nude Polish
- Sheer White or Opaque White Polish
- Makeup Sponge or Dabber
- Top Coat
Steps:
- Apply base coat and let it dry.
- Paint your nails with one to two coats of milky pink or nude polish. Let it dry.
- Cut a small piece of a makeup sponge or use a dedicated nail art sponge/dabber.
- Apply a line of the milky pink/nude polish and a line of the white polish side-by-side onto the sponge.
- Gently dab the sponge onto the tip of your nail, blending the two colors together as you go. The goal is a seamless transition. You might need to reapply polish to the sponge and dab a few times to achieve the desired effect.
- Let the gradient dry.
- Apply a top coat. You might want an extra coat to smooth out any texture from the sponge.
4. Single Accent Nail with Detail
This design focuses the artistry on one nail, keeping the others simple and chic.
Tools Needed:
- Base Coat
- Solid Color Polish (e.g., navy, deep green, burgundy)
- Accent Polish (e.g., gold, white, a contrasting shade)
- Thin Nail Art Brush or Dotting Tool
- Top Coat
Steps:
- Apply base coat to all nails and let dry.
- Paint 4 nails with your solid color polish. Let them dry completely.
- On your accent nail (usually the ring finger), apply the same solid color polish.
- While the accent nail polish is still wet or slightly tacky, use your thin brush or dotting tool to add a small, elegant detail. This could be:
- A few small dots arranged in a line.
- A delicate swirl.
- A tiny star or crescent moon.
- Allow the detail to dry thoroughly.
- Apply top coat to all nails.
Understanding Nail Shapes and Their European Appeal
The shape of your nails significantly influences the overall look of any design. European aesthetics often favor shapes that are elegant and elongating. Here’s a breakdown:
| Shape | Description | European Appeal | Best For |
|---|---|---|---|
| Oval | Tapered to a rounded point. Elongates the fingers beautifully. | Classic elegance, sophisticated, frames the cuticle nicely. | Most nail lengths; especially good for shorter fingers. |
| Almond | Similar to oval but tapers to a softer, more defined point. | Very chic, refined, modern yet timeless. Popular in fashion capitals. | Medium to long nails. |
| Squoval | A square shape with rounded edges. A softer take on the square. | Practical, clean, neat, universally flattering. | All nail lengths, good for those who want a square look without sharp corners. |
| Round | Follows the natural curve of the fingertip. | Natural, simple, low-maintenance. | Short nails; good for everyday wear. |
When choosing a shape, consider your lifestyle and finger length. Asymmetrical shapes like almond can draw attention, while squoval and round are more understated. For pursuing European designs, oval and almond shapes often provide the best canvas for delicate artistry.
Color Palettes: Sophistication in Every Shade
European nail colors lean towards sophisticated and timeless hues. Think beyond neons and glitter bombs!
- Neutrals: Beige, taupe, cream, soft grey, and nude shades are the epitome of understated chic.
- Pastels: Muted versions of pink, blue, lavender, and mint green.
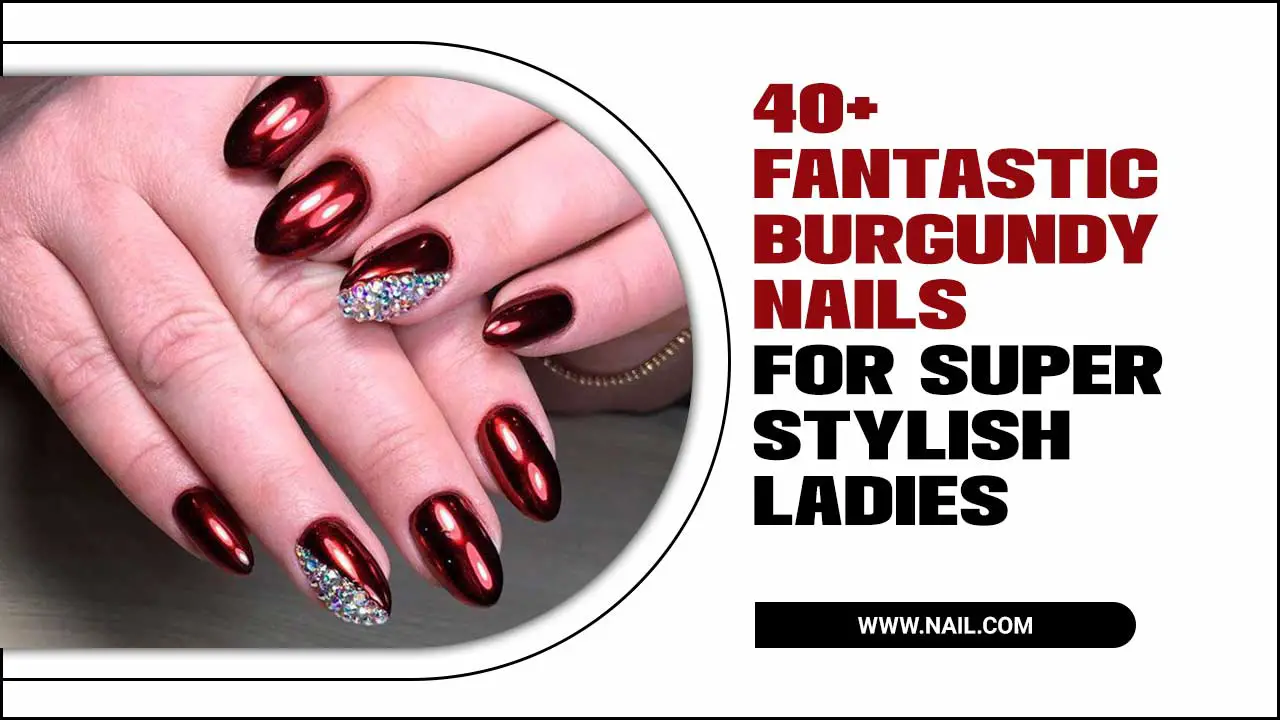
- Deep Tones: Burgundy, deep red, forest green, navy, charcoal grey – these offer a rich, luxurious feel.
- Classic Reds: Timeless and always in style, from bright cherry to deep wine.
- Metallics: Used sparingly, gold, silver, or rose gold accents add a touch of glamour.
A great resource for understanding color theory in a practical way for nails can be found through resources like ColorMatters, which offers principles applicable to choosing harmonious shades for your manicures.
Tips for Achieving a Professional Finish
Even simple designs look incredible with a professional finish. Here’s how to elevate your DIY manicures:
- Prep is Paramount: Always start with clean, dry nails. Push back cuticles, lightly buff any ridges, and remove all oils before applying polish.
- Thin Coats are Best: Apply 2-3 thin coats of polish rather than one thick one. This allows for faster drying and a smoother finish.
- Clean Edges: Dip a small brush (an old, clean eyeliner brush works wonders!) into nail polish remover to carefully clean up any polish that got onto your skin around the nail. This makes a huge difference!
- Don’t Skip the Top Coat: A good top coat adds shine, protects your design, and helps prevent chips. Reapplying every couple of days can extend the life of your manicure.
- Patience, Please: Allow each layer of polish to dry sufficiently before applying the next. Rushing is the enemy of a flawless manicure.
European Nail Designs vs. Other Trends
It’s fun to see how European nail designs fit into the broader nail art landscape. While some trends embrace maximalism with 3D embellishments, intricate character art, or bold neon color-blocking, European designs remain focused on.
- Subtlety: Less is often more.
- Classic Techniques: Refined application of traditional styles.
- Quality of Finish: Pristine application and longevity are key indicators of a well-done manicure.
- Timelessness: Designs that don’t feel bound by fleeting fashion trends.
This doesn’t mean other trends aren’t beautiful, but European designs offer a distinct brand of everyday elegance. You can often incorporate elements of European style into bolder trends by pairing a detailed accent nail with a sophisticated solid color, or using a neutral base for a more intricate pattern.
Maintaining Your European Masterpiece
Once you’ve achieved your gorgeous European-inspired nails, you’ll want them to last! Proper care is simple:
- Moisturize: Keep your cuticles and hands hydrated with a good cuticle oil and hand cream. Healthy skin makes your manicure look even better.
- Be Gentle: Avoid using your nails as tools (e.g., to open cans or scrape labels).
- Wear Gloves: When doing household chores, especially those involving water or harsh chemicals, wear gloves to protect your polish.
- Top Coat Touch-Ups: As mentioned, a quick swipe of top coat every 2-3 days can refresh the shine and add protection.
Frequently Asked Questions (FAQ)
Q1: What are the most popular European nail shapes for beginners?
A1: For beginners, squoval and round shapes are the easiest to maintain and work with. They require less precision in filing and are less prone to breakage than sharper or more pointed shapes. Oval is also a great option if you’re comfortable with a bit more shaping.
Q2: Can I achieve European nail designs with short nails?
A2: Absolutely! Many European designs, like minimalist lines or subtle accent nails, look fantastic on short nails. The key is clean application and a sophisticated color choice. Short, well-shaped nails with a flawless solid color or a delicate detail can be incredibly chic.
Q3: How do I get clean lines for minimalist designs?
A3: The best tools are a very thin nail art brush or striping tape. For brushes, ensure you have a steady hand and use a floating or dabbing technique rather than dragging. For striping tape, apply it firmly to a fully dry nail, paint over it, and then carefully peel the tape away while the polish is still slightly tacky to avoid lifting the base color.
Q4: My nail polish always chips quickly. What can I do?
A4: Ensure your nails are completely free of oils before applying polish. Apply a good base coat, thin color coats, and always finish with a generous layer of quality top coat. Sealing the free edge (painting a tiny bit of top coat along the very tip of your nail) can also greatly improve longevity.
Q5: What are “baby boomer” nails?
A5: Baby boomer nails are a soft, blended gradient of milky pink or nude at the base to a sheer white at the tip. It’s a more natural, softer take on the classic French manicure, creating a seamless, elegant look.
Q6: Do I need special polishes for European nail designs?
A6: Not at all! You can achieve beautiful European designs using standard nail polishes. The emphasis is more on the application, color choice, and detail than on special formulas, though a good quality base and top coat are highly recommended.
Q7: How can I make my DIY French manicure look less “chunky”?
A7: The trick is to use very thin coats for both the base color and the white tip. Instead of a thick white stripe, opt for a delicate line. Using a thin nail art brush to paint the smile line freehand allows for more control and a finer finish than using guides.
Conclusion
European nail designs offer a sophisticated and timeless approach to nail art that is completely accessible to beginners. By focusing on clean preparation, precise application, and elegant color choices, you can recreate these essential masterpieces at home. Whether you’re drawn to the subtle charm of a modern French manicure, the clean simplicity of minimalist lines, or the gentle blend of a baby boomer, there’s a perfect design waiting for you to


