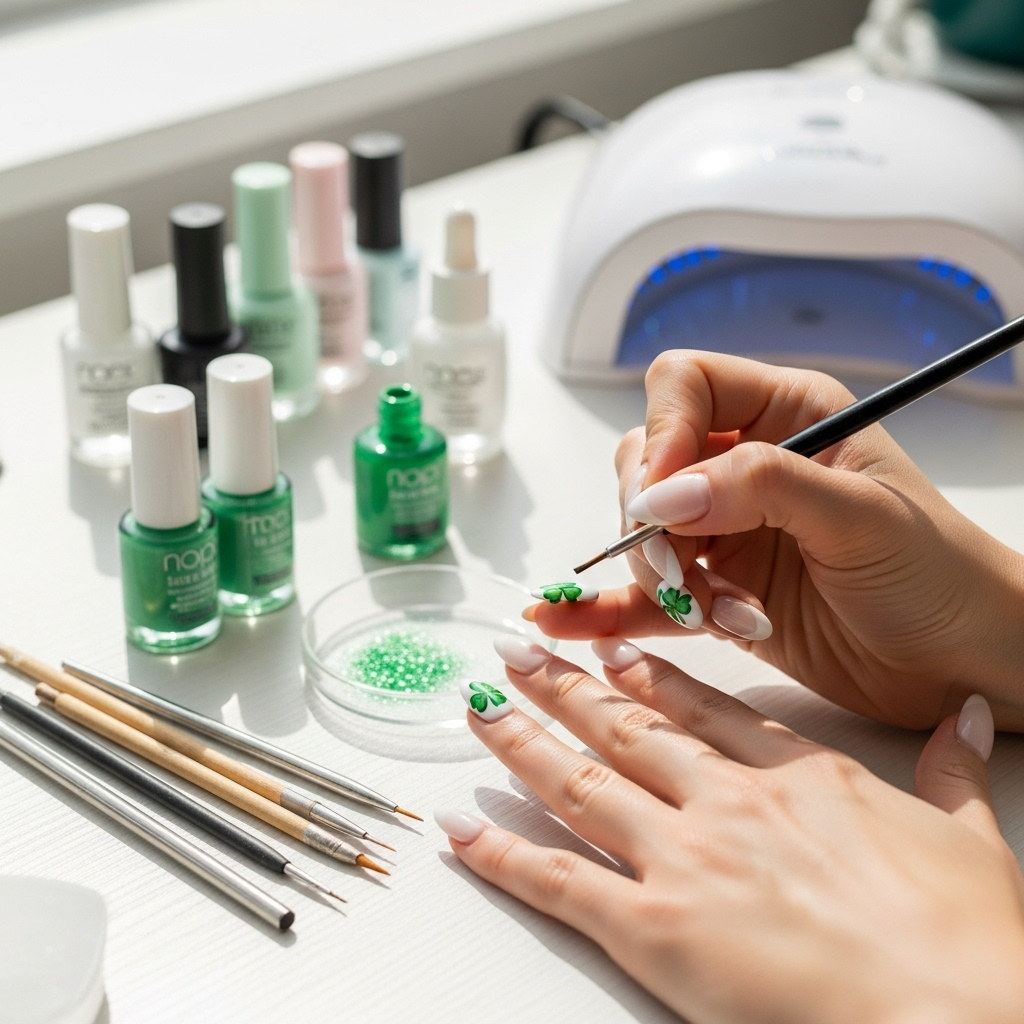
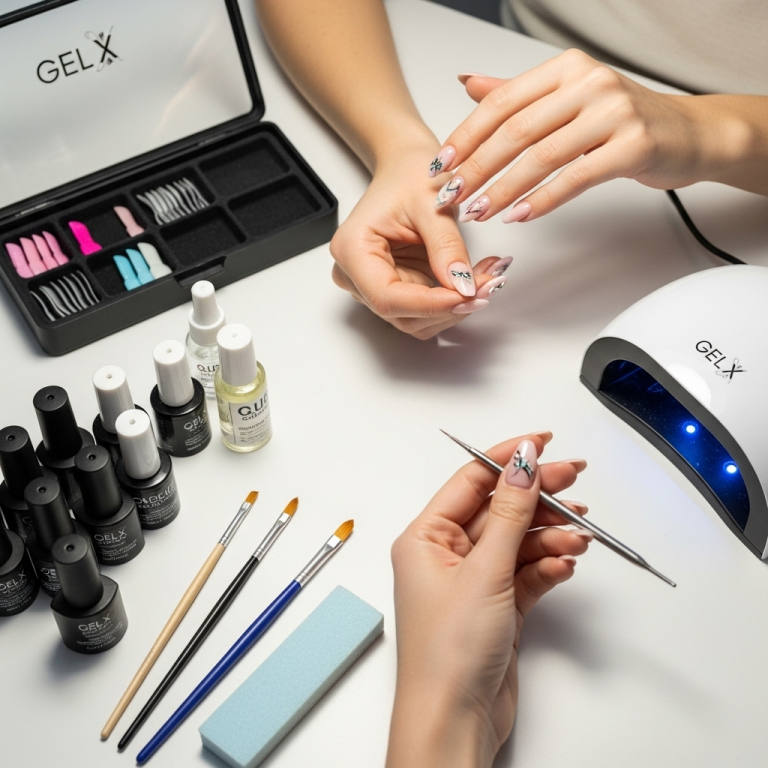
Engagement ring accent nail art lets you beautifully complement your stunning symbol of commitment with equally dazzling nails. These designs focus on a single accent nail, often adorned with delicate details like tiny diamonds, metallic lines, or gemstone-inspired patterns that echo your ring’s elegance. It’s a chic, achievable way to elevate your manicure for special occasions or everyday sparkle.
Thinking about your engagement ring and how to make your hands look just as special? You’re not alone! That beautiful ring on your finger deserves nails that feel just as radiant. But where do you start with accent nail art that actually complements your ring without being over-the-top? It can feel a little tricky to get right, especially if you’re new to nail art. Don’t worry, though! We’re going to break down the easiest and most stunning ways to create engagement ring accent nail designs that are totally achievable. Get ready to fall in love with your nails all over again. Let’s dive into the sparkling essentials!
Frequently Asked Questions About Engagement Ring Accent Nail Art
What exactly is engagement ring accent nail art?
It’s a nail art style where you focus a special design on just one nail (the accent nail), usually on your ring finger. This design is inspired by, or meant to complement, your engagement ring, adding an extra touch of sparkle and coordination.
Is engagement ring accent nail art difficult for beginners?
Not at all! We’ll cover simple techniques. Many beautiful designs use just a few basic tools and easy steps, focusing on clean lines and subtle shimmer that even a beginner can master with a little practice.
What nail polish colors work best for this style?
Neutral shades like nudes, soft pinks, creamy whites, and light grays are always elegant. Metallics like gold, rose gold, and silver are also fantastic. You can also choose colors that match your ring’s metal or your gemstone.
Do I need special tools for engagement ring accent nail art?
For simpler designs, you might only need a good base coat, top coat, your chosen polish colors, and perhaps a fine-tipped brush or dotting tool. More intricate designs might benefit from specialized brushes or striping tape.
How long does this type of nail art typically last?
With proper application, including a good base and top coat, and avoiding harsh chemicals, your accent nail art can last anywhere from 5-10 days, similar to a regular manicure that holds up well.
Can I do accent nail art with different engagement ring styles?
Absolutely! Whether you have a solitaire, halo, three-stone, or vintage-style ring, the accent nail art can be adapted to match its essence. The key is to draw inspiration from its features like shape, stones, and metal.
Where can I find inspiration for my accent nails?
Look at your ring itself! Also, browse Pinterest, Instagram (search #engagementringnailart), and beauty blogs. Magazine features and even bridal inspiration sites can offer great ideas. Don’t forget to check out celebrity manicures for trendy looks!
Understanding the Appeal: Why Accent Nails are Perfect for Your Ring
Your engagement ring is a symbol of love, commitment, and your unique style. It’s often the jewelry you wear every single day. Naturally, you want your hands to look as beautiful as the ring itself. Engagement ring accent nail art offers a delightful way to harmonize your manicure with this significant piece of jewelry. It’s about subtle coordination, adding a touch of elegance, and celebrating your ring without overwhelming your look.
The beauty of an accent nail lies in its focus. Instead of intricate, potentially messy designs across all ten fingers, you direct attention to one nail, typically on your ring finger. This makes it more impactful and easier to achieve. It’s a sophisticated trend that allows for creativity without being too demanding. Think of it as a subtle nod to your ring’s sparkle, proving that you don’t need to be a pro artist to have stunning, coordinated nails.
Essential Elements for Stunning Engagement Ring Accent Nail Art
Creating beautiful accent nail art inspired by your engagement ring involves a few key components. These are the building blocks for a look that’s both chic and personal. We’re talking about the colors, the finishes, the tiny details, and the tools that make it all happen smoothly.
The Right Color Palette
This is where the magic begins! Your color choice can either subtly enhance or boldly tie into your ring. Think about the metal of your ring—is it classic yellow gold, modern rose gold, or cool platinum/silver? Matching your polish to the metal is a foolproof way to create harmony.
- Neutrals: Soft nudes, creamy whites, light grays, and pale pinks are universally flattering and elegant. They allow your ring to remain the star while adding a polished touch.
- Metallics: Gold, rose gold, silver, and even bronze polishes are fantastic for accent nails. They mimic the shine of your ring and add instant glamour.
- Gemstone Shades: If your ring features a specific colored gemstone (like sapphire blue, emerald green, or ruby red), consider using a polish in a similar shade for your accent nail.
- Subtle Contrasts: Sometimes, a color that slightly contrasts with your ring can create a beautiful visual interest. For example, a deep navy could beautifully offset a diamond solitaire.
Finishes and Textures
Beyond color, the finish of your polish can add another layer of interest. Matte finishes can lend a modern, sophisticated feel, while glossy finishes offer classic shine. For accent nails, consider finishes that mimic gemstones or precious metals:
- High Gloss: This is your standard, super-shiny finish that reflects light beautifully, much like a polished gemstone.
- Metallic/Chrome: These polishes provide an intense, reflective shine that can perfectly match your ring’s metal.
- Glitter: Fine glitters can add subtle sparkle, while chunkier glitters can make a bolder statement. Opt for glitters that complement your ring’s stones.
- Shimmer/Pearl: These offer a softer, opalescent sheen that can evoke the look of specific gemstones.
Design Elements: Drawing Inspiration
This is where you get creative and connect directly with your ring’s design:
- Thin Lines: Use metallic polish or striping tape to draw delicate lines that mimic the band or settings of your ring.
- Tiny Dots: Small dots, especially in a metallic shade, can represent tiny diamonds or pavé settings.
- Geometric Shapes: Simple shapes like tiny triangles, squares, or half-moons can reflect modern or art-deco ring styles.
- Faux Gemstones: With careful dotting or small decals, you can create the illusion of small stones.
- Delicate Florals or Swirls: For a romantic ring, a tiny, hand-painted floral or swirl can be a sweet touch.
- Negative Space: Designs that leave parts of the nail bare can be very modern and chic, allowing your natural nail or a sheer base to show through.
Essential Nail Art Tools for Beginners
You don’t need a professional salon setup! A few basic tools can open up a world of design possibilities. Investing in these will make your accent nail art projects much easier and more enjoyable.
| Tool | Description | Why It’s Great for Accent Nails |
|---|---|---|
| Fine-Tipped Detail Brush | A brush with very fine synthetic bristles, perfect for thin lines and small details. | Ideal for drawing delicate patterns, outlines, or tiny dots that mimic your ring’s settings. Essential for precision. |
| Dotting Tools | Tools with small metal balls at the end, coming in various sizes. | Create perfect small dots for that “pavé” effect or to represent tiny stones. Easy to use for consistent circles. |
| Striping Tape | Very thin adhesive tape, usually metallic or colored. | Use it to create crisp, straight lines or geometric shapes. Peel it off once the polish is slightly dry for clean edges. |
| Nail Art Pens/Stamper | Pens with precision tips or a stamper that picks up designs from plates. | Pens offer ease of use for lines and dots. Stampers can replicate complex patterns quickly, though they have a learning curve. |
| Tweezers | Small, pointed tweezers. | Useful for placing small rhinestones, studs, or decals precisely onto your accent nail. |
| Clean-Up Brush | A flat, angled brush (like a small concealer brush) with stiff bristles. | Dip in nail polish remover to clean up any polish mistakes around your cuticles and sidewalls for a super neat finish. |
Step-by-Step Guide: Creating Your Engagement Ring Accent Nail
Let’s get down to business! These steps will guide you through creating a beautiful accent nail that celebrates your engagement ring. We’ll focus on a popular and achievable design: a metallic line detail on a neutral background.
Step 1: Prep Your Nails
A good manicure starts with great preparation. This ensures your polish adheres well and lasts longer.
- Remove Old Polish: Make sure all traces of old nail polish are gone using a good quality nail polish remover.
- Shape Your Nails: File your nails into your desired shape. For a classic look, a soft square or squoval shape works well. Always file in one direction to prevent splitting. According to the Nails Magazine, proper filing is key to preventing damage.
- Cuticle Care: Gently push back your cuticles with an orange stick or cuticle pusher. Avoid cutting them, as this can lead to infection. If you have dry cuticles, apply a cuticle oil.
- Buff and Cleanse: Lightly buff the surface of your nails to remove any shine. This helps polish adhere better. Then, wipe each nail with a nail cleanser or rubbing alcohol to remove oils and dust.
- Apply Base Coat: Apply one thin layer of a good quality base coat. This protects your natural nail from staining and helps your color last.
Step 2: Apply Base Color
This is the canvas for your accent design.
- Choose Your Color: Select your preferred neutral shade (nude, pink, cream, light gray) or a color that complements your ring.
- Apply Thin Coats: Apply two thin coats of your chosen nail polish to all nails, including the accent nail. Let each coat dry for a couple of minutes before applying the next. Thin coats are key to a smooth, streak-free finish that dries faster.
- Ensure Even Coverage: Make sure the color is opaque and there are no bald spots.
Step 3: Design Your Accent Nail
This is where we add the ‘engagement ring’ flair! For this example, we’ll create a delicate metallic line. Ensure your base color on the accent nail is completely dry before proceeding.
- Choose Your Metallic Polish: Select a metallic polish that matches your ring’s metal (gold, rose gold, silver).
- Method A: Using a Fine-Tipped Brush:
- Dip your fine-tipped detail brush into the metallic polish. Wipe off any excess on a paper towel to avoid blobs.
- Carefully paint a thin, straight line vertically down the center of your accent nail, starting from the cuticle and ending at the tip.
- Alternatively, you could paint a horizontal line near the cuticle, or two diagonal lines meeting in the middle for a V-shape.
- Some people prefer to use a striping tape first. Apply a strip of tape where you want the line to be (e.g., down the center). Paint over the tape with your metallic polish, then carefully peel the tape off while the polish is still wet to reveal a clean line.
- Method B: Using a Nail Art Pen:
- If you have a metallic nail art pen, this is even simpler!
- Gently draw a thin, straight line down the center of your accent nail, or create your desired pattern.
- Adding Dots (Optional): If your ring has small stones, use a dotting tool dipped in your metallic polish to add a few tiny dots along the line, or near the cuticle, to simulate a pavé effect.
- Let it Dry: Allow the accent nail art to dry completely. Rushing this step is a common mistake that can ruin all your hard work.
Step 4: Apply Top Coat
This is crucial for longevity and shine!
- Seal the Design: Apply one or two thin coats of a good quality, quick-drying top coat over all your nails. Make sure to cap the free edge (paint a little bit of the top coat along the very tip of your nail) to prevent chipping.
- Be Gentle: Be careful not to smudge your accent nail design when applying the top coat. Brush gently.
- Drying Time: Allow your top coat to dry thoroughly. Consider using quick-dry drops if you’re in a hurry.
Step 5: Final Touches
Once your nails are completely dry, apply a drop of cuticle oil to each nail and gently massage it in. This rehydrates your skin and adds a final touch of healthy sheen.
Popular Engagement Ring Accent Nail Ideas
Here are some popular and achievable accent nail ideas that draw inspiration from common engagement ring styles:
| Ring Style Inspiration | Accent Nail Idea | How to Achieve It |
|---|---|---|
| Classic Solitaire (Diamond/Gemstone) | Single shimmering stone illusion or clean metallic line. | On a neutral base, use a fine brush or dotting tool with a contrasting metallic polish to create a single, prominent “stone” dot in the center or a clean line mirroring the solitaire’s setting. A touch of glitter can add sparkle. |
| Halo Setting | Delicate halo or subtle sparkle. | Paint a thin circle of metallic polish around the nail tip or cuticle, mimicking the smaller stones. Alternatively, use fine glitter polish for a subtle shimmer. |
| Three-Stone Ring | Three dots or geometric accents. | On a neutral base, use a dotting tool to create three small dots in a line, or three tiny metallic squares/triangles, to represent the stones. |
| Pavé Band | All-over fine glitter or micro-dots. | Apply a fine glitter polish that matches your ring’s metal. For a more subtle effect, carefully apply dozens of tiny metallic dots using a very fine brush or dotting tool to simulate the look of tiny embedded stones. |
| Vintage/Art Deco Style | Geometric lines, subtle patterns, or negative space. | Use striping tape to create sharp geometric patterns (e.g., chevrons, intersecting lines). Negative space designs also work wonderfully here, letting parts of the natural nail or a sheer base show through. |
| Rose Gold Ring | Rose gold metallic accent or complementary blush tones. | A full rose gold metallic accent nail is stunning. Alternatively, use
|


