Looking for the perfect engagement nail design inspiration? This guide offers essential ideas and tips to help you choose a stunning, personalized manicure that celebrates your special moment. From classic elegance to trendy twists, find designs that make your ring sparkle and your hands feel fabulous!
Planning your engagement or a special event? Choosing the right nail design can be like finding the perfect accessory for your outfit. It’s that little detail that makes you feel extra special and polished. Sometimes, with so many gorgeous options out there, it feels a bit overwhelming to pick just one, right? Don’t worry! This guide is here to make it super simple and fun. We’ll explore beautiful, achievable engagement nail designs that you’ll absolutely love. Get ready to find your dream mani!
Why Your Engagement Nails Matter
Your hands are often on display when you’re showing off that beautiful new ring, and your nails are a big part of that picture. Whether it’s for your engagement photos, a celebratory toast, or just everyday moments of admiration, you want them to look and feel their best. Choosing an engagement nail design isn’t just about following a trend; it’s about expressing your personal style and adding a touch of confidence to this exciting chapter.
Finding Your Perfect Engagement Nail Style
The most important thing is to choose a design that you love. Think about your personal style: are you classic and elegant, modern and minimalist, or do you love a bit of sparkle? Your engagement nails are a reflection of you!
Classic Elegance: Timeless Choices
For a look that never goes out of style, classic options are a fantastic choice. These designs are subtle, sophisticated, and let your engagement ring be the star.
The Classic French Manicure: This is a timeless favorite for a reason! A clean, crisp white tip on a sheer nude or pink base is always chic. You can opt for a modern twist with a sheer pink or milky white base for an even softer look. It’s polished and pairs beautifully with any ring style.
Soft Neutrals & Pastels: Think delicate shades of pale pink, creamy beige, light peach, or a gentle milky white. These hues are incredibly flattering and provide a smooth, flawless canvas. They are understated yet undeniably elegant.
Sheer Nudes and Blushes: A sheer, almost translucent polish in a nude or blush tone can give your nails a healthy, polished look. It’s like a “your nails but better” vibe, perfect for those who prefer a very natural aesthetic.
A Hint of Shimmer: A subtle, fine shimmer or a delicate pearlescent finish can add a touch of glamour without being over-the-top. This can be applied as a topcoat over a neutral shade or as a full-coverage polish.
Modern & Minimalist Magic
If clean lines and subtle details are more your style, minimalist designs offer a chic and contemporary feel.
Single Accent Nail: This is a great way to add a unique touch without overwhelming the look. Paint all nails in a neutral shade and add a subtle detail to one finger. This could be a thin metallic line, a tiny dot, or a delicate micro-glitter accent.
Negative Space Designs: These designs play with the bare nail surface. Think clean lines, geometric shapes, or minimalist patterns left “unpainted” or covered with a clear coat. They look incredibly modern and sophisticated.
Subtle Geometric Accents: A simple line, a small dot near the cuticle, or a thin V-shape at the tip in a contrasting metallic or nude shade can add a modern flair.
Matte Finish: A matte topcoat can transform any color into a sophisticated, modern look. It’s especially beautiful on deeper shades or classic nudes.
A Touch of Sparkle: Dazzling Designs
Who doesn’t love a little sparkle, especially for an engagement? If you’re ready to shine, here are some ways to incorporate glamorous elements.
“Bling” Accent Nail: Dedicate one nail (often the ring finger) to sparkle. This could be a full glitter nail in a silver, gold, rose gold, or iridescent shade.
Glitter Ombré: A beautiful transition from a solid color at the cuticle to a full glitter tip or vice versa. This creates a stunning gradient effect that catches the light.
Subtle Glitter Accents: Instead of a full glitter nail, consider a glitter French tip, a stripe of glitter across the nail, or a sprinkle of fine glitter in the center of the nail.
Pearlescent & Chrome Finishes: These metallic or iridescent finishes offer a high-shine, eye-catching look that feels modern and luxurious. A full chrome nail or a chrome accent can be very impactful.
Creative Touches: Unique & Personal Designs
Want something a little more unique? These designs allow for more personality and creativity.
Delicate Line Art: Think fine details like delicate floral vines, minimalist swirls, or abstract lines in a contrasting color. These look artistic and refined.
Micro-Pearl Embellishments: Tiny pearls strategically placed along the cuticle line or as a small cluster on an accent nail add a touch of romantic charm.
Color Combinations: Experiment with soft, complementary colors. For instance, a pale pink base with delicate white floral accents or a soft peach with a hint of gold shimmer.
“Something Blue”: Incorporate a shade of blue as a nod to the tradition, perhaps a soft sky blue, a delicate periwinkle, or even a glittery sapphire.
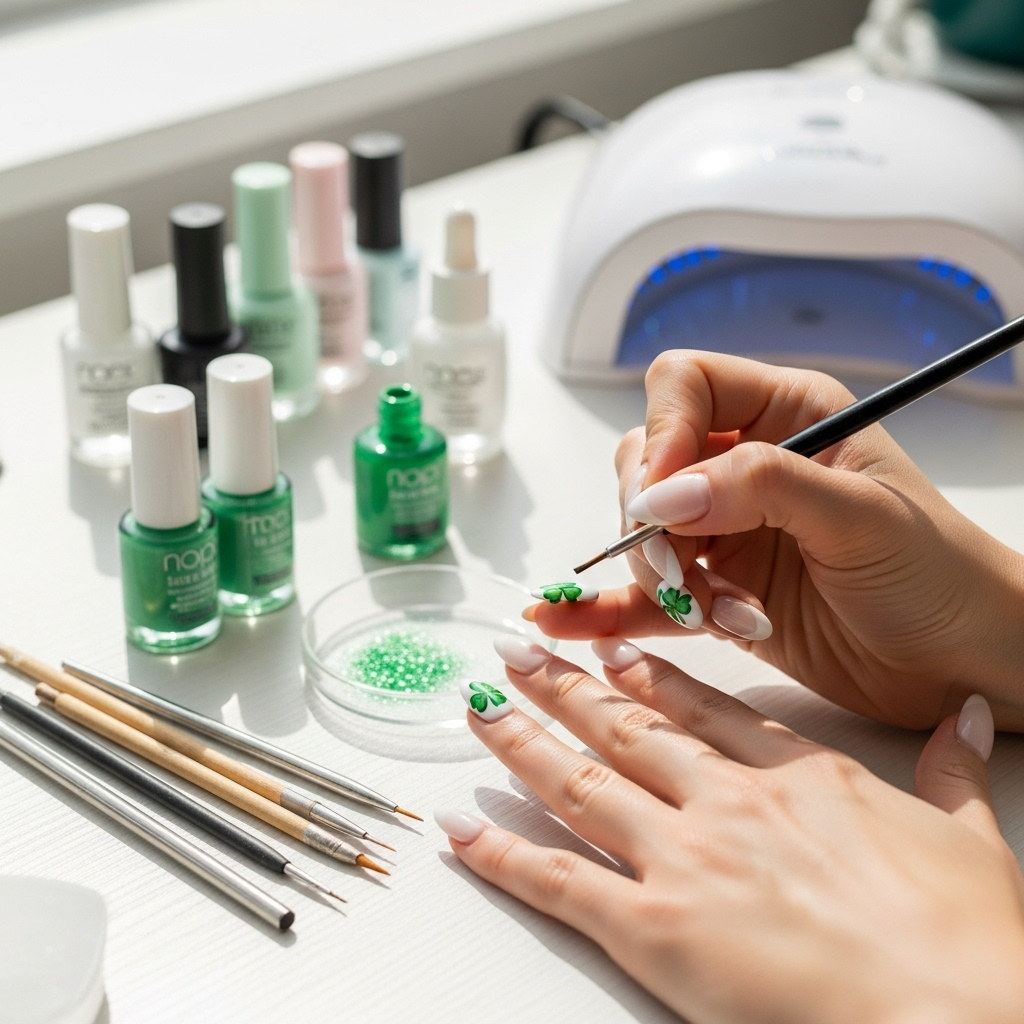
Essential Tools for Your Engagement Manicure
Even if you’re heading to the salon, knowing a bit about the tools can help you communicate your vision. If you’re doing your nails at home, these are your new best friends!
| Tool Name | Purpose | Why It’s Helpful for Engagement Nails |
| :————– | :———————————————————————- | :————————————————————————– |
| Nail File | To shape and smooth the edges of your nails. | Creates a clean, polished base for any design, ensuring a refined look. |
| Cuticle Pusher | To gently push back the cuticles for a neat nail bed. | Opens up more nail surface for design and adds to the clean, polished finish. |
| Base Coat | Protects your natural nail and helps polish adhere better. | Prevents staining and creates a smooth surface for polish application. |
| Top Coat | Seals the polish, adds shine, and prevents chipping. | Makes your design last longer and gives it that final, glossy (or matte!) touch. |
| Detail Brushes | Fine-tipped brushes for creating intricate designs and lines. | Essential for line art, dots, and other small, precise embellishments. |
| Dotting Tools | Have a small ball at the end for creating dots and small circles. | Perfect for simple, yet effective, minimalist details and patterns. |
| Nail Lamp | For curing gel polish or builder gel quickly and effectively. | Essential for at-home gel manicures, ensuring a durable, salon-quality finish. |
DIY Engagement Nail Design: A Simple Sparkle Look
Let’s try a beautiful, achievable design you can do at home: the subtle glitter accent nail!
You’ll need:
Nail file
Cuticle pusher
Base coat
Your favorite neutral polish (e.g., soft pink, nude, creamy white)
Fine glitter polish (silver, gold, or rose gold works beautifully)
Top coat
Steps:
1. Prep Your Nails: Start by filing your nails into your desired shape. Gently push back your cuticles for a clean nail bed. Apply a thin layer of base coat and let it dry completely.
2. Apply Neutral Color: Apply two thin coats of your chosen neutral polish. Make sure each coat is completely dry before applying the next. This ensures a smooth, opaque finish.
3. Create the Glitter Accent: On your ring finger (or whichever finger you choose!), apply a thin layer of your neutral polish. While it’s still slightly wet, carefully brush or dab the fine glitter polish over the tip of the nail. You can make it a full glitter tip, or just a sweep from the corner. Work quickly but carefully!
Pro Tip: For a more diffused glitter look, use a dabbing motion with the glitter polish brush.
4. Seal the Sparkle: Once the glitter accent nail is mostly dry, apply a generous layer of top coat over all your nails. This will smooth out any texture from the glitter and seal everything in to prevent chipping. Ensure you cap the free edge of your nails with the top coat.
5. Dry and Admire: Let your nails dry completely. If you’re using gel polish, cure each layer under your UV/LED lamp as per the product instructions.
This simple yet effective design adds just the right amount of dazzle to make your engagement ring pop!
Popular Engagement Nail Colors and Trends
Beyond the design itself, the color palette plays a huge role in your overall engagement nail look. Here are some consistently popular choices.
Color Trends to Consider
Soft Whites and Ivories: These are a step softer than stark white, offering a creamy, elegant feel that’s perfect for any season.
Milky Pastels: Think sheer, milky versions of pink, peach, lavender, and blue. They are subtle yet distinctive.
Rose Gold and Pinks: Depending on your ring’s metal, rose gold or rosy pink polishes can harmonize beautifully.
Champagne and Soft Golds: For a warm, luxurious feel, these shades are stunning.
Very Pale Grays: A sophisticated alternative to beige, offering a modern neutral.
Subtle Metallics: Think brushed silver, soft rose gold, or a gentle champagne chrome.
What to Avoid (If You Prefer a Classic Look)
Neons and Overly Bright Colors: Unless your personal style is very bold, extremely bright colors can sometimes distract from a delicate engagement ring.
Dark, Moody Colors (Unless Styled Carefully): Deep reds, blacks, or navies can be gorgeous, but they might not always be the classic “engagement” look. If you love them, consider them for a more dramatic, modern vibe or paired with subtle sparkle.
Loud Patterns or Charms: While fun for some occasions, complex patterns or bulky 3D charms might not photograph as well in engagement photos or feel as timeless.
How Long Should Engagement Nails Be?
The length of your nails is a personal preference, but there are a few things to consider for engagement photos and daily wear.
Short to Medium Length: This is often the most practical and universally flattering. It’s easy to type, do daily tasks, and it typically looks very neat and chic. A soft almond or squoval shape is popular.
Longer Lengths: If you prefer longer nails, like stiletto or coffin shapes, ensure they are well-maintained. A longer nail can showcase intricate designs beautifully, but it’s important that they are still manageable for you.
Consider Your Ring: A very elaborate or large engagement ring might look best balanced with slightly shorter, simpler nails, allowing each element to shine without competing. Conversely, a very delicate ring can be complemented by slightly longer, more ornate nails.
It’s always a good idea to wear your nails at a length you feel comfortable and confident with.
Frequently Asked Questions About Engagement Nails
Q1: What is the most popular color for engagement nails?
A1: Classic neutrals like soft pinks, nudes, and milky whites are perennially popular. Sheer finishes and subtle shimmer are also frequently chosen for a timeless and elegant look.
Q2: Should my engagement nails match my ring?
A2: Not necessarily! While coordinating your nail color can look lovely, the most important thing is choosing a color and design that you feel beautiful in. Your nails should complement your ring, not compete with it.
Q3: How can I make my engagement nails last longer?
A3: Use a good quality base coat and top coat. Reapply top coat every 2-3 days. Avoid using your nails as tools, and wear gloves when doing household chores involving water or chemicals. For extended wear, consider gel polish.
Q4: I’m not good at nail art. What are some easy engagement nail ideas?
A4: Focus on a perfect single color in a flattering shade, or try a simple accent nail with a single stripe of glitter or a small dot near the cuticle. A flawless French manicure or a sheer glossy finish are also great simple options.
Q5: How many days before my event should I get my nails done?
A5: For a classic polish, 1-2 days before is ideal to avoid chipping. If you’re getting gel polish or acrylics, 2-3 days is usually perfect as they are more durable.
Q6: Can I wear dark colors for my engagement nails?
A6: Absolutely! If dark colors like deep burgundy, navy, or even a sophisticated black are part of your personal style, they can be incredibly chic. Consider pairing them with a bit of subtle sparkle or a matte finish for a modern, edgy look.
Q7: What’s the advantage of a sheer nail polish for engagement nails?
A7: Sheer polishes offer a natural, healthy-looking glow to the nails. They are very forgiving with application, less prone to showing minor imperfections, and provide a subtle elegance that allows your engagement ring to truly stand out.
Maintaining Your Manicure for Photos
Once you’ve chosen your perfect engagement nail design, keeping them looking fresh is key, especially if you have upcoming engagement photos.
Top Coat Refresh: Every few days, add another thin layer of top coat. This adds shine and reinforces the protective layer, helping to prevent chips.
Cuticle Care: Keep your cuticles moisturized with cuticle oil. Dry cuticles can detract from an otherwise perfect manicure. A quick application can make a world of difference.
Avoid Damage: Be mindful of your hands. Try not to use your nails to open things, pry labels off, or scrape surfaces. This can lead to chips and breaks.
Gloves for Chores: When washing dishes, cleaning, or gardening, wear gloves. Water and cleaning chemicals are harsh on polish and can cause it to lift or dull.
When to Book Your Salon Appointment
If you’re planning to visit a professional nail technician, timing is everything.
For Regular Polish: Aim for 1-2 days before your event or photo session. This gives the polish time to “settle” and allows you to spot any minor imperfections.
For Gel Polish or Acrylics: You have a bit more leeway, booking 2-3 days in advance is usually perfect. These options are very durable and less likely to chip.
Consider Engagement Photos: If photos are your primary goal, do a “test run” with your chosen design a week or two before your actual appointment. This helps ensure you love the final look and feel comfortable with it.
Some additional resources for nail health can be found on the American Academy of Dermatology Association website, offering great tips for keeping your nails strong and healthy.
Conclusion
Choosing your engagement nail design is a fun part of the celebration! Whether you lean towards timeless classics, modern minimalism, or a touch of sparkle, there’s a perfect manicure waiting for you. Remember, the best design is one that makes you feel confident, beautiful, and ready to show off that stunning ring. Experiment with colors, consider subtle details, and most importantly, have fun with it! Your hands are about to be in countless photos and moments of admiration, so let them shine with a design that truly reflects your joy and personal style. Happy polishing, and congratulations on your engagement!