Elegant ombre nail designs for brides offer a sophisticated, customizable, and beautiful choice for wedding day nails. This gradient effect transitions seamlessly between colors, allowing for personalized shades that perfectly complement any bridal palette and style, from subtle and romantic to bold and modern.
Planning your wedding is a whirlwind of excitement, and every detail matters, right down to your nails! You want them to be picture-perfect, complementing your dress, your makeup, and that gorgeous engagement ring. Sometimes, picking the exact right shade of polish feels impossible. You love white, but maybe a touch of blush? Or perhaps a soft nude with a hint of shimmer? If you’re nodding along, then an elegant ombre nail design might just be your dream come true. It’s a way to have your cake and eat it too, mixing and matching subtle shades for a look that’s both unique and utterly chic. Don’t stress about finding the perfect single color; an ombre lets you celebrate multiple beautiful hues. Get ready to discover how this stunning technique can elevate your bridal look!
Why Ombre Nails Are a Bride’s Best Friend
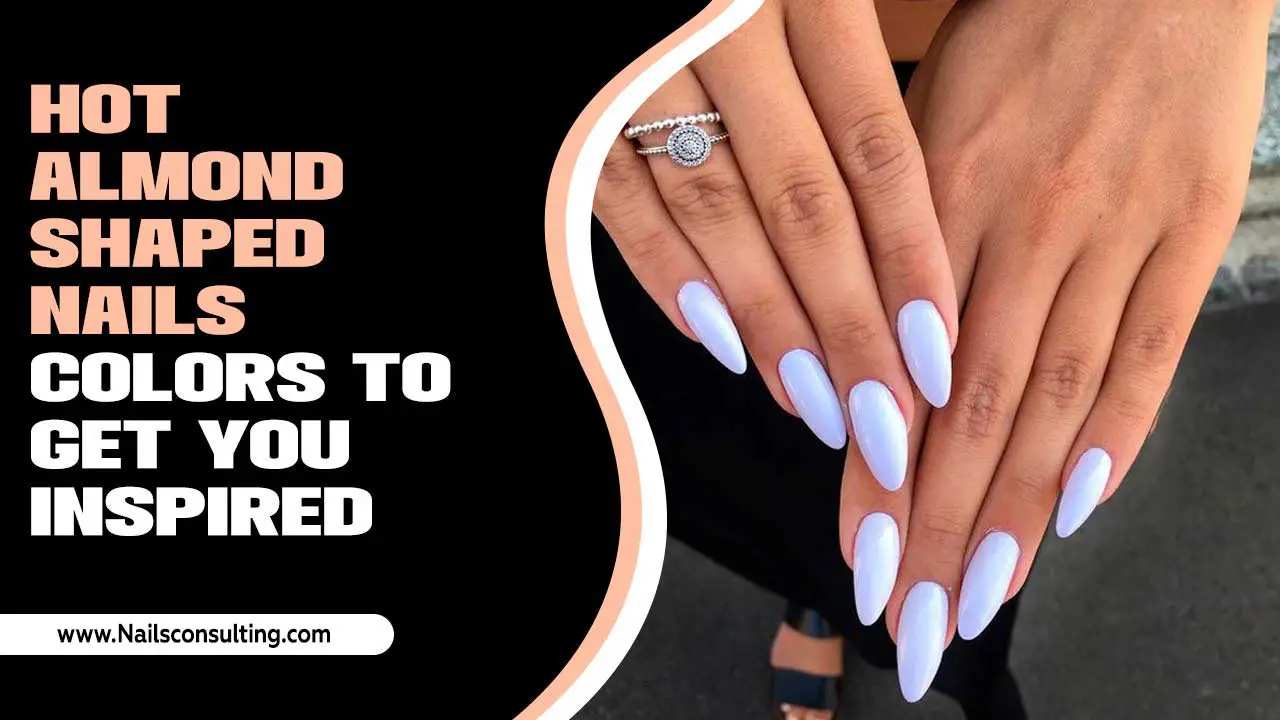
An ombre manicure is essentially a gradient effect on your nails, where one color blends smoothly into another. Think of a sunset, or the subtle shift in a delicate flower petal – that’s the magic of ombre! For brides, this technique is a game-changer for several reasons. It offers a softer, more nuanced approach to color than a solid hue, making it incredibly versatile.
The beauty of ombre lies in its adaptability. Whether your wedding theme is classic and traditional, bohemian and whimsical, or modern and sleek, there’s an ombre design to match. You can opt for classic white-to-nude gradients, romantic pink and peach blends, or even subtle shimmers that catch the light beautifully. This makes it an incredibly popular choice for modern brides seeking a touch of understated elegance and personalization for their big day.
Key Benefits for Brides:
- Customization: Easily blend shades that perfectly match your wedding colors or theme.
- Sophistication: The smooth transition of colors offers a refined and elegant look.
- Versatility: Works with virtually any dress style, color palette, and wedding aesthetic.
- Subtlety: Offers a softer pop of color or dimension compared to solid, bold shades.
- Photogenic: The gradient effect looks stunning in photos, adding a unique detail.
Choosing Your Perfect Bridal Ombre Palette
The fun part about ombre nails for brides is the sheer range of possibilities! It’s all about finding the colors that speak to your personal style and your wedding’s overall vibe. Don’t feel limited to just two colors; you can even incorporate three or subtle shimmers.
When thinking about your palette, consider the undertones of your skin. Warmer skin tones often look stunning with peachy, golden, or warm nude gradients, while cooler skin tones might lean towards soft pinks, mauves, or cool nudes. Of course, these are just guidelines, and the most important thing is to choose what makes you feel radiant!
Popular Bridal Ombre Combinations:
Here are some of our favorite combinations that we’ve seen shine on brides:
- Classic & Timeless:
- Sheer White to Milky Pink
- Pale Nude to Soft Ivory
- Champagne Gold to Pearl White
- Romantic & Soft:
- Blush Pink to Peach
- Soft Lavender to Baby Pink
- Rose Gold Shimmer to Light Nude
- Modern & Chic:
- Nude to a hint of Grey
- Milky White to a sheer, frosted finish
- Subtle Rose Gold fade
- A Touch of Sparkle:
- Nude base with a fine glitter fade towards the tip
- Pale pink with a dusting of holographic shimmer
- Ivory with a delicate rose gold metallic shift
Consider Your Wedding Colors
Does your wedding feature specific colors? You can absolutely incorporate them into your ombre! If you have dusty rose bridesmaid dresses, a blush pink to dusty rose ombre could be beautiful. If your wedding has touches of navy, a deep navy to a lighter slate grey can be surprisingly elegant and modern.
Pro Tip: Always get a swatch test done by your nail technician. Seeing the colors blended on a nail tip is the best way to ensure you love the final look.
DIY Elegant Ombre Nails: A Step-by-Step Guide for Beginners
Ready to get creative? While a professional salon is a fantastic option, a DIY ombre is totally achievable, especially with a few key tools and a little patience. We’re going to focus on a popular and beginner-friendly method using a makeup sponge!
Before you start, ensure you have clean, prepped nails. This means removing any old polish, pushing back cuticles gently, and shaping your nails. For the best results, apply a good quality base coat – this protects your nails and helps the polish adhere better. A good base coat, like OPI’s Ridge Filler, can also help smooth out any imperfections on the nail surface for a flawless finish.
Tools You’ll Need:
- Nail Polish Colors (2-3 shades for your ombre)
- Base Coat
- Top Coat
- Makeup Sponge (a dense, latex-free one is best)
- Small dish or piece of foil
- Nail Polish Remover
- Cotton Swabs (Q-tips)
- Optional: Nail Tape or liquid latex for cleaner edges
Let’s Create Your Bridal Ombre!
Here’s how to create a beautiful spongy ombre effect:
- Prep Your Nails: Apply your base coat and let it dry completely. This is crucial for longevity. Apply one thin coat of your lightest color (e.g., white, ivory, or light nude) and let it dry fully. This forms your base canvas.
- Prepare Your Ombre Colors: Pour small amounts of your chosen ombre colors onto your dish or foil, placing them side-by-side. For a two-color ombre, place the lighter color next to the darker color. For a three-color ombre, arrange them light-to-dark.
- Load Your Sponge: Gently dab the makeup sponge into the polish colors. You want to pick up both colors where they meet. Don’t saturate the sponge; a few dabs should do it.
- Start Blending: Lightly dab the sponge onto your nail, starting from the cuticle area and moving upwards towards the tip. You’ll want to overlap your dabbing motion. The goal is to press the colors onto the nail to create that gradient. You might need to reload the sponge and dab a few times to build up the color and smooth the transition.
- Build the Color: Continue dabbing and layering until you achieve the desired color intensity and blend. You can reload the sponge with colors as needed. For a more seamless blend, you can use a clean section of the sponge to gently dab over the transition line.
- Clean Up the Edges: This is where patience pays off! Dip a cotton swab into nail polish remover and carefully clean up any polish that got onto your skin. For extra precision, you can use a small brush dipped in remover or apply nail tape/liquid latex around your cuticle before sponging.
- Apply Top Coat: Once the blended color is completely dry, apply a generous layer of top coat. This seals the design, adds shine, and smooths out any texture from the sponge. A good, quick-drying top coat like Essie’s Speed Setter is fantastic for this.
Tips for a Flawless DIY Ombre:
- Work Quickly: Nail polish dries fast, so have everything ready.
- Light Coats: Avoid thick coats of polish, as they can be messy and take too long to dry.
- Damp Sponge: Some people find lightly dampening the sponge (not soaking!) can help create a softer blend.
- Practice Makes Perfect: Don’t aim for salon perfection on your first try! Practice on a nail wheel or a couple of practice nails first.
Professional Application: What to Expect
While DIY is rewarding, booking a professional manicure for your wedding is a wonderful way to ensure a flawless and stress-free result. Your nail technician has the experience and tools to create intricate designs seamlessly.
When you visit your chosen salon, discuss your vision clearly. Bring inspiration pictures! If you have a specific color in mind, bring a swatch of your wedding dress fabric or bridesmaid dresses, if possible, so they can help match the shades. Most nail salons offer ombre as a standard service, but it’s always good to confirm and perhaps book a trial run well in advance of your wedding day.
Methods Used by Professionals:
Salons often use a few different techniques, including:
- Sponge Method: Similar to the DIY guide, but with expert hands and potentially higher quality polishes and tools.
- Airbrushing: A very fine mist of polish is sprayed onto the nail, creating an incredibly smooth and seamless gradient. This is often considered the most professional and refined method for ombre.
- Brush Blending: Using a specialized brush (sometimes a liner brush or a fan brush) and a liquid form of polish or gel, technicians can meticulously blend colors directly on the nail. This offers a lot of control for intricate designs.
Gel vs. Traditional Polish for Bridal Ombre
You’ll likely have the choice between traditional nail polish and gel polish. Both have their pros and cons for a bridal ombre:
| Feature | Traditional Polish | Gel Polish |
|---|---|---|
| Application Time | Quicker application, no curing lamp needed. | Slower application due to curing under a UV/LED lamp between coats. |
| Durability | More prone to chipping, typically lasts 3-7 days. | Much more durable, chip-resistant, and can last 2-3 weeks. |
| Removal | Easy removal with standard nail polish remover. | Requires soaking with acetone; can be more damaging if not done carefully. |
| Finish | Can achieve a beautiful shine, but may not have the same “plump” look. | High-gloss, smooth, and often “plump” finish that looks very high-end. |
| Ombre Blend | Can be trickier to get super smooth; sponge method works best. | Gel is often easier to blend smoothly, especially with airbrushing or brush blending techniques. |
For a wedding, gel polish is often the preferred choice due to its longevity and chip-resistant nature. You want your nails to look flawless from pre-wedding events through the honeymoon!
Accessorizing Your Elegant Ombre Nails
Your nails are part of your overall bridal look, and they can be accessorized in subtle ways to enhance the elegance of your ombre design. Think about incorporating tiny details that tie into your wedding theme or attire.
For instance, if your gown has delicate beading, a very fine dusting of glitter over your ombre could mimic that sparkle. If you’re wearing a veil with lace accents, a delicate lace-inspired sticker or stamping detail applied over a section of the ombre can be a beautiful touch. Always ask your nail technician about any additional embellishments. Remember, the key word is elegant – subtle enhancements are usually best.
Subtle Embellishments:
- Fine Glitter Dust: A whisper of iridescent or complementary-colored glitter can add a touch of magic.
- Tiny Gems or Pearls: A single pearl or a small cluster of micro-gems at the base of one or two nails can add a luxurious feel.
- Metallic Accents: A thin gold or rose gold foil strip near the cuticle or tip can complement metallic jewelry.
- Delicate Decals: Think tiny floral motifs, subtle swirls, or even a small initial if it fits your style.
It’s also worth considering how your ombre nails will look with your wedding jewelry. A rose gold ombre will beautifully complement rose gold rings and earrings, while a classic ivory ombre will pair seamlessly with any precious metal.
Resource for Nail Health: For tips on keeping your nails healthy and strong, especially leading up to the big day, check out the advice from the American Academy of Dermatology on proper nail care. Healthy nails are the foundation for any beautiful manicure!
FAQ: Your Bridal Ombre Questions Answered
- Q1: How long do ombre nails typically last, especially for a wedding?
- If done with gel polish and a professional top coat, your ombre nails can last beautifully for 2-3 weeks, easily covering all wedding festivities. If using traditional polish, plan for touch-ups or reapplication after about a week, so it’s best done just a day or two before the wedding.
- Q2: Can ombre nails be done on short nails?
- Absolutely! Ombre can look fantastic on any nail length. On shorter nails, a more gradual blend with lighter, softer colors often works best to elongate the look of the nail.
- Q3: What’s the difference between a sponge ombre and an airbrushed ombre?
- A sponge ombre is created by dabbing polish onto the nail with a makeup sponge, building up the gradient. Airbrushing uses a specialized tool to spray a fine mist of polish, creating an incredibly seamless and smooth blend that can be harder to achieve with a sponge.
- Q4: Are ombre nails more expensive than regular polish?
- Typically, yes. Ombre designs often involve more time and skill from the technician, sometimes using multiple polish colors or specific techniques like airbrushing. You can expect a slight upcharge compared to a solid color application, especially for gel or airbrushed ombres.
- Q5: Can I do a metallic or glitter ombre for my wedding?
- Yes! Metallic or glitter ombres can be stunning and very bridal. You can have a subtle shimmer fade, or a bolder glitter tip. Just ensure it complements your overall bridal style and doesn’t overpower your look.
- Q6: What colors should I avoid for a bridal ombre?
- While personal preference is key, extremely dark or neon colors are generally avoided for traditional bridal looks. The focus for bridal ombres is usually on soft, romantic, sophisticated, or subtly dramatic shades. Consider your wedding venue, time of day, and dress when choosing shades.
- Q7: How do I care for my ombre nails after the wedding?
- Treat your ombre nails gently! Avoid using them as tools (like for opening cans). Wear gloves when doing household chores involving water and chemicals. When it’s time for removal, be sure to do so carefully, especially if they are gel, to avoid damaging your natural nails.
Conclusion: Your Perfect Bridal Nail Awaits
Choosing an elegant ombre nail design for your wedding day is a beautiful way to express your personal style and add a touch of subtle luxury to your bridal look. Whether you opt for soft, romantic transitions, modern chic gradients, or a touch of dazzling shimmer, the ombre effect offers a sophisticated canvas that complements any bride. From mastering the DIY sponge technique to trusting a professional for a flawless finish, there are many ways to achieve this stunning look.
Remember to consider your wedding colors, your personal style, and the longevity you need for your manicure. A little bit of planning, perhaps a trial run, and the right color palette will ensure your nails are as perfect as the rest of your day. So go ahead, embrace the beauty of the blend, and let your elegant ombre nails sparkle as brightly as you do! Your dream bridal manicure is just a gradient away.


