Quick Summary: Discover stunning, elegant nail designs perfect for wedding guests! From chic French tips to subtle shimmer and minimalist art, these easy-to-achieve looks ensure your nails complement your outfit and add a touch of polished glamour to any celebration.
As a wedding guest, you want to look and feel your absolute best. Your outfit is chosen, your accessories are ready, but what about your nails? Finding the perfect manicure that’s elegant, stylish, and won’t outshine the bride can feel like a challenge. You’re looking for that sweet spot: a design that’s sophisticated enough for a formal event but also totally achievable for a DIY manicure. Don’t worry, I’ve got you covered! We’ll explore beautiful nail ideas that are perfect for any wedding celebration, ensuring your hands look polished and chic. Get ready to transform your nails with these elegant essentials!
Your Guide to Effortless Elegance: Wedding Guest Nail Designs
Attending a wedding is a joyous occasion, and your nail style should reflect that celebratory spirit! As a wedding guest, your nails are a small but significant detail that can tie your whole look together. The key is to choose designs that are beautiful, understated, and complement your attire without being overly distracting. Think chic, polished, and utterly sophisticated. Whether you’re a nail art novice or looking for quick inspiration, these elegant designs are perfect for adding that extra sparkle to your special day.
Why Your Nails Matter for Wedding Guests
Your manicure is like the finishing touch to your entire wedding guest ensemble. A well-done nail design communicates attention to detail and adds a touch of put-together polish. It’s not about competing with the bridal party, but rather about enhancing your personal style and feeling confident. Imagine raising a glass or shaking hands – your nails will be seen! Choosing an elegant design ensures you feel fabulous from head to toe.
Understanding the “Do’s” and “Don’ts” of Wedding Guest Nails
Before we dive into specific designs, let’s touch on a few general tips to keep in mind when selecting your wedding guest manicure:
- Do: Opt for classic, timeless colors and subtle embellishments.
- Don’t: Choose overly bright neon colors, excessive glitter, or very intricate 3D nail art that could be distracting.
- Do: Consider the wedding’s formality and theme. A black-tie event might call for something more subdued than a rustic barn wedding.
- Don’t: Go for anything that might chip easily or require constant touch-ups. You want to enjoy the day!
- Do: Ensure your nails are clean, well-shaped, and have a smooth cuticle area.
- Don’t: Forget to moisturize your hands and nails; dry skin can detract from even the most beautiful design.
Elegant Nail Essentials: Colors & Finishes
The foundation of any elegant nail design lies in the color palette and finish. For wedding guests, soft, sophisticated hues are your best friends. These colors tend to be universally flattering and complement a wide range of outfits.
Top Color Choices for Timeless Elegance
These colors are classic for a reason. They’re chic, versatile, and always look appropriate.
- Soft Neutrals: Think creamy beiges, light greys, and muted taupes. These are sophisticated and never go out of style.
- Pale Pinks: From ballerina pink to dusty rose, these feminine shades are universally flattering and add a touch of sweetness.
- Classic Nudes: A perfect nude shade that matches your skin tone can be incredibly chic and minimalist.
- Muted Mauves: These sophisticated purple-grey shades offer a bit more depth than pinks but remain subtle and elegant.
- Sheer Whites/Milky Pastels: A sheer white or a very pale, translucent pastel (like baby blue or mint) can look incredibly fresh and modern.
Finishes That Scream Sophistication
The finish of your polish can significantly impact the overall look. For wedding guests, a smooth, polished finish is key.
- Creamy/Jelly: Solid opaque colors or translucent, jelly-like finishes offer a smooth, professional look.
- Satin/Matte: A matte finish can add a modern, chic twist to classic colors. Be mindful that matte can sometimes highlight nail imperfections, so a smooth nail surface is important.
- Subtle Shimmer/Frost: A hint of fine shimmer or a soft metallic frost can add dimension without being overpowering. Think delicate, not disco ball!
- Pearlized: A soft, pearlescent finish can give a subtle glow and is reminiscent of natural pearls – very fitting for elegant occasions.
Stunning & Simple Elegant Nail Designs for Wedding Guests
Now for the fun part! Here are some elegant nail designs that are perfect for wedding guests, ranging from super simple to slightly more detailed, but all incredibly achievable.
1. The Perfect “Naked” Manicure
This isn’t about bare nails; it’s about enhancing their natural beauty. A “naked” manicure uses sheer, milky polishes or even just a good top coat over healthy, buffed nails. It’s the epitome of understated elegance.
- How-To:
- Prep your nails: file them to a uniform shape, push back cuticles, and gently buff the surface.
- Apply a strengthening base coat.
- Apply 1-2 thin coats of a sheer nude, milky pink, or pale white polish.
- Finish with a high-shine, quick-dry top coat.
2. Classic French Manicure (with a Twist!)
The French manicure is timeless for a reason. To elevate it for a wedding, consider a softer color palette for the tip or a thinner smile line.
- How-To:
- Start with a sheer nude or pink base coat on all nails.
- Using a fine brush or a dotting tool dipped in white or off-white polish, carefully paint a thin, clean line across the tip of each nail. For an ultra-modern look, try a ‘baby French’ with a super-fine tip.
- Alternatively, use guide strips for a crisp line.
- Top with a clear or slightly shimmery top coat.
- Modern Twists: Try a colored French tip (e.g., a pale gold or blush pink) or a reverse French where the color is at the cuticle.
3. Subtle Sparkle / Glitter Accent Nail
A touch of sparkle can elevate a simple manicure. The key is restraint! Choose one accent nail, or a very subtle sprinkle of fine glitter.
- How-To:
- Paint all nails except your ring finger with a classic color like nude, pale pink, or a soft grey.
- On the ring finger, apply a thin coat of glitter polish (think fine champagne, rose gold, or silver glitter) or press fine glitter onto a tacky top coat.
- Alternatively, paint all nails with a neutral color and add a thin stripe of glitter polish down the center of each nail.
- Seal with a good top coat to ensure the glitter stays put.
4. Elegant Ombre Nails
Ombre, or gradient, nails create a beautiful, subtle color transition. This can be done with two complementary soft shades.
- How-To:
- Apply a nude or sheer pink base coat to all nails.
- On a makeup sponge, dab two complementary colors side-by-side (e.g., pale pink and a slightly deeper rose, or beige and a soft peach).
- Gently dab the sponge onto the nail, concentrating the color transition where desired (usually from cuticle to tip). You may need a few dabs to build color.
- Clean up any excess polish around the cuticle with a brush dipped in nail polish remover.
- Apply a top coat to smooth the finish.
5. Delicate Dotting or Geometric Details
Minimalist designs like small dots or thin lines can add a unique touch without being overwhelming.
- How-To:
- Paint your nails in your chosen elegant base color (nude, pale pink, grey).
- Using a fine-tipped brush or a dotting tool, add a few small dots near the cuticle or along the free edge.
- Alternatively, use a very fine line brush to draw a thin vertical or horizontal line on one or two nails. Metallic polishes (gold, silver, rose gold) work beautifully for these details.
- Seal with a top coat.
6. Pearlescent & Chrome Accents
A touch of pearlescence or a minimalist chrome detail can look incredibly chic and modern.
- How-To:
- Apply your base color of choice.
- If using a pearlescent polish, apply one or two coats for a soft, ethereal sheen.
- For chrome, apply a chrome powder over a specially designed gel or regular polish base, then seal. Even a tiny chrome moon at the cuticle can be stunning.
- Ensure a smooth, glossy top coat.
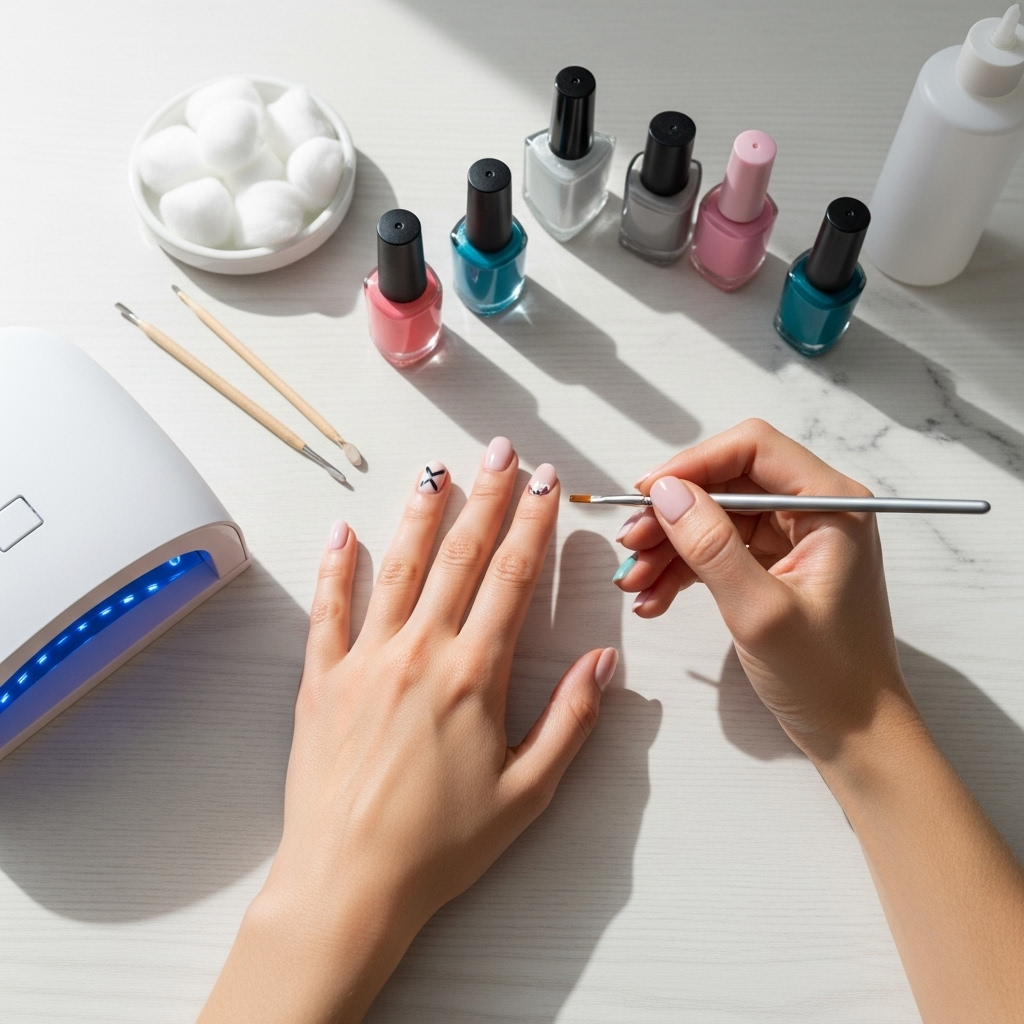
Tools & Tips for Achieving Salon-Worthy Nails at Home
You don’t need to be a professional to achieve elegant wedding guest nails. With a few essential tools and some handy tips, you can create beautiful manicures right at home. Remember, practice makes perfect, so enjoy the process!
Your Essential Nail Toolkit
Here’s a breakdown of what you might need:
- Nail Files: For shaping your nails. A fine-grit file (around 240-grit) is good for natural nails. You can learn more about nail file grits from resources like Nailpro.
- Nail Buffers: To smooth the nail surface and add shine.
- Cuticle Pusher/Orange Stick: To gently push back and tidy the cuticles.
- Base Coat: Protects your natural nails and helps polish adhere better.
- Top Coat: Seals your polish, adds shine, and prevents chipping. A quick-dry top coat is a lifesaver!
- Your Chosen Polishes: In elegant colors and finishes.
- Fine-Tipped Brushes or Dotting Tools: For delicate details. You can find these at most beauty supply stores.
- Makeup Sponge: Ideal for creating ombre effects.
- Nail Polish Remover & Cotton Pads: For easy cleanup.
- Cuticle Oil: To nourish and moisturize cuticles after your manicure.
Step-by-Step Application for Longevity
Follow these steps for a manicure that lasts:
- Preparation is Key: Start with clean, dry nails. Remove any old polish.
- Shape & Buff: File your nails into your desired shape. Gently buff the surface to create a smooth canvas.
- Cuticle Care: Apply cuticle remover or oil, then gently push back your cuticles. Avoid cutting them if possible, as this can lead to damage.
- Base Coat Application: Apply one thin coat of base coat. Let it dry for about a minute.
- Color Coats: Apply 2-3 thin coats of your chosen polish color. Allow each coat to dry slightly before applying the next. Thin coats are less likely to bubble or smudge.
- Add Your Design: If you’re adding any art (dots, lines, French tips), do this now over the color coats.
- Top Coat Power: Apply a generous coat of top coat, making sure to cap the free edge of your nail (painting a tiny bit along the very tip). This is crucial for preventing chips!
- Drying Time: Be patient! Even with quick-dry top coats, give your nails ample time to harden fully before engaging in anything strenuous.
- Final Touches: Once completely dry, apply cuticle oil to nourish the skin around your nails.
Design Inspiration Table
Here’s a quick reference to help you choose:
| Design Style | Best For | Color Palettes | Occasion Fit | Difficulty Level |
|---|---|---|---|---|
| Naked Manicure | Understated elegance, minimal effort | Sheer nudes, milky pinks, clear | All wedding types | Beginner |
| Classic French | Timeless sophistication | White tips, nude/pink base | Formal to semi-formal | Beginner-Intermediate |
| Glitter Accent | Subtle glamour without being flashy | Champagne, rose gold, silver fine glitter; neutral base | Evening weddings, celebrations | Beginner |
| Soft Ombre | Modern, fluid look | Two complementary muted tones (e.g., pink/mauve, beige/peach) | Versatile | Intermediate |
| Minimalist Dots/Lines | Unique, artistic touch | Metallic accents on neutral, pastels | Can adapt to any formality | Beginner |
| Pearlescent/Chrome Accent | Chic, contemporary | Any soft base with pearl or chrome finish | Modern weddings | Intermediate |
Maintaining Your Elegant Manicure
Once you have your beautiful, elegant nails, you’ll want them to stay that way throughout the wedding festivities! A little care goes a long way.
- Wear Gloves for Chores: Always wear rubber gloves when washing dishes, cleaning, or doing any manual labor that could chip your polish or damage your nails.
- Reapply Top Coat: If you notice your manicure losing its shine or see a tiny chip starting, a fresh layer of top coat can work wonders and extend its life.
- Moisturize Regularly: Keep your hands and cuticles hydrated with hand cream and cuticle oil. This not only keeps your nails healthy but also makes your manicure look fresher.
- Avoid Using Nails as Tools: Resist the urge to open cans, scrape labels, or pick at things with your nails. They are for decoration and delicate tasks!
- Carry a Small Nail File: If a small snag or chip does happen, a tiny nail file can help smooth it out until you can get it fixed properly.
Frequently Asked Questions (FAQs)
Q1: Can I wear red nail polish to a wedding?
A1: While red is a classic color, it can sometimes draw attention away from the bride. If you love red, opt for a deeper, muted shade like a berry or a sophisticated brick red, perhaps with a matte finish, and keep the rest of your nail design simple. A bright, bold red might be best saved for other occasions.
Q2: How do I prevent my nail polish from chipping quickly?
A2: The key is proper prep, thin coats, and a good top coat. Make sure your nails are completely free of oils and old polish. Apply thin coats of color, allowing each to dry slightly before adding the next. Crucially, apply a high-quality top coat and remember to “cap” the free edge of your nail by painting a little bit along the tip.
Q3: Is it okay to have very short nails for a wedding?
A3: Absolutely! Short nails can be incredibly chic and elegant. For short nails, focus on neat shaping and a flawless color application. A classic nude, a sheer polish, or even a deep, rich color can look stunning on a short nail. Ensure your cuticles are tidy!
Q4: What’s the difference between a gel manicure and regular polish for a wedding?
A4: Gel manicures are cured under a UV/LED lamp, making them very durable, chip-resistant, and instantly dry. They typically last 2-3 weeks. Regular polish dries by evaporation and can chip more easily, though a good top coat helps. For a wedding, especially if you want it to last beyond the event, a gel manicure is a great, low-maintenance option, but regular polish with careful application can also look beautiful for the day.
Q5: Should my nails match my dress color?
A5: Not necessarily! It’s often more elegant to choose