Edgy nail designs explained: Go beyond basic manicures with bold colors, geometric shapes, and unique textures to express your personal style. This guide breaks down everything you need to know to create stunning, head-turning looks right at home.
Ready to level up your nail game? Tired of the same old polish? We get it! Sometimes you want your nails to do the talking, showcasing a bit of attitude and flair. “Edgy” might sound intimidating, but it’s really all about embracing creativity and stepping outside the traditional. It’s the perfect way to show off your unique personality without saying a word. Don’t worry if you’re new to nail art; this guide is designed to make edgy nail designs totally accessible and fun for everyone. We’ll walk you through all the cool looks and the simple steps to achieve them.
What Makes a Nail Design “Edgy”?
You might wonder, what exactly sets an “edgy” nail design apart from a classic one? It’s a blend of a few key elements that collectively create a vibe that’s a little bit daring, a little bit unconventional, and definitely stands out. Think strong statements, unexpected twists, and a touch of rebellion against the ordinary.
Key Elements of Edgy Nail Designs:
- Bold Colors: While pastels and nudes are lovely, edgy designs often lean towards deeper, richer, or more vibrant shades. Think black, deep reds, electric blues, neon greens, or even metallic finishes.
- Geometric Shapes & Lines: Sharp angles, chevrons, stripes, abstract patterns, and broken lines add a modern, sophisticated, and sometimes aggressive feel.
- Unique Textures: Moving beyond smooth polish, edgy designs can incorporate matte finishes, glitter, chrome, velvet effects, or even 3D elements.
- Unconventional Placement: Designs that play with negative space, asymmetry, or unexpected placements of details can create a truly unique look.
- Dark & Moody Palettes: While not exclusive to edgy styles, a preference for darker, moodier color schemes often contributes to an edgy aesthetic.
- Minimalist Edge: Sometimes, less is more. A single sharp detail or a deconstructed French tip can pack a powerful edgy punch.
Edgy vs. Classic: A Quick Comparison
It’s helpful to see how edgy designs differ from more traditional styles, which often prioritize subtlety and classic beauty. Edgy designs celebrate individuality and a more daring approach to self-expression.
| Feature | Classic Nail Designs | Edgy Nail Designs |
|---|---|---|
| Color Palette | Pastels, nudes, soft roses, French manicure pinks/whites. | Black, deep jewel tones, neons, metallics, bold contrasts. |
| Patterns | Floral, simple dots, subtle glitter, French tips. | Geometric, abstract, sharp lines, ombré fades (often with bold colors), negative space. |
| Finish | High gloss, creamy satin. | Matte, chrome, velvet flocking, holographic, glitter. |
| Overall Vibe | Elegant, timeless, subtle, polished. | Bold, modern, artistic, statement-making, rebellious. |
Popular Edgy Nail Design Styles for Beginners
Ready to dive into some specific looks? The great news is that many edgy styles are surprisingly easy to achieve, even if you’re just starting out with nail art. These designs focus on impact with minimal complex techniques.
1. The Modern French Tip
Forget the classic white crescent! The modern French tip is all about subverting expectations. It’s a fantastic entry point into edgy designs because it uses a familiar structure but with a bold twist.
- What it is: Instead of white, think sharp lines of black, metallic silver, or even neon colors at the tips. You can also play with geometric shapes instead of a curve.
- Why it’s edgy: It takes a beloved, conservative style and injects it with serious attitude. The sharp lines and unexpected colors scream modern chic.
- Beginner Tip: Use striping tape for razor-sharp lines. Apply your base color, let it dry, place the tape where you want the tip to start, paint the tip color, and peel the tape off while the polish is still wet.
2. Geometric Lines and Shapes
Sharp angles and clean lines are the backbone of many contemporary and edgy aesthetics. This style is incredibly versatile!
- What it is: Think simple triangles, squares, intersecting lines, or even abstract “cracked” patterns. You can use contrasting colors or go for a minimalist black-and-white combination.
- Why it’s edgy: Geometric patterns feel intentional, precise, and modern. They add a graphic, eye-catching element.
- Beginner Tip: Striping tape is your best friend here! For freehand lines, a very fine detailing brush can help. Practice on paper first if you’re a bit nervous. Consider using nail stamping plates with geometric designs – they are super easy for beginners!
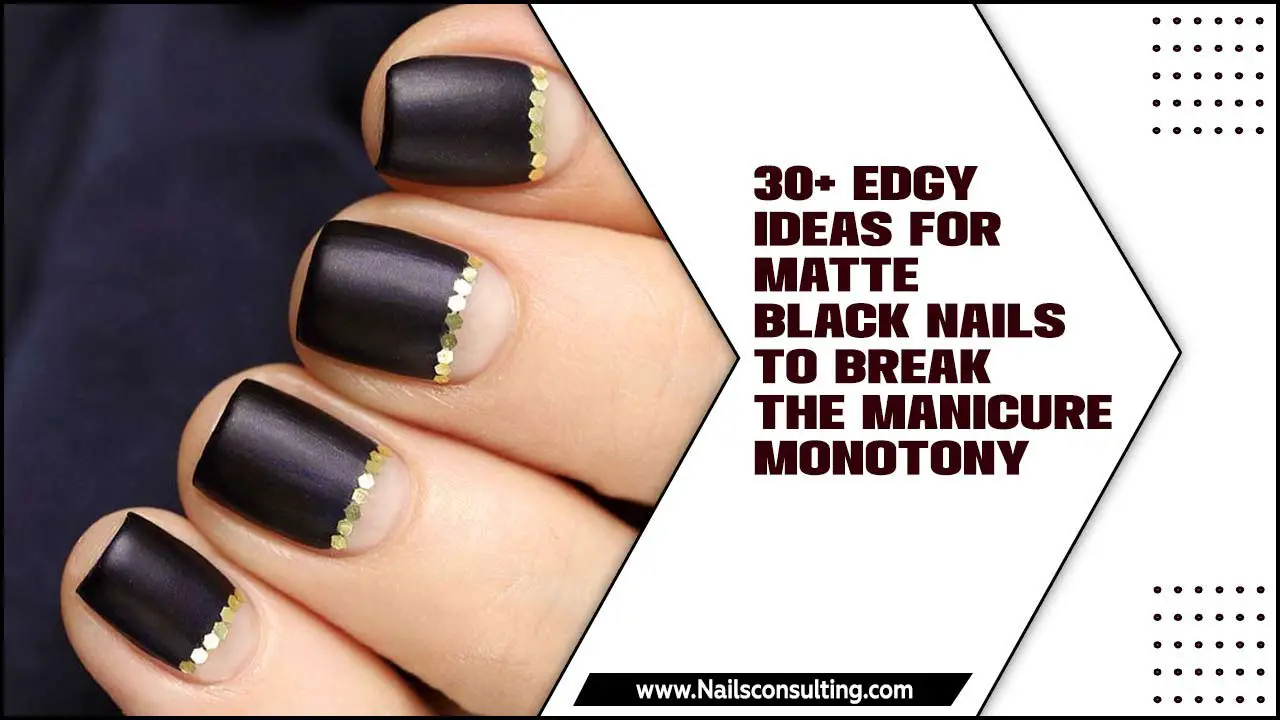
3. Matte Black or Dark Shades
Sometimes, the simplest change makes the biggest difference. Swapping a glossy finish for matte turns any dark polish into an instant statement.
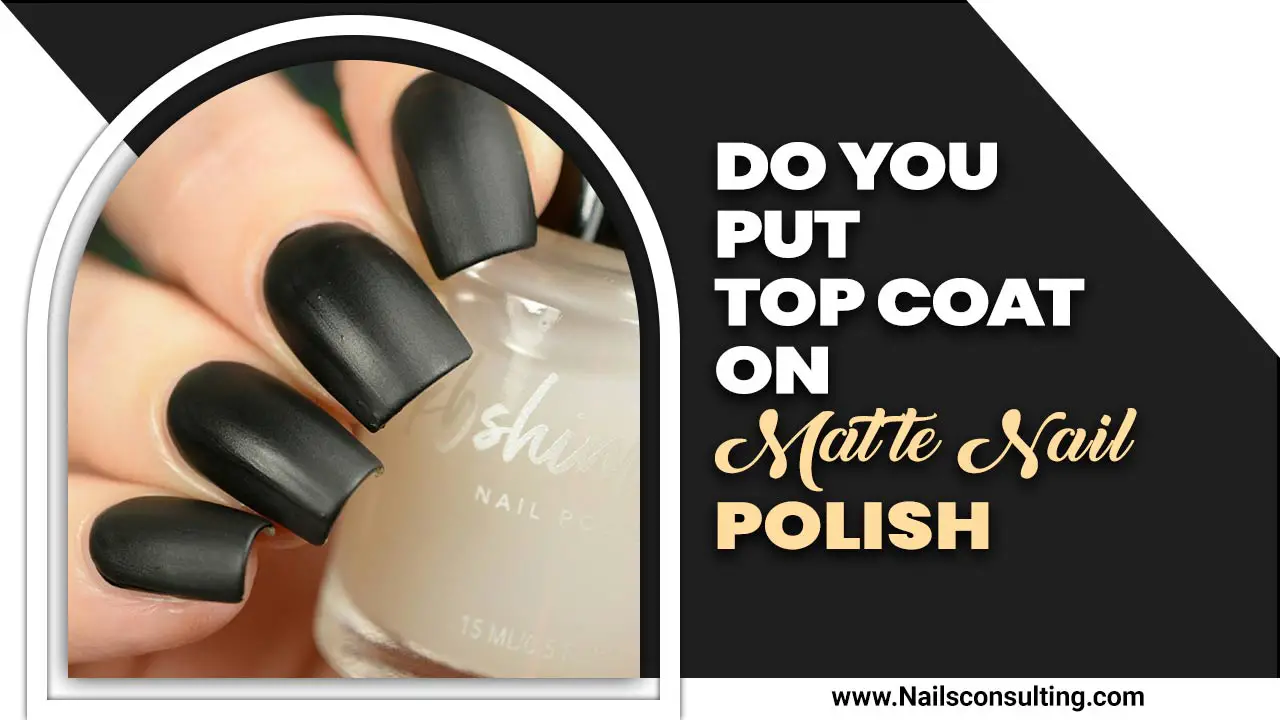
- What it is: A full nail of opaque matte black polish is effortlessly chic and undeniably edgy. You can also do this with deep reds, forest greens, or navy blues.
- Why it’s edgy: The matte finish absorbs light differently, giving a velvety, sophisticated, and slightly mysterious vibe that gloss can’t replicate. It feels very grown-up and fashion-forward.
- Beginner Tip: You can buy matte topcoats that you simply apply over any dried nail polish to achieve the effect. It’s a one-step transformation!
- Where to find matte topcoats: Many beauty retailers offer matte topcoats. Look for reputable brands like OPI, Essie, or even more budget-friendly options from e.l.f. Cosmetics or Sally Hansen.
4. Abstract Splatter or Drip Effects
Embrace the “imperfect perfect” with designs that look like intentional art pieces.
- What it is: Splatter designs mimic paint splatters, while drip effects look like polish is running down the nail. These can be done in contrasting colors or monochrome.
- Why it’s edgy: They have an artistic, almost chaotic yet controlled look that feels very unique and rebellious.
- Beginner Tip: For splatters, dip an old toothbrush or a stiff brush into polish and flick it towards your nail (protect your skin with a barrier like liquid latex or washi tape!). For drips, use a fine brush to carefully paint thin lines starting from the cuticle or a specific point on your nail.
5. Negative Space Designs
This trend plays with the idea of leaving parts of your natural nail visible, incorporating it into the overall design.
- What it is: Designs where clear portions of the nail are part of the artwork. This could be a geometric shape outlined in polish, a stripe that stops short, or a deconstructed design leaving gaps.
- Why it’s edgy: It’s minimalistic yet striking, offering a sophisticated and modern aesthetic that feels very chic. It’s unexpected and plays with perception.
- Beginner Tip: Use striping tape to create your desired shapes and block off areas. Paint the rest of the nail, let it dry completely, then peel away the tape to reveal the negative space. A good base coat is crucial here to keep the natural nail healthy and looking good.
6. Chrome and Metallic Accents
Shine bright with metallic finishes that add a futuristic and glamorous edge.
- What it is: Full chrome nails are incredibly popular, but you can also add metallic accents like chrome French tips, chrome stripes, or even just a metallic accent nail.
- Why it’s edgy: These finishes have a high-impact, almost futuristic or robotic feel. They catch the light and draw attention instantly.
- Beginner Tip: Chrome powder applied over a specific gel polish base (often black) gives the best result. This might be a bit advanced for absolute beginners with regular polish, but gel systems make it manageable. For a simpler start, look for metallic polishes in sharp colors like silver, gold, or rose gold and use them for geometric designs or tips.
7. Glitter and Rhinestone Placement
Embellishments can definitely lean edgy when used strategically.
- What it is: Instead of all-over glitter, think precise placement: a glitter accent line, a cluster of small rhinestones at the base of the nail, or scattered crystals that look like fallen stars. Dark or holographic glitters often feel edgier than fine silver.
- Why it’s edgy: It adds a touch of glam rock or dark fantasy. The key is thoughtful placement, not overwhelming the design.
- Beginner Tip: Use a dotting tool or the tip of a fine brush to pick up rhinestones and place them precisely. A dot of topcoat or nail glue can help secure them. For glitter, a thin layer of clear polish where you want the glitter, then carefully apply the glitter with a brush.
Essential Tools and Supplies for Edgy Nails
Don’t worry, you don’t need a professional salon in your bathroom! Most edgy designs rely on a few key items that are easy to find and use.
Must-Have Nail Polish Colors:
- Black: The ultimate edgy staple. Opaque and dramatic.
- White: For creating sharp contrast and graphic designs.
- Deep Reds/Burgundies: Sophisticated and powerful.
- Metallics: Silver, gold, gunmetal, or iridescent shades add instant glam and edge.
- Bold or Neon Colors: Electric blue, lime green, hot pink – use sparingly for pops of intense color.
- Clear Topcoat: Essential for sealing designs and adding shine (or use a matte topcoat for a different effect!).
Helpful Tools for Application:
- Fine-Tipped Brushes: Perfect for drawing thin lines, dots, and intricate details. You can buy nail art brush sets online or at beauty stores.
- Striping Tape: Creates super sharp, clean lines and geometric shapes. Available at most beauty supply stores. You can find detailed guides on using striping tape on sites like Nail Tutorials.
- Dotting Tools: These have small metal balls at the end, perfect for creating dots, swirling patterns, and picking up small gems.
- Tweezers: For precise placement of small rhinestones, glitter, or studs.
- Matte Topcoat: To instantly transform any polish into a velvety matte finish.
- Nail Polish Remover & Cotton Swabs: For cleaning up mistakes and perfect edges.
- Base Coat & Top Coat: Non-negotiable for nail health and longevity of your design.
- Optional: Liquid Latex or Washi Tape: To protect the skin around your nails during splatter or intricate painting, making cleanup a breeze.
Beginner Tool Kit Recommendations:
If you’re just starting, focus on versatility. A good set of fine-tipped brushes, a roll of striping tape, and a matte topcoat can take you a long way. You can find many affordable nail art kits on platforms like Amazon or at your local drugstore.
Step-by-Step: How to Create an Edgy Geometric Design
Let’s put theory into practice! This guide will walk you through creating a simple, yet impactful, geometric design using striping tape.
What You’ll Need:
- Base coat
- 2-3 nail polish colors of your choice (e.g., black, white, and metallic silver)
- Striping tape
- Sharp scissors or a nail art tape cutter
- Topcoat
- Cuticle oil (optional, for finishing)
The Process:
- Prep Your Nails: Start with clean, dry nails. Apply a good base coat to protect your nails and help the polish adhere better. Let it dry completely.
- Apply Your Base Color: Paint your nails with one of your chosen colors. For this tutorial, let’s use black as our base. Apply two thin coats for full opacity, allowing each layer to dry thoroughly. Patience here prevents smudging later!
- Apply the Striping Tape: Once the black polish is completely dry, carefully apply strips of nail art tape onto your nails. You can create simple lines, triangles, or more complex geometric patterns. Press the tape down firmly to ensure there are no air bubbles, which can cause polish to bleed underneath. For sharp edges, ensure the tape is sealed around the entire nail edge if possible.
- Paint Over the Tape: Apply your second color (e.g., white) over the areas not covered by tape. If you’re using a third color (e.g., metallic silver), you can apply it to the remaining sections. Use thin coats.
- Peel Off the Tape: This is the magical part! While the last layer of polish is still slightly wet (but not runny), carefully peel off the striping tape. Using tweezers to lift an edge can be helpful. Peeling when the polish is slightly wet prevents it from pulling the underlying design off with it.
- Let it Dry & Apply Topcoat: Allow the design to dry completely. Once dry, apply a generous layer of clear topcoat. This seals your design, adds shine, and prevents chipping.
- Finishing Touches (Optional): Once the topcoat is dry, apply a little cuticle oil to keep your skin hydrated.
And there you have it – a chic, edgy geometric design! Experiment with different color combinations and tape placements to create endless variations.
Tips for Achieving Long-Lasting Edgy Nails
Creating a stunning edgy design is one thing; keeping it looking fresh is another! Here are some tips to maximize the lifespan of your artwork.
Maintaining Your Edgy Manicure:
- Always Use a Base Coat: This is crucial for preventing staining, especially with dark colors like black or deep reds, and provides a smooth canvas.
- Two Thin Coats are Better Than One Thick One: Thin coats dry faster and are less prone to smudging, bubbling, or peeling.
- Seal with a Quality Topcoat: A good topcoat not only adds shine but also protects your design from chipping and wear. Reapply a thin layer every 2-3 days to maintain shine and durability.
- Be Gentle: Avoid using your nails as tools. For example, don’t use them to scrape stickers or pry things open.
- Wear Gloves for Chores: Cleaning, washing dishes, or any task involving prolonged water exposure or harsh chemicals can significantly shorten the life of your manicure.
- Moisturize: Keep your hands and cuticles hydrated. Dry skin can lead to hangnails, which can snag on your nail art. Regular application of cuticle oil is a game-changer.
- Avoid Hot Water: Very hot water can soften the nail polish, making it more susceptible to damage. Opt for lukewarm water when washing your hands.
- Consider Gel Polish: For the most durable results, gel polishes cured under a UV/LED lamp offer superior chip resistance and longevity compared to traditional polishes. Many edgy designs can be adapted to gel.


