Quick Summary:
Mastering easy nail designs for beginners is totally achievable! With basic tools and simple techniques like dots, lines, and gradient effects, you can create stunning looks without professional experience. This guide provides essential tips, simple design ideas, and advice to boost your confidence.
Dreaming of fancy nail art but feel like you need a magic wand (or super steady hands)? You’re not alone! Many of us see gorgeous, intricate nail designs and think, “That’s way beyond me.” But here’s a little secret: creating beautiful nails doesn’t have to be complicated or time-consuming. With a few clever tips and some super simple techniques, you can transform your nails into mini masterpieces. Get ready, because we’re about to dive into the world of easy nail designs for beginners that will have you feeling like a pro in no time. Let’s make nail art fun and accessible for everyone!
Your Beginner’s Toolkit: Essential Supplies for Easy Nail Designs
Before we even touch polish, let’s get you set up with the right tools. Think of this as your starter pack for nail art success. You don’t need a million fancy gadgets; just a few key items will open up a world of possibilities.
The Must-Haves:
- Base Coat: This is your nail’s best friend! It protects your natural nail from staining and helps your polish last longer.
- Top Coat: Your design’s protector. A good top coat seals your polish, adds shine, and prevents chips.
- Nail Polish Colors: Start with a few favorites! Think neutrals, a classic red, and maybe a fun bright color.
- Dotting Tools: These are lifesavers! They’re metal-tipped pens with different-sized round ends to create perfect dots. They’re fantastic for beginners.
- Thin Nail Art Brush: A fine-tipped brush is perfect for drawing simple lines, swirls, or even tiny dots. Look for ones specifically designed for nail art.
- Toothpicks or a Fine Needle: Great for quick fixes, drawing fine lines if you don’t have a brush, or even creating simple dot patterns.
- Nail Polish Remover & Cotton Swabs: For cleaning up mistakes. Trust me, you’ll use these!
- Nail File & Buffer: To get your nails into the perfect shape and smooth out any ridges before you start.
Optional (But Super Helpful!) Additions:
- Washi Tape or Striping Tape: Amazing for creating clean, straight lines and geometric patterns.
- Stencils: If you’re nervous about freehand, stencils can guide you.
- Glitter Polish: A super easy way to add sparkle and camouflage minor imperfections.
- Matte Top Coat: For a chic, modern finish on any design.
Prep School: Getting Your Nails Ready for Art
Just like any beautiful canvas, your nails need a little preparation to make sure your art looks its best and stays put. This step is crucial for a polished (pun intended!) finish.
- Clean Up: Make sure your nails are free from old polish, lotion, or oils. Wash your hands thoroughly.
- Shape Up: File your nails to your desired shape. Keep it simple with a classic oval or square. A uniform shape makes designs look neater.
- Smooth Operator: Gently buff any ridges on your nail surface. This creates a smooth base for polish application.
- Cuticle Care: Gently push back your cuticles. Avoid cutting them, as they protect your nails. Hydrating them with cuticle oil looks lovely and keeps them healthy.
- Base Coat Magic: Apply one to two thin coats of your base coat. Let it dry completely. This is the foundation for your design!
Simple & Stunning: Easy Nail Designs for Beginners
Now for the fun part! These designs are perfect for dipping your toes into the world of nail art. They require minimal effort but deliver maximum impact.
1. The Classic Dotting Delight
Dots are timeless and incredibly versatile. They can be as minimal or as bold as you like!
How-To:
- Apply your base color and let it dry completely.
- Dip your dotting tool (or the rounded end of a toothpick) into a contrasting polish.
- Gently press the polish-laden tip onto your nail to create a dot.
- Repeat, spacing your dots as desired. You can create a single large dot, a row of smaller dots along the tip, or a constellation pattern.
- For a gradient effect, use varying sizes of dots or space them further apart as they move up the nail.
- Let them dry, then apply your top coat.
Beginner Tip:
Start with larger dots and practice spacing. If you’re worried about placement, try doing dots only on your accent nail (ring finger).
2. The Chic French Tip Upgrade
Forget the traditional white! We’re giving the French tip a modern makeover.
How-To:
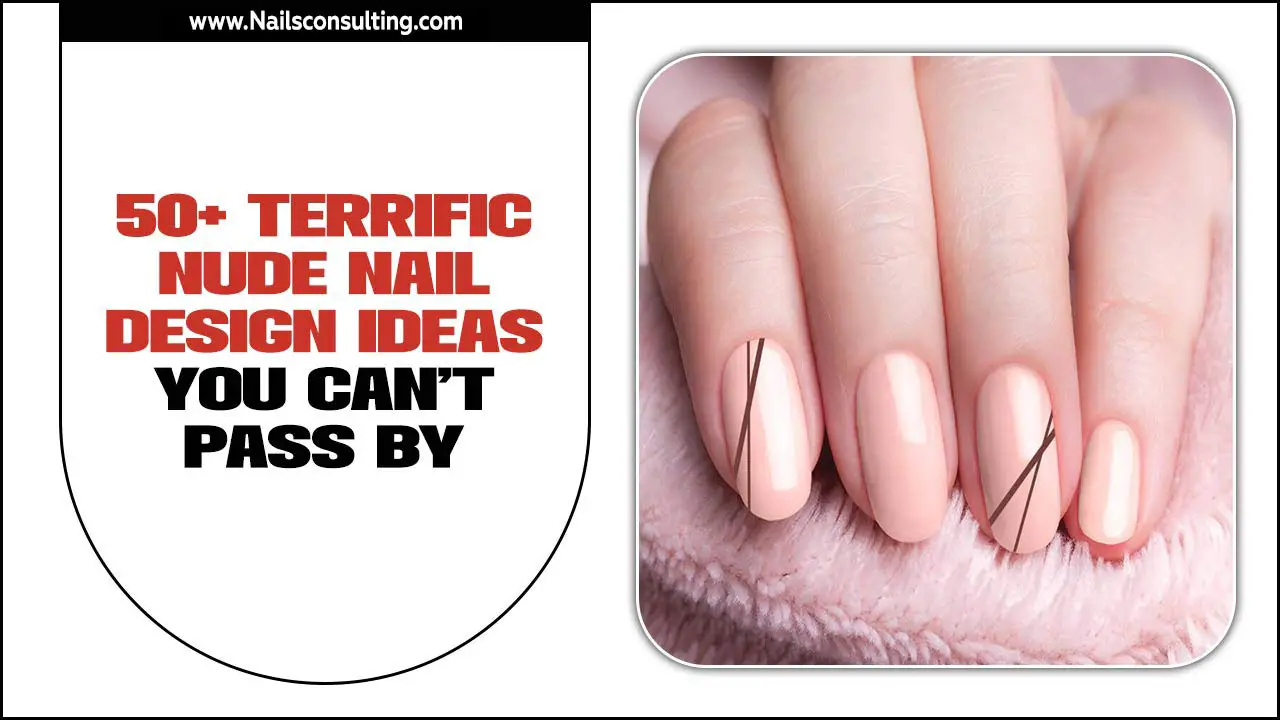
- Start with a sheer or nude base color on all nails. Let it dry.
- Use a colored polish to create your tip. You can do this freehand with a thin brush, or use tape as a guide.
- Tape Method: Once the base is dry, place a piece of tape across your nail, about two-thirds of the way up. Paint the tip above the tape. Carefully peel off the tape while the polish is still slightly wet.
- Freehand Method: Dip your thin nail art brush into the colored polish. Draw a line across the tip of your nail. Connect the line to the sides of your nail to form a “smile line.”
- Repeat on all nails. Ensure the tips are completely dry before applying top coat.
Beginner Tip:
Try using metallic polishes or even glitter polishes for your tips for an extra pop!
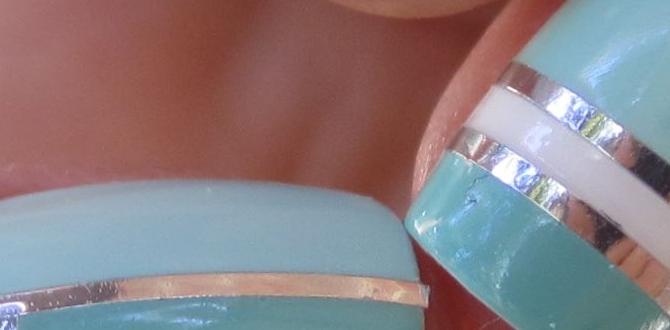
3. The Simple Stripe Sensation
Lines add instant sophistication. They’re easier than you think!
How-To:
- Apply your base color and let it dry thoroughly.
- Using your thin nail art brush or a striping tape, create your lines.
- Freehand Lines: Load your brush with polish. Lightly drag it across the nail in the direction you want your stripe. For a cleaner line, use a polish directly from the bottle using its applicator brush and remove excess polish from the brush. Place brush on nail and flick outwards.
- Tape Lines: Apply polish and let it dry completely. Place striping tape onto the nail where you want your line. Apply a contrasting color over the tape. Carefully peel off the tape before the polish dries completely.
- Experiment with placement: vertical, horizontal, diagonal, or even chevron patterns.
- Seal with a top coat once completely dry.
Beginner Tip:
Don’t aim for perfectly straight lines freehand at first. Slight wiggles can look intentional and funky! Washi tape is a great alternative to specialized striping tape.
4. The Gradient Goddess (Ombre Nails)
This popular look creates a beautiful blend of colors and is surprisingly easy to achieve.
How-To:
- Apply a sheer white or light neutral as your base color. Let it dry.
- Grab a makeup sponge (a clean kitchen sponge cut into small pieces works too!).
- Paint two to three colors onto the sponge in stripes, next to each other.
- Quickly dab the sponge onto your nail, gently blending the colors together.
- Reapply colors to the sponge and repeat on your nail until you achieve your desired opacity and blend.
- Clean up any polish on your skin with a cotton swab dipped in remover.
- Once dry, finish with a top coat.
Beginner Tip:
You can use two colors for a simpler gradient or three for a more dramatic effect. Make sure your base color is fully dry so the sponge doesn’t lift it.
5. Glitter Accent Nail
Need a quick, foolproof way to add some dazzle? Glitter is your go-to!
How-To:
- Paint all your nails with your chosen base color. Let it dry.
- On your accent nail(s), apply one or two coats of a glitter polish. Concentrating glitter near the cuticle and fading it upwards can create a sophisticated look.
- Alternatively, apply a clear top coat to your accent nail and immediately sprinkle fine cosmetic glitter over it. Tap off the excess.
- Ensure the glitter is completely dry before applying a generous top coat to smooth out the texture.
Beginner Tip:
Glitter polishes are excellent for hiding minor mistakes in application. Pressing the glitter onto the nail with your finger can help it lay flatter for a smoother finish.
6. The Polka Dot French
Combine the French tip with the adorable polka dot for a super cute look!
How-To:
- Apply your base color and let it dry.
- Use your dotting tool to create a row of dots along the tip of your nail, mimicking the shape of a French tip.
- You can use a solid color for the dots or alternate colors for a playful effect.
- Ensure dots are dry before applying top coat.
Beginner Tip:
Try using a fine nail art brush to draw small dots near the cuticle for a delicate accent.
Essential Tips for Nail Art Success
Beyond the designs themselves, a few universal tips can elevate your beginner nail art game significantly. These are the little things that make a big difference.
1. Patience is a Virtue (Especially with Polish)
Rushing is the enemy of good nail art. Let each layer of polish dry completely before moving on to the next. Applying a new layer too soon can cause smudging, dents, or lifting. This is especially important when you’re drawing lines or doing intricate dot patterns.
2. Thin Coats are Key
Resist the urge to slather on thick coats of polish. Multiple thin coats will always dry faster and look smoother than one thick, gloopy layer. This applies to your base color, your design colors, and your top coat.
3. Clean Up Like a Pro
Don’t stress about minor wobbles or polish on your cuticles. Keep a small pot of nail polish remover and a pack of pointed cotton swabs (or even an old, clean makeup brush you’ve dedicated to nail cleanup) handy. Dip your tool in remover and carefully go around your nail bed and cuticles to tidy up any smudges. A clean-up brush can reach tight spots beautifully.
4. Practice Makes Progress, Not Perfection
Your first attempt might not look like a magazine cover, and that’s perfectly okay! The more you practice, the steadier your hands will become, and the more confident you’ll feel. Treat it as a fun creative outlet, not a test.
5. Tool Care Matters
Clean your dotting tools and brushes after every use. Dried polish can clog them up and make them difficult to use. A quick wipe with nail polish remover while the polish is still wet is all it takes. For brushes with dried polish, you might need a dedicated brush cleaner.
6. Think About Contrast
For your designs to pop, make sure there’s enough contrast between your base color and your design color. A dark polish on a light base, or a bright color on a dark base, will stand out much more than two similar shades.
7. Don’t Neglect Your Top Coat
This is your final barrier against chips and smudges. A good quality top coat will not only protect your design but also add a beautiful shine. For glitter designs, a thicker top coat can help smooth out the texture.
Using Tape for Precision: A Game-Changer
If freehand drawing isn’t your strong suit yet, don’t worry! Tape is your secret weapon for sharp, clean lines and geometric patterns. You can use striping tape, which is very thin and creates crisp lines, or even regular washi tape for broader sections. For the best results:
- Ensure your base layer of polish is completely dry. If it’s not dry, the tape will peel it off.
- Press the tape down firmly, especially along the edges, to prevent polish bleed.
- Apply your new polish color over the tape and let it dry for a minute. Not fully dry, but not super wet either.
- Peel the tape off slowly and at an angle. If you wait too long, the polish might smudge. If you pull it off too soon, it might lift the underlying polish or create an uneven edge.
This technique is fantastic for creating modern geometric nails, sharp French tips, or precise color blocks. Check out resources from places like the Nailite for high-quality brushes and tools that can assist with precision applications.
Table: Beginner Nail Design Trouble Shooting
Even with the best intentions, things can go a little awry. Here’s how to fix common beginner nail art woes:
| Problem | Solution |
|---|---|
| Smudged Polish | If it’s still wet, try to gently nudge it back into place with an orange stick or toothpick. If it’s dry and just slightly smudged, a dot of polish placed strategically can sometimes camouflage it. Otherwise, you might need to do an accent nail with glitter or start over. |
| Uneven Dots | Don’t aim for machine-perfect dots. Slight variations can look charming! If they’re truly wonky, you can either add more dots around them to create a pattern that distracts, or use a fine brush to gently shape them while the polish is still wet. |
| Polish Bleeding Under Tape | This usually means the tape wasn’t pressed down firmly enough, or the underlying polish wasn’t completely dry. Clean up gently with a remover-dipped cotton swab. For future attempts, ensure tape is sealed and the first layer is bone dry. |
| Too Thick Polish Application | This can lead to long dry times and dents. Always aim for thin, even coats. If a coat is too thick, gently scrape off some excess with your brush before it dries. |
| Bubbles in Polish | Bubbles often come from shaking the polish bottle vigorously (swirl it instead!) or applying polish too thickly. If you see bubbles, let it dry and gently buff them down before applying another thin coat or top coat. |
FAQ: Your Beginner Nail Art Questions Answered
Let’s tackle some common questions that pop up when you’re just starting out with easy nail designs for beginners.
Q1: How long should I let my base coat dry before I start painting my design?
A: Your base coat should be completely dry to the touch before you apply any color or design. This usually takes about 1-2 minutes. If it’s still slightly tacky, your design colors might smudge or lift.
Q2: Can I use regular household items instead of special nail art tools?
A: Absolutely! Toothpicks are fantastic for dots and fine lines. A fine needle can also create delicate patterns. Even a clean bobby pin can make interesting abstract shapes. Just be creative and careful!
Q3: My hand shakes a lot when I try to paint lines. What can I do?
A: Steady your hand by resting your elbow firmly on a table. You can also brace your pinky finger on the nail you’re painting against your thumb or another finger. Using tape for straight lines is also a lifesaver!
Q4: How do I prevent my nail polish from chipping so quickly?
A: Always start with a good base coat, apply thin coats of color, and finish with a high-quality top coat. Cap the tip of your nail by running your top coat brush along the edge. This seals the polish and helps prevent chipping.
Q5: What’s the best way to clean up polish that gets on my skin?
A: The easiest way is to use a small, pointed brush (like an old eyeliner brush) dipped in nail polish remover. Gently sweep away any excess polish around your cuticle and sidewalls. You can also use cotton swabs, but pointed ones work best for precision.
Q6: Is it okay to mix different nail polish brands?
A: Yes, generally it’s fine to mix brands! Most nail polishes are formulated with similar ingredients. Just ensure that each layer is dry before applying the next, regardless of the brand.</p

