Ready to unlock gorgeous, easy nail art? This guide breaks down simple step-by-step tutorials for stunning DIY manicures, equipping beginners with essential tools and techniques to create beautiful nail designs confidently at home.
Dreaming of salon-worthy nails but find nail art a bit intimidating? You’re not alone! Many of us see intricate designs and think, “I could never do that.” But guess what? You absolutely can! With a few simple tricks and a little practice, you can transform your nails into mini masterpieces. This guide is your friendly roadmap to creating beautiful, easy nail art right from your own home. We’ll show you how to get started, what you’ll need, and guide you through some super simple designs that’ll have you feeling like a pro in no time. Get ready to express your creativity, one nail at a time!
Your Beginner’s Toolkit: Nail Art Essentials
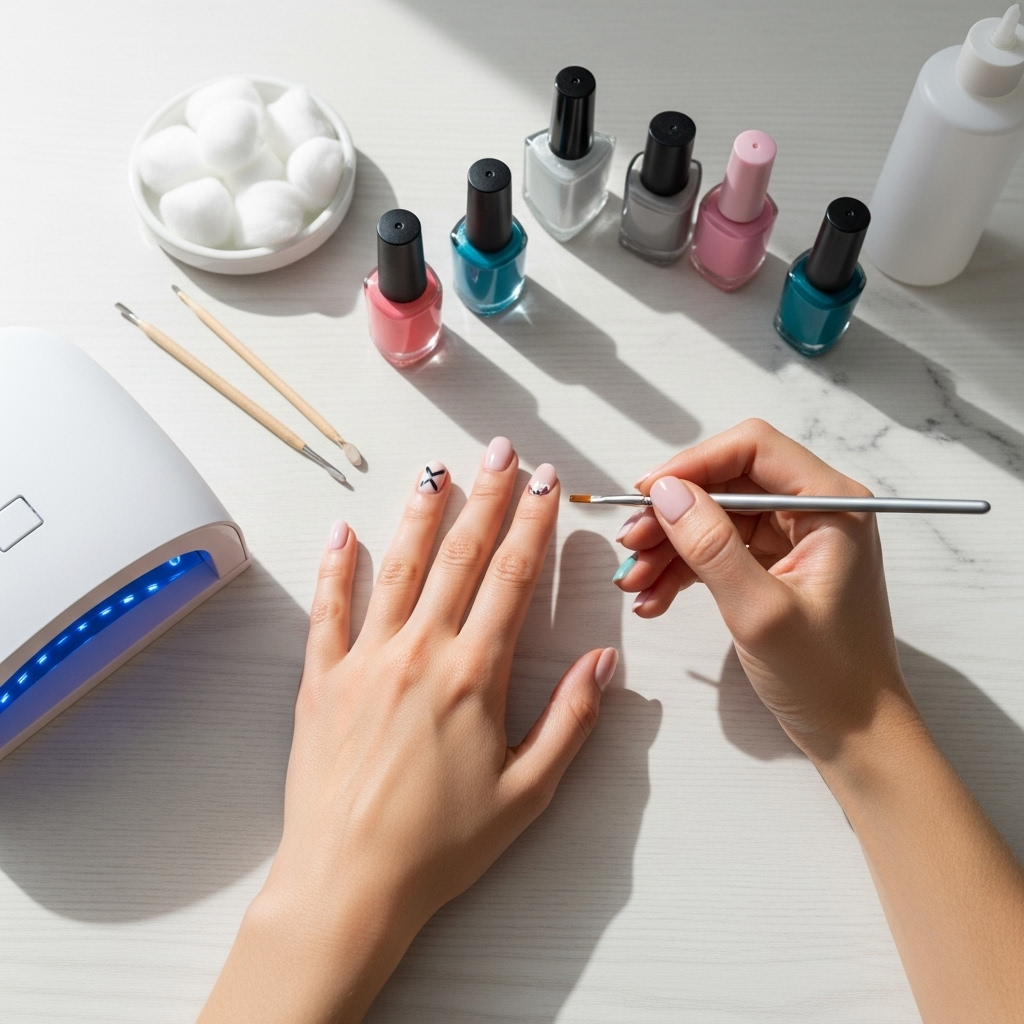
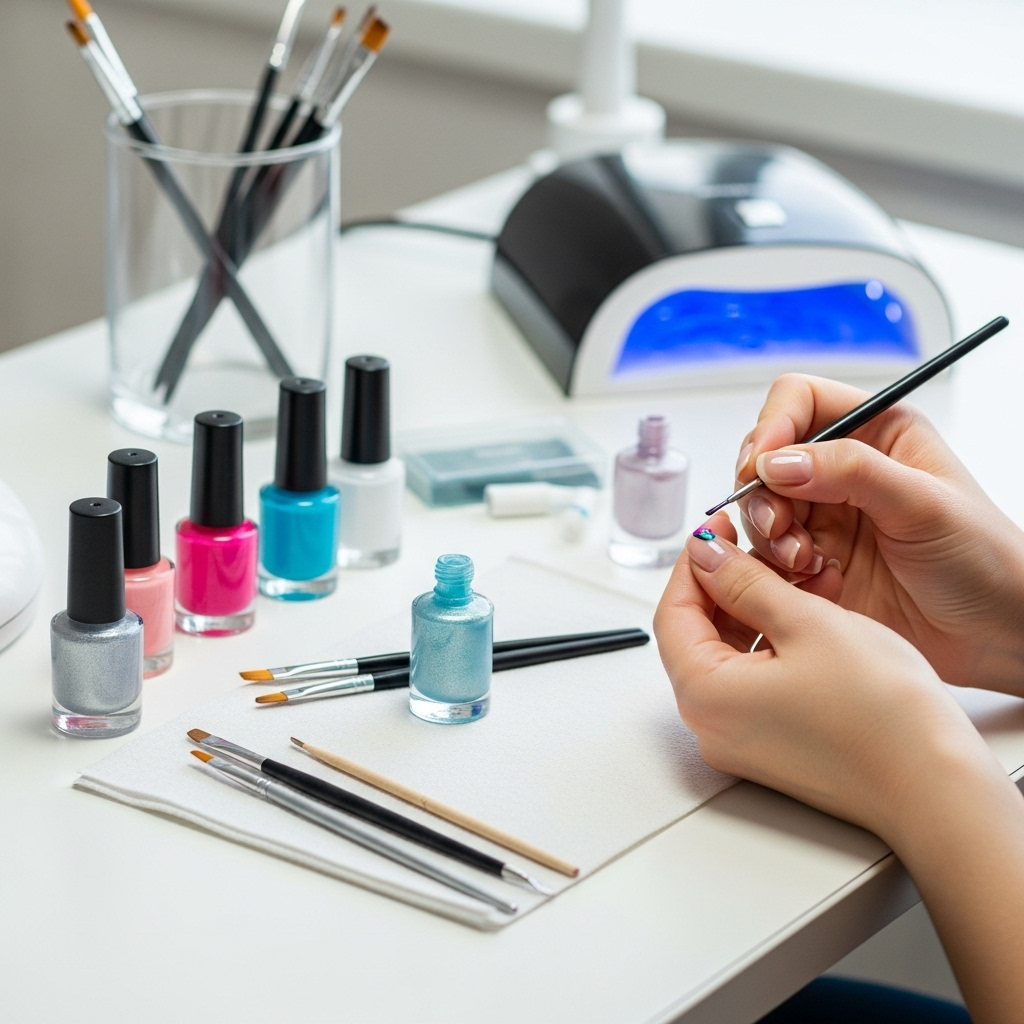
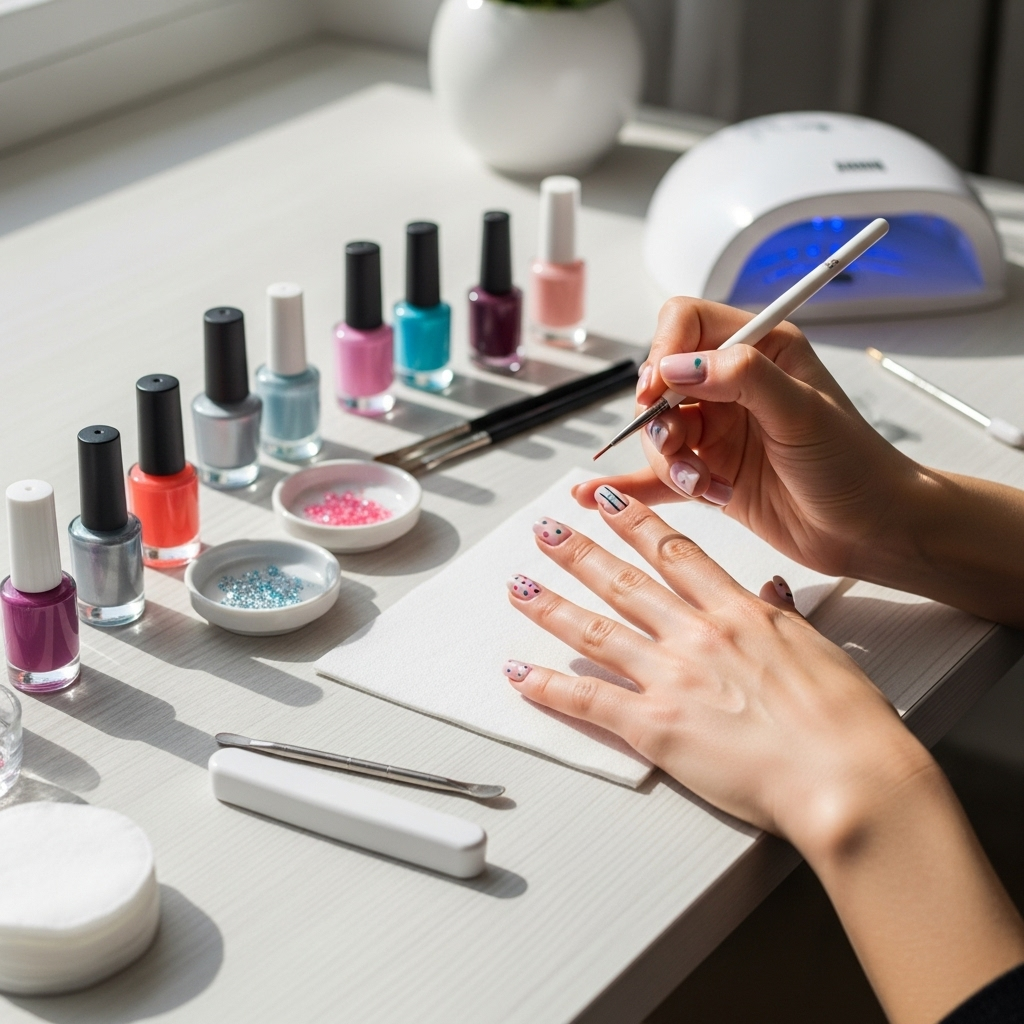
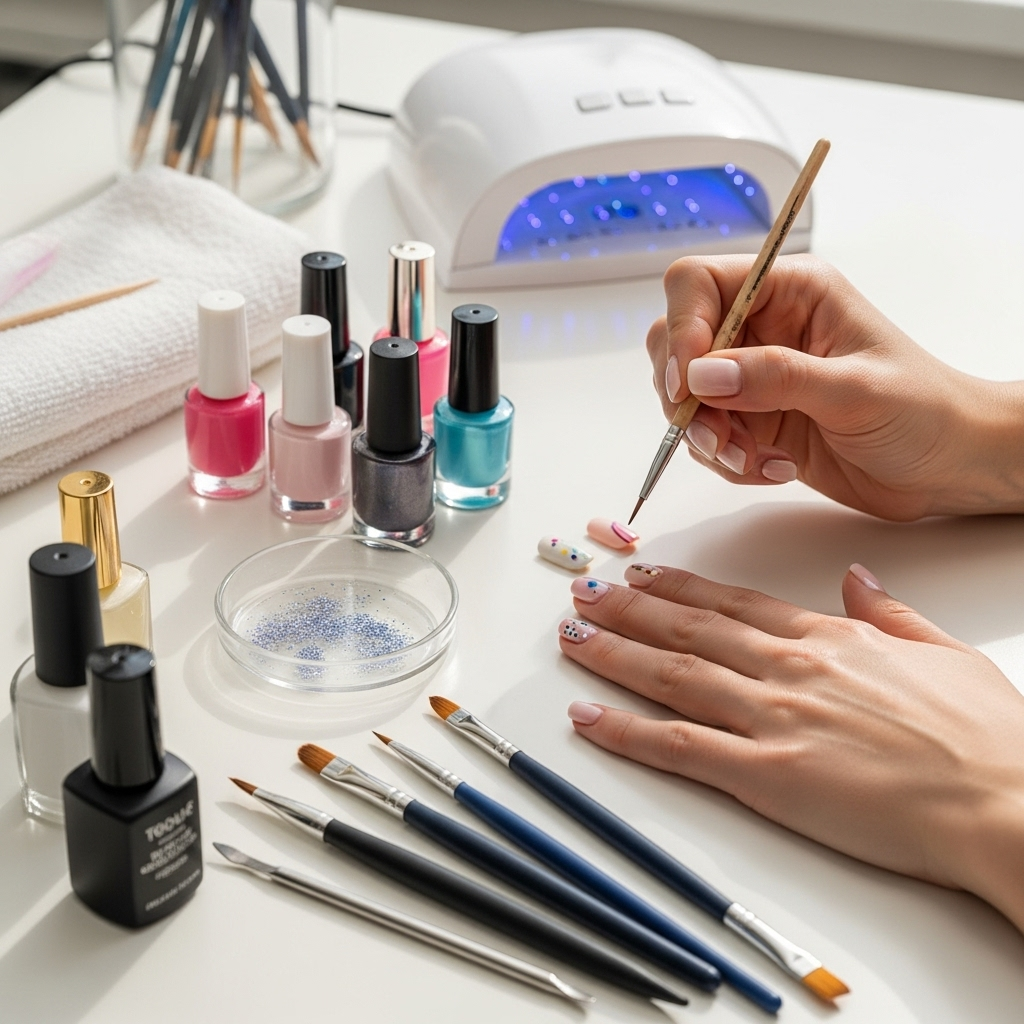
Starting with nail art doesn’t require a professional salon setup. A few key tools and products will set you up for success. Think of these as your art supplies for your nails!
Must-Have Polish & Tools
- Base Coat: This is your foundation! It protects your natural nails from staining and helps your polish adhere better.
- Top Coat: Seals your design, adds a glossy finish, and makes your manicure last longer.
- Nail Polish Colors: Start with a few of your favorite colors.
- Dotting Tools: These come in various sizes and are perfect for creating dots, flowers, and swirls. You can often find sets online or at beauty stores. If you don’t have these, the tip of a bobby pin or a toothpick can work in a pinch!
- Fine-Tipped Detail Brush: Excellent for drawing thin lines, creating French tips, or adding small details.
- Nail Polish Remover & Cotton Pads: For quick cleanups and fixing mistakes.
- Cuticle Pusher (Optional): Helps tidy up the nail bed before you start painting.
- Clear Tape or Washi Tape (Optional): For creating geometric designs and crisp lines.
Setting Up Your Workspace
Find a well-lit area where you can sit comfortably. Lay down some paper towels or newspaper to protect your surface from any spills. Having everything you need within reach will make the process much smoother. A stable surface is key for steady hands!
Prep Work: The Key to a Flawless Finish

Just like preparing a canvas before painting, prepping your nails is crucial for a beautiful and long-lasting manicure. Don’t skip these steps!
- Clean Your Nails: Remove any old polish. Wash your hands to get rid of oils and dirt.
- Shape Your Nails: File your nails into your desired shape. Always file in one direction to avoid weakening them.
- Push Back Cuticles: Gently push your cuticles back with a cuticle pusher. This gives you more nail surface to work with and a cleaner look.
- Buff (Optional): If you have ridges or want a smoother surface, lightly buff your nails.
- Apply Base Coat: Apply one thin layer of base coat. Let it dry completely, usually about a minute. This step is super important to prevent polish stains, especially with darker colors.
Easy Nail Art Tutorials: Step By Step
Let’s dive into some beginner-friendly designs that look impressive but are surprisingly simple to create. Remember, practice makes perfect, and it’s okay if your first try isn’t flawless!
1. The Polka Dot Perfection
Polka dots are a classic for a reason – they’re fun, cheerful, and incredibly easy to master.
- Apply Base Color: Paint your nails with your chosen base color. Apply two thin coats for even coverage and let them dry completely until they are no longer tacky to the touch.
- Load Your Dotting Tool: Dip the tip of your dotting tool (or toothpick/bobby pin) into a contrasting polish color. You don’t need a lot of polish; a small bead is perfect.
- Create Your Dots: Gently press the loaded tip onto your nail to create a dot. Lift straight up.
- Vary the Pattern: You can make a uniform pattern, or randomly place dots for a more playful look. Try different sizes of dots by using different sized dotting tools.
- Clean Up: Use a small brush dipped in nail polish remover to clean up any stray dots around your nails.
- Seal with Top Coat: Once all your dots are dry, apply a layer of top coat to protect your design.
2. The Simple Stripe Design
Stripes add a chic and sophisticated touch. Using tape ensures crisp, clean lines.
- Apply Base Color: Paint your nails with your primary color. Let it dry completely.
- Apply Tape: Carefully place a piece of nail tape or sticky tape onto your nail design where you want the stripe to be. Press down firmly to ensure there are no gaps where polish can seep under. You can place it horizontally, diagonally, or even create multiple stripes.
- Paint Over the Tape: Apply your second polish color over the tape. For a crisp line, ensure you paint a thin, even coat.
- Remove Tape While Wet: THIS IS KEY! VERY IMPORTANT! While the second color is still wet, carefully peel off the tape. If you let it dry, you risk chipping the polish.
- Let it Dry: Allow the second color to dry completely.
- Add Top Coat: Once everything is dry, apply a top coat to seal the design.
3. The Gradient (Ombre) Nails
The gradient effect is trendy and surprisingly simple to achieve with a makeup sponge.
- Apply Base Color: Paint your nails with your lightest color or white for a brighter effect. Let it dry completely.
- Prep Your Sponge: Cut a makeup sponge into a few small pieces. You can use a regular makeup wedge, but smaller pieces give you more control.
- Apply Polish to Sponge: Apply two to three shades of polish next to each other in lines on your sponge. Work quickly before they dry.
- Sponge Onto Nail: Gently dab the sponge onto your nail, rocking it slightly from side to side to blend the colors. Repeat this process, dabbing gently, until you achieve your desired color intensity.
- Clean Up Edges: This technique can get messy! Use a small brush dipped in nail polish remover to clean up any polish on your skin or cuticles.
- Seal: Once dry, apply a shimmering or clear top coat to blend the colors even more and add shine.
Troubleshooting Common Nail Art Mishaps

Even with the easiest designs, things can happen. Here’s how to fix some common issues:
- Smudged Polish: Don’t panic! If the polish is still wet, you can try to smooth it with a clean brush or a toothpick. If it’s dry, sometimes a sheer glitter polish can help disguise minor smudges.
- Polish Under the Tape: This usually means the tape wasn’t sealed down properly, or you waited too long to remove it. Clean up with a detail brush and remover.
- Uneven Dots/Lines: Practice makes perfect! For future attempts, make sure you’re loading your tool evenly and applying consistent pressure.
- Bubbles in Polish: This can happen if you shake your polish bottle vigorously (swirl it instead) or if you apply coats too thickly. Ensure thin coats and proper drying time.
Beyond the Basics: Elevating Your Nail Art Game
Once you’re comfortable with the basics, there are tons of ways to get more creative. Consider these easy additions:
- Glitter Accents: Apply a bit of glitter polish to the tips or the base of your nails for a touch of sparkle.
- Stamping (with practice): Nail stamping plates and a stamper can create intricate designs quickly, though it has a slight learning curve.
- Water Marbling: This technique uses polish dropped into water to create swirling patterns. It’s fun but can be messy and requires patience.
Caring for Your Masterpiece
To keep your beautiful nail art looking its best:
- Reapply Top Coat: A fresh layer of top coat every 2-3 days can help extend the life of your manicure and keep the shine.
- Wear Gloves: When doing dishes or cleaning, wear rubber gloves to protect your nails from harsh chemicals and prolonged water exposure.
- Moisturize: Keep your hands and cuticles moisturized with a good hand cream or cuticle oil. Healthy nails mean your art looks even better!
Essential Nail Care Tips for Healthy Nails

Beautiful nail art starts with healthy nails. Here are some basic tips to keep your nails strong and looking their best:
General Nail Health
- Hydration is Key: Drink plenty of water. Dehydrated nails can become brittle and prone to breaking.
- Protect Your Nails: Avoid using your nails as tools (e.g., to open cans or scrape things off).
- Balanced Diet: Ensure your diet includes sufficient vitamins and minerals, especially biotin, which is crucial for nail strength. A healthy intake of fruits, vegetables, and lean proteins supports overall nail health. For more on nutrition and nail health, you can refer to resources from health organizations like the National Institute of Arthritis and Musculoskeletal and Skin Diseases (NIAMS).
- Regular Trimming: Keep nails trimmed to a sensible length to prevent snagging and breaking.
- Gentle Polish Removal: Always use an acetone-free remover if possible, as it’s less drying on the nails and surrounding skin.
Cuticle Care
Taking care of your cuticles is as important as caring for the nail plate itself. Cuticles protect the nail matrix from bacteria and fungi, so keeping them healthy is vital.
- Moisturize Daily: Apply cuticle oil or a rich hand cream regularly, especially after washing your hands.
- Push, Don’t Cut: It’s generally best to push cuticles back rather than cutting them. Cutting can lead to infection and damage the nail bed’s protective barrier.
- Avoid Harsh Chemicals: Protect your cuticles during cleaning by wearing gloves.
Understanding Different Nail Shapes
While not directly related to art application, knowing your nail shape can enhance the overall look of your manicure. Here are a few common shapes:
| Shape | Description | Best For |
|---|---|---|
| Square | Straight sides with a blunt, squared-off tip. | Strong nails, wider nail beds. Looks great with short to medium lengths. |
| Round | Follows the natural curve of the fingertip, rounded at the edges. | Short nails, prevents breakage. A universally flattering and practical shape. |
| Oval | Softly curved sides leading to a rounded tip, elongates fingers. | Appears elegant and flattering on most hand types. Great for medium to long nails. |
| Squoval | A combination of square and oval – straight sides with rounded edges. | Offers the strength of a square with the softer look of an oval. Versatile. |
| Stiletto | Tapered sides meeting at a sharp point. | Best for artificial nails or very strong natural nails. Dramatic and eye-catching. |
| Almond | Similar to stiletto but with a softer, rounded tip. Elongates fingers. | Elegant and sophisticated. Works well on medium to long nails. |
Frequently Asked Questions About Easy Nail Art

Q1: How do I make my nail art last longer?
A: The key is proper preparation and sealing! Always use a good base coat, let each layer of polish dry completely before the next, and finish with at least two thin layers of a high-quality top coat. Reapply top coat every couple of days.
Q2: Can I use household items for nail art tools?
A: Absolutely! For dots, the tip of a toothpick, a ballpoint pen, or even a bobby pin works well. For lines, a very fine-tipped paintbrush can do the trick.
Q3: My nail polish always chips quickly. What am I doing wrong?
A: Ensure your nails are clean and free of oils before polish. Apply thin coats of color rather than thick ones. Also, make sure to cap the free edge of your nail with your top coat – that means painting a tiny bit along the very tip of your nail!
Q4: How do I avoid getting polish on my skin?
A: For precise application, try to use your dominant hand to paint the nails on your non-dominant hand. You can also use a small cleanup brush dipped in nail polish remover to tidy up any mistakes. Some people also like to paint a thin layer of liquid latex around their nails, which peels off easily once the polish is dry.
Q5: What’s the best way to get rid of nail polish stains?
A: A good base coat is your best defense against staining. If staining does occur, try soaking your nails in a mixture of warm water and a teaspoon of baking soda, or use a whitening toothpaste. For persistent stains, a nail whitener product can also help.
Q6: How long should I wait between nail polish coats?
A: It’s best to wait until each coat is dry to the touch, usually 1-3 minutes. If a coat is still tacky, the next layer might pull or smudge it. For nail art, ensure your base color is completely dry before adding designs.
Conclusion
See? Easy nail art is totally achievable, and the journey to creating beautiful designs is just as fun as the final result. By gathering a few essential tools, prepping your nails properly, and following these simple step-by-step tutorials, you’re well on your way to rocking stunning manicures you created yourself. Remember to be patient with yourself, embrace the creative process, and don’t be afraid to experiment with colors and patterns. Your nails are a fantastic canvas for self-expression, so have fun with it! Keep practicing, and you’ll be amazed at how your skills grow, turning simple steps into stunning nail art.
