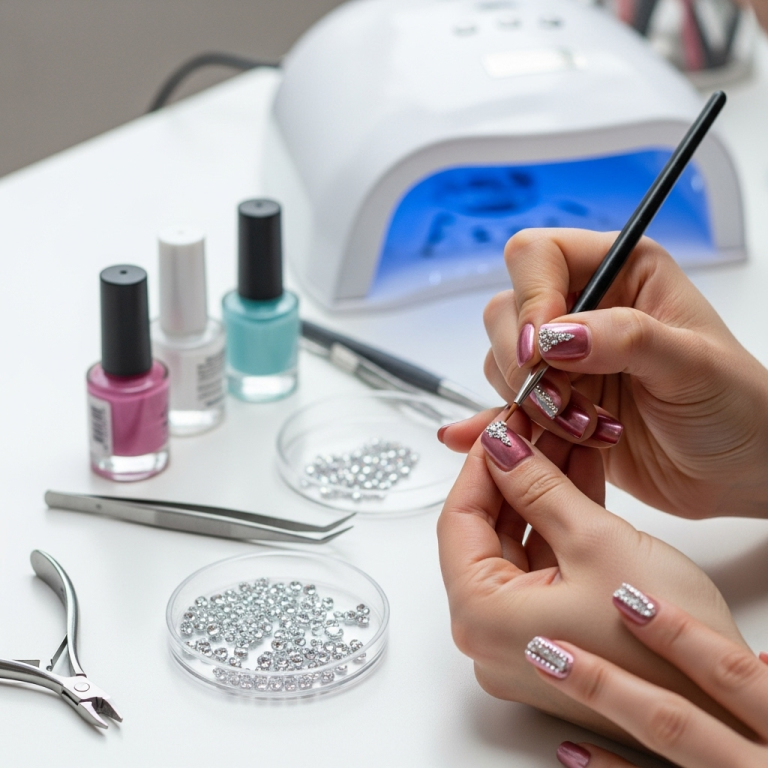
Easy acrylic nail art for beginners is achievable with simple techniques and the right tools. Discover genius, step-by-step guides to create stunning designs at home, transforming your nails into a canvas for creativity, proving that beautiful nail art is within everyone’s reach.
Ever look at stunning acrylic nail art and feel a twinge of envy? You might think it’s only for pros, but guess what? It’s totally doable for beginners! We’re here to show you how to create gorgeous, easy acrylic nail art that looks like you just stepped out of a salon. Forget those frustrating attempts; we’ve got genius tips and simple steps that will have you nailing it (pun intended!) in no time. Get ready to unleash your inner nail artist and have tons of fun!
This guide is your friendly roadmap to mastering simple acrylic nail art. We’ll cover everything from basic tools to creating eye-catching designs with confidence. Ready to create some magic?
Why Acrylic Nail Art is a Beginner’s Best Friend
Acrylics offer a fantastic base for nail art because they are durable and versatile. For beginners, they provide a smooth, uniform surface that makes applying designs much easier. Unlike natural nails, acrylics can be perfectly shaped and buffed, giving you a flawless canvas. Plus, the longevity of acrylics means your beautiful art stays put for weeks, giving you more time to admire your work and less time worrying about chipping.
The beauty of starting with acrylics is that they are forgiving. Made from a mixture of a liquid monomer and a powder polymer, acrylics harden when exposed to air, creating a strong, protective layer. This process, while it sounds technical, is actually quite manageable with practice. It’s this inherent strength and malleability that makes acrylics such a popular choice for DIY nail art enthusiasts.
Essential Tools for Your Easy Acrylic Nail Art Journey
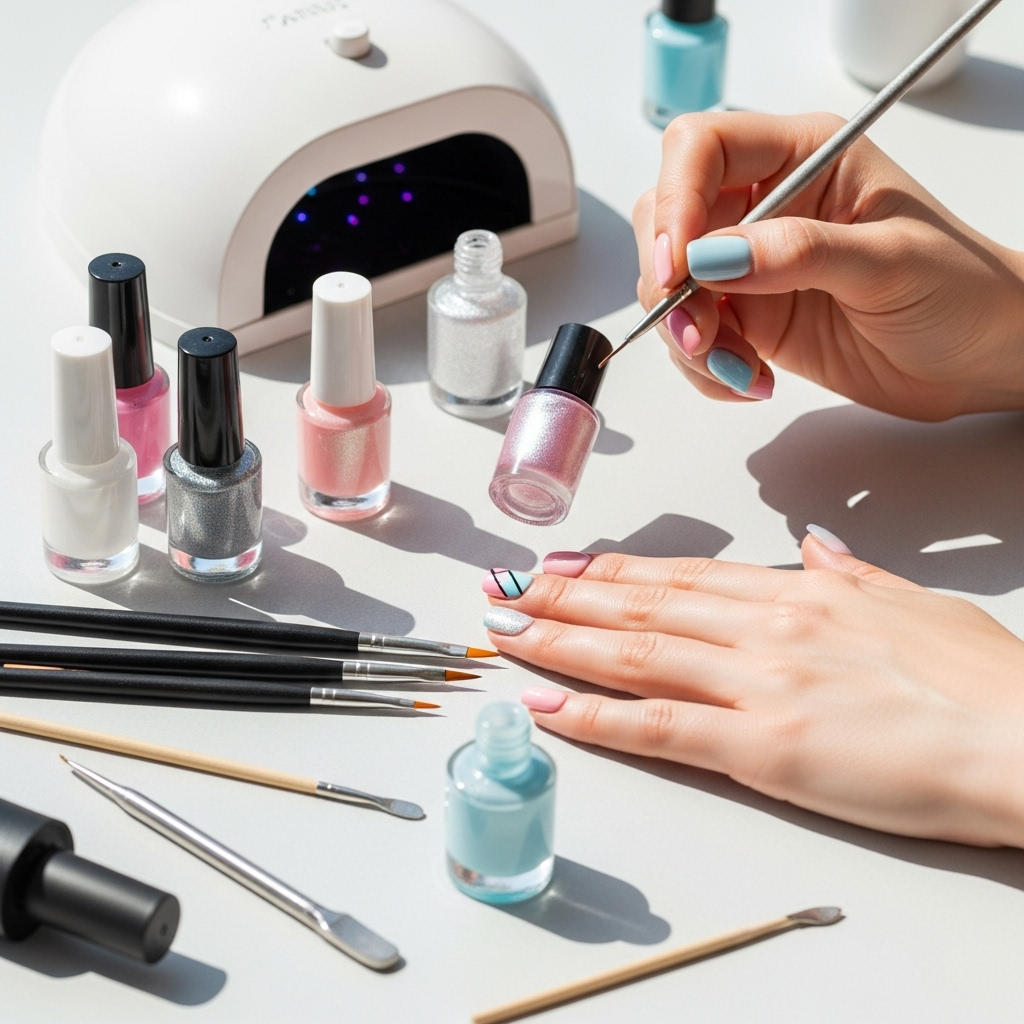
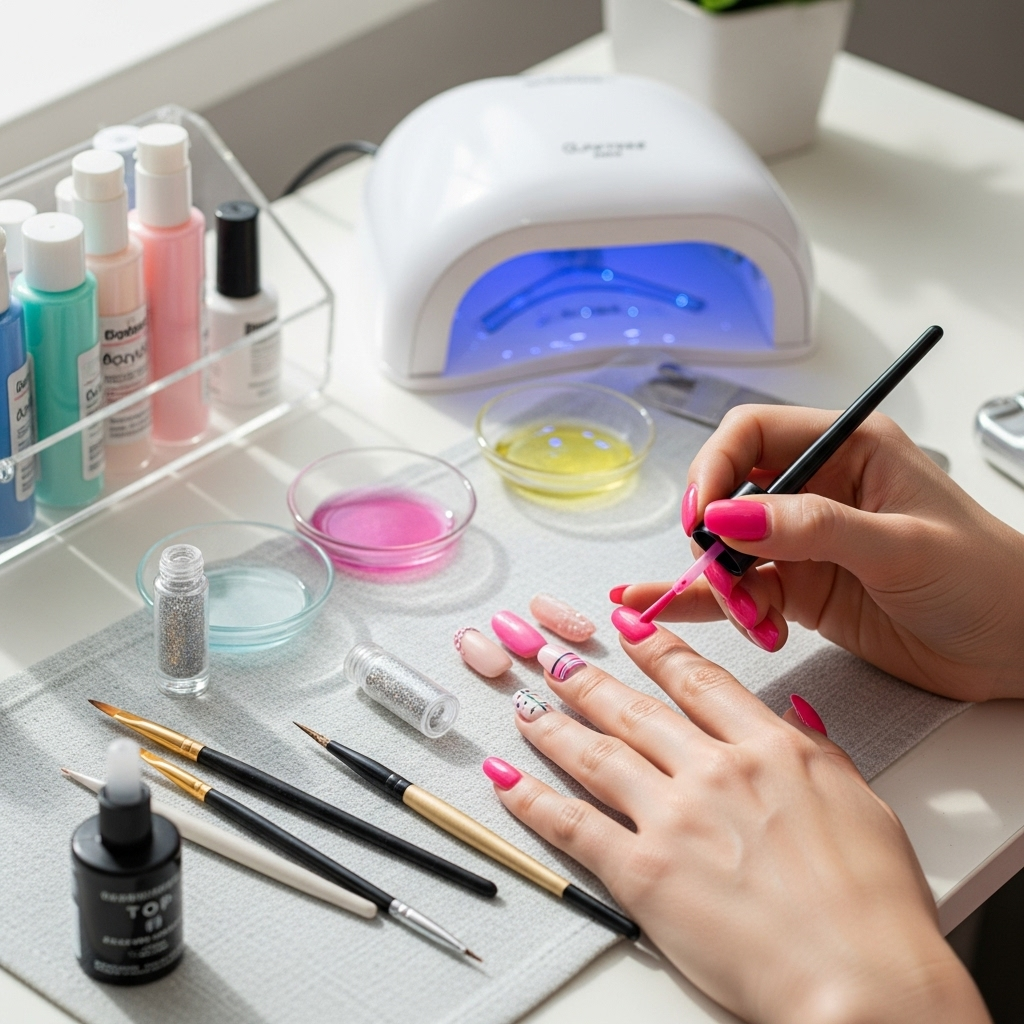
Before we dive into the fun designs, let’s gather your toolkit. Having the right supplies makes all the difference in creating professional-looking results without the professional price tag. Don’t worry, you don’t need a salon-sized arsenal to start!
The Must-Haves:
- Acrylic Liquid Monomer: This is the liquid activator that, when mixed with acrylic powder, forms the dough-like substance.
- Acrylic Powder Polymer: Available in various shades (pink, clear, white, nude), this is the powder that gives acrylics their structure.
- Nail Forms or Tips: These are essential for building and shaping the acrylic nail extension. Nail forms are stickers that adhere under the natural nail, while tips are pre-shaped plastic pieces glued onto the natural nail.
- Dappen Dishes: Small glass containers to hold your liquid and powder.
- Acrylic Brushes: These are crucial! Look for brushes with good quality bristles (often Kolinsky sable) in sizes suitable for application (e.g., size 8 or 10 is great for beginners).
- Nail File and Buffer: For shaping and smoothing the acrylic before and after application. A fine-grit file (180-240 grit) is ideal for shaping.
- Cuticle Pusher and nippers: To prepare the nail bed for application.
- Lint-free Wipes: For cleaning and dehydrating the natural nail.
- Nail Dehydrator/Primer: To ensure proper adhesion of the acrylic to the natural nail.
- Top Coat and Base Coat: Essential for sealing your art and protecting your natural nail.
- Gel Polish or Regular Polish: For creating the colors and designs on your acrylic base.
- Dotting Tools and Striping Brushes: For creating patterns and details.
Having these items ready will set you up for success. Remember, investing in good quality brushes can really elevate your experience and the final outcome. For more information on nail preparation and tools, you can refer to resources from the Professional Beauty Association, which offers insights into industry standards and best practices.
Step-by-Step: Easy Acrylic Application for Beginners
Applying acrylic nails for the first time might seem daunting, but it’s a skill that improves with every try. These steps will guide you through creating a solid acrylic base perfect for art.
- Prepare Your Natural Nails: Gently push back your cuticles and lightly buff the surface of your natural nail to remove any shine. Cleanse and dehydrate your nails with a lint-free wipe. Apply a nail dehydrator or primer to ensure the acrylic adheres properly.
- Apply Nail Forms or Tips: If using nail forms, slide them under the edge of your natural nail, ensuring a snug fit. If using tips, select the right size and glue them securely to your natural nail, trimming and filing to your desired length and shape.
- Mix the Acrylic: Pour a small amount of liquid monomer into one dappen dish and a small amount of acrylic powder into another. Dip your wet acrylic brush into the liquid monomer, then gently touch the tip of the brush into the powder to create a small bead of acrylic.
- Apply the Acrylic Bead: Quickly and gently place the acrylic bead onto the nail, starting at the cuticle area or the tip, depending on whether you are doing an overlay or an extension. Use the brush to pat and shape the acrylic, blending it smoothly onto the nail and extending it over the form or tip. Work quickly as acrylic hardens fast!
- Shape and File: Once the acrylic has hardened (you’ll know it’s hard when it makes a clicking sound if you tap it gently with a metal tool), remove the nail form. Use a nail file to refine the shape and length of your new acrylic nail. A buffer can then be used to smooth out any imperfections.
It’s important to remember that practice makes perfect. Your first few attempts might feel a bit clunky, but each time you’ll gain more control and understanding of how the acrylic behaves. Don’t be afraid to file and reshape until you’re happy with the base structure.
Genius Easy Acrylic Nail Art Designs for Beginners
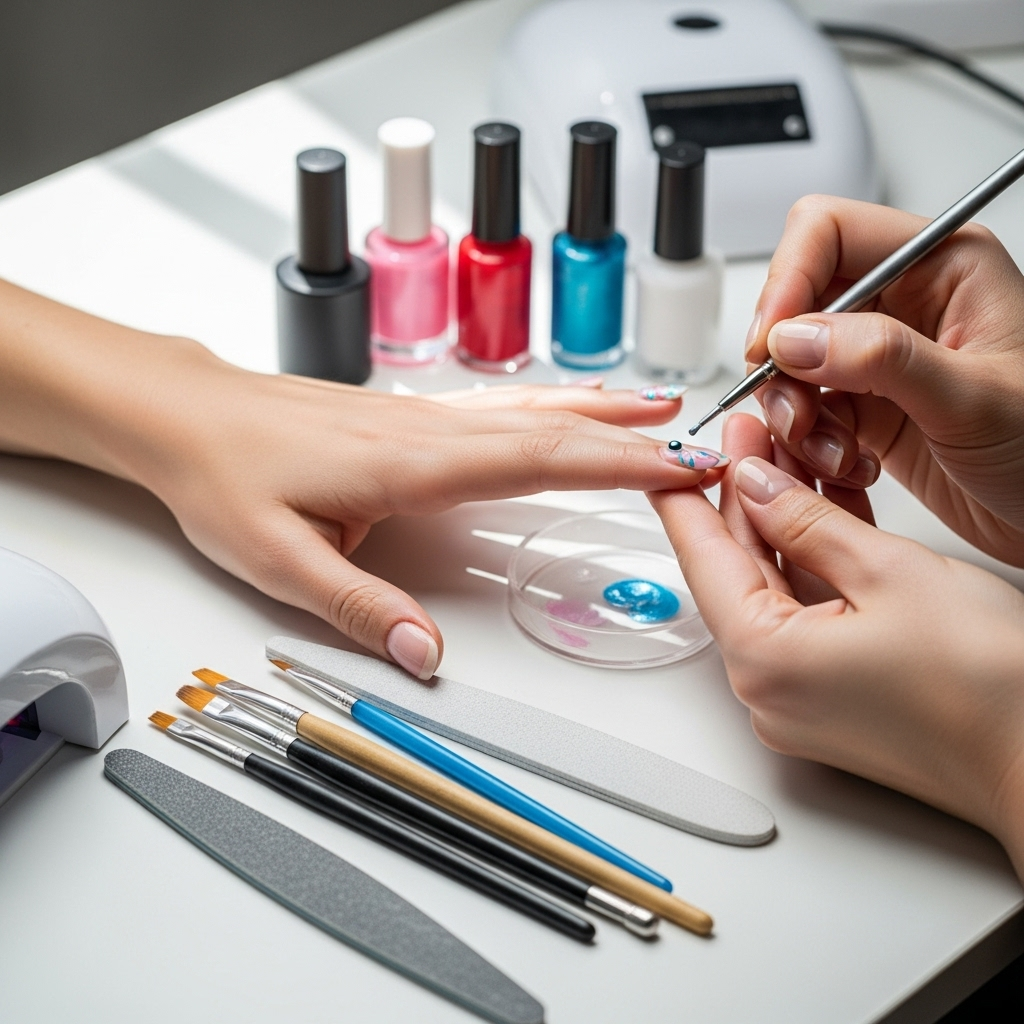
Now for the exciting part! Once you have your perfectly shaped acrylic nails, it’s time to get creative. Here are some super easy designs that beginners can absolutely master.
1. The Classic French Tip Upgrade
This is a timeless look that’s easy to elevate. Instead of just white tips, try using different colored polishes or even glitter for your tips!
- Apply your colored polish or glitter polish to the tips of your acrylic nails.
- Use a fine-tipped brush dipped in a contrasting color to draw a thin line where the colored tip meets the base of your nail for a clean, defined boundary.
- Alternatively, use a striping tape before applying the color, then remove the tape for a sharp line.
2. Simple Glitter Fade
This design is effortless and looks incredibly chic. It’s perfect for adding a touch of sparkle to your nails.
- Paint your nails with your base color of choice (nude, pink, or a soft pastel works beautifully).
- Once the base coat is dry, take a glitter polish and start applying it from the tip of the nail downwards.
- Use a dabbing motion with your brush to create a gradient effect, fading the glitter into the base color. You can do this with one color of glitter or blend a few together for a more dramatic look.
- Apply a second coat of top coat to seal in the glitter and give it a smooth finish.
3. Polka Dots Galore
Who doesn’t love a good polka dot? This is a playful design that’s as easy as it gets.
- Paint your nails a solid base color.
- Once the base color is completely dry, dip a dotting tool (or the end of a bobby pin, or even a toothpick!) into a contrasting polish color.
- Gently dot the color onto your nails in your desired pattern. You can space them out evenly or go for a more scattered look.
- Clean your dotting tool between colors or between dots for sharp, clean circles.
- Seal with a top coat.
4. Monochrome Magic
This design focuses on using different shades of the same color for a sophisticated look.
- Paint each nail with a different shade of the same color family (e.g., light pink, medium pink, dark pink, almost-purple).
- Get creative with placement! One nail could be the lightest, the next slightly darker, and so on, creating an ombré effect across your fingers.
- Or, paint two nails with one shade, two with another, and one with a third for a balanced yet varied look.
5. Glitter Cuticles
This is a modern and chic design that’s incredibly simple to create.
- Paint your nails with your desired base color. You can opt for sheer nudes, milky whites, or even bold colors.
- Once the base color is dry, carefully apply a thin line of nail glue or a specialized cuticle glue just above your natural cuticle line on the nail bed.
- Using a small brush or your fingertip, gently press fine-grit glitter onto the glued area.
- Tap off any excess glitter and seal the entire nail with a top coat, being careful not to smudge the glitter line.
These designs are just the beginning! The key is to start simple and gradually experiment with more complex patterns as your confidence grows. Remember, nail art is all about personal expression, so have fun with it!
Tips for Long-Lasting Acrylic Nail Art
Creating beautiful acrylic nail art is one thing, but keeping it looking pristine is another. Here are some tips to extend the life of your fabulous designs:
- Seal with a Quality Top Coat: Always finish your nail art with at least two thin layers of a good quality gel or regular top coat. This protects your design from chipping and adds a glossy shine.
- Avoid Harsh Chemicals: Try to use gloves when doing household chores, especially when handling cleaning products, as chemicals can break down the acrylic and the polish.
- Moisturize! Keep your cuticle oil handy. Regular moisturizing of your cuticles and the skin around your nails helps prevent dryness and keeps the overall manicure looking fresh. It also prevents lifting.
- Be Gentle: Avoid using your nails as tools. Don’t scrape, pry, or pick at things. This will cause unnecessary stress on your acrylic nails and art.
- Regular Maintenance: If you notice any lifting or damage, it’s best to address it quickly. A small touch-up can prevent a bigger problem. You might also consider visiting a nail technician for fills every 2-3 weeks to maintain the shape and health of your acrylics.
Taking these small steps can make a significant difference in how long your acrylic nail art stays looking salon-perfect. For more detailed maintenance tips, the American Academy of Dermatology provides general guidelines on nail health that can be beneficial.
Troubleshooting Common Beginner Acrylic Nail Art Issues
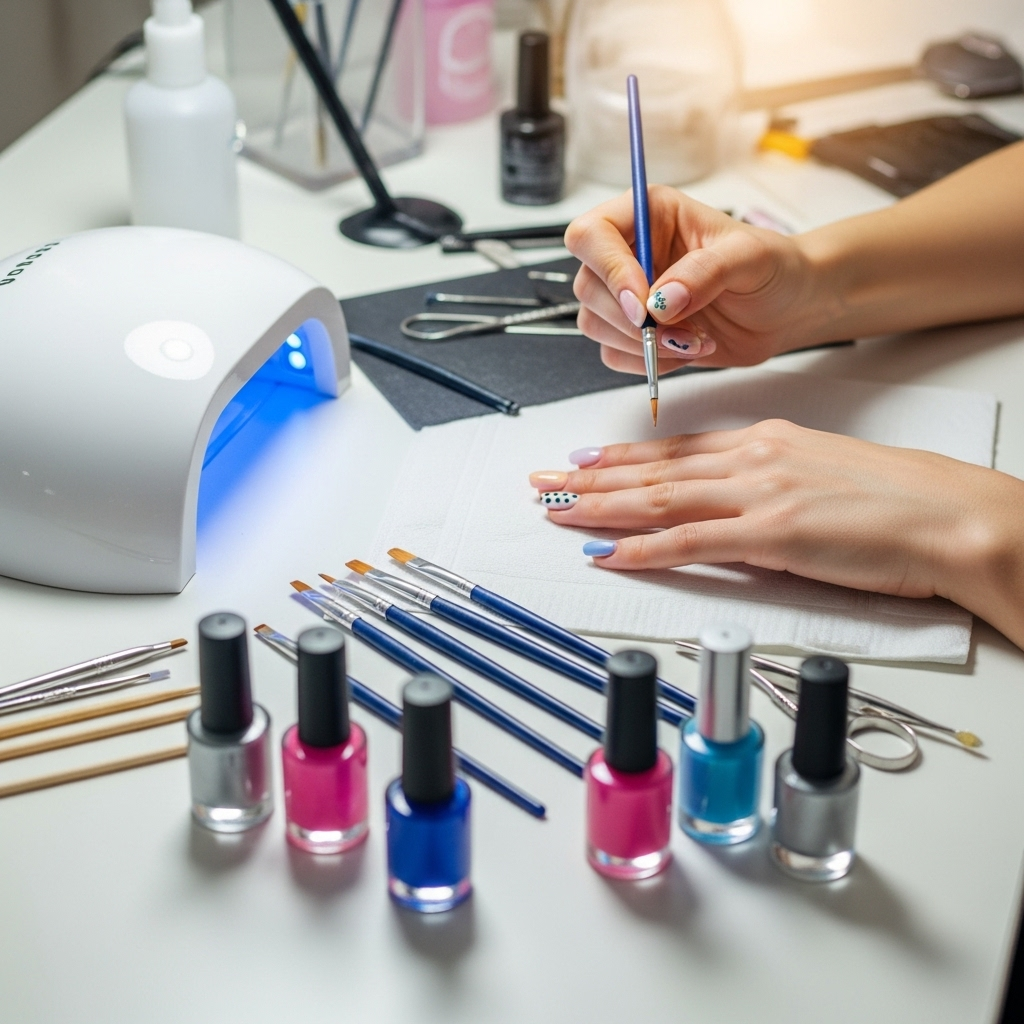
Even with the best intentions, beginners can run into a few snags. Here’s how to tackle common problems:
- Bubbles in the Acrylic: This often happens if the acrylic bead is too wet when picked up, or if you manipulate it too much with the brush. Try picking up a smaller bead and using fewer strokes to pat and shape it.
- Acrylic Appears Milky or Cloudy: This can be caused by contamination (like water or oil) in your liquid monomer or powder. Ensure your dappen dishes and tools are clean and dry.
- Uneven Surface: This is usually down to inconsistent bead sizes or application. Focus on picking up consistent, medium-sized beads and aim for smooth, even coverage. Filing and buffing are your friends here!
- Lifting Along the Cuticle: This often indicates that the acrylic is too close to the cuticle or wasn’t properly dehydrated beforehand. Be careful not to flood the cuticle area with acrylic and always use a dehydrator.
- Design Smudging: Give each layer of polish or art sufficient drying time. Applying top coat too soon is a common culprit. Alternatively, switch to gel polish, which is cured under a UV/LED lamp and doesn’t smudge once set.
Remember, every nail artist has faced these challenges. Don’t get discouraged! With each attempt, you’ll learn what works best for you and your technique.
Table: Pros and Cons of Acrylic Nails for Beginners
Deciding if acrylics are right for you? Here’s a quick rundown:
| Pros of Acrylic Nails | Cons of Acrylic Nails |
|---|---|
| Durability: Very strong and resistant to chipping. | Damage Risk: Can potentially damage natural nails if removed incorrectly. |
| Versatility: Ideal for most nail art and extensions. | Application Process: Requires practice and proper technique. |
| Uniform Surface: Provides a smooth, even base for designs. | Fumes: The monomer liquid has a strong odor (ensure good ventilation). |
| Longevity: Designs can last for several weeks. | Maintenance: Requires fills every 2-3 weeks as natural nails grow. |
| Achievable for DIY: With guidance, beginners can master application. | Cost: Initial investment in tools can add up. |
FAQ: Your Beginner Acrylic Nail Art Questions Answered
Q1: How long does it take to get good at applying acrylic nails?
It varies for everyone, but you’ll see improvement with each set you do. Expect to feel more comfortable with application and shaping after about 5-10 practice sets. Patience is key!
Q2: Do I need a UV/LED lamp for acrylic nail art?
No, traditional acrylics harden when exposed to air, so a lamp isn’t necessary for the acrylic itself. However, if you plan to use gel polishes for your designs, a lamp is required to cure them. Many beginners start with regular polishes for ease.
Q3: Can I do acrylic nail art over my natural nails without extensions?
Absolutely! You can apply a thin layer of acrylic as a protective overlay on your natural nails. This strengthens them and provides a smooth surface for art, without adding length.
Q4: What’s the biggest mistake beginners make with acrylics?
Overworking the acrylic bead is a common mistake. This can lead to bubbles and an uneven application. Aim to use a few gentle strokes to shape the bead rather than a lot of manipulation.
Q5: How do I prevent lifting at the cuticle?
Ensure your natural nail is thoroughly prepped, especially at the cuticle line. Use a nail dehydrator and primer, and be very careful not to get the acrylic product too close to the cuticle. A clean, established free edge and proper adhesion are crucial.
Q6: Is acrylic nail art damaging to natural nails?
When applied and removed correctly, acrylics don’t have to be damaging. The key is proper preparation, application, and, most importantly, proper removal. Never pick or peel acrylics off; always have them professionally removed or learn the correct soaking-off method.
Q7: What’s the best way to clean acrylic brushes?
Immediately after use, clean your acrylic brush with a brush cleaner or monomer. Swish the brush in the solution, then press it onto a lint-free wipe to reshape the bristles and remove excess product. Never use acetone on your good acrylic brushes, as it can break down the bristles. For an in-depth guide on brush care, you can consult resources from nail expert communities or manufacturers.
Conclusion: Your Acrylic Nail Art Adventure Awaits!
And there you have it! Easy acrylic nail art for beginners is genuinely achievable with a little practice and the right approach. We’ve walked through the essential tools, the basic application process, and some genius, beginner-friendly designs that are sure to impress. Remember, every pro was once a beginner, and the journey of learning new nail art skills is incredibly rewarding.
Don’t be afraid to experiment with colors, patterns, and techniques. Embrace the learning curve, celebrate your successes, and don’t sweat the small stuff. Your nails are a fantastic canvas for creativity, and with these tips, yours can become a masterpiece. So gather your supplies, put on some great music, and get ready to create stunning acrylic nail art that you’ll be proud to show off!

