Easy acrylic nail art for beginners is totally achievable with the right essentials! Focus on simple techniques like dotting, striping, and using stencils. With a few key tools and a little practice, you can create beautiful, salon-worthy designs right at home.
Dreaming of gorgeous acrylic nails but feel intimidated by complex designs? You’re not alone! Many beginners think acrylic nail art is super tricky, requiring advanced skills. But guess what? It doesn’t have to be! With the right starter kit and a few simple tricks, you can unleash your creativity and transform your nails into tiny masterpieces. Get ready to say goodbye to boring nails and hello to your personal nail art studio!
Your Beginner’s Guide to Easy Acrylic Nail Art Essentials
Welcome to the exciting world of acrylic nail art! If you’re just starting out, it can feel a bit overwhelming with all the tools and techniques out there. But don’t worry, I’m here to break it down for you. Think of this as your friendly guide, packed with everything you need to know to get started with beautiful, easy acrylic nail art designs. We’ll cover the must-have tools, some super simple design ideas, and a few tips to make your nail art journey fun and successful.
Why Acrylics for Beginners?
Acrylics are a fantastic choice for beginners because they offer a durable canvas that’s forgiving for practice. They can help strengthen natural nails and provide a smooth surface for art. Plus, once they’re set, they’re quite sturdy, meaning your designs are less likely to smudge or chip while you’re still getting the hang of things!
The Absolute Must-Have Essentials for Easy Acrylic Nail Art
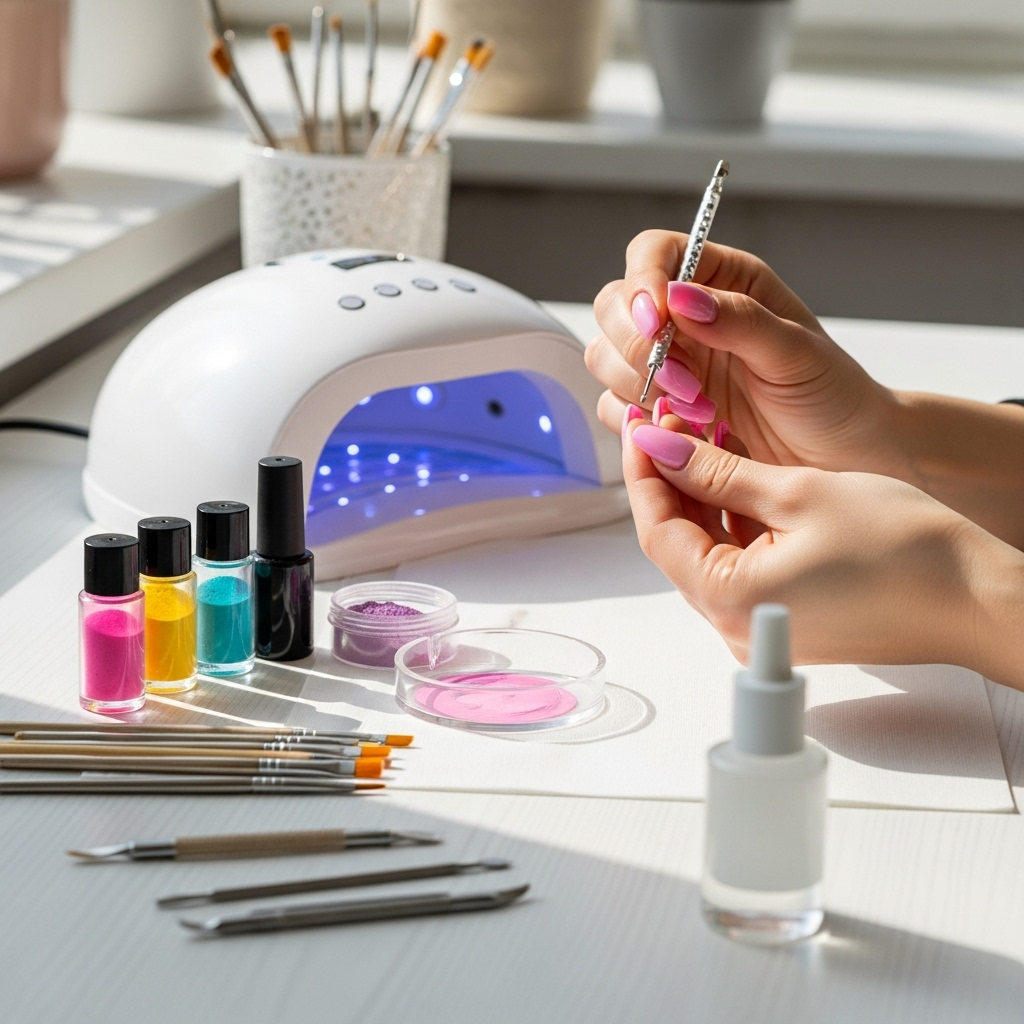
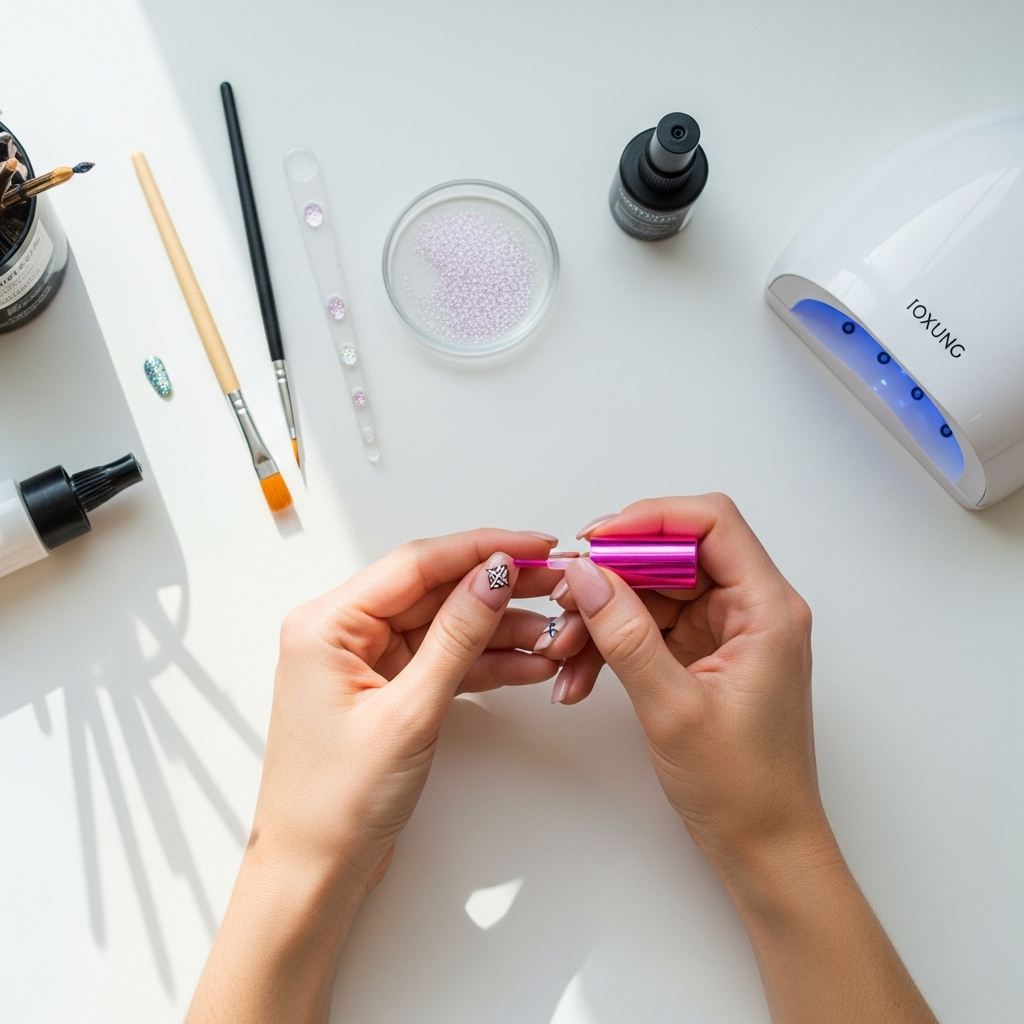
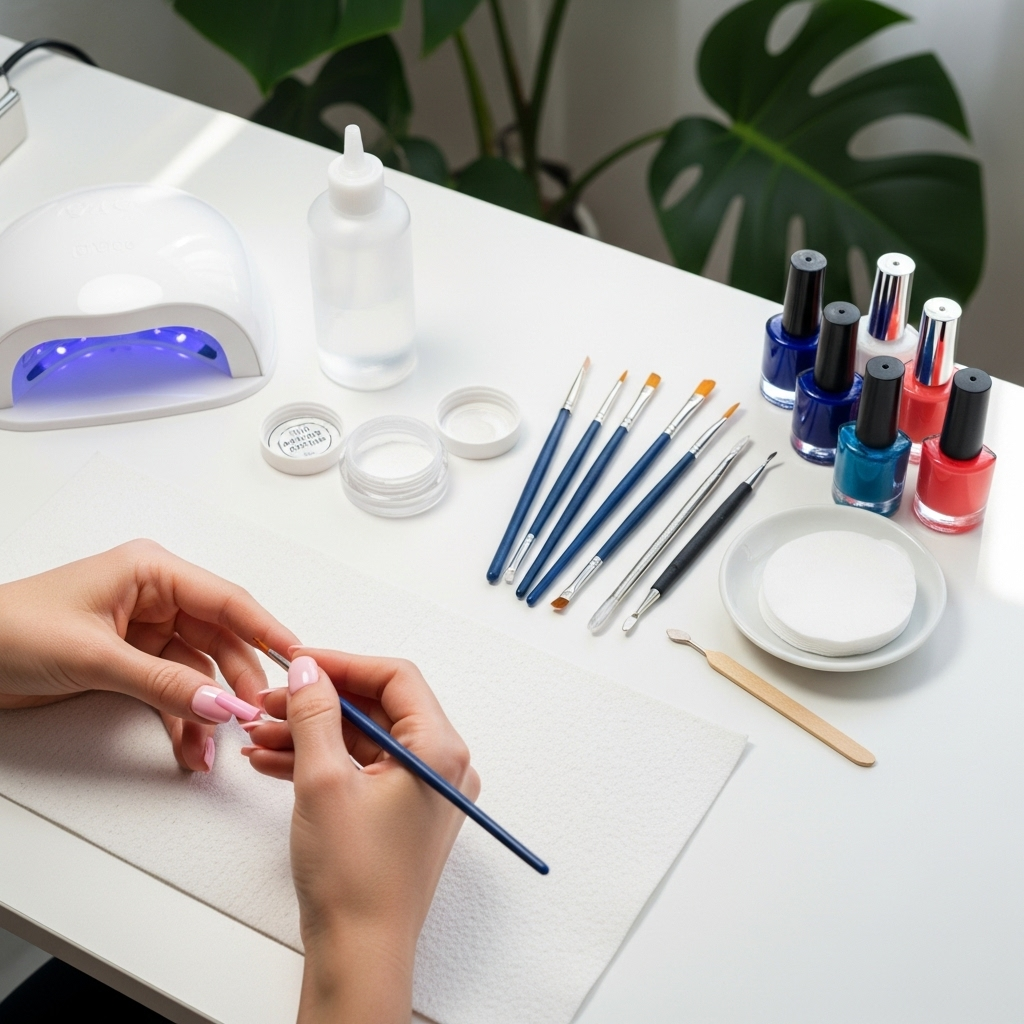
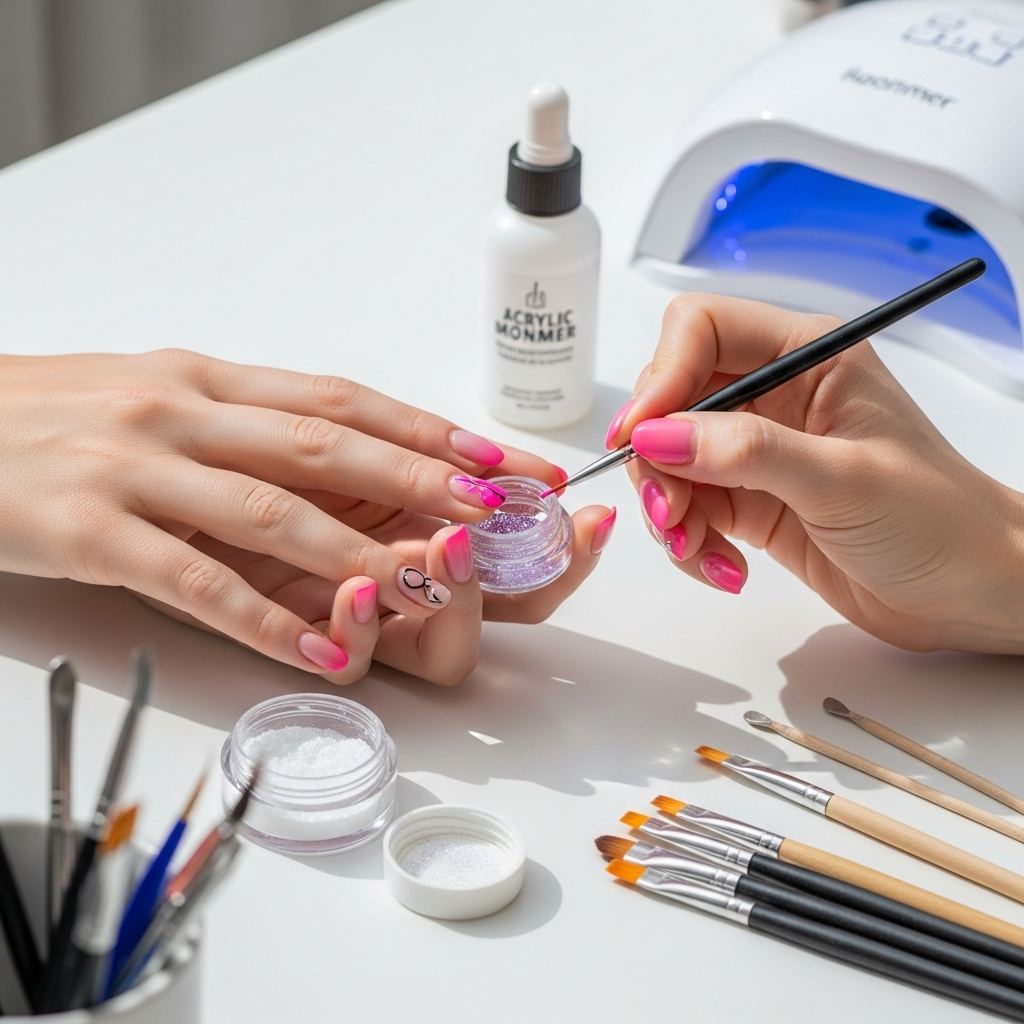
Let’s talk tools! You don’t need a whole salon’s worth of equipment to start creating. Here are the core essentials that will get you going:
- Acrylic Powder: This is the magic ingredient! You’ll need an acrylic monomer (liquid) and acrylic powder (usually pink, clear, or white) to create the acrylic mixture. Start with basic colors.
- Acrylic Monomer (Liquid): This liquid activates the powder, allowing you to sculpt it. Choose an odorless or student-grade monomer if you’re sensitive to strong smells.
- Nail Forms or Tips: These are used to extend your natural nail or create a base shape. Nail tips are pre-shaped pieces you glue on, while nail forms are stickers you place under the free edge to build the acrylic onto.
- Dappen Dish: A small, lidded glass or ceramic dish to hold your monomer. The lid is important to prevent evaporation and contamination.
- Acrylic Brushes: You’ll need a few good quality brushes. A size #6 or #8 is a great starting point for most designs. Synthetic brushes are excellent for beginners as they’re a bit more forgiving with the acrylic.
- Nail Files and Buffers: A variety of grits are important. A coarser grit (like 100-150) is for shaping and smoothing, while a finer grit (180-240) is for refining. A buffer block is essential for achieving a smooth finish.
- Cuticle Pusher and Nippers: Essential for prepping your nails. Pushing back cuticles creates a clean canvas and prevents lifting.
- Lint-Free Wipes: These are crucial for cleaning your brushes and removing dust without leaving fuzzy bits behind. Paper towels can leave lint, which you don’t want in your acrylic!
- Alcohol or Cleanser: For sanitizing your tools and natural nails. You can also use this to clean your brush after mixing acrylic. A 70% isopropyl alcohol is a good option.
- Top Coat and Base Coat: A good base coat protects your natural nail, and a shiny top coat seals your design and adds that professional finish.
- Nail Art Supplies (Optional but fun!): Think rhinestones, glitter, striping tape, dotting tools, and fine-liner brushes for adding those extra special touches.
Choosing Your First Acrylic Colors
For beginners, it’s best to start with the essentials:
- Pink: For a natural-looking French manicure or a sheer nude base.
- Clear: Great for encapsulation (embedding designs within the acrylic) and building strength.
- White: Perfect for French tips or crisp designs.
As you get more comfortable, you can explore a rainbow of colors, specialty powders, and shimmers!
The Basic Acrylic Nail Application Process (for Beginners)

Before diving into art, let’s get the nail extensions themselves right. This is the foundation for all your amazing designs!
Step 1: Nail Preparation is Key!
- Cleanse: Wash your hands thoroughly and then use an alcohol wipe to dehydrate the natural nail. This removes oils that can prevent adhesion.
- Push Cuticles: Gently push back your cuticles with a cuticle pusher. This gives you a larger nail surface to work with and prevents lifting. You can trim any stubborn dead skin if needed with cuticle nippers, but be gentle!
- Buff Gently: Lightly buff the surface of your natural nail with a fine-grit buffer. This creates a slightly rough texture for the acrylic to grip onto better.
- Choose Your Extension Method: Decide if you’ll use nail tips or nail forms.
- For Nail Tips: Size the tips to fit your natural nails and glue them on securely. You’ll then trim and shape them to your desired length and shape.
- For Nail Forms: Carefully place the sticky form under the free edge of your natural nail, ensuring it’s snug and creating a straight line.
Step 2: Mixing Your Acrylic (The “Bead” Making)
This is where the magic happens! It takes a little practice to get the right consistency.
- Dip Your Brush: Dip your clean acrylic brush into the monomer (liquid). Don’t let it soak too long, just a quick dip.
- Wipe Excess: Lightly wipe off the excess monomer on the side of your dappen dish. You want your brush to be moist, not dripping.
- Pick Up Powder: Gently touch the tip of your wet brush to the acrylic powder. Hold it there briefly.
- Form the Bead: A perfect “bead” of acrylic should form at the tip of your brush. It should be round, smooth, and not too wet or too dry. If it’s too wet, it will be runny. If it’s too dry, it will be crumbly.
Watch this video for a visual guide on creating the perfect bead:
(Note: Replace “exampleVideoID” with a relevant, authoritative YouTube video link for demonstration.)
Step 3: Applying the Acrylic
Work quickly but calmly. Acrylic starts to harden as soon as the monomer evaporates.
- Place the Bead: Gently place the acrylic bead onto your nail, close to the cuticle area but not touching it.
- Shape and Smooth: Use your brush to gently pat and move the acrylic, shaping it into your desired nail extension. Work from the cuticle towards the free edge, blending the bead smoothly.
- Build Structure: You might need 2-3 beads to build the entire nail extension. The first bead can be smaller and placed closest to the cuticle (the “apex” is usually built here for strength). Subsequent beads will extend the nail and create the free edge.
- For Nail Forms: As you apply acrylic, you’re building it onto the form. Once the acrylic is set but still slightly soft, carefully remove the form.
- For Nail Tips: You sculpt the acrylic over the tip and your natural nail.
Step 4: Shaping and Finishing
Once the acrylic is fully hardened (it will feel hard and make a clicking sound when tapped gently), it’s time to file and shape.
- File the Shape: Use your nail files to perfect the shape – square, squoval, almond, stiletto, or coffin.
- Smooth the Surface: Use a finer grit file or a buffer to smooth out any imperfections and create a smooth surface for painting or art.
- Clean Up Dust: Wipe away all filing dust with a lint-free wipe and cleanser.
- Apply Top Coat: Apply a layer of high-shine top coat and cure under a UV/LED lamp if your top coat requires it, or air dry if not.
Genius Easy Acrylic Nail Art Ideas for Beginners
Now for the fun part! These designs are simple, effective, and perfect for practicing your skills.
1. The Classic French Manicure
A timeless look that’s surprisingly easy to master!
- What you’ll need: White acrylic powder, pink or nude acrylic powder, fine-liner brush or striping brush, top coat.
- How-to:
- Apply your pink or nude acrylic as your base color, building the free-edge extension with clear or pink acrylic if needed and filing it into a smile line shape.
- Using your fine-liner brush dipped in white acrylic, carefully paint a clean, crisp line along the free edge of the nail to create your French tip. Take your time!
- Alternatively, use a nail stencil for a perfectly straight line.
- Once dry, apply a top coat.
2. Simple Color Blocking or Ombre
Play with color combinations and smooth transitions.
- What you’ll need: 2-3 different colored acrylic powders, a medium-sized brush, top coat.
- How-to for Color Blocking:
- Apply one color of acrylic to about half of the nail. Let it set partially.
- Apply the second color to the remaining half, blending slightly where they meet. You can file and reapply if you want a sharper line.
- Seal with a top coat.
- How-to for Ombre:
- Apply your lighter color acrylic from cuticle to tip.
- Place a bead of your darker color acrylic towards the free edge.
- Use your brush to gently blend the two colors together, moving back and forth in a stippling or sweeping motion to create a gradient.
- Repeat with more beads if needed to achieve the desired blend.
- File and top coat.
3. Dotting Fun!
Perfect for practicing precision and creating cute patterns.
- What you’ll need: Dotting tools (different sizes), contrasting acrylic colors, top coat.
- How-to:
- Apply your base color acrylic and file it smooth.
- Dip the tip of a dotting tool into a contrasting acrylic color.
- Gently press the dot onto the nail, twisting slightly to release.
- Create simple patterns like polka dots, flowers, or abstract designs.
- Seal with a top coat.
Dotting tools are incredibly versatile and help build confidence with placement. You can find a great set on Amazon.com.
4. Glitter Encapsulation
Add sparkle and depth without the mess of loose glitter.
- What you’ll need: Clear acrylic powder, loose glitter or glitter flakes, top coat.
- How-to:
- Apply your base acrylic color.
- Place a bead of clear acrylic over a portion of the nail where you want the glitter.
- Gently press your glitter into this wet clear acrylic.
- Apply another bead of clear acrylic to fully encapsulate the glitter, ensuring it’s smooth and level.
- File and buff the nail until it’s perfectly smooth, then apply top coat.
5. Stencil Magic
Stencils are your best friend for clean lines and intricate designs!
- What you’ll need: Nail stencils (available online or at beauty supply stores), contrasting acrylic colors, top coat.
- How-to:
- Apply your base acrylic color and let it set.
- Carefully place your chosen stencil onto the nail.
- Using a brush, apply a contrasting acrylic color over the stencil opening.
- Gently peel off the stencil while the acrylic is still slightly wet, revealing your design.
- Let it dry completely, then file gently if needed and seal with a top coat.
For more advanced stencil techniques, check out resources from nail education sites like NailArtSchools.com.
Essential Tools Compared: Brushes vs. Dotting Tools vs. Stencils

Each tool offers a different approach to creating easy acrylic nail art. Here’s a quick comparison:
| Tool | Best For | Ease of Use (Beginner) | Design Examples |
|---|---|---|---|
| Acrylic Brushes | Sculpting, fine lines, simple shapes, blending | Moderate (requires practice for bead consistency) | French tips, basic stripes, abstract swirls |
| Dotting Tools | Creating perfect circles, patterns, small details | Easy to Very Easy | Polka dots, flower petals, constellation patterns |
| Nail Stencils | Clean lines, geometric shapes, complex patterns with ease | Easy to Moderate (stencil placement is key) | Chevrons, intricate designs, French tips |
Tips for Success: Making Your Acrylic Nail Art Journey Smooth
Here are some pro secrets to help you get fantastic results every time:
- Practice Makes Perfect: Don’t get discouraged if your first few attempts aren’t flawless. Practice on nail tips before trying on your own nails.
- Work in a Well-Ventilated Area: Acrylic monomers can have strong fumes. Ensure good airflow. Consider an odor-free monomer if sensitivity is an issue.
- Brush Maintenance is Crucial: Clean your brushes thoroughly after each use with monomer or a brush cleaner. Avoid letting acrylic harden on the bristles. Shape them back into their original form before storing.
- Don’t Over-Soak Your Brush: Too much monomer makes the acrylic runny and hard to control.
- Smaller Beads are Better: For beginners, working with smaller beads of acrylic is more manageable than trying to handle large ones.
- File Gently and Strategically: Don’t over-file! You’re refining, not removing large amounts of product.
- Proper Curing: Ensure any top coats that need UV/LED light are cured for the recommended time according to the manufacturer’s instructions.
- Sanitation is Non-Negotiable: Always sanitize your hands, tools, and natural nails before starting and after finishing. Good hygiene prevents infections and ensures the best adhesion. The CDC recommends proper hand hygiene for skin health and infection prevention.
Frequently Asked Questions About Easy Acrylic Nail Art

Q1: What is the easiest acrylic nail art design for a complete beginner?
The easiest designs are typically polka dots using dotting tools or simple color blocks where you apply one color per section of the nail. Glitter encapsulation is also beginner-friendly once you’ve mastered basic application.
Q2: Do I need to buy expensive tools to start?
No! You can start with a basic kit that includes a few essential brushes, some acrylic powders and monomer, dappen dish, and files. As you progress, you can invest in more specialized tools like detailed art brushes or a UV lamp for gel top coats.
Q3: How long does it take to learn acrylic nail application?
It varies for everyone! Some people pick up the bead consistency quickly, while others take a few weeks of consistent practice. Don’t rush the process; focus on mastering the basics of application before complex art.
Q4: Can I do acrylic nail art on my natural nails without extensions?
Yes, you can! You can use acrylics to add strength and polish to your natural nails, and then apply art directly onto the acrylic overlay. You don’t need to add length if you prefer your natural nail length.
Q5: How do I prevent acrylic from lifting?
Proper nail preparation is key: ensure your natural nails are clean, dehydrated, and gently buffed. Also, avoid touching your cuticles with acrylic and ensure you encapsulate the free edge of your extension with acrylic to seal it.
Q6: What’s the difference between acrylic and gel nail art?
Acrylics are a two-part system (powder and liquid) that air-dries, offering a hard, durable finish perfect for sculpting and art. Gels are typically a one-part system that requires a UV/LED lamp to cure, offering a flexible, high-gloss finish.
Conclusion: Your Creative Nail Journey Begins Now!
See? Easy acrylic nail art for beginners is totally within your reach! By gathering these essential tools and focusing on simple, fun techniques like dotting, color blocking, and stenciling, you’re well on your way to creating stunning nail looks. Remember to be patient with yourself, celebrate every little win, and most importantly, have fun expressing your unique style.
This is just the beginning of your acrylic nail art adventure. As you practice and gain confidence, you can explore more intricate designs, experiment with different color combinations, and truly make your nails your personal canvas. So grab your kit, get creative, and let your nails do the talking!

