Easter Nail Designs: Proven Bunny Egg Style – Get Adorable & Easy Manicures for Spring!
Ready to hop into spring with fabulous nails? Easter nail designs featuring bunnies and eggs are the CUTEST way to celebrate! Don’t worry if you’re new to nail art; this guide breaks down simple, super cute “bunny egg” styles. We’ll show you how to create charming manicures that are perfect for the season. Get ready for a fun, easy transformation that will have your nails looking festive and fabulous!
Why Easter Nail Designs Rock!
Easter traditions are all about new beginnings, pastel colors, and charming motifs. And what’s more Easter-y than adorable bunnies and colorful eggs? These classic symbols instantly bring a smile and a touch of spring joy. Whether you’re attending an Easter brunch, organizing an egg hunt, or just want to feel festive, “bunny egg” style nails are a delightful way to express your holiday spirit. They’re fun, playful, and surprisingly easy to achieve, even if you’re a total beginner!
The Essential Toolkit for Bunny Egg Nails
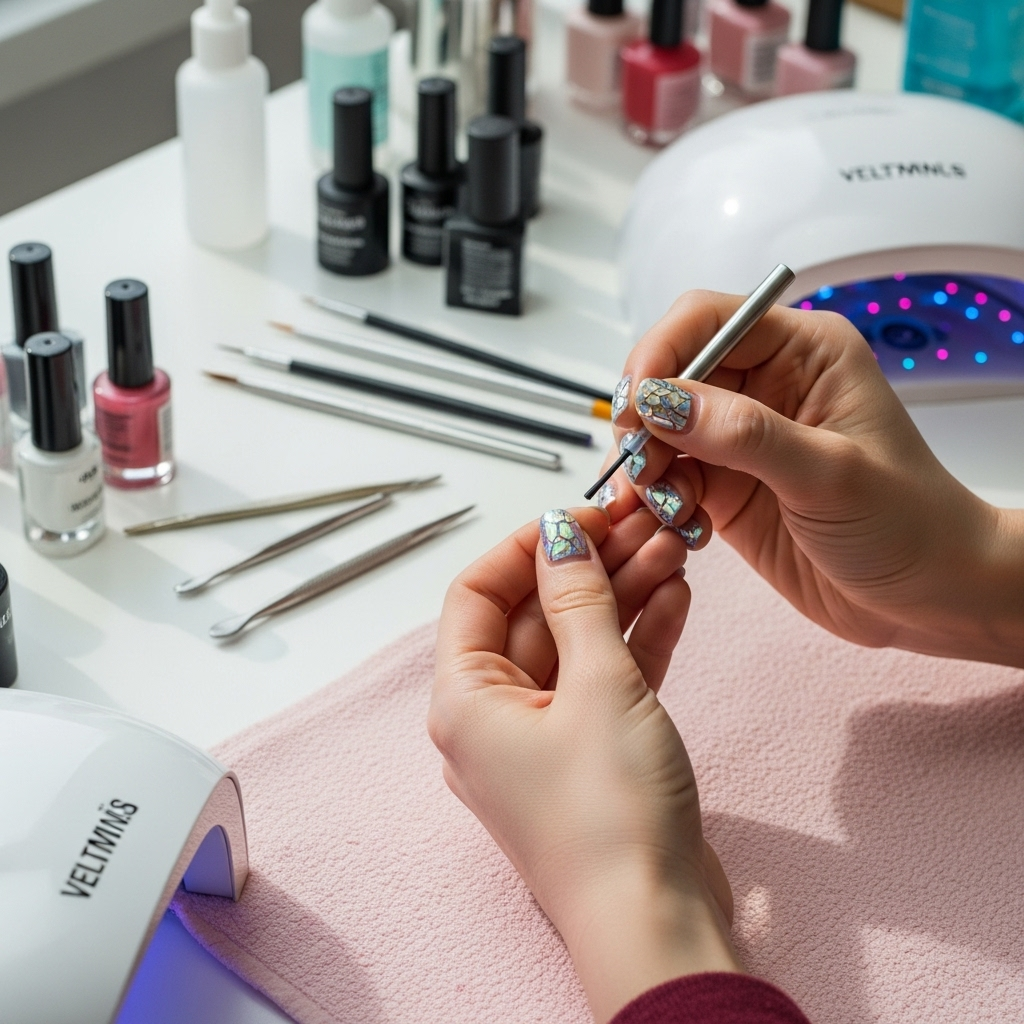
You don’t need a professional salon to create these cute Easter nail designs. With a few basic tools, you’ll be well on your way to nail art success. Think of this as your starter kit for crafting charming bunny and egg masterpieces right at home!
Must-Have Nail Art Supplies:
- Base Coat: Protects your natural nails and helps polish last longer – a clear or nude shade works perfectly.
- Top Coat: Seals your design and adds a glossy finish, making your nails look professionally done.
- Pastel Nail Polishes: Think soft pinks, sky blues, mint greens, pale yellows, and lavender. These are your Easter palette!
- White and Black Nail Polish: Essential for drawing those tiny bunny features and egg details.
- Dotting Tools: These have a small ball at the tip and are perfect for creating polka dots, bunny eyes, and egg outlines. You can use different sizes!
- Fine-Tipped Nail Art Brush: For drawing delicate lines, bunny whiskers, or intricate egg patterns.
- Toothpicks or Orangewood Stick: Handy for cleaning up polish mistakes or applying tiny dots of color.
- Nail Polish Remover: For those little oops moments – a must-have for clean-up!
- Cotton Balls or Pads: To go with your nail polish remover.
Finding the right tools can make all the difference. Reputable beauty supply stores and online retailers offer a wide range of affordable nail art brushes and dotting tools. For a deeper dive into nail care tools, check out resources on proper nail hygiene and care, which also goes a long way in making your nail art look its best.
Beginner-Friendly Easter Nail Design Ideas: Bunny & Egg Styles
Let’s get to the fun part! These designs are perfect for beginners and can be adapted to your style. They focus on simple shapes and color blocking to achieve that adorable bunny and egg look.
1. The Classic Pastel Egg Design
This is a fantastic starting point. It’s all about celebrating the beauty of Easter eggs in a simple yet elegant way.
How to Get the Look:
- Apply a thin layer of your chosen pastel base polish. Let it dry completely.
- Using a dotting tool or a fine brush dipped in white polish, draw a slightly elongated oval shape on each nail to represent an egg. Don’t worry if it’s not perfectly symmetrical – a little imperfection adds charm!
- With a different pastel color polish and a smaller dotting tool, add small dots or tiny speckles onto your white “egg” to give it a decorated look.
- For a touch of sparkle, add a tiny dot of glitter polish on top of one of the color dots.
- Finish with a generous layer of top coat to seal everything in.
2. The Simple Bunny Face
Who can resist a cute bunny face? This design is surprisingly easy and incredibly sweet.
How to Get the Look:
- Paint your nails a soft pastel color. Let it dry.
- On about half of your nails (or just an accent nail!), use a white nail polish and a dotting tool to create two small, connected circles at the top of your nail for the bunny’s ears.
- Use a black polish and a fine brush or a small dotting tool to add two tiny dots for eyes and a small upside-down triangle for the nose.
- Draw tiny whiskers with a black polish and your finest brush.
- If you like, use a pink polish to add a small dot or a tiny heart shape just below the nose for the bunny’s mouth.
- Seal your adorable bunny face with a clear top coat.
3. The Bunny & Egg Combo Mani
Mix and match bunnies and eggs for a dynamic and fun Easter manicure!
How to Get the Look:
- Choose one or two nails for your bunny faces (follow the steps above).
- On the other nails, create your pastel egg designs (follow the egg steps above).
- You can also opt for a simple polka dot pattern on some nails using a dotting tool in various pastel colors. This ties the whole look together!
- Make sure all your designs are completely dry before applying your top coat.
4. The Gradient Pastels with a Bunny Accent
This design uses a beautiful color blend and then adds a simple bunny touch.
How to Get the Look:
- Create a Pastel Gradient: On a makeup sponge, apply stripes of 2-3 pastel colors next to each other. Lightly dampen your nails and then gently dab the sponge onto your nails to transfer the colors. You might need to try this a couple of times to get a smooth blend.
- Let the gradient dry.
- On an accent nail (like your ring finger), paint a solid pastel color.
- Once the accent nail is dry, use white and black polish to create a simple bunny face as described in design #2.
- Apply a top coat over all nails to protect your gradient and bunny art.
Pro Tip: For a clean gradient and easier cleanup, apply a layer of petroleum jelly or latex-based liquid tape around your cuticles before sponging. This prevents polish from getting on your skin!
5. The Speckled Egg French Tips
A fresh take on the classic French manicure, inspired by speckled Easter eggs!
How to Get the Look:
- Apply a sheer nude or light pastel polish as your base color. Let it dry.
- Using a small dotting tool or a fine brush, dip into white polish and carefully paint a French tip line across the top of each nail.
- While the white tip is still slightly wet, use a toothpick or the tip of a fine brush to lightly speckle a few dots of contrasting pastel colors (like light blue, pink, or yellow) onto the white tip.
- This creates the “speckled” look.
- Let it dry completely, then apply your top coat.
Level Up Your Easter Nail Game: Tips for Longevity and Shine
Creating beautiful Easter nail designs is only half the battle! To make sure your hard work lasts and looks its best, follow these simple tips. They will help protect your art and keep your nails looking salon-fresh longer.
Tips for a Lasting Manicure:
- Always Start with a Clean Canvas: Make sure your nails are clean, dry, and free of any oily residue before you start painting. A quick swipe with nail polish remover can help with this.
- Apply Thin Coats: Thick layers of polish take longer to dry and are more prone to smudging or chipping. Aim for thin, even coats.
- Allow Each Layer to Dry: Patience is key! Wait for each polish layer to dry completely before moving on to the next. This prevents smudging and ensures crisp lines.
- Cap Your Free Edge: When applying your top coat (and even your base coat), lightly swipe the brush along the very tip of your nail. This “sealing” technique helps prevent chips and makes your manicure last much longer.
- Avoid Hot Water for a While: Try to avoid soaking your hands in hot water for the first few hours after completing your manicure. This can soften the polish and make it more susceptible to damage.
- Wear Gloves for Chores: When doing dishes or cleaning, wear rubber gloves. This protects your beautiful nail art from harsh chemicals and excessive water exposure.
Bunny & Egg Nail Design Inspiration Table
Sometimes, seeing different combinations can spark endless creativity! Here’s a table showcasing how you can mix and match bunny and egg elements for unique Easter nail looks.
| Nail Style | Base Color Inspiration | Accent Color Inspiration | Bunny Feature | Egg Feature | Overall Vibe |
|---|---|---|---|---|---|
| Whimsical Bunny | Light Pink | White, Black, Light Blue | Full bunny face on accent nail | Solid color on other nails | Playful & Sweet |
| Elegant Eggs | Sheer White | Pastel Yellow, Mint Green, Lavender | No bunny | Speckled French tips | Sophisticated & Chic |
| Spring Meadow | Sky Blue | Yellow, White, Pink | Small bunny ears outline on half nails | Striped eggs on other half nails | Fresh & Lively |
| Pastel Dream | Lavender | Pale Pink, Mint Green, Cream | Bunny face on one nail | Polka dots on remaining nails | Soft & Dreamy |
| Bold Bunny | White | Black, Hot Pink | Large, stylized bunny silhouette on accent nail | Solid pastel color on others | Modern & Cute |
Beyond the Basics: Fun Additions for Your Easter Nails
Once you’ve mastered the basics, you might want to experiment with a few extra touches to make your Easter nail designs even more special! These little additions can elevate your manicure from cute to absolutely spectacular.
Sparkle and Shine:
- Glitter Accents: Apply a thin layer of pastel or iridescent glitter polish over your base color or just on the tips for a bit of sparkle.
- Rhinestones: Small rhinestones in pastel colors or clear can be strategically placed on your nails, perhaps near the cuticle, to add a touch of glamour.
- Metallic Details: Use metallic gold or silver polish with a fine brush to add delicate outlines to your eggs or whiskers for the bunnies.
Texture Play:
- Matte Top Coat: Instead of a glossy finish, try a matte top coat for a softer, more sophisticated look, especially with pastel colors.
- 3D Elements: For the more adventurous, tiny 3D bunny charms or even hand-painted raised details (using acrylic paint) can add an incredible dimension.
Remember, the goal is to have fun and express your personal style. Don’t be afraid to mix and match these ideas!
Frequently Asked Questions (FAQ)
Q1: How do I prevent my nail polish from chipping so quickly?
To make your nail polish last longer, always start with a clean, dry nail. Apply a base coat, followed by thin layers of your colored polish, allowing each to dry. Most importantly, finish with a good quality top coat and “cap” the free edge of your nail by swiping the brush along the tip. Wearing gloves for household chores also makes a big difference!
Q2: What kind of brush is best for drawing small bunny faces?
For delicate details like bunny eyes, noses, and whiskers, a fine-tipped nail art brush is ideal. You can find these in nail art kits. If you don’t have a specialized brush, a clean, sharp toothpick can sometimes work for very small dots, but a brush offers more control for drawing lines.
Q3: Can I do these designs on short nails?
Absolutely! Easter nail designs with bunnies and eggs look fantastic on short nails. In fact, simpler designs often translate beautifully to shorter lengths. Focus on one or two accent nails for your main design, and keep the rest a solid pastel color. Smaller, well-placed dots and shapes work best.
Q4: My nail polish is too thick. What should I do?
If your nail polish has become too thick, avoid adding nail polish thinner to every bottle. Sometimes, it can alter the formula. Instead, try to use up polishes before they become unmanageable. For current thick polishes, try to ensure the brush is clean AND try a better quality top coat which can sometimes level out imperfections. For nail art, it’s always best to use fresh, non-thickened polish for cleaner lines and easier application.
Q5: What if I make a mistake while painting?
Don’t worry! Mistakes happen to everyone. Keep a small amount of nail polish remover on a cotton swab or a fine-tipped brush (like a makeup concealer brush). You can then carefully dab away the excess polish to clean up the lines. For larger smudges, you might need to wait for it to dry a bit, then carefully use your remover-tipped tool for precision cleanup.
Q6: Are there any nail treatments that can help my nails for Easter?
Yes! Before you start your Easter designs, consider using a nail strengthener if your nails are prone to breaking. A good cuticle oil can also help keep your nails and the skin around them moisturized, giving your manicure a polished look. For smoother application, ensure you have a smooth nail surface by gently buffing.
Conclusion: Hop Into Spring with Confidence!
There you have it! Creating charming “bunny egg” style Easter nail designs is totally achievable, even for beginners. From simple pastel eggs to adorable bunny faces, these looks are a delightful way to embrace the spirit of spring. Remember, the most important ingredient is having fun and letting your creativity shine. Gather your tools, pick your favorite pastel shades, and get ready to impress yourself and everyone around you with your festive, DIY Easter manicure. Happy polishing, and enjoy hopping into the season with fabulous nails!


