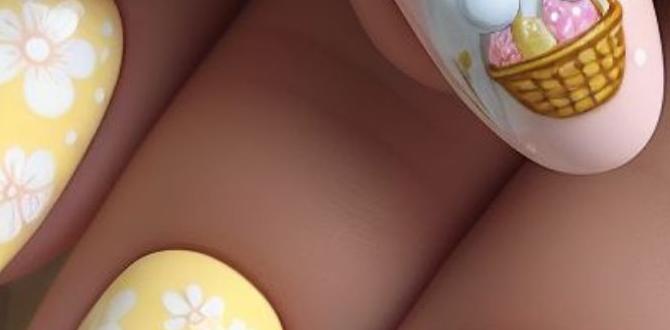
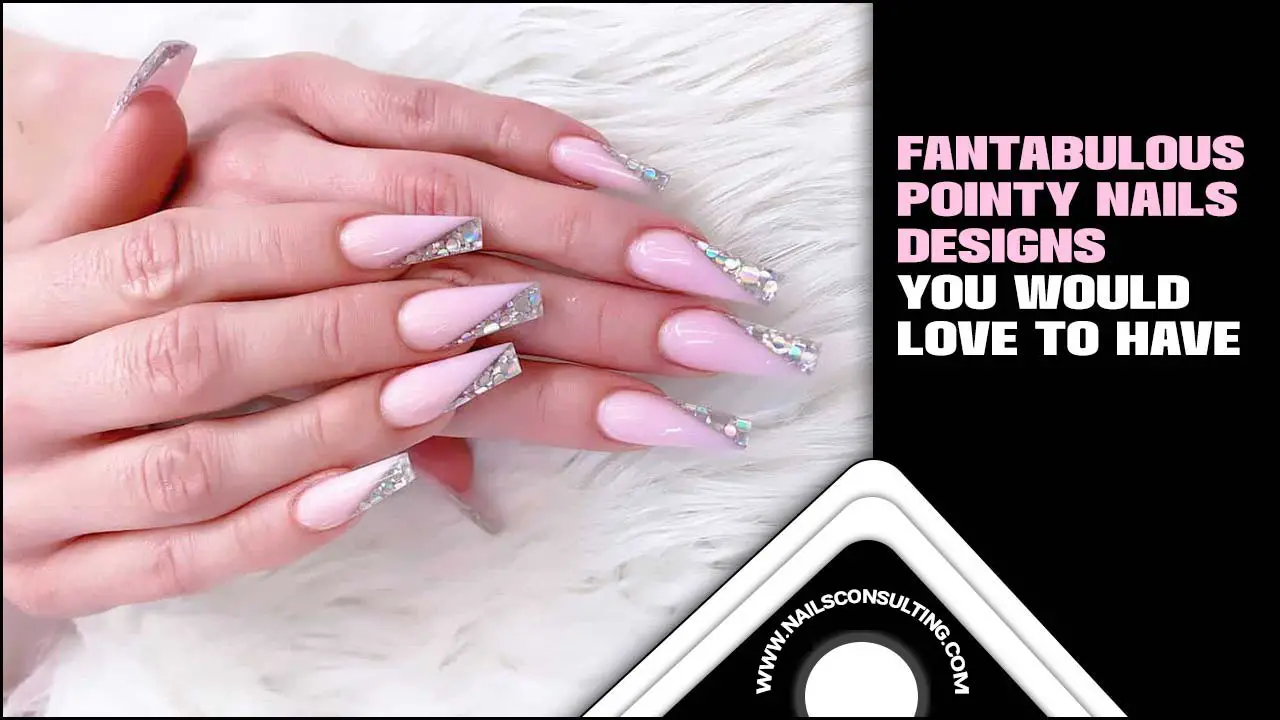
Get ready for spring with stunning, easy-to-achieve Easter nail designs! From pastel pops to playful bunnies, these essential looks are perfect for beginners and seasoned nail art lovers alike. Discover simple tutorials and creative ideas to make your nails bloom this Easter.
Hej nail lovers! Lisa Drew here from Nailerguy, and can we talk about Easter nails? Spring is finally here, and with it comes that undeniable urge to refresh our look, especially our fingertips! If you’ve ever stared at gorgeous Easter nail art online and thought, “I could never do that,” I’m here to tell you that you absolutely can! Forget complicated techniques; we’re diving into the most delightful Easter nail designs that are totally achievable, perfect for beginners, and will have your nails looking like a spring dream. Let’s banish those plain nails and bring on the bunny-cute, pastel-perfect, and egg-cellent manicures!
Your Easter Nail Design Toolkit
Before we jump into the fun designs, let’s make sure you have the right gear. You don’t need a whole salon in your bathroom, just a few key items to make your Easter nail art journey smooth and enjoyable. These are the basics that will help you create almost any design you can imagine!
Essential Tools for Easter Manicures
- Base Coat: This is your nail’s best friend! It protects your natural nail from staining and helps your polish last longer.
- Top Coat: Seals your design and adds that super shiny, professional finish. Plus, it prevents chips!
- Nail Polish Colors: Think pastels (mint green, baby blue, lavender, soft pink, pale yellow), classic white, and maybe some gold or silver for a touch of sparkle.
- Dotting Tools: These come in various sizes and are amazing for creating dots, flowers, and other small details.
- Thin Nail Art Brush: Perfect for delicate lines, outlines, and intricate patterns.
- Toothpicks or a Fine-Tipped Pen (clean): Great for DIY dotting if you don’t have tools, or for adding tiny details.
- Nail Polish Remover & Cotton Swabs: For cleaning up any mistakes – because they happen to all of us!
- Cuticle Pusher/Orange Stick: To gently clean up around the nail after polishing.
Optional (But Super Fun!) Add-Ons
- Nail Art Stickers/Decals: Instant embellishments for a quick, professional look.
- Glitter Polish: For that extra Easter sparkle on an accent nail.
- Rhinestones or Small Studs: To add a touch of glam.
Simple & Stunning Easter Nail Designs for Beginners
Let’s get painting! I’ve broken down some of my favorite Easter nail designs. We’ll start with super simple concepts and build up a little. Remember, practice makes perfect, and most importantly, have fun with it!
1. Pastel Gradient (Ombre) Nails
This is a sophisticated look that’s easier than it sounds. It gives a soft, dreamy feel perfect for spring.
What You’ll Need:
- Light pastel polishes (2-3 colors)
- Makeup sponge (the small kind works best)
- Base coat and top coat
- Nail polish remover and cotton swabs
Steps:
- Apply your base coat and let it dry completely.
- Paint your nails with one of your pastel colors and let it dry. This will be your base for the gradient.
- Cut a small piece of your makeup sponge.
- Apply stripes of your two (or three) pastel colors next to each other onto the sponge. Don’t be shy with the polish!
- Gently dab the sponge onto your nail, blending the colors together. You might need to reapply polish to the sponge and dab a few times to get the intensity you want.
- Repeat on your other nails, or choose one accent nail for the gradient.
- Clean up any polish that got on your skin using a cotton swab dipped in remover.
- Once dry, apply a generous layer of top coat to smooth out the sponge texture and seal the design.
2. The Classic Polka Dot Easter Egg
Dots are timeless and incredibly versatile! You can create a playful Easter egg look with just a couple of colors.
What You’ll Need:
- A base nail polish color (white or a pastel works great)
- A contrasting dot color (bright pink, yellow, or even black for a modern twist)
- Dotting tool (or the rounded end of a toothpick or pen)
- Base coat and top coat
Steps:
- Apply base coat and let dry.
- Paint your nails with your chosen base color and let it dry completely.
- Dip your dotting tool into the contrasting polish.
- Start by placing small dots all over your nail to mimic an Easter egg pattern. You can arrange them randomly, in rows, or create little clusters.
- For a more intricate look, try using different sizes of dotting tools for varied dot sizes.
- Let the dots dry thoroughly before applying your top coat. This is crucial to prevent smudging!
- Seal with your top coat.
3. Simple Bunny Face Nails
Who can resist a cute bunny? This design is all about simplicity, and you can get plenty of mileage from one accent nail.
What You’ll Need:
- A soft pink or white nail polish base
- Black or dark brown nail polish for details
- A thin nail art brush or a dotting tool
- Base coat and top coat
Steps:
- Start with your base coat and a clean, dry nail.
- Paint your accent nail (or all your nails!) with your soft pink or white polish. Let it dry.
- Using your thin brush or a small dotting tool, create two small white dots for the bunny’s eyes. If using pink, use white for the eyes.
- With the same tool or brush and the black/brown polish, add a small upside-down triangle or a simple nose shape below the eyes.
- For the ears, you can either:
- Use your pink polish to paint two small, rounded shapes on the tip of your nail.
- Or, for a cleaner look, use your thin brush with white polish to draw an outline of two ears at the top of your nail.
- Let everything dry completely before adding your top coat.
Pro Tip: For extra cute ears, add a tiny pink dot inside each white ear shape!
4. Floral Accent Nails
Spring means flowers! This design is a beautiful way to incorporate floral elements without being overly complicated.
What You’ll Need:
- Pastel polish colors for the base (e.g., lavender, mint)
- A few brighter colors for flowers (e.g., pink, yellow, light blue)
- A dotting tool (or toothpick) for the center of the flowers and smaller dots
- A thin nail art brush
- Base coat and top coat
Steps:
- Apply your base coat and let it dry.
- Paint your accent nail (or all nails) with your chosen pastel polish. Let it dry.
- Using your dotting tool, create a few small dots on your nail. These will be the centers of your flowers.
- With your thin nail art brush and your brighter polish colors, gently draw small petal shapes around the dots. You can make simple, rounded petals or more pointed ones. Try making little clusters of 3-5 petals per flower.
- Alternatively, if drawing feels daunting, use your dotting tool to place several small dots in a circular pattern to simulate petals.
- Add a few small dots in between your flowers to fill the space and give it a whimsical feel.
- Let your floral designs dry completely.
- Seal with your top coat.
5. Glitter Ombre
This is perhaps the easiest and most effective way to add some serious sparkle to your Easter nails. It looks chic and festive with minimal effort.
What You’ll Need:
- Your favorite pastel polish
- A glitter polish (coarse or fine glitter, silver, gold, or iridescent work beautifully)
- Base coat and top coat
Steps:
- Apply your base coat and let it dry.
- Paint your nails with your pastel polish and let it dry completely.
- Now, take your glitter polish. Start by applying it heavily at the tip of your nail.
- With each subsequent stroke, move the brush slightly further down the nail, applying less glitter as you go. This creates a fading, ombre effect.
- You can do one coat for a subtle shimmer or two coats for a more dramatic glitter transition.
- Let the glitter polish dry thoroughly. Glitter can take a bit longer.
- Finish with a slick of top coat. You might need two coats of top coat to smooth out the texture of chunkier glitter.
Elevating Your Easter Nails: Beyond the Basics
Once you’ve mastered the simple designs, you might be ready to add a little more flair. These ideas build on the basics and offer fun ways to express your Easter spirit.
1. Easter Egg Texture
Want your nails to look like real Easter eggs? It’s all about texture and variation.
What You’ll Need:
- Various pastel polishes
- A matte top coat (this is key!)
- A regular shiny top coat (optional)
- Dotting tools or toothpicks
Steps:
- Apply your base coat and paint your nails with a pastel color. Let it dry.
- Use a dotting tool to add slightly lighter or darker shades of the same pastel color in irregular splotches or “speckles” across the nail. Think of how real dyed eggs aren’t perfectly uniform.
- Let this dry completely.
- Apply a matte top coat over the entire nail. This gives it a soft, almost velvety finish that mimics the look of a foil-wrapped or dyed egg.
- For a little sparkle, you can add a tiny bit of gold or silver glitter polish to the very tip of the nail, or carefully place a few metallic dots.
2. Geometric Pastels
For a more modern and chic Easter vibe, geometrical designs are fantastic. They are surprisingly easy to create with tape!
What You’ll Need:
- Several pastel polish colors
- Painter’s tape or nail art tape
- Base coat and top coat
- A sharp pair of small scissors or nail art cutters
- Tweezers (helpful for tape placement)
Steps:
- Apply your base coat and let dry.
- Paint your nails with one pastel color (let’s say, light pink). Let it dry completely.
- Once completely dry, carefully apply strips of tape to your nail. You can make stripes, create triangles, or even a chevron pattern. Ensure the tape is pressed down firmly to prevent polish bleeding.
- Paint over the taped areas with a contrasting pastel color (e.g., mint green).
- While the second color is still wet, carefully use tweezers to lift off the tape. This will reveal the clean lines of your design.
- Let this dry completely.
- Repeat on other nails with different tape patterns and color combinations.
- Seal with your top coat.
3. Delicate Lace Details
Lace adds a touch of elegance that’s perfect for Easter brunch or any spring occasion. This can be achieved easily with stamping or stickers!
What You’ll Need:
- A neutral or pastel base polish
- White or nude polish for the lace
- Nail stamping plate with lace patterns (optional)
- Stamping polish and stamper (optional)
- Lace-patterned nail stickers (much easier for beginners!)
- Base coat and top coat
Steps (using stickers):
- Apply your base coat and let dry.
- Paint your nails with your chosen base color (e.g., soft blue) and let it dry thoroughly.
- Carefully peel a lace sticker from its backing. Try to use tweezers for precise placement.
- Gently apply the sticker to your nail, smoothing it down to avoid air bubbles. You can trim any excess sticker that goes over your natural nail edge with small scissors.
- Apply a thin layer of your chosen lace color (white or nude) over the sticker and the nail. This helps to blend the sticker and make it look more painted on.
- Let this dry for a minute, then carefully remove the excess white/nude polish from the sticker using a cleanup brush.
- Seal the entire nail with a top coat, ensuring you cap the free edge to prevent lifting.
If you’re using stamping plates, you’ll apply the lace pattern directly onto your dried base color using a stamper before applying your top coat.
Easter Nail Trends & Color Palettes
Every season brings its own color stories, and Easter is no exception! This spring, we see a beautiful blend of soft, nature-inspired hues and pops of joyful color.
Popular Easter Color Palettes
- Soft Pastels: Think lavender, mint green, baby blue, pale yellow, and blush pink. These are classic for a reason and offer a gentle, elegant feel.
- “Sweet Treat” Shades: Inspired by candy and desserts, this includes colors like cotton candy pink, robin’s egg blue, lemon yellow, and creamy white.
- Earthy Tones: For a more grounded look, consider soft beiges, muted lilacs, and warm, sandy browns. These pair beautifully with delicate floral designs.
- Metallic Accents: Rose gold, pale gold, and silver add a touch of modern glamour to any pastel base. A touch of shimmer can elevate even the simplest design.
Trending Easter Nail Themes
- Bunny and Chick Motifs: Always a crowd-pleaser, these can range from full-on character nails to subtle bunny ears or chick swirls on an accent nail.
- Floral Delicacy: From tiny wildflowers to larger, bolder blooms, flowers are everywhere. Think minimalist line art flowers or soft watercolor-style petals.
- Abstract Swirls and Shapes: Modern and chic, abstract designs using pastel color blocking or flowing swirls are very on-trend.
- Pearls and Subtle Embellishments: Small pearls or tiny rhinestones placed strategically can add a high-end, sophisticated touch inspired by springtime pearls.
Considering the National Psoriasis Foundation’s advice on nail care, choosing gentle, non-toxic nail products and ensuring proper application and removal can also contribute to healthier nails, allowing your beautiful Easter designs to truly shine.
Caring for Your Easter Manicure
You’ve spent time creating fabulous Easter nails – let’s make them last! A little care goes a long way.
Tips for Longevity
- Always Capping the Edge: When applying your base coat, polish colors, and especially your top coat, swipe a little along the very edge (free edge) of your nail. This seals the polish and prevents chipping from the front.
- Wear Gloves: When doing chores, especially washing dishes or cleaning, wear rubber gloves. Water and harsh cleaning chemicals are the enemies of a good manicure.
- Avoid Using Nails as Tools: Resist the urge to use your nails to open cans, scrape off stickers, or type too aggressively. They are for showing off, not for heavy-duty work!
- Moisturize: Keep your hands and cuticles hydrated with a good cuticle oil or hand cream. Healthy skin surrounds healthy nails and makes your manicure look polished overall. A hydrated cuticle area also helps prevent hangnails.
- Quick Touch-Ups: If you notice a tiny chip or a worn edge, a quick dab of top coat or even nail polish remover on a cotton swab to clean up the edge can sometimes save the day on an accent nail.
Frequently Asked FAQs About Easter Nail Designs
Q1: What are the easiest Easter nail designs for complete beginners?
For absolute beginners, opt for one-color pastels, glitter ombre, or simple dots using a toothpick. You can also find amazing nail stickers with Easter themes that require no artistic skill to apply.
Q2: How do I prevent my nail polish from chipping so fast?
The key is a good base coat, careful application (including capping the free edge), and a quality top coat applied every 2-3 days to refresh the shine and protection.
Q3: What pastel colors are most popular for Easter nails?
Classic pastels like mint green, baby blue, lavender, soft pink, and pale yellow are always in style. They offer a soft, spring-like feel.
Q4: Can I combine different Easter nail design ideas?
Absolutely! A popular approach is to do a different design on each nail (nail art on accent fingers, solid colors on others). For example, have glitter ombre on your ring fingers and solid past


