Looking for the perfect Easter nail design ideas in pastel colors? Discover essential looks that are beginner-friendly, chic, and totally achievable for a festive and stylish manicure this spring.
Easter is a wonderful time to refresh your look, and what better way to embrace the season than with beautiful pastel nails? These soft, delicate hues instantly evoke springtime charm and are perfect for any Easter celebration. Whether you’re attending a family brunch, enjoying an egg hunt, or simply want to add a pop of seasonal color to your day, pastel nails are your go-to!
Don’t worry if you’re new to nail art. I’m here to guide you through some of the most adorable and easy-to-create Easter nail designs. We’ll explore simple techniques, suggest essential tools, and share tips to make your manicure shine. Get ready to fall in love with these essential pastel looks that will have your nails looking as fresh and sweet as a spring bloom!
Essential Pastel Easter Nail Design Ideas
Pastel colors are the undisputed stars of the Easter season. Their gentle tones – think baby blues, soft pinks, mint greens, sunny yellows, and creamy lavenders – are reminiscent of blooming flowers and painted Easter eggs. These shades are incredibly versatile and can be adapted into a wide range of nail designs that are both festive and sophisticated.
1. The Sweet & Simple Color Block Mani
Sometimes, the most elegant looks are the simplest. A color-blocked manicure with various pastel shades is incredibly chic and requires minimal artistic skill. It’s all about strategic placement of color!
The Look: Each nail features a different pastel color, or you can do a gradient of pastels across your fingers. Another variation is to place two complementary pastel colors next to each other, separated by a fine line or a clear strip.
Why it’s great for beginners: No intricate designs needed! It’s a fantastic way to showcase multiple pretty colors without any complex painting.
How to achieve it:
1. Start with a base coat to protect your nails and help polish adhere.
2. Paint each nail with a different pastel color. For a clean look, use striping tape to create defined lines between colors if you’re feeling a bit more adventurous.
3. Apply a top coat for shine and longevity. Allow each layer to dry completely to avoid smudges.
2. Delicate Easter Egg Accents
Easter eggs are a classic symbol of the holiday, and translating their cute patterns and speckles onto your nails is a charming idea that’s surprisingly easy to do.
The Look: Think of your nails as mini canvases for delicate egg patterns. This could involve soft speckles, tiny dots resembling egg marbling, or even a single accent nail painted to look like a speckled egg.
Why it’s great for beginners: You don’t need to be a master painter. Simple dotting tools and a steady hand can create these adorable effects.
How to achieve it:
1. Paint all your nails in a solid pastel base color (like a soft pink, mint, or baby blue).
2. Once dry, use a fine-tipped brush or a dotting tool to create small speckles in a slightly darker or contrasting pastel shade. For a marbled effect, gently drag a toothpick through two different pastel colors applied side-by-side on your nail.
3. Alternatively, paint one accent nail with a solid pastel and then use a dotting tool to create speckles all over it.
4. Seal with a clear top coat. For an extra smooth finish, consider a gel-top coat if you have a UV lamp.
3. Chic Pastel French Tips
The French manicure gets a delightful Easter makeover with pastel colors! This is a subtle yet sophisticated way to incorporate the theme.
The Look: Instead of the classic white tip, use soft pastel shades for the tips of your nails. You can use the same pastel on all nails or alternate colors.
Why it’s great for beginners: It’s a twist on a classic that many are already familiar with. Using striping tape or a fine brush makes clean lines achievable.
How to achieve it:
1. Apply a sheer nude or pale pink base coat.
2. Carefully paint the tips of your nails with a pastel polish. For a crisp line, use French tip guides or a fine nail art brush. You can even use different pastel shades for each nail or alternate them.
3. Once dry, finish with a clear top coat.
4. Gentle Floral Spring Blooms
Easter is synonymous with spring flowers, and delicate floral designs are a perfect fit. These don’t need to be elaborate to be beautiful.
The Look: Simple, hand-painted flowers in pastel shades on a neutral or pastel background. Think tiny daisies, scattered forget-me-nots, or minimalistic floral outlines.
Why it’s great for beginners: Focus on simple shapes and colors. You can achieve a lovely effect with just a few dots and lines.
How to achieve it:
1. Paint your nails in a solid pastel color or a soft nude base.
2. Using a detail brush and contrasting pastel polishes or even white polish, create simple floral elements. For instance, a few dots forming a flower head with a tiny dot center, or delicate petal outlines.
3. For an even simpler approach, try floral nail stickers or water decals. These are incredibly easy to apply and look very professional.
4. Apply a top coat to seal the design.
5. Subtle Sheer Pastel Ombre
An ombre effect using sheer pastel polishes creates a soft, ethereal look that’s perfect for spring.
The Look: A gradient of two or three pastel colors blended seamlessly from the cuticle to the tip, or side-to-side. The sheer finish keeps it light and airy.
Why it’s great for beginners: The sheer formula forgivingly blends colors, making seamless transitions easier. Applying with a sponge can help beginners achieve a smooth gradient.
How to achieve it:
1. Apply a clear or sheer nude base coat.
2. Using a makeup sponge, dab two complementary pastel polishes onto the sponge, blending them slightly where they meet.
3. Gently sponge the color onto your nail, building up the opacity gradually. You might need a few passes.
4. Alternatively, for a simpler ombre, you can use a fine brush to blend two colors directly on the nail.
5. Clean up any polish on your skin with a brush dipped in nail polish remover.
6. Finish with a sheer top coat.
6. Cute Bunny and Chick Details (Simplified!)
Embrace the playful side of Easter with adorable bunny and chick motifs, but keep them simple for easy execution.
The Look: Instead of full character art, opt for simple outlines, a single bunny ear outline, or a few tiny yellow dots representing chicks. This is best done on an accent nail.
Why it’s great for beginners: Focus on one or two simple elements. A simple bunny silhouette or a few strategically placed dots can be highly effective.
How to achieve it:
1. Paint your nails in a pastel base color.
2. On an accent nail, use a fine brush to draw a simple bunny outline in white or a light pastel. You can also use a dotting tool to create a “head” and two simple “ears” with white polish, then add tiny black dots for eyes.
3. For a chick, use a yellow pastel polish and a dotting tool to create a small circle. Add two tiny black dots for eyes. A tiny orange dot could be a beak.
4. Seal everything with a top coat.
Essential Tools for Your Pastel Easter Manicure
To help you create these lovely designs, having a few key tools can make a big difference. You don’t need a professional kit; these are simple additions that will elevate your DIY nail game.
Good Quality Nail Files and Buffers: For shaping your nails and creating a smooth surface.
Base Coat: Crucial for protecting your natural nails from staining and helping polish last longer.
Top Coat: Adds shine, protects your design, and extends the life of your manicure. A quick-dry top coat is a lifesaver!
Thin Nail Art Brushes: If you plan on freehanding any designs, a few fine-tipped brushes are invaluable for detail work. Look for ones with varying tip sizes.
Dotting Tools: These come with different sized ball tips and are perfect for creating dots, speckles, and simple floral patterns. They are incredibly user-friendly for beginners. You can find these at most beauty supply stores or online beauty retailers.
Striping Tape: For creating crisp, clean lines for color-blocking or French tips. This is a simple way to achieve professional-looking results.
Makeup Sponges: For creating beautiful ombre effects. A regular makeup sponge works perfectly well.
Cuticle Pusher and Orange Wood Sticks: For neatening up the cuticle area and cleaning up polish mistakes.
Nail Polish Remover & Cotton Swabs/Brushes: Essential for correcting any goofs! A small detail brush dipped in remover is excellent for cleaning up edges.
Choosing Your Perfect Pastel Palette
Selecting the right pastel shades is key to achieving that quintessential Easter feel. Think about combining colors that complement each other or create a soft, harmonious look. Here are some popular pastel color combinations perfect for Easter:
| Color Theme | Shades to Combine | Vibe | Best For |
|---|---|---|---|
| Classic Spring | Baby Pink, Sky Blue, Mint Green | Fresh & Feminine | Floral designs, color blocks |
| Easter Egg Delight | Soft Yellow, Lavender, Peach, Light Aqua | Playful & Sweet | Speckled eggs, ombre, simple dots |
| Serene Garden | Creamy White, Pale Lilac, Blush Pink, Sage Green | Elegant & Muted | French tips, minimalist designs |
| Sunny Bunny | Pale Yellow, Soft Coral, Cream, Light Teal | Cheerful & Bright | Simple bunny outlines, color blocking |
| Soft & Subtle | Any two shades like light blue and pink, or mint and lavender | Understated & Chic | Single accent nail designs, simple stripes |
Step-by-Step Guide to a Perfect Pastel Manicure
Let’s walk through the process for creating one of the simpler designs, like a solid pastel or a basic color block, ensuring a beautiful finish. This process is fundamental for almost any design you choose!
Step 1: Prep Your Nails
This is the most important step for a long-lasting manicure!
- Remove any old nail polish with a non-acetone remover, as acetone can be drying.
- Wash your hands to remove any residue.
- Gently push back your cuticles using a cuticle pusher or an orange wood stick. Avoid cutting them, as this can lead to infection.
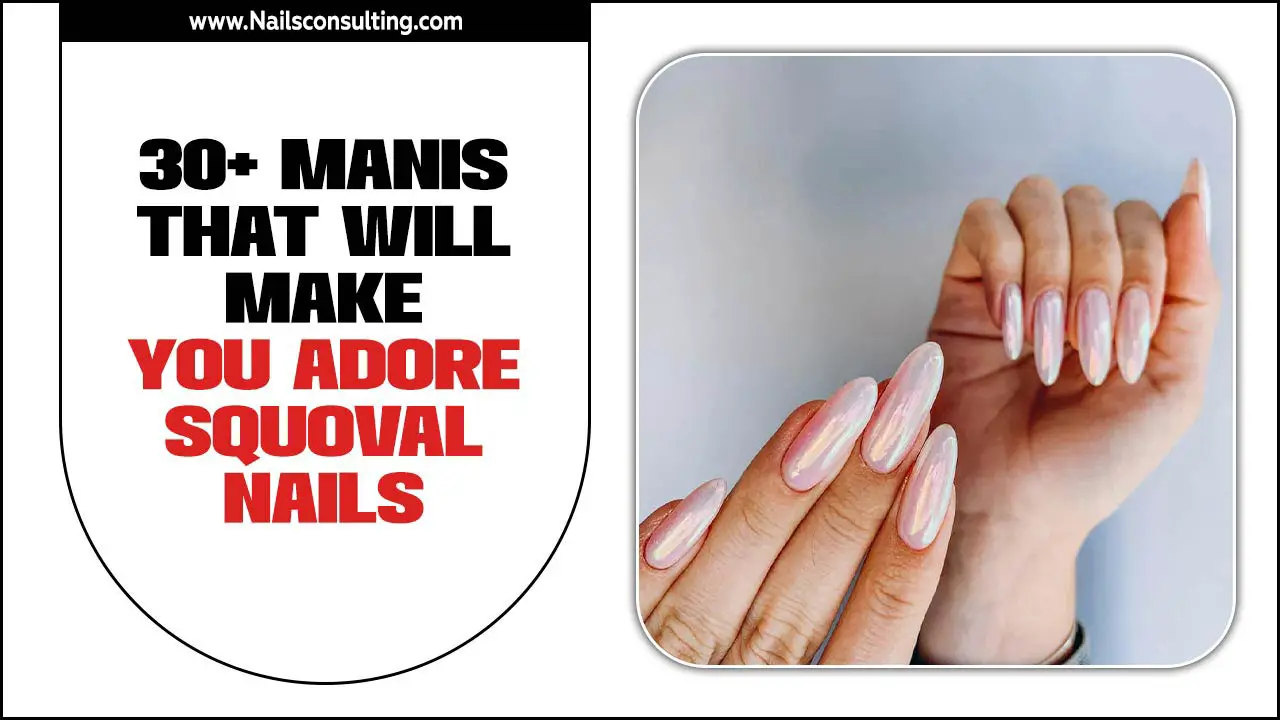
- Shape your nails with a nail file, always filing in one direction to prevent breakage. Aim for your desired shape – squares, rounds, or squovals (square-oval).
- Lightly buff the surface of your nails with a buffer to smooth out any ridges and create a slightly rough surface for the polish to adhere to.
Step 2: Apply Base Coat
A good base coat is your best friend!
- Apply a thin, even layer of your favorite base coat. This protects your nails from staining from the colored polishes and provides a smooth canvas.
- Let it dry completely. This usually takes about a minute.
Step 3: Apply Color Pastels
Here’s where the magic happens!
For Solid Pastel Nails:
- Apply your first coat of pastel polish. Use thin, even strokes, and try to get as close to the cuticle as possible without flooding it.
- Allow the first coat to dry for at least 1-2 minutes. This is crucial to prevent streaking and air bubbles.
- Apply a second thin coat for full opacity. Most pastel polishes need two coats to look their best.
- Let the second coat dry thoroughly. Patience here prevents smudges!
For Simple Color Block (using tape):
- Apply your first pastel color and let it dry completely.
- Apply striping tape to create a defined line where you want your second color to begin. Press the tape down firmly to prevent polish bleeding underneath.
- Apply your second pastel color over the tape and the rest of the nail.
- While the polish is still wet, carefully peel off the striping tape. This will reveal a clean line. If the polish is too dry, the tape might lift the polish.
- Let the second color dry completely.
Step 4: Clean Up Mistakes
Don’t stress about little spills!
- Use a small brush (like a fine liner brush or an old makeup brush) dipped in nail polish remover to clean up any polish that got onto your skin or cuticles. This makes a huge difference in the final look!
Step 5: Apply Top Coat
The finishing touch for a professional shine!
- Once your color coats are completely dry, apply a generous layer of your favorite top coat.
- Cap the free edge by swiping the brush along the tip of your nail. This helps prevent chipping.
- Let your top coat dry completely. A quick-dry top coat can speed this up considerably!
Tips for Longer-Lasting Pastel Nails
To keep your delightful Easter nails looking fresh and vibrant for as long as possible, follow these simple tips:
Always use a good base coat: This is non-negotiable for nail health and polish longevity.
Apply thin coats: Thick coats are more prone to chipping and take longer to dry.
Ensure each layer is dry: Patience is key! Rushing the drying process is the main cause of smudges and dents.
Seal the edges: Cap the free edge of your nails with your top coat to prevent lifting and chipping.
Wear gloves for chores: Protect your nails from harsh chemicals and excessive water when doing dishes or cleaning.
Reapply top coat: Every 2-3 days, a fresh layer of top coat can revive shine and add extra protection.
Moisturize regularly: Keep your nails and cuticles hydrated with cuticle oil or hand cream. Healthy nails are stronger nails!
Frequently Asked Questions About Pastel Easter Nail Designs
Q1: What are the most popular pastel colors for Easter?
The most popular pastel colors include baby blue, soft pink, mint green, pale yellow, lavender, and peach. These shades are reminiscent of spring and are perfect for creating a festive yet gentle look.
Q2: How can I make my nail polish dry faster?
You can use a quick-dry top coat, which contains fast-drying ingredients. Another method is to dip your nails in a bowl of ice-cold water for a few minutes after applying polish and let them air dry for a bit first. Avoid using heat, as it can actually make polish soft and smudgy.

