Earth-inspired nail art brings the beauty of nature to your fingertips with stunning color palettes and natural textures. Learn easy DIY techniques to create gorgeous, grounding manicures that express your personal style.
Feeling a little disconnected? In our fast-paced digital world, it’s easy to lose touch with the grounding beauty of nature. But what if you could carry a piece of the earth with you, right on your nails? Earth-inspired nail art is a wonderful way to connect with the planet’s stunning palettes, from the deep blues of the ocean to the warm browns of the soil and the vibrant Greens of lush forests. It’s a trend that’s not just beautiful, it’s also incredibly versatile and surprisingly easy to achieve at home. Forget complicated designs; we’re going to explore simple yet impactful ways to bring the essence of nature to your manicure. Ready to get creative and let your nails bloom?
This guide will walk you through everything you need to know, from choosing your colors to mastering simple techniques that will have you feeling like a nail art pro in no time. We’ll cover essential tools, different design ideas, and tips to make your earth-toned nails look absolutely stunning. Let’s dive into the wonderful world of earth-inspired nail art!
Why “Earth Tones” Are So Essential for Your Nails
Earth tones aren’t just a fleeting trend; they’re a timeless classic. Think about it: the colors of nature – rich browns, soft beiges, deep greens, sandy creams, and muted blues – are universally flattering and evoke feelings of calm, stability, and natural beauty. This is why “earth-inspired nail art” is more than just a pretty manicure; it’s a way to:
- Connect with Nature: In our increasingly urban lives, these colors serve as a gentle reminder of the natural world, bringing a sense of peace and grounding to your day.
- Embrace Versatility: Earth tones are neutral yet impactful. They complement almost every outfit and skin tone, making them perfect for any occasion, from a casual day out to a formal event.
- Express Sophistication: These muted, natural hues exude a subtle elegance that’s always in style. They signal a refined taste and a connection to timeless beauty.
- Achieve Effortless Style: Earthy manicures often look effortlessly chic. They don’t demand attention but quietly enhance your overall look with understated grace.
- Promote Well-being: Studies in environmental psychology suggest that exposure to natural colors can have a positive impact on mood and reduce stress. Bringing these colors to your nails can be a small act of self-care. For more on the psychology of color in design, you can explore resources like the National Center for Biotechnology Information (NCBI), which often features research on color perception and its effects.
Getting Started with Earth-Inspired Nail Art: Your Essential Toolkit
Before we get our hands messy with polish, let’s talk about the essentials. You don’t need a whole salon in your house to create beautiful earth-toned nails. A few key tools will set you up for success!
Must-Have Nail Polish Colors
The heart of earth-inspired nail art is your color palette. Think of the landscapes around you!
- Warm Browns: Chocolate, coffee, caramel, terracotta.
- Sandy Beiges & Creams: Dune, oat, taupe, ivory.
- Muted Greens: Olive, moss, sage, forest green.
- Earthy Reds & Oranges: Rust, clay, burnt sienna, muted coral.
- Deep Blues & Greys: Slate, charcoal, ocean blue, stormy grey.
- Earthy Whites & Off-Whites: Creamy white, bone, eggshell.
Essential Tools for Beginners
You might be surprised how many amazing designs you can create with just a few basic items:
- Nail File & Buffer: To shape and smooth your nails.
- Base Coat: Protects your natural nails and helps polish adhere better.
- Top Coat: Seals your design, adds shine, and prevents chipping.
- Nail Polish Remover & Cotton Pads: For cleanups and mistakes.
- Thin Detail Brush (Optional but Recommended): For finer lines and details. You can find good quality, affordable brushes from art supply stores or dedicated nail art brands. For insights into brush types and materials, you might find Dick Blick’s brush buying guide helpful, even though it’s for art, the material and bristle knowledge applies.
- Toothpick or Dotting Tool: For creating dots and small designs. A simple toothpick works wonders!
- Clear Nail Polish or PVA Glue (for cleanup): To easily clean up polish mistakes around the cuticle.
Easy Earth-Inspired Nail Art Designs for Beginners
Ready to get creative? Here are some simple yet stunning earth-inspired nail art ideas that are perfect for beginners. We’ll focus on techniques that require minimal precision but deliver maximum impact!
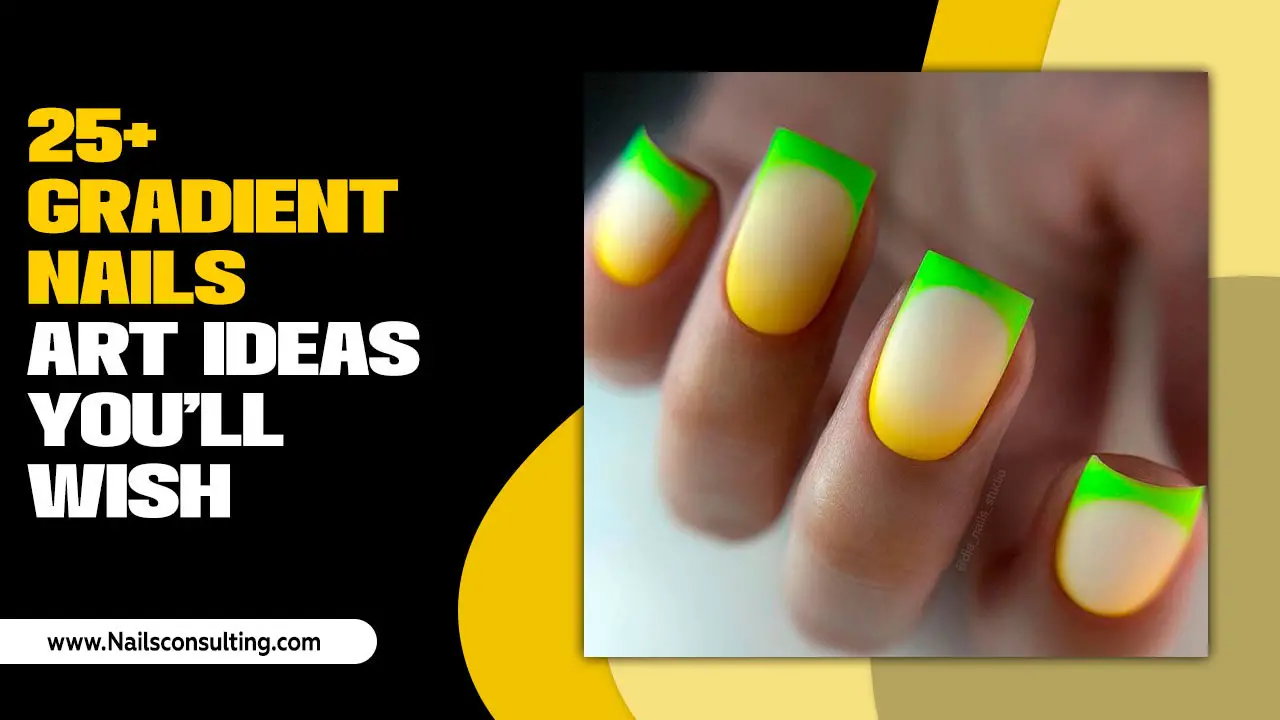
1. The Monochromatic Earth Tone Gradient
This is a super simple yet elegant way to wear earth tones. It mimics the subtle shifts in color you see in nature, like sand dunes or layered stones.
How to Do It:
- Prep Your Nails: Start with clean, filed nails. Apply a base coat and let it dry completely.
- Choose Your Colors: Select 2-3 shades of a similar earth tone (e.g., light beige, medium taupe, dark brown).
- Apply the Polish: On a makeup sponge (a clean kitchen sponge will do!), apply thin stripes of each polish side-by-side.
- Gradient Effect: Quickly before the polish dries, press the sponge onto your nail, rocking it slightly from side to side to blend the colors.
- Repeat & Refine: For a more opaque look, let the first layer dry slightly and repeat the sponging.
- Clean Up: Use a brush dipped in nail polish remover or a little PVA glue (let it dry and peel it off!) to clean up any polish on your skin.
- Seal It: Once dry, apply a generous layer of top coat for shine and durability.
2. Abstract Mud/Clay Swirls
This design looks sophisticated but is incredibly forgiving. It mimics the organic patterns of natural clay or mud textures.
How to Do It:
- Base Color: Paint all your nails in a soft, earthy neutral like cream, beige, or a light sandy color. Let it dry completely.
- Create the Swirls: Using a thin brush or even the tip of a toothpick, dip into a darker earth tone (like chocolate brown, rust, or olive green).
- Freestyle Design: Gently draw abstract, swirling lines or organic shapes across your base color. Don’t aim for perfection; imperfection is key here! Think about the natural flow of water on mud.
- Add Dimension (Optional): You can add a second swirl in an even darker shade or a contrasting earth tone for more depth.
- Cleanup & Top Coat: Clean up any stray marks and finish with a glossy top coat.
3. Minimalist Stone/Marble Effect
Mimic the elegant veins of natural stone like marble or agate. This can be done simply with just two colors.
How to Do It:
- Base Coat: Apply a base coat, then paint your nails with your chosen base color (white, cream, or light grey are great). Let it dry thoroughly.
- Vein Creation: On a small piece of foil or a palette, place a tiny drop of a darker contrasting color (black, grey, deep brown, or navy). Dip a very fine brush or a toothpick into it.
- Draw Thin Lines: Lightly drag the brush/toothpick across your nail to create thin, irregular lines mimicking veins. Vary the pressure to create thicker and thinner parts.
- Build Layers (Optional): You can add another layer of slightly different colored lines for more realism if you like.
- Seal & Shine: Once dry, add a protective top coat.
4. Speckled “Bird’s Egg” Nails
This is a super cute and whimsical design that looks like the delicate speckled patterns on bird eggs. It uses a simple dotting technique.
How to Do It:
- Base Color: Paint your nails in a soft, muted color like pale blue, cream, sage green, or light taupe. Let it dry.
- Speckle Time: Get a small amount of a darker, contrasting color (brown, dark grey, black, or deep green) on a toothpick or dotting tool.
- Dot Away: Lightly tap the tool onto your nails to create tiny speckles. Don’t overload the tool, and vary the density for a natural look.
- Less is More: You don’t need a lot of speckles; a few scattered dots are more effective than covering the whole nail.
- Finish: Apply a top coat once everything is dry.
5. Ombre with Natural Transitions
Similar to the gradient but smoother, ombre creates a seamless blend of colors. Think of a sunset over a desert or the varying tones in a rock formation.
How to Do It:
- Base Color: Apply a base coat and your lightest earth tone.
- Sponging Technique: On a makeup sponge, apply your second, slightly darker earth tone.
- Blend the Transition: Carefully dab the sponge onto the middle to the tip of your nail where you want the color to change. The sponge will help blend the two colors.
- Build Up: For a more defined blend or deeper color, let the first layer of ombre set slightly, then repeat the sponging. You can even add a third color for a more complex effect.
- Clean & Seal: Clean up the edges and apply a good top coat.
Exploring Advanced Earth-Inspired Techniques (Optional)
Once you’ve mastered the basics, you might want to try these techniques for an even more intricate earth vibe. These are still beginner-friendly, but they add an extra layer of artistry.
6. Textured “Sand” Effect Nails
This gives your nails a gritty, tactile feel, reminiscent of actual sand.
How to Do It:
- Base and Color: Apply your base and your desired earth-toned polish color. Let it dry completely.
- The “Sand”: While the polish is still wet (or after it’s fully dried if using a special texturizing polish), gently sprinkle or pour fine craft sand (preferably natural colored) over your nails. You can also use special “sugar effect” nail powders from beauty supply stores.
- Press and Tap: Lightly press the sand into the polish to ensure it adheres. Gently tap off any excess.
- Seal Carefully: This is the trickiest part. You need a good top coat, but applying too much can make the texture smooth out. Go lightly and evenly, and you can even use a matte top coat for a more natural, less shiny finish. Some people prefer to use a gel top coat for a more durable and less disturbing application.
7. “Wood Grain” Effect
Achieve the beautiful patterns found in wood with a simple drag-marble technique.
How to Do It:
- Base: Apply a base coat and a solid color (like tan, light brown, or even white for a bleached wood look). Let it dry.
- Create Lines: On a palette or foil, put a darker brown and a lighter cream/tan polish. Load a thin brush with both colors.
- Drag and Swirl: Gently drag the brush across your nail in the direction you want the grain to go. You can create loops and swirls to mimic natural wood patterns.
- Refine: You can use a slightly damp brush (with polish remover) to soften lines or add more subtle variations with a very fine brush.
- Top Coat: Seal with a top coat. A more matte top coat can enhance the woody texture.
8. Pressed Flowers or Leaf Imprints
Incorporate real natural elements for a truly authentic earth look.
How to Do It:
- Base: Apply your base coat and a light, neutral polish color. Let it dry.
- Prepare Elements: Use very thin, dried pressed flowers or small, pressed leaves (you can find these online or press your own!). Ensure they are completely dry and flat.
- Adhere: Apply a thin layer of clear polish or nail glue to the nail where you want to place the element. Gently place the flower or leaf onto the sticky surface using tweezers.
- Seal Thoroughly: This is crucial for longevity. Apply several thin layers of top coat, allowing each to dry. Make sure the edges of the element are fully sealed to prevent snagging and peeling. Gel top coats are excellent for this as they provide a strong, smooth seal.
Caring for Your Earth-Inspired Manicure
To keep your beautiful earth-toned nails looking their best, follow these simple care tips:
- Always Use a Top Coat: Reapply every 2-3 days to maintain shine and prevent chips.
- Moisturize: Use cuticle oil daily and hand lotion frequently to keep your nails and the skin around them healthy. Healthy cuticles make nail art look even better!
- Be Gentle: Avoid using your nails as tools to open cans or scrape things.
- Wear Gloves: When doing household chores, especially those involving water or harsh chemicals, wear rubber gloves to protect your manicure.
- Proper Removal: When it’s time for a change, use a good quality nail polish remover (preferably acetone-free for less drying) and soak your nails gently. Avoid peeling or picking at the polish.
Common Questions About Earth-Inspired Nail Art
Here are some answers to questions beginners often have about creating these natural-looking manicures.
Q1: What are the best base colors for earthy nail art?
Soft neutrals like cream, beige, taupe, off-white, or muted pastels (like pale sage green or dusty blue) work wonderfully as bases. They allow the earth tones you add on top to stand out beautifully without clashing.
Q2: How do I make my nail art last longer?
Always start with a good base coat, use thin layers of polish, and finish with at least two layers of a high-quality top coat. Reapplying top coat every few days also helps massively!
Q3: My swirls look messy. How can I make them look more intentional?
Embrace the imperfection! Earthy designs are often about organic, natural shapes. If you want more control, practice drawing lines on a piece of paper first. For tools, a thin detail brush offers more precision than a toothpick.
Q4: Can I mix matte and glossy finishes in earth-toned nail art?
Absolutely! Combining a matte top coat on some nails or parts of a design with a glossy top coat on others can create beautiful contrast and add depth, mimicking different natural textures.
Q5: What if I make a mistake while doing my nail art?
Don’t worry! Keep your nail polish remover and a small cleanup brush (or even a pointed cotton swab) handy. You can also paint a thin layer of PVA glue around your cuticle area before you start any detailed work; once your art is dry, the glue peels off easily, taking any stray polish with it.
Q6: Where can I buy good earth-toned nail polishes?
Many brands offer beautiful earth-tone collections. Drugstores often have affordable options from brands like Essie, OPI, and Sinful Colors. For higher-end options, check out brands like Chanel, Dior, or dedicated nail brands like Cirque Colors or Olive & June, which frequently have nature-inspired collections.
Conclusion: Your Natural Masterpiece Awaits!
There you have it! From simple, chic monochromatic looks to textured sand effects and delicate floral imprints, earth-inspired nail art offers a beautiful and grounding way to express yourself. We’ve covered the essential tools, foolproof techniques for beginners, and tips to make your gorgeous designs last. Remember, the most important part is to have fun and let your creativity flow. Nature is full of endless inspiration, and your nails are your canvas!
Don’t be afraid to experiment with different color combinations and textures. Whether you’re aiming for a look that reminds you of a forest floor, a desert sunset, or a sandy beach, these earth-toned techniques are designed to be accessible and rewarding.

