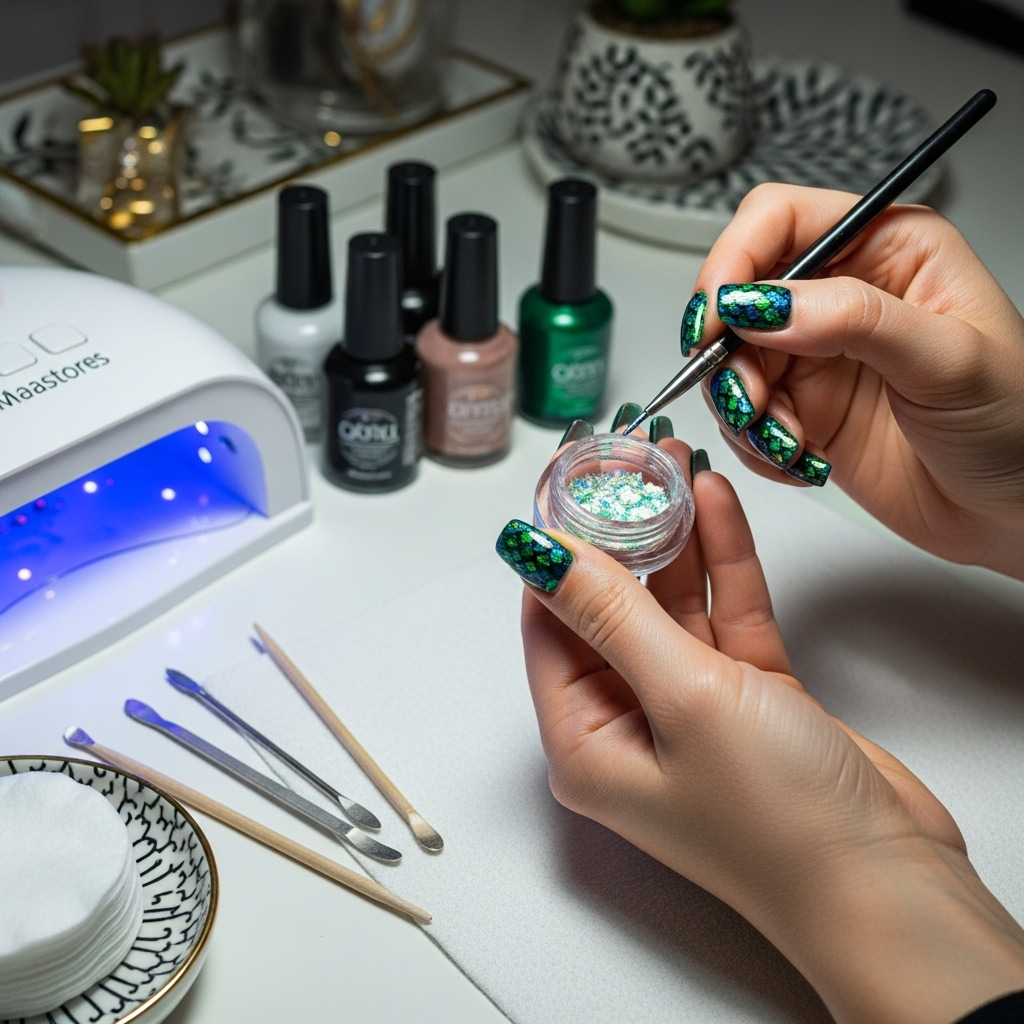
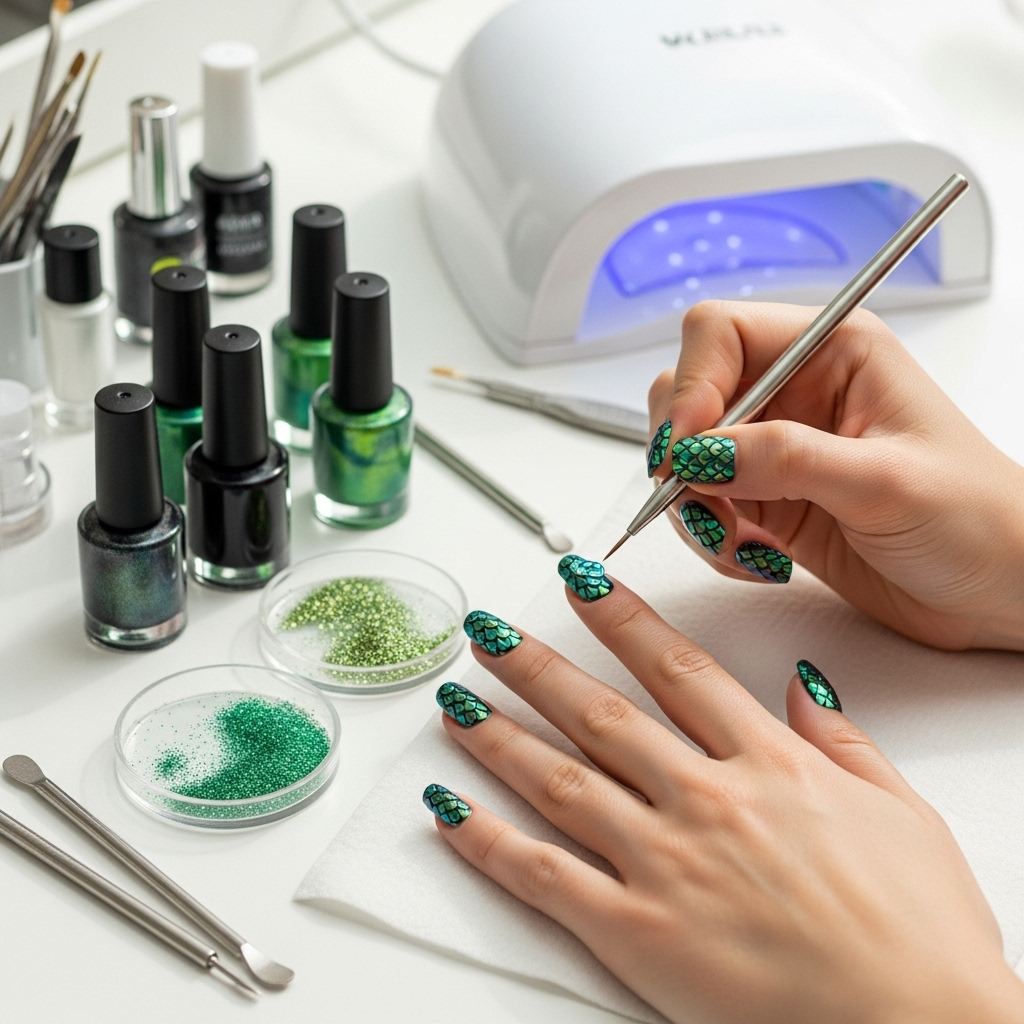
Dragon scale nail design tutorial: Achieve stunning, textured scales with easy-to-follow steps, essential tips, and beginner-friendly advice for a unique, magical manicure.
Have you ever seen those amazing nails that look like they belong to a mythical dragon? They’re so cool, right? But maybe you’ve thought they look way too difficult to do yourself. Don’t worry! Creating a dragon scale nail design is totally doable, even if you’re new to nail art. It’s all about breaking it down into simple, manageable steps. We’ll guide you through everything you need, from the basic techniques to mastering those intricate scale patterns. Get ready to transform your nails into a dazzling work of art that’s sure to turn heads! Let’s dive in and make some magic happen on your fingertips.
Your Dragon Scale Nail Design Toolkit
To create truly breathtaking dragon scale nails, having the right tools makes all the difference. Think of it like a painter choosing their brushes! Having the proper supplies will not only make the process smoother but will also help you achieve those detailed, professional-looking results we’re aiming for. Don’t feel overwhelmed if you don’t have everything right away; many of these are great investments for any nail art enthusiast.
Here’s a rundown of what you’ll need:
- Base Coat: Essential for protecting your natural nails and helping your polish adhere better.
- Nail Polish Colors: Choose at least two or three colors. Often, a darker base color (like black, deep green, or navy) and a metallic or shimmery color for the scales (like gold, silver, iridescent, or a jewel tone) work best.
- Top Coat: Seals your design and adds a high-gloss finish.
- Dotting Tools or Toothpick: For creating small, consistent dots that form the basis of your scales.
- Thin Nail Art Brush: A detail brush is perfect for adding fine lines and refining the scale edges.
- Stencil (Optional but Recommended for Beginners): Hexagonal or scale-shaped stencils can make creating uniform shapes much easier.
- Nail Polish Remover: For cleaning up any mistakes.
- Cotton Swabs or Lint-Free Wipes: For applying remover and cleaning brushes.
- Tweezers (if using stencils): For precise placement and removal of stencils.
- Clear Nail File: For shaping your nails before you start.
Step-by-Step: Unleash Your Inner Dragon Artist

Ready to bring some mythical flair to your nails? This tutorial focuses on a popular and achievable method that uses dotting tools or a fine brush to create those iconic overlapping scales. It’s a fantastic way to get that textured, layered look without needing complex stamping plates or freehand mastery right from the start.
Step 1: Prep Your Canvas
Before any art goes on, a clean and smooth surface is key.
- Start by filing your nails to your desired shape. A natural curve or a squoval shape often works well for showcasing scale designs.
- Gently buff the surface of your nails to remove any shine. This helps the polish stick better.
- Clean your nails thoroughly with nail polish remover to get rid of any dust, oil, or old polish residue.
- Apply one to two coats of your base coat and let it dry completely. This protection layer is super important for healthy nails.
Step 2: Lay Down the Base Color
This color will be the background for your scales, peeking through the gaps.
- Apply one or two coats of your chosen base color (e.g., deep green, black, navy).
- Ensure each coat is completely dry before moving on. Patience here prevents smudging later!
Step 3: Creating the Scale Pattern
This is where the magic begins! We’re going to build our scales using small, overlapping dots.
- Start with the First Row: Using your metallic or shimmery polish and a dotting tool (or the tip of your detail brush), create a row of evenly spaced dots along the base of your nail (near the cuticle). The dots should be slightly touching or have very little space between them.
- The Second Row: For the next row, place your dots in the gaps of the first row. This creates the overlapping, scaled effect. Imagine placing a bead nestled between two beads on a necklace.
- Continue Building: Keep adding rows in this staggered pattern, moving towards the tip of your nail. Each new row of dots should sit in the depressions of the row beneath it.
- Adjust as You Go: Don’t worry if your first few attempts aren’t perfect! You can clean up any messy dots with a small brush dipped in nail polish remover. The key is consistency in dot size and spacing.
Step 4: Refining and Adding Detail
Once your dots are in place, a few touches can make them truly pop.
- With your thin nail art brush, you can gently connect the edges of the dots or add tiny curved lines between them to enhance the scale illusion.
- For an added bit of dimension, you can use a slightly darker shade of your scale color to add subtle shadows at the base of each scale-like shape.
- Alternatively, if you used a stencil, carefully peel it off once the polish is slightly tacky but not fully dry. Then, use your detail brush to fill in any areas that the stencil didn’t cover perfectly, or to add fine lines for definition.
Step 5: The Protective Finish
You’ve worked hard on your design; now let’s make it last!
- Once all the polish is completely dry (this can take a few minutes, especially with multiple layers), apply a generous coat of your top coat.
- Make sure to cap the free edge of your nail by running the brush along the tip to prevent chipping.
- Allow the top coat to dry thoroughly before doing anything with your hands.
Mastering the Dragon Scale: Pro Tips for Beginners
Even simple designs can have their tricky moments. Here are some tips to help you navigate the dragon scale nail design process smoothly and achieve fantastic results, even if you’re just starting out.
Choosing Your Colors Wisely
The right color combination is crucial for making your dragon scales look realistic and striking.
- Contrast is Key: Ensure there’s a good contrast between your base color and your scale color. A dark, matte base with a bright, metallic scale color creates a dramatic effect.
- Iridescent & Holographic: For an extra magical touch, consider iridescent or holographic polishes for your scales. They catch the light beautifully and give a multi-dimensional, enchanting look.
- Metallics: Gold, silver, bronze, and copper metallics are classic choices that mimic a dragon’s armor.
- Jewel Tones: Emerald green, sapphire blue, ruby red, or amethyst purple can give a rich, gem-like appearance.
Dotting Tool Techniques
Dotting tools are your best friends for this design. Different sizes can create different scales.
- Consistent Dabs: Try to dip your dotting tool into the polish the same way each time and apply consistent pressure for uniform dots.
- Clean Your Tool: Wipe your dotting tool clean with a lint-free wipe and a tiny bit of nail polish remover between dots or rows to prevent color contamination and ensure clean lines.
- Varying Sizes: You can use a larger dotting tool for the bottom row of scales and a smaller one for the rows above to create a more natural, tapered look.
Stencil Savvy
If dotting feels too fiddly at first, stencils are a game-changer. You can find them online or at beauty supply stores.
- Placement: Carefully position the stencil on your nail before applying the scale color. Tweezers are great for this!
- Application: Dab the polish over the stencil with a brush or sponge. Avoid brushing, as this can cause the polish to seep under the stencil.
- Peel Gently: Peel the stencil away when the polish is slightly tacky. If you wait too long, it might stick; if you remove it too early, it might smudge.
The Power of a Good Top Coat
Don’t skip this final step! It seals your hard work and enhances the look.
- Gel-Like Finish: For a super shiny, long-lasting finish, consider a good quality gel-effect top coat.
- Quick-Dry Options: If you’re short on time, a quick-dry top coat can be a lifesaver, just make sure your polish is fully dry underneath before application.
- Smooth Out Texture: A slightly thicker top coat can help to smooth out any minor bumps from the dots, giving a more cohesive look.
Cleaning Up Mistakes
Everyone makes mistakes, and that’s okay!
- Detail Brush Magic: A small, flat-ended detail brush dipped in nail polish remover is perfect for cleaning up edges and stray dots.
- Q-tip Precision: Wrap a small amount of cotton around the tip of a toothpick or a fine liner brush for more precise cleanup around the cuticle.
Exploring Different Dragon Scale Variations

The dragon scale design is versatile! Once you’ve mastered the basic dotting technique, you can experiment with different looks.
The Ombre Dragon Scale
Instead of one solid color for your scales, try an ombre effect within each scale.
Start with your darkest scale color at the base of the scale “dot,” and gradually lighten the color as you move towards the upper edge, blending gently with a detail brush. This adds a sophisticated depth and can mimic the natural iridescence of real scales.
The Textured Dragon Scale
For a truly tactile design, consider using textured nail paints or adding fine glitter.
After applying your base color, use a textured nail polish for your scales. Alternatively, you can apply your scale color, dust it with a fine iridescent glitter while wet, and then seal with a top coat. This gives a rough, gemstone-like texture that’s incredibly eye-catching.
The Minimalist Dragon Scale
Dragon scales don’t always need to cover the whole nail edge-to-edge.
Try creating a single row of scales along your smile line or at the tip of your nail. You can also do a single, larger scale design on an accent nail, keeping the other nails a solid color that complements the scale design. This is a great way to incorporate the trend subtly.
The Geometric Dragon Scale
Play with the shape and arrangement of your “scales.”
Instead of dots, use tiny geometric shapes like small diamonds or arcs with your detail brush. Arranging these in a staggered pattern can create a more angular, modern take on the dragon scale look, reminiscent of reptilian armor.
Table: Dragon Scale Nail Design Color Palette Ideas
Choosing the right color palette can elevate your dragon scale nail design from good to absolutely phenomenal. Here are some popular and effective combinations that create stunning visual effects, ranging from mystical to fierce.
| Theme | Base Color(s) | Scale Color(s) | Effect |
|---|---|---|---|
| Emerald Dragon | Deep Forest Green or Black | Emerald Green Metallic, Gold Shimmer | Rich, regal, ancient dragon |
| Midnight Dragon | Navy Blue or Deep Purple | Iridescent Blue/Purple, Silver Shimmer | Mystical, celestial, enchanting |
| Fiery Dragon | Black or Deep Red | Flame Orange Metallic, Gold Accents | Vibrant, powerful, bold |
| Ice Dragon | White or Light Silver | Pale Blue Metallic, Holographic Silver | Cool, ethereal, frosty |
| Obsidian Dragon | Matte Black | Gunmetal Grey, Silver or Bronze Metallic | Sleek, sophisticated, edgy |
| Amethyst Dragon | Deep Plum or Black | All-Over Purple Shimmer, Violet Iridescent | Luxurious, magical, mysterious |
Frequently Asked Questions (FAQ)

Here are answers to some common questions beginners have about creating dragon scale nail designs.
Q1: How long does a dragon scale nail design typically take to complete?
A: For beginners, it can take anywhere from 45 minutes to 1.5 hours per hand, depending on your speed and precision. As you get more practice, you’ll likely speed up, perhaps to 30-45 minutes per hand.
Q2: Can I do dragon scales on short nails?
A: Absolutely! Dragon scales can look fantastic on short nails. You might just need to use smaller dots or smaller scales if you’re using stencils, and focus on a few accent nails rather than all ten for a balanced look.
Q3: What is the best way to clean up mistakes?
A: The easiest way is with a fine-detail brush dipped in nail polish remover. Wrap a tiny bit of cotton onto a toothpick or a thin brush for precise cleanup around the cuticle and edges. Be gentle so you don’t disturb the surrounding design.
Q4: How do I get my dots to be the same size?
A: Using dotting tools of different sizes is key. Dip your tool into the polish in the same way each time – don’t overload it. You can also practice making dots on a piece of paper or a nail tip until you get a feel for consistent pressure and application.
Q5: What if my polish smudges when I apply the top coat?
A: This usually happens if the polish underneath isn’t fully dry. Always ensure your nail polish and any art layer are completely dry before applying top coat. You can also try a “floating” method: load your brush with a lot of top coat, then gently float it over the design without touching the polish underneath.
Q6: Are there any easier alternatives to dots for creating scales?
A: Yes! Scale stencils are a great beginner-friendly option. You can buy adhesive stencils in various scale shapes. Apply the stencil, paint over it, and peel it off for instant scale patterns. You can also use a fine brush to paint small overlapping arcs or curves.
Q7: Where can I find more information on nail art techniques and tools?
A: Reputable beauty blogs, YouTube tutorials from experienced nail artists, and cosmetic science resources like those provided by organizations such as NASA’s Material Science department (discussing polymers and coatings relevant to nail polish) can offer deeper insights into nail products and techniques. You can also find specialized guides on nail tool usage.
Conclusion: Your Dragon-Inspired Masterpiece Awaits
See? Creating impressive dragon scale nails is well within your reach! We’ve walked through the essential tools, broken down the process into easy steps, and shared some insider tips to help you achieve that coveted fantasy-inspired look. Remember, nail art is all about self-expression and having fun. Don’t be afraid to experiment with colors, try different techniques like stencils or ombre, and most importantly, enjoy the process! Your nails are a canvas, and with a little practice and creativity, you can transform them into something truly magical. So go ahead, unleash your inner artist, and let those spectacular dragon scales shine!

