Nail wraps have become increasingly popular in recent years as a convenient and stylish alternative to traditional nail polish. These adhesive stickers come in a variety of designs and patterns, making it easy to achieve a unique and eye-catching manicure. However, as with any beauty trend, there comes a time when it must be removed.
While removing nail wraps may seem like a daunting task, it is actually a straightforward process when done correctly. Here, we will walk you through everything you need to know about properly removing nail wraps.
We will cover what nail wraps are, the importance of proper removal, materials required for removal, and a step-by-step guide on how do you remove nail wraps. We will also discuss common problems faced during nail wrap removal and how you can avoid them. So let’s get started on achieving those beautiful healthy-looking nails!
What Are Nail Wraps?
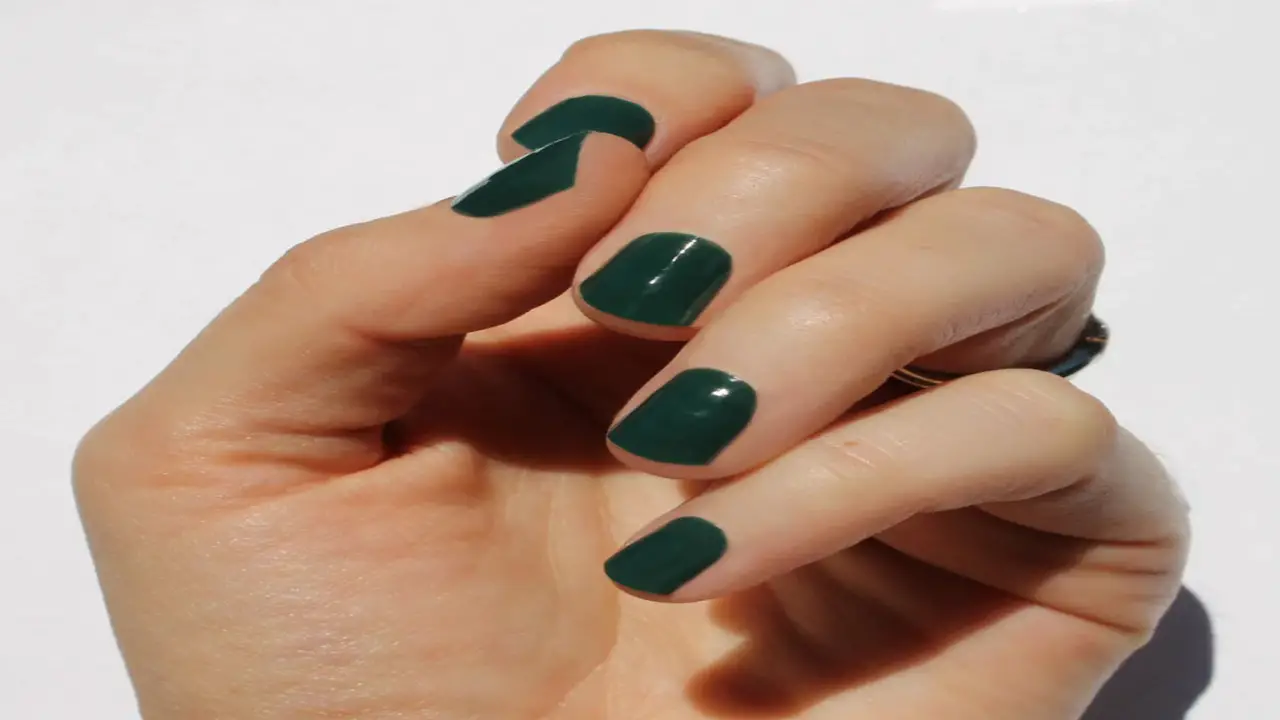
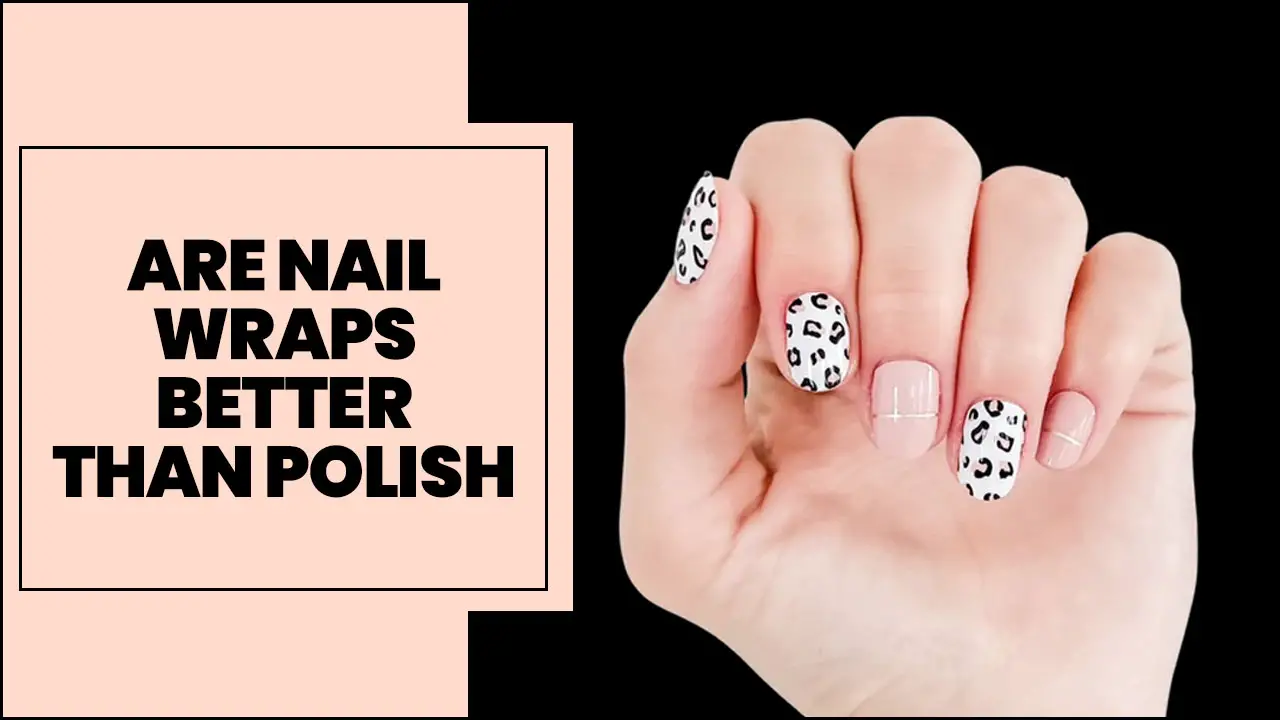
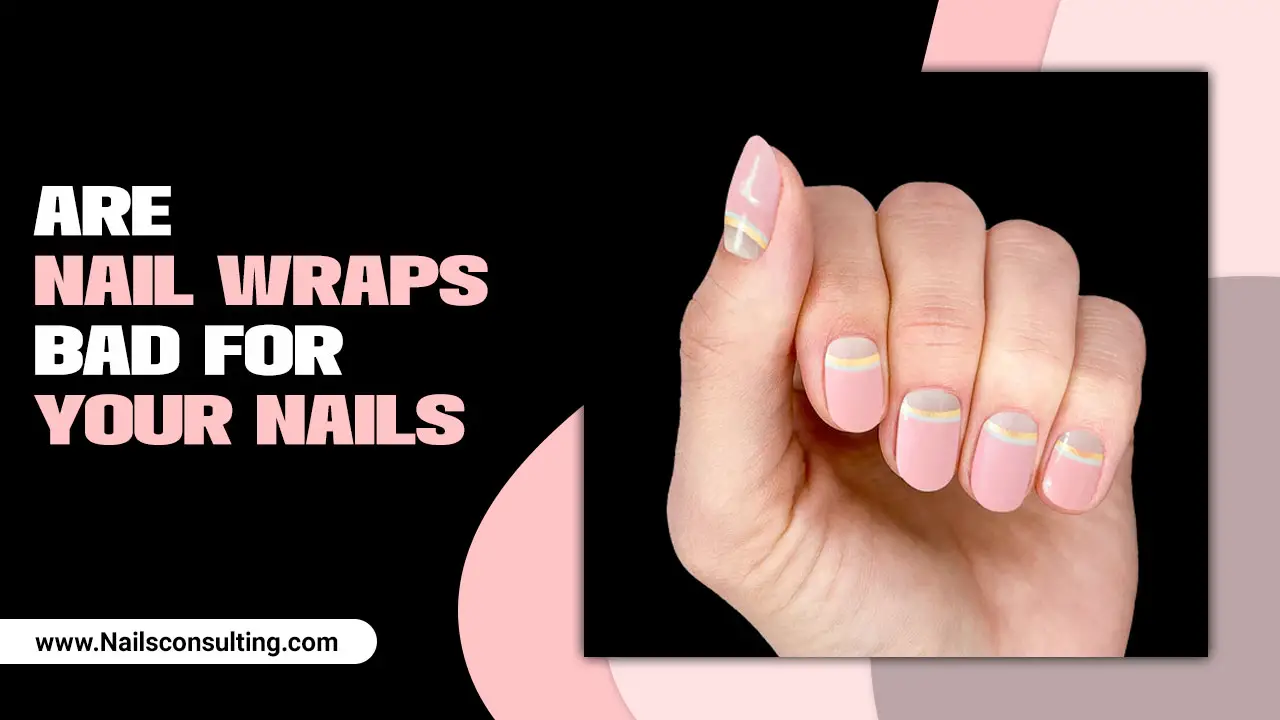
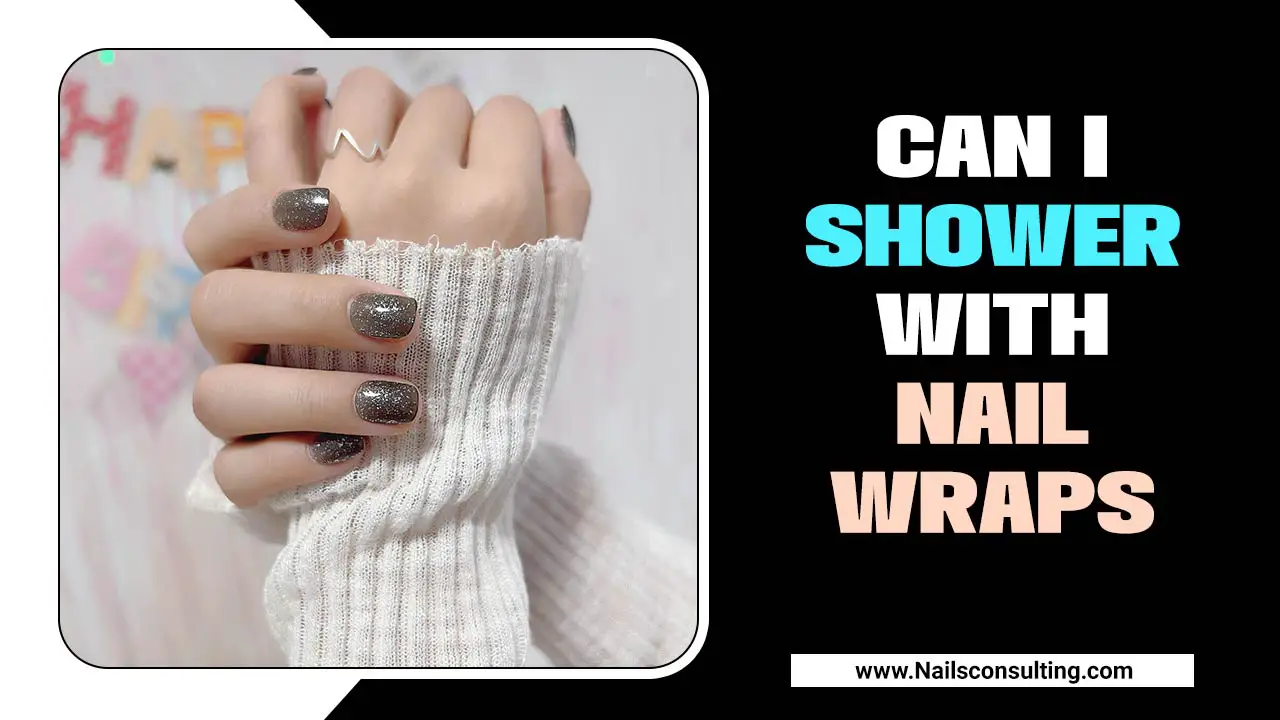
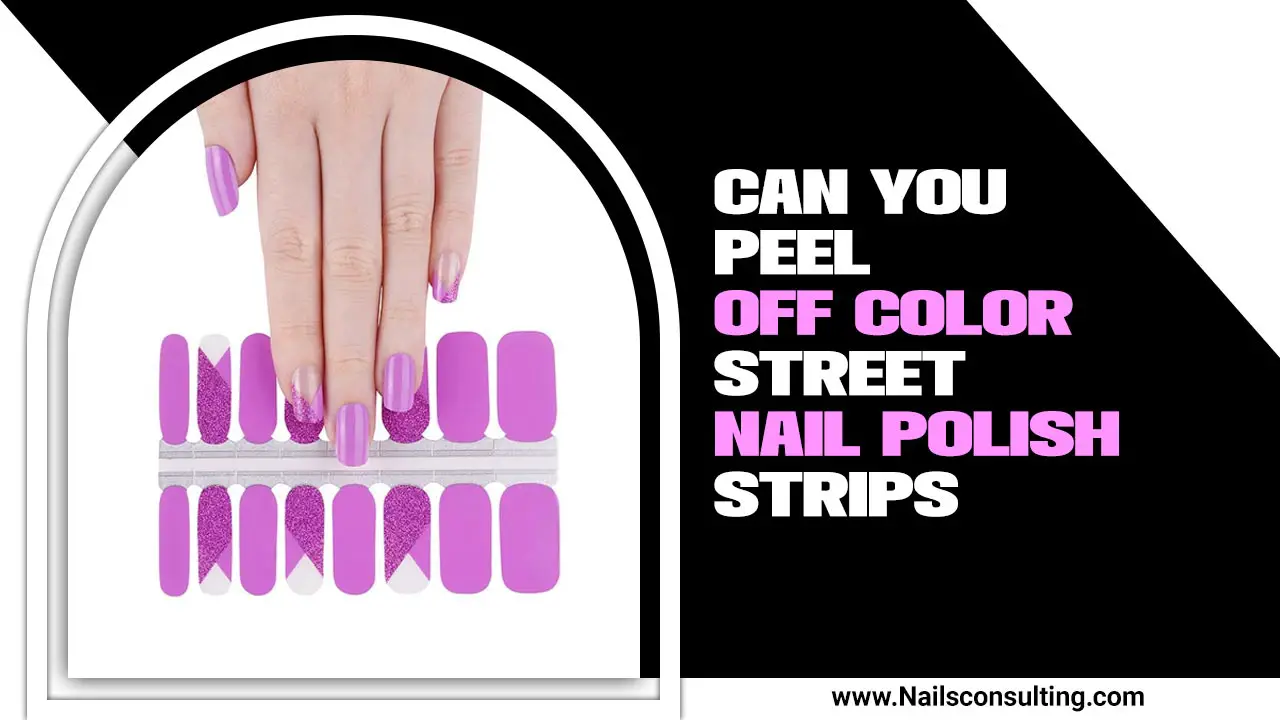
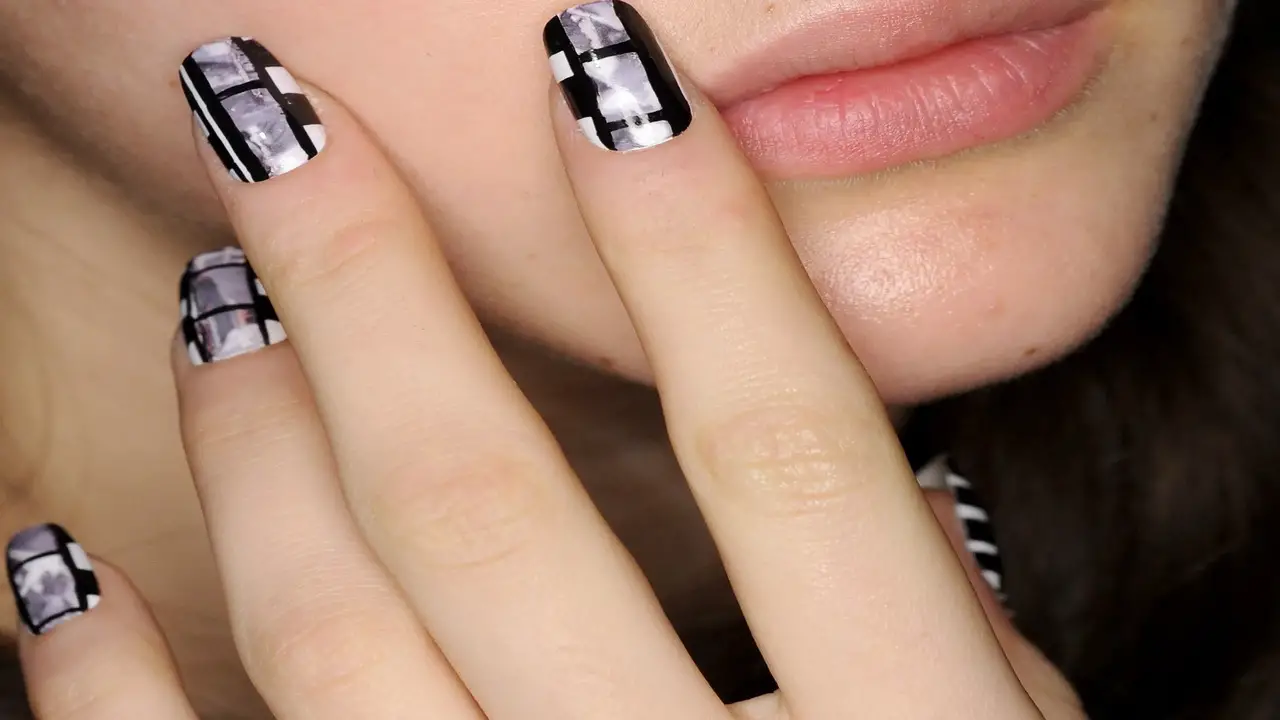
Nail wraps are a popular alternative to traditional nail polish. They are adhesive stickers that can be applied directly to the nails, creating a colorful and unique design. Nail wraps are often made from materials such as vinyl or resin, which allows them to adhere securely to the nail surface.
Unlike nail polish, which can chip and fade over time, nail wraps offer a longer-lasting and more durable option for those who want their manicure to last. They come in a variety of designs and patterns, making it easy to find a style that suits your personal taste. When it comes time to remove nail wraps, there are several methods you can use depending on the type of wrap and your preference.
The Importance Of Proper Nail Wrap Removal
Proper nail wrap removal is essential to avoid damaging your natural nails. Improper removal can result in peeling, residue, and damage to the nail bed. Taking your time and following the correct removal steps ensures the longevity of your natural nails.
Protect the health and appearance of your nails by using coconut oil or nail polish remover to gently lift the wraps. Avoid using nail scissors or clippers, as they can cause damage. Finish with a top coat or hand cream to keep your nails healthy and strong.
Materials Required For Nail Wrap Removal
To remove nail wraps, you’ll need a few materials to make the process easier and more efficient. By having these materials on hand, you’ll be well-prepared to remove your nail wraps without damaging your natural nails. Here are the materials you’ll need for nail wrap removal:
- – Acetone Or Nail Polish Remover: This will help dissolve the adhesive on the nail wraps.
- – Cotton Balls Or Pads: These will be used to apply the acetone or nail polish remover to your nails.
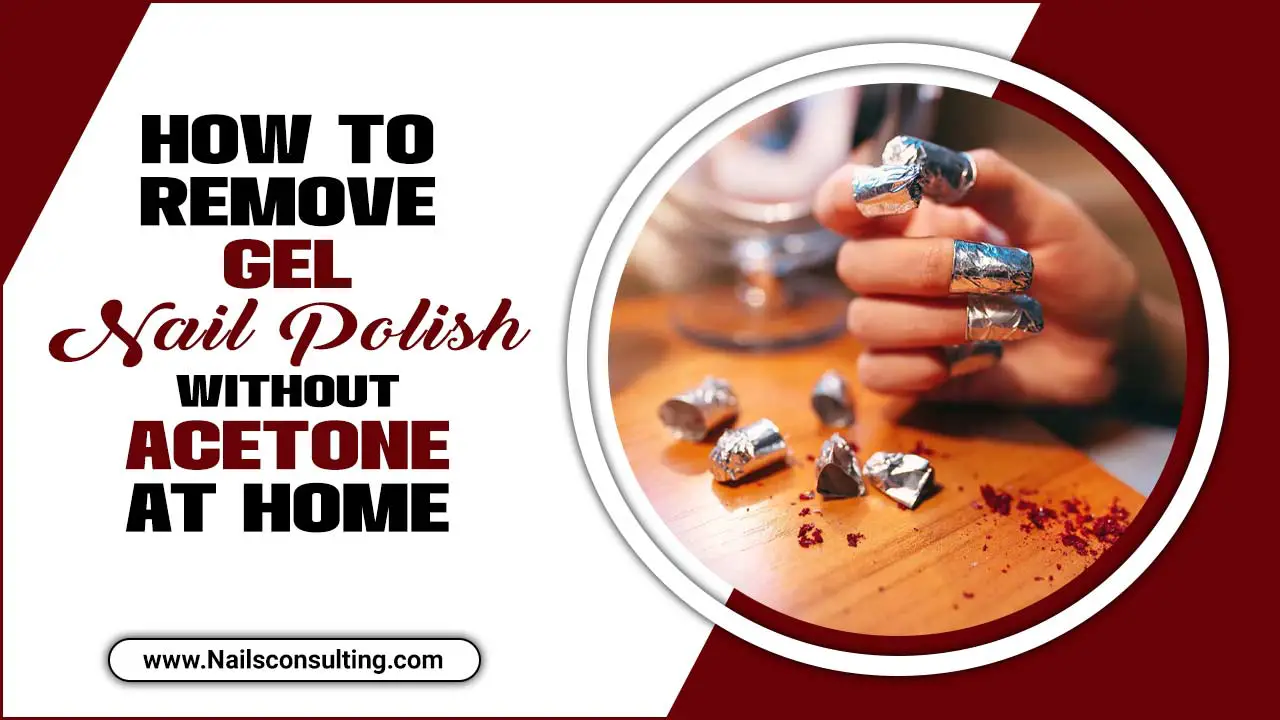
- – Aluminum Foil: Wrapping your nails in aluminum foil will help hold the cotton balls or pads in place and allow the acetone to work its magic.
- – A cuticle Pusher Or Orangewood Stick: This tool can be used to gently lift and remove the softened nail wraps from your nails.
How Do You Remove Nail Wraps: 7 Step-By-Step
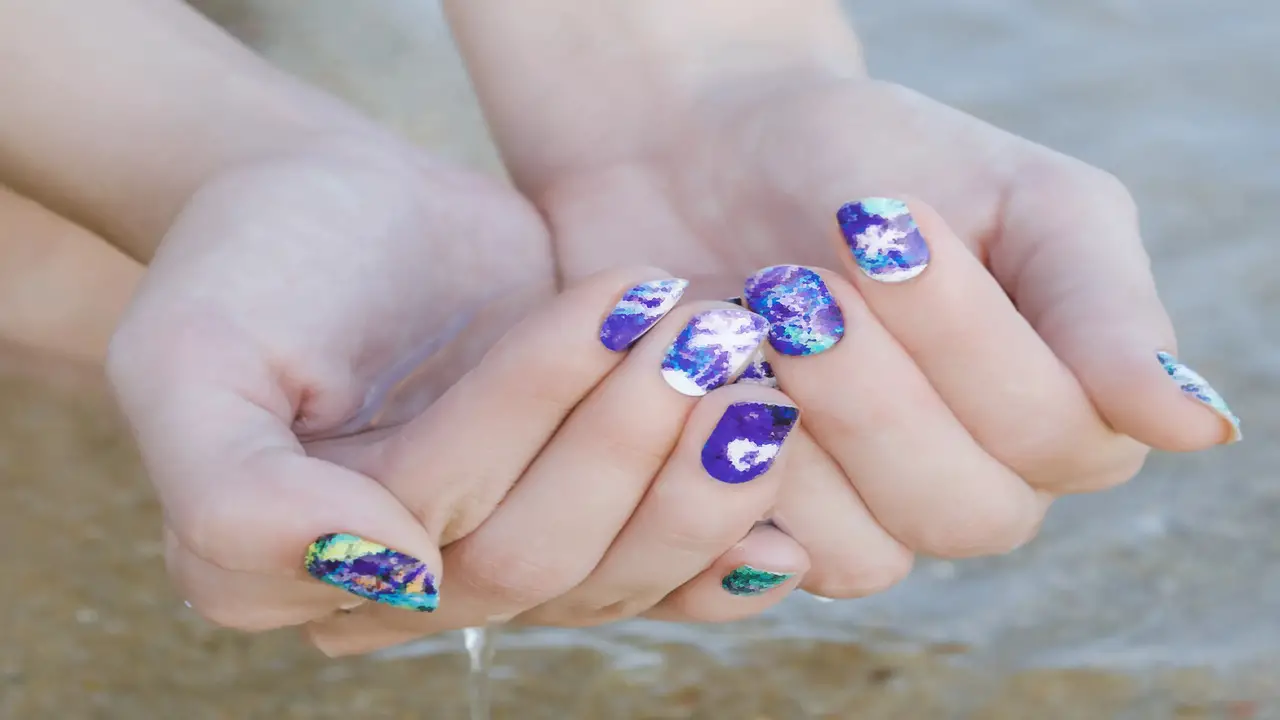
Removing nail wraps can be a tricky process, but with the right steps, you can do it successfully. Nail wraps are a fun and convenient way to achieve professional-looking nail art without the hassle of painting or waiting for polish to dry. These adhesive strips come in a variety of colors, patterns, and designs, allowing you to express your personal style and creativity.
By following these steps, you can safely and effectively remove nail wraps without damaging your natural nails. Remember to take your time and be gentle throughout the process to minimize any potential damage or discomfort. Here is a step-by-step guide on how do you remove nail wraps:
1:Gently Peel The Nail Wrap
To begin removing the nail wrap, gently peel it from the edge of the nail. Take your time and avoid applying too much force, as this can damage your natural nails. Slowly work your way around the nail, ensuring you peel off the wrap completely. Be cautious not to pull the wrap, as it may cause your natural nail to chip or peel. Instead, follow a gentle peeling motion to effectively remove the nail wrap.
2:Soak Your Nails In Warm Water
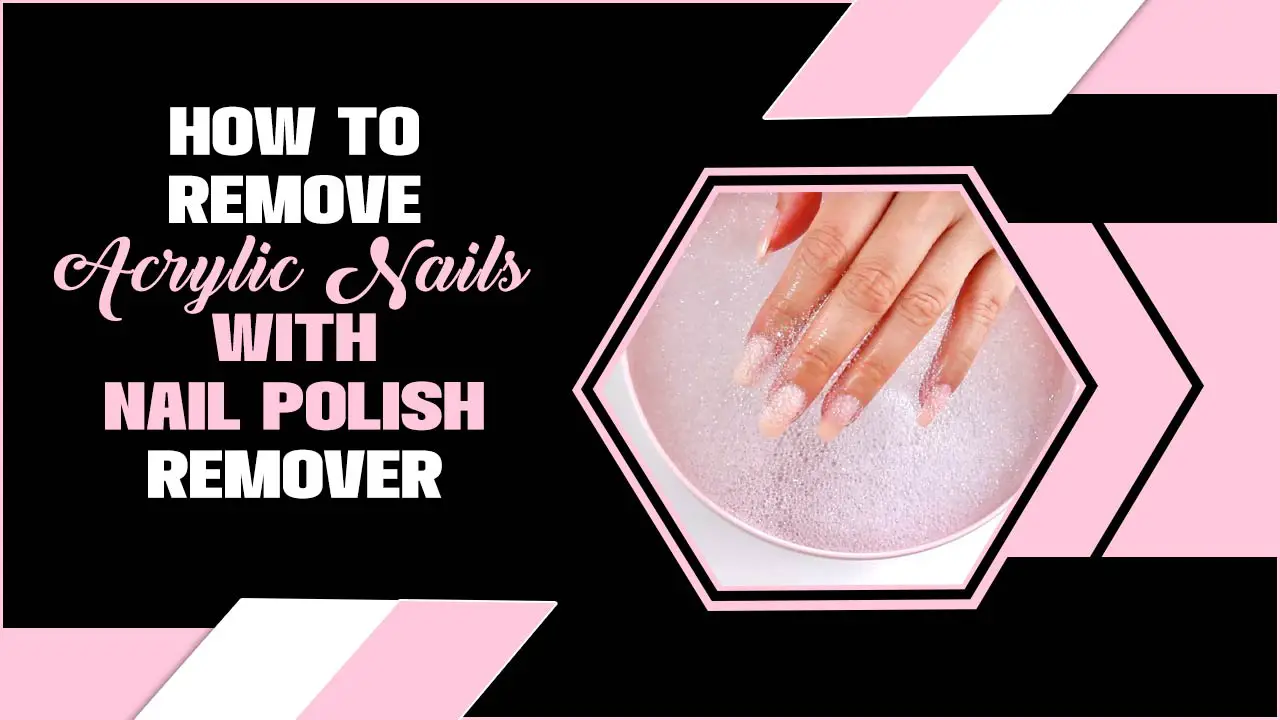
Fill a bowl with warm water and soak your nails for a few minutes. The warm water helps soften the adhesive, making removal easier. Gently rub your nails with your fingertips to encourage the nail wrap to come off. Repeat the soaking process, if necessary, until the nail wrap loosens. Soaking your nails in warm water is an effective technique for nail wrap removal.
3:Use Nail Polish Remover To Remove Residue
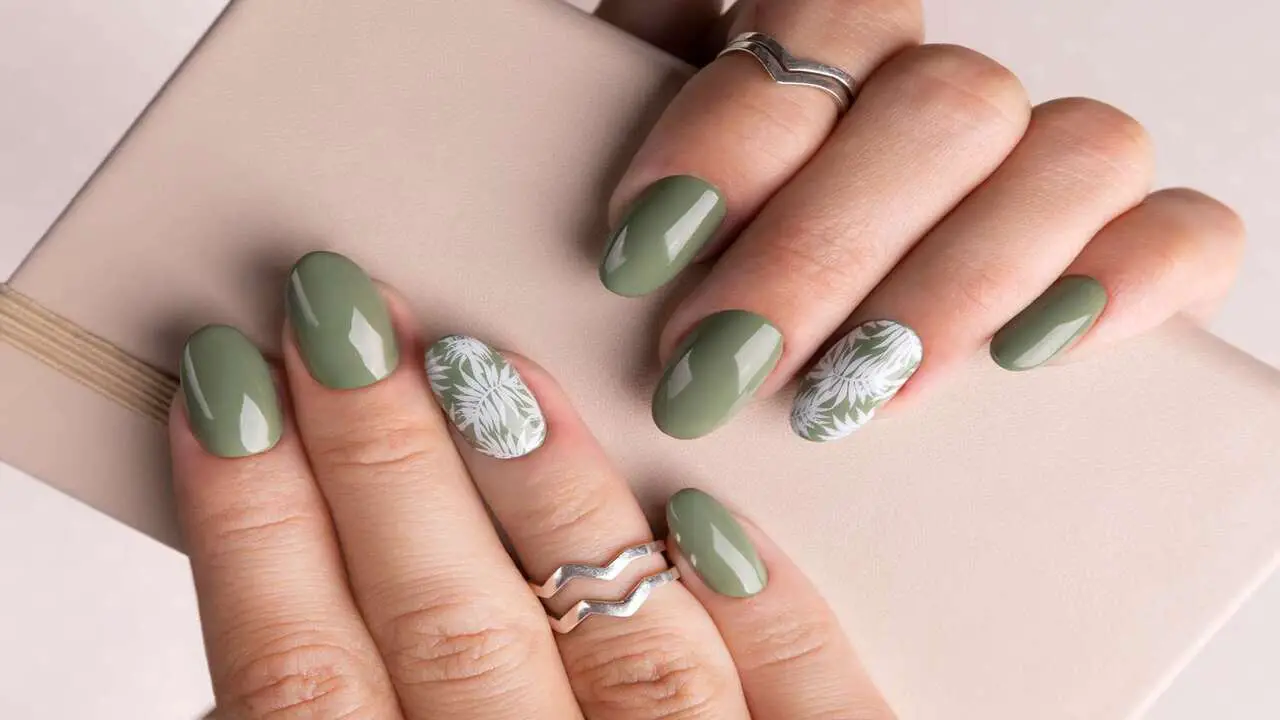
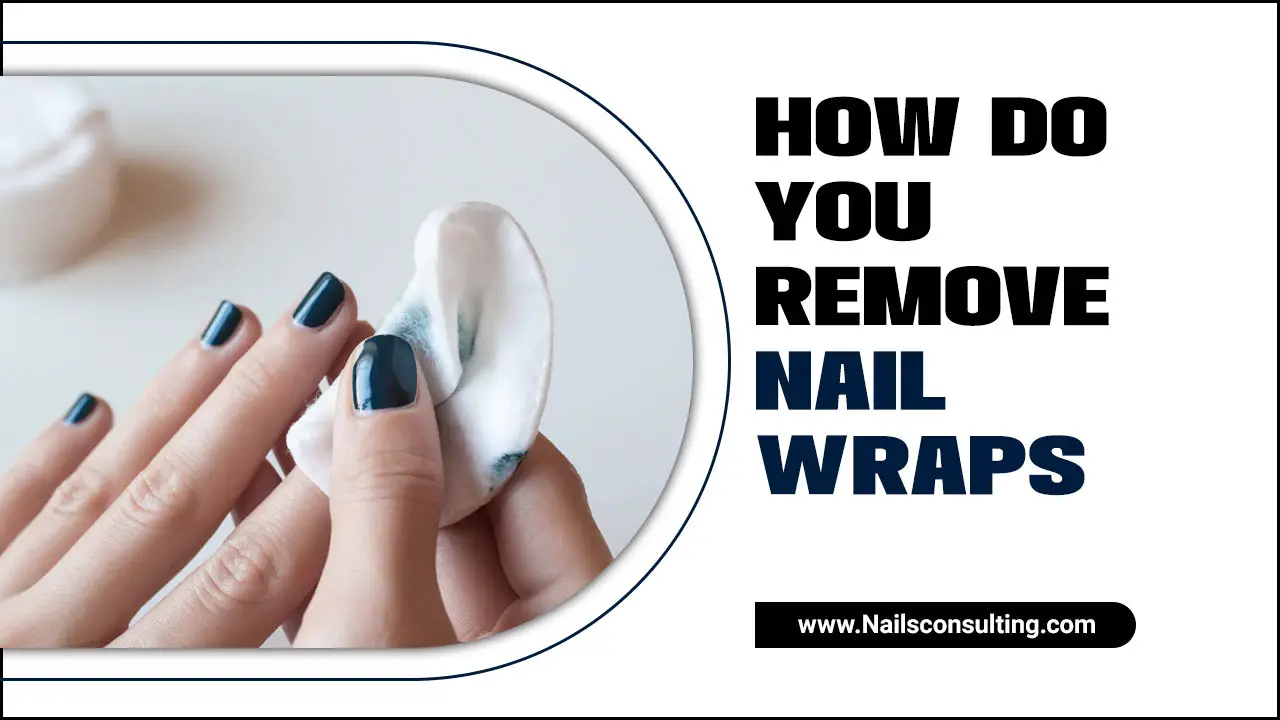
Once you have gently peeled off the nail wrap, grab a cotton pad and apply some nail polish remover. With a gentle rubbing motion, work the cotton pad over your nail bed to remove any residue or adhesive left behind.
Pay extra attention to the areas where the wrap was attached to ensure complete removal. For hard-to-reach areas, you can use a cotton bud or swab. This step ensures that your natural nails are clean and ready for the next phase.
4: Buff Away Residue With A Nail File
To remove nail wraps, gently peel off the wrap from one corner. Make removal easier by warming up the adhesive with a hairdryer or warm water. Use a cuticle pusher or orange stick to lift the wrap from the nail. Carefully buff away any remaining residue with a nail file, ensuring not to damage the natural nail. Finish by moisturizing nails and cuticles with a nourishing oil or cream.
5: Apply Cuticle Oil To Nails
After gently removing any excess nail wrap using a nail file or buffer, soak your nails in warm water for 10-15 minutes. This will help soften the adhesive. Next, use a cuticle pusher or orange stick to gently lift the edges of the nail wrap and peel it off. If there is any residue left behind, you can use acetone or a nail polish remover to remove it. Finally, apply cuticle oil to nourish and moisturize your nails.
6: Moisturize Hands And Nails
To moisturize your hands and nails after removing nail wraps, begin by soaking your nails in warm water for a few minutes. Use a cuticle pusher to gently lift the edges of the nail wraps. Apply a small amount of acetone or nail polish remover on a cotton ball and place it over the nail wrap.
Wrap each finger with foil to hold the cotton ball in place. After waiting for 10-15 minutes, carefully remove the foils and cotton balls. Finally, moisturize your hands and nails with lotion or cuticle oil.
7: Apply New Nail Wrap
To apply a new nail wrap, gather necessary materials such as acetone, cotton balls, and a nail file. Soak cotton balls in acetone and place them on top of the nail wrap, then cover nails with aluminum foil to hold the cotton balls in place. After waiting for 10-15 minutes for the acetone to loosen the nail wrap, gently use a nail file to remove any remaining wrap. Finally, moisturize your nails by applying cuticle oil.
What Are The Common Problems Faced During Nail Wrap Removal?
Removing nail wraps can sometimes be a challenging process, and there are a few common problems that people may encounter. One issue is that the nail wrap adhesive may not fully dissolve or loosen, making it difficult to remove the wraps without causing damage to the natural nail.
Another problem is that the nail wraps may become brittle and break apart during removal, leaving behind small pieces that can be time-consuming to remove completely. Additionally, some individuals may experience sensitivity or irritation when using acetone-based removers.
To overcome these challenges, it is recommended to soak the nails in warm water or use a nail wrap remover solution specifically designed for easy removal. Taking your time and being gentle during the removal process can also help minimize damage and ensure a smooth transition back to natural nails.
Conclusion
In conclusion, removing nail wraps requires careful and gentle steps to ensure that your natural nails remain strong and healthy. By following the step-by-step guide provided, you can safely and effectively remove nail wraps at home. It is important to remember to always prepare your nails before starting the removal process and to use the necessary materials such as nail polish remover and a nail file.
Additionally, be cautious of common problems that may arise during the removal process, such as residue left on the nails or damage to the nail bed. By taking proper care of your nails during the removal process, you can maintain the health and appearance of your natural nails.
Frequently Asked Questions
1.How Do You Remove Nail Wraps At Home?
Ans: Start by gently filing the top layer of the nail wrap to remove its shine. Soak your nails in acetone or use a nail wrap remover solution for about 10-15 minutes. Use an orangewood stick or cuticle pusher to lift and scrape off the nail wrap from your nail bed. After removing the wraps, be sure to moisturize your nails with cuticle oil to prevent dryness.
2.Can You Remove Nail Wraps With Nail Polish Remover?
Ans: Yes, it is possible to remove nail wraps using nail polish remover. For the best results, opt for an acetone-based nail polish remover. Soak a cotton ball or pad in the remover and place it on the nail wrap for a few minutes. Gently peel off the nail wrap once it has loosened.
3.Do Nail Wraps Wreck Your Nails?
Ans: Nail wraps can potentially damage your nails if not removed properly. Following the manufacturer’s instructions, use a non-acetone remover and gently peel off the wrap from the base of the nail. Allow your nails time to recover before reapplying nail wraps.
4.How Do You Remove Nail Wraps Without Acetone?
Ans: To remove nail wraps without acetone, start by soaking your nails in warm, soapy water for 10-15 minutes. Then, use a cuticle pusher or wooden stick to gently lift the edges of the nail wrap. Slowly peel it off from one side to the other. If needed, use a nail buffer to remove any remaining adhesive residue.
5.How To Remove Nail Wrap Stickers?
Ans: Start by soaking your nails in warm water for 10-15 minutes. Gently lift the edges of the nail wrap using a cuticle pusher or orange stick. Peel off the nail wrap slowly from one side to the other. If there is any remaining adhesive, use acetone or nail polish remover to remove it.

