Want a chic French manicure without a salon visit? Learn how to do a classic French manicure at home with our easy-to-follow guide. Achieve perfectly white tips and a polished look using simple tools and techniques. Get ready for salon-worthy nails you can do yourself!
The French manicure is a timeless classic, offering a clean, sophisticated look that complements any outfit. But achieving those perfectly crisp white tips can feel like a challenge, especially when you’re doing it yourself. Don’t worry! You don’t need to be a nail expert or spend a fortune at the salon. With a few essential tools and this simple, step-by-step guide, you’ll be mastering the art of the at-home French manicure in no time. Get ready to give yourself a beautiful, professional-looking manicure right in the comfort of your own home.
Your Essential Toolkit for the Perfect French Manicure
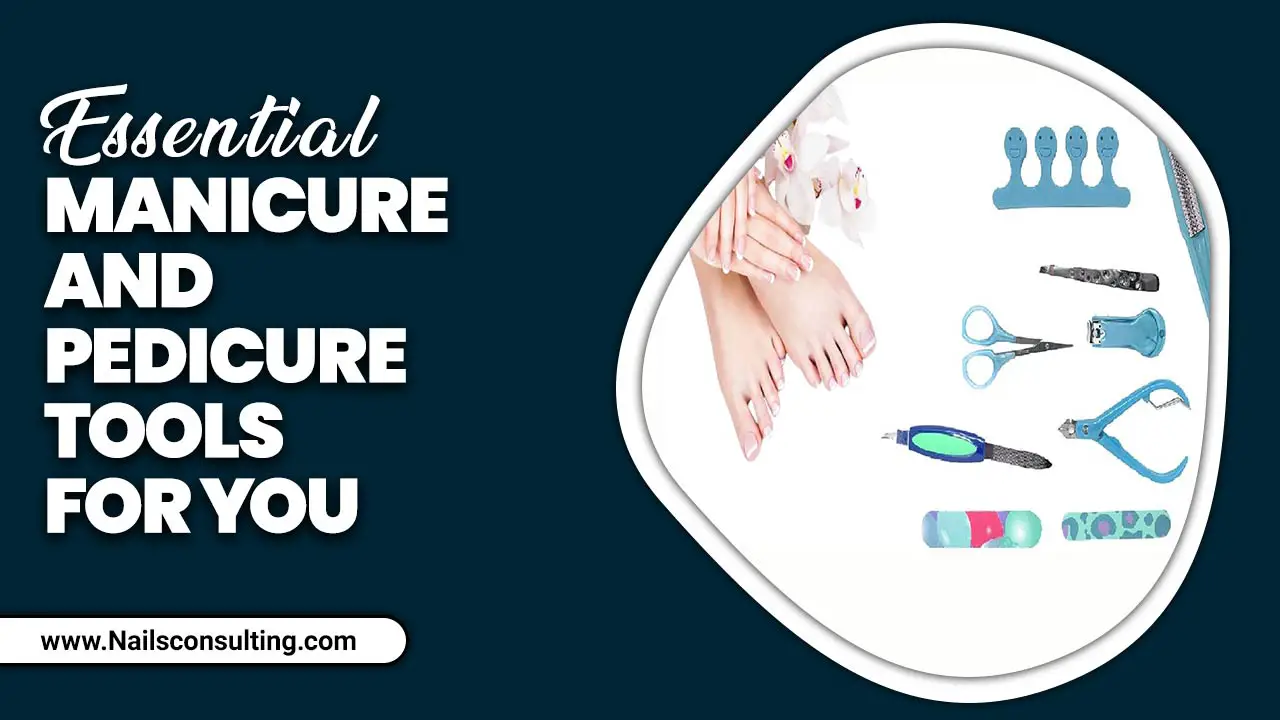
Before we dive into the step-by-step process, let’s gather what you’ll need. Having the right tools makes all the difference in achieving that clean, polished finish. Think of this as your French manicure starter pack!
Must-Have Supplies:
- Nail Polish Remover: To start with a clean slate. Acetone-free is gentler on the nails and cuticles.
- Cotton Pads or Balls: For applying the remover.
- Nail File: To shape your nails. A fine-grit file is best for shaping natural nails.
- Nail Buffer: To smooth out any ridges and add a bit of shine.
- Cuticle Pusher or Orange Stick: To gently push back your cuticles for a neat finish.
- Base Coat: To protect your natural nails and help polish adhere better.
- Sheer Pink or Nude Nail Polish: This is your “base” color for that classic French look.
- Opaque White Nail Polish: For those signature smile lines.
- French Manicure Guide Stickers (Optional but Recommended for Beginners): These adhesive strips help you create a clean line.
- Fine-Tip Nail Art Brush or Toothpick (Optional): For cleaning up any polish mistakes.
- Quick-Dry Top Coat: To seal in your design and add high shine.
- Cuticle Oil (Optional): To nourish your cuticles after the manicure.
Choosing Your Polish Colors:
The beauty of a French manicure is its versatility, but the core colors remain consistent for that iconic look. The base color is typically a sheer pink or a milky nude, designed to enhance the natural nail bed. For the tips, an opaque, bright white polish is key to creating that stark, clean contrast. You can experiment with different shades of nude and pink for your base, and even play with colored tips if you’re feeling adventurous, but this guide focuses on the traditional style.
Step-by-Step: Mastering the French Manicure at Home
Ready to get started? Follow these simple steps to achieve a flawless French manicure that will have everyone asking where you got your nails done!
Step 1: Prep Your Nails
A good manicure starts with clean, properly prepared nails. This step is crucial for polish longevity and a neater finish.
- Remove Old Polish: If you have any old nail polish on, remove it completely using nail polish remover and cotton pads.
- Shape Your Nails: Using your nail file, gently shape your nails. Most people prefer a square or squoval shape for a classic French look, but file them to your preferred shape. Always file in one direction to prevent splitting.
- Smooth and Shine: Lightly buff the surface of your nails with your nail buffer. This smooths out any ridges and prepares the nail for polish. Don’t over-buff, as this can weaken your nails.
- Push Back Cuticles: Gently push back your cuticles with a cuticle pusher or an orange stick. This creates a larger canvas for polish and gives your nails a more elongated, finished appearance. Don’t cut your cuticles, as this can lead to infection. If you have excess dead skin, you can gently buff it away with a fine-grit buffer.
- Cleanse: Wash your hands thoroughly with soap and water to remove any dust or oils. Make sure your nails are completely dry before proceeding.
Step 2: Apply the Base Coat
This is your nail’s protective shield! A good base coat prevents staining from darker polishes and creates a smooth surface for the color to adhere to. Apply one even layer and let it dry completely.
Step 3: Apply the Sheer Pink or Nude Polish
Now it’s time for your base color. Apply one or two thin, even coats of your sheer pink or nude polish. Let each coat dry thoroughly between applications. This subtle shade is what gives the nail bed that healthy, polished look. You want it to be translucent enough to see the natural nail peeking through, but opaque enough to even out the tone.
Step 4: The White Tip – Method 1: Using French Manicure Guide Stickers
These stickers are your best friends for achieving those perfect smile lines, especially if you’re new to DIY French manicures. For more information on nail care and proper application, the American Academy of Dermatology offers excellent resources on nail care basics.
- Apply Stickers: Once your base color is completely dry, carefully place a French manicure guide sticker across each nail. Position the curved edge of the sticker where you want the white tip to begin – think of it as drawing a line where the natural white part of your nail starts. Press down firmly to ensure a good seal to prevent polish from bleeding underneath.
- Paint the Tips: Apply a thin layer of your opaque white polish over the exposed tip of the nail, above the sticker line. Try to do this in one smooth stroke for each nail.
- Drying Time is Key: Let the white polish dry for at least a minute or two. It doesn’t need to be completely bone dry, but it should be firm enough not to smudge when you remove the sticker.
- Carefully Remove Stickers: Slowly and gently peel off the guide stickers. Use tweezers if you need a better grip. If any polish has smudged or if the line isn’t perfect, don’t panic! You can use a fine-tip brush or a toothpick dipped in nail polish remover to carefully clean up the edges.
Step 4: The White Tip – Method 2: Freehanding
If you’re feeling confident or don’t have guide stickers, you can try freehanding your tips. This takes practice, but can be very rewarding!
- Dip and Swipe: Dip your white polish brush into the bottle, and then swipe one side of the brush on the neck of the bottle to remove excess polish. This helps you get a cleaner line.
- The Smile Line: Start by painting a thin line across the tip of your nail. Then, create a gentle curve on either side, meeting in the middle to form your “smile line.” Don’t worry about perfection on the first try.
- Second Coat (if needed): If the white isn’t opaque enough with one coat, wait a minute or two and apply a second thin coat.
- Clean Up: This is where your fine-tip brush or toothpick comes in handy. Dip it into nail polish remover and carefully trace along the edge of your white tip to sharpen the line and clean up any wobbly bits.
Step 5: Apply the Top Coat
Once your white tips are dry and you’ve cleaned up any mistakes, it’s time for the grand finale! Apply one or two generous coats of a quick-dry top coat. This seals everything in, adds a beautiful glossy shine, and helps prevent chips. Make sure to cap the free edge of your nail by running the brush along the very tip to further protect your polish.
Step 6: Finishing Touches
Apply a drop of cuticle oil to each nail and gently massage it in. This nourishes your cuticles, making your hands look even more polished and cared for. Let your nails dry completely, which can take anywhere from 10-30 minutes depending on the polish and top coat used. Avoid using your hands for anything requiring fine motor skills until they are fully dry!
Tips for a Flawless French Manicure Every Time
Even with the best instructions, a little extra advice can go a long way. Here are some pro tips to help you achieve salon-quality results at home.
- Patience is a Virtue: The most important tool for a great DIY manicure is patience. Rushing the drying process between coats is the number one reason for smudges and uneven lines.
- Thin Coats are Key: Thick coats of polish take longer to dry and are more prone to smudging. Apply multiple thin coats instead of one thick one.
- Practice Makes Perfect: If your first attempt isn’t immaculate, don’t get discouraged! Freehanding the smile line takes practice, and even with guide stickers, there’s a learning curve. Every manicure you do will get better.
- Invest in Quality Polish: While you don’t need to break the bank, investing in decent quality nail polishes, especially your white and base coat, can make a big difference in application and longevity. For nail health, it’s always good to check out resources like those provided by the National Institute for Occupational Safety and Health (NIOSH) regarding safe nail practices.
- Consider the Shape: The perfect French tip shape often depends on your nail bed shape. For rounder nail beds, a more curved smile line works well. For squarer nail beds, a straighter smile line can look very elegant.
- Nail Polish Correctors: Keep a nail polish corrector pen or a fine-tipped brush handy. They are invaluable for cleaning up mistakes quickly and precisely.
- Cool Environment: Try to do your nails in a cool, well-ventilated area. Heat can speed up polish drying time too quickly, leading to a thicker, uneven application.
French Manicure Variations to Explore
Once you’ve mastered the classic French manicure, why stop there? The French manicure is a fantastic canvas for creativity. Here are a few fun variations to try:
Colored Tips
Swap out the traditional white polish for any color you love! Think bright neons for summer, deep jewel tones for fall, or even metallics for a festive touch. You can use the same sticker method or freehand technique.
Glitter Tips
Apply your base coat and sheer polish as usual. Then, instead of white polish, use a glitter polish for the tips. This adds instant sparkle and glamour. You can use a fine glitter polish for subtle shimmer or a chunky glitter for a bolder statement.
Reverse French Manicure
This involves painting the polish along the cuticle line instead of the tip. It creates a crescent moon shape at the base of your nail. You’ll use guide stickers but place them near the cuticle or paint the moon shape freehand.
Ombre French Manicure
Instead of a harsh line, blend the white tip into the base color for a soft gradient effect. This can be achieved using a sponge or a brush for blending.
Double French Line
After creating your basic white tip, add a second, thinner line in a contrasting color above the white line. This adds depth and a unique touch.
French Manicure vs. Other Styles: A Quick Comparison
Understanding the nuances of different nail styles can help you choose the perfect look. Here’s a simple comparison:
| Manicure Style | Description | Best For | DIY Difficulty |
|---|---|---|---|
| Classic French | Sheer pink/nude base with opaque white tips. | Everyday elegance, professional settings, versatility. | Beginner to Intermediate (easier with guides). |
| Solid Color | One uniform color applied to the entire nail. | Bold statements, ease of application, matching outfits. | Beginner. |
| Nail Art | Includes intricate designs, patterns, and embellishments. | Expressive personalities, special occasions, showcasing creativity. | Intermediate to Expert. |
| Minimalist/Barely-There | Clear polish or a very sheer, natural-looking nude. | Effortless chic, low-maintenance look, healthy nail appearance. | Beginner. |
Frequently Asked Questions About At-Home French Manicures
Q1: How long does an at-home French manicure typically last?
With proper application and a good quality top coat, a French manicure can last anywhere from 5 to 10 days. The longevity depends on your daily activities, how well you protect your nails, and the formulas of the polishes you use.
Q2: My white tips are uneven. What can I do?
Don’t worry! This is common. For uneven tips, you can either:
- Use a Nail Polish Corrector Pen: These tools are designed for precise clean-up.
- Use a Fine-Tip Brush: Dip a small artistry brush or even a toothpick into nail polish remover and carefully trace the edge of the white line to sharpen it.
- Apply a Second (Thin) Coat: Sometimes, a second thin coat of white polish can help even out the line.
Q3: Can I use regular nail polish for French manicures, or do I need special polishes?
You can absolutely use regular nail polishes! You’ll just need a sheer pink or nude for the base and an opaque white for the tips. Dedicated French manicure polishes are often formulated for good coverage and smooth application, but any good quality polishes will work.
Q4: My cuticles get dry after a manicure. What should I do?
After your manicure is completely dry, apply a nourishing cuticle oil to your cuticles and gently massage it in. This will rehydrate them and make your hands look and feel softer. Regular application of cuticle oil between manicures also helps maintain healthy cuticles.
Q5: How can I make my French manicure tips look sharper?
To achieve sharper tips, ensure your white polish is opaque and apply it thinly. Use tape guides or freehand carefully. The key to sharpness also comes from clean-up work with a corrector pen or fine brush. Don’t forget to cap the free edge with your top coat!
Q6: What’s the best way to dry my nails quickly?
For faster drying, use a quick-dry top coat. You can also try “cold water” dipping after about 5-10 minutes of drying time – submerging your nails in a bowl of cold water for a minute or two can help harden the polish. Avoid using ice-cold water, which can cause the polish to become brittle.
Conclusion
There you have it! Achieving a beautiful, classic French manicure at home is entirely within your reach. By gathering the right tools, following these simple steps, and practicing a little patience, you can create those perfectly polished nails that always look chic and sophisticated. Remember, every attempt is a learning experience, and with each manicure, your skills will grow. Don’t be afraid to experiment with variations once you’ve mastered the classic. Now go forth and give yourself the stunning French manicure you deserve!


