DIY & Tool-Based Nail Designs: Essential Tips
Mastering DIY & Tool-Based Nail Designs is simpler than you think! This guide breaks down essential tools and techniques, empowering beginners to create stunning, salon-worthy nail art at home with confidence. Get ready to unleash your creativity!
Nail art can feel a little intimidating when you’re just starting out. You see those gorgeous, intricate designs on social media and think, “There’s no way I could ever do that!” It’s true, some designs require advanced skills. But what if I told you that with a few key tools and some simple tips, you can create beautiful and unique nail designs right at home? You don’t need to be a professional nail technician to have amazing nails. We’re going to explore how everyday items and a few specialized tools can unlock a world of nail art possibilities for you. Get ready to transform your manicure routine and express yourself with stunning DIY nail designs!
Frequently Asked Questions
What are the most important tools for beginners in DIY nail art?
For beginners, the most important tools include a good base coat and top coat, dotting tools in various sizes, a fine-tipped brush, tweezers for applying small embellishments, and nail polish remover for easy clean-up. These essentials will help you create simple patterns, lines, dots, and apply glitter or rhinestones.
Can I use regular household items for nail art?
Absolutely! You can use items like bobby pins for dots, toothpicks for fine lines or swirls, and even parts of old makeup brushes for unique textures. Just be sure they are clean and won’t damage your nails or skin.
How do I prevent nail art polish from smudging?
The key to preventing smudges is patience! Always let each layer of polish dry completely before adding the next design element or top coat. Applying your designs over a fully dried base color is crucial. A good quality, quick-dry top coat can also help seal your design and prevent smudging.
What is the difference between a dotting tool and a brush for nail art?
Dotting tools have a rounded ball tip, perfect for creating consistent dots of various sizes, flowers, and polka dots. Brushes, on the other hand, offer more versatility for drawing lines, swirls, intricate details, and even creating gradients or marbling effects, depending on the brush shape and bristles.
How do I clean my nail art tools?
Most nail art tools, like dotting tools and brushes, can be cleaned with nail polish remover. For dotting tools, simply wipe the tip with a lint-free wipe soaked in remover until clean. For brushes, dip them in remover, gently brush against a clean wipe until all polish is gone, and then rinse with water. Ensure they are completely dry before storing.
Is a UV/LED lamp necessary for DIY nail art?
A UV/LED lamp is essential if you’re using gel polish as it cures (hardens) the gel. For regular nail polish, it’s not necessary. However, there are quick-dry top coats and dryer sprays available that can speed up the drying time of regular polish designs.
What are good beginner nail design ideas using tools?
Great beginner ideas include polka dots using dotting tools, simple striped nails with a fine brush, gradient nails using a sponge, or “water marble” effects using toothpicks. Applying glitter or small rhinestones with tweezers is also a simple but effective way to elevate your nails.
Unlocking Your Inner Nail Artist: The Power of Tools
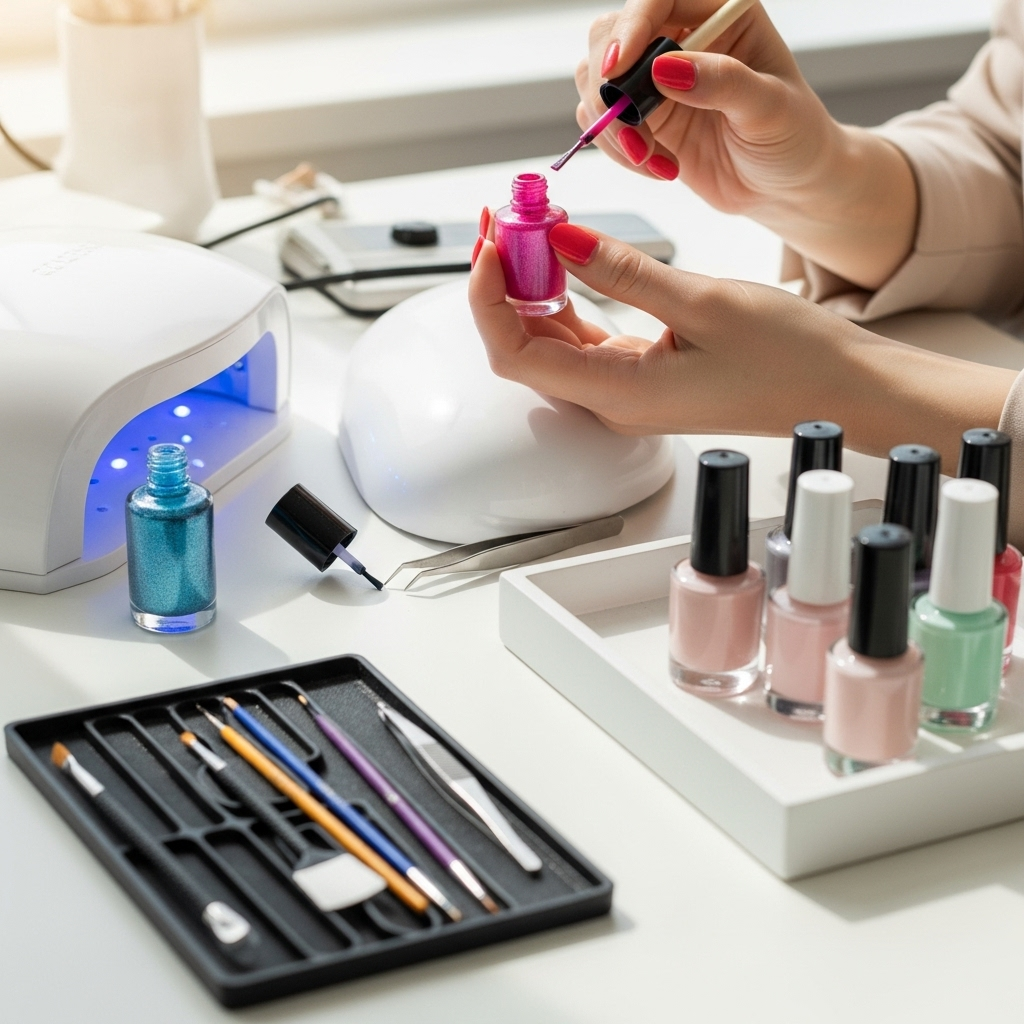
You’ve got the nail polish, you’ve got the vision, but how do you bring those amazing DIY & Tool-Based Nail Designs to life? It all starts with understanding the tools! Think of them as your artistic companions, ready to help you create magic on your fingertips. You don’t need a whole nail salon in your bathroom cabinet. A select few, easy-to-use tools can make a huge difference. Let’s dive into the game-changers!
Your Essential Nail Art Toolkit
Starting your DIY nail art journey doesn’t require a massive investment or a degree in fine arts. A few well-chosen tools will set you up for success. These are the workhorses that will help you create a wide range of designs, from simple dots to more intricate patterns.
Must-Have Tools for Every Beginner:
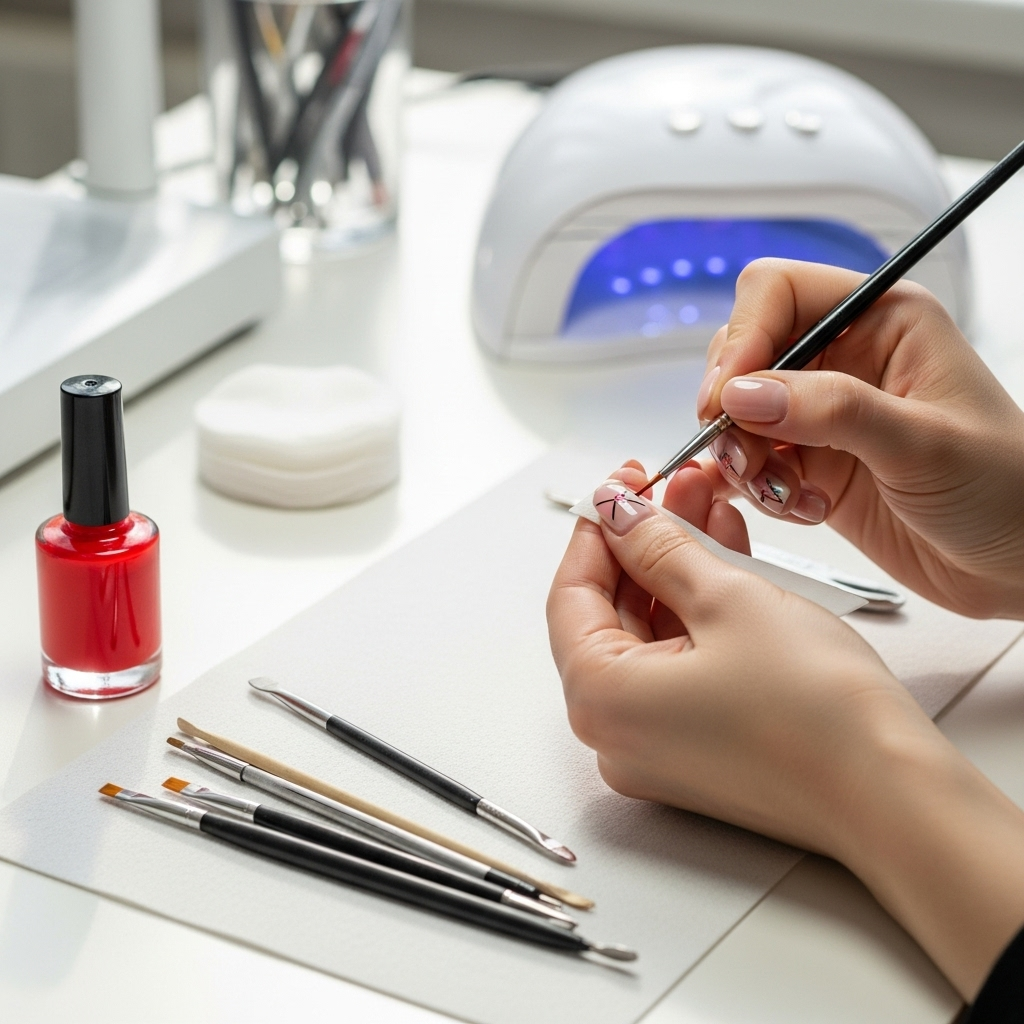
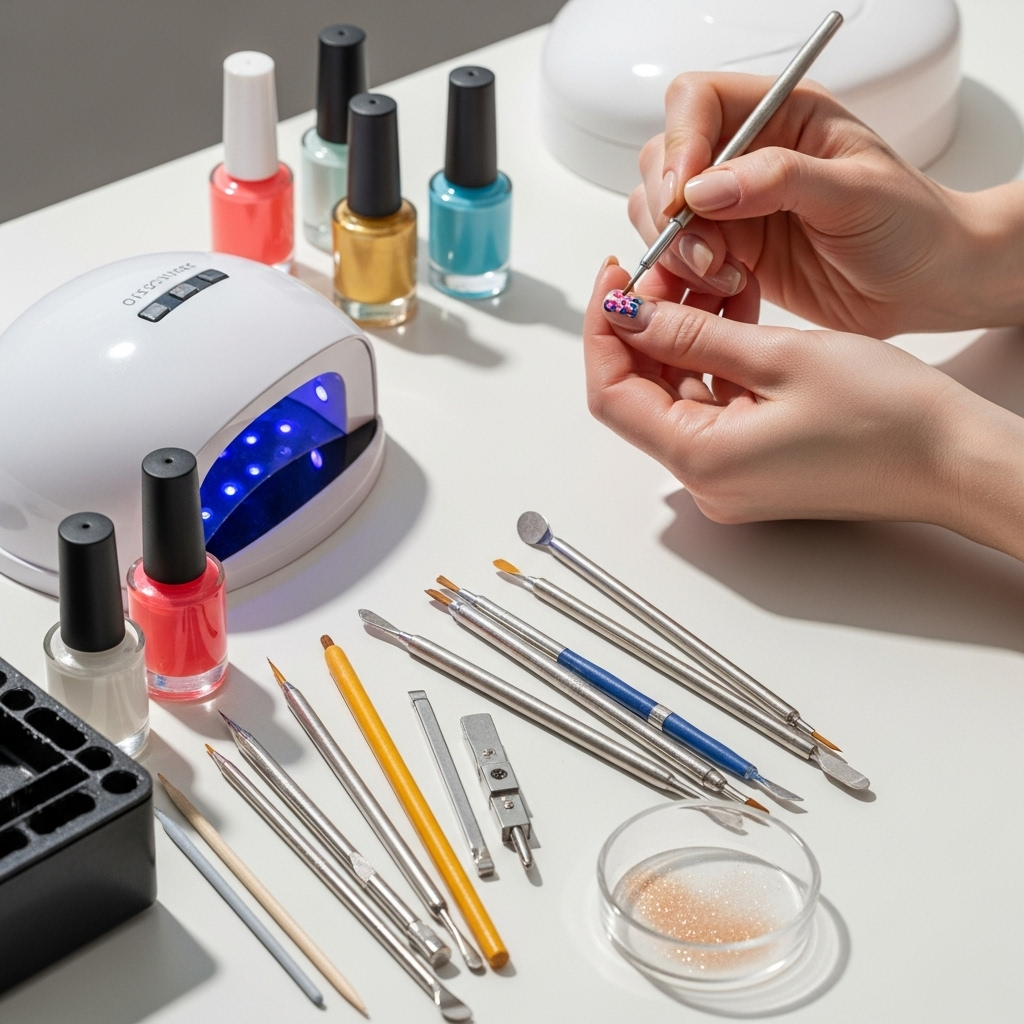
- Dotting Tools: These are your best friends for creating perfect dots, little flowers, and even swirling patterns. They come in various tip sizes, so you can get precise control over the size of your dots.
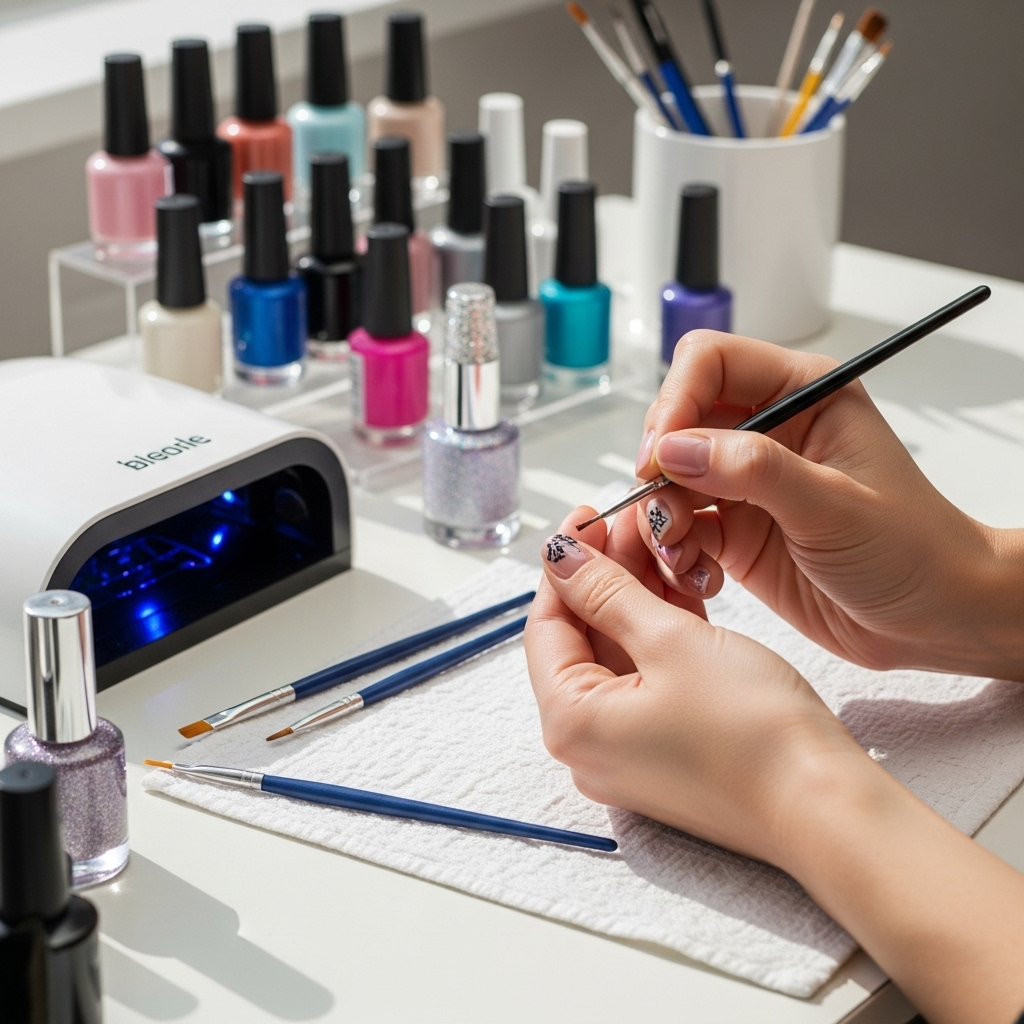
- Fine-Tipped Detail Brushes: A good set of brushes with fine bristles is essential for drawing lines, creating delicate patterns, and adding fine details. Look for a variety of thin brush sizes.
- Tweezers: Perfect for picking up and placing small embellishments like rhinestones, glitter, or even tiny nail stickers precisely where you want them.
- Nail Art Pens/Polish Pens: These are like markers but for your nails! They offer a great way for beginners to draw lines, dots, and simple shapes with ease and control.
- Sponge (Cosmetic or Nail Art Sponge): Ideal for creating gradient effects (ombre nails) or a lovely distressed texture. Drugstores often have smooth cosmetic sponges that work wonders!
- Striping Tape: This thin, adhesive tape is a lifesaver for creating clean, crisp geometric lines and patterns. You simply apply the tape, paint over it, and peel it off once the polish is almost dry.
- Stencils: Pre-cut designs that you can place on your nail and paint over, leaving a clean pattern behind when removed. Great for quick, repeatable designs.
Beyond the Basics: Next-Level Tools to Explore
Once you’ve got the hang of the basics, you might want to expand your nail art arsenal. These tools can help you achieve more complex designs and add extra flair to your manicures, pushing your DIY & Tool-Based Nail Designs to the next level.
More Advanced Tool Ideas:
- Nail Art Stamper and Plates: This is a fantastic system for intricate designs. You fill a small etched plate with polish, scrape off the excess, and use a special stamper to pick up the design and transfer it to your nail.
- 3D Nail Art Tools: These can include small spatulas for picking up gels or glitters, and tools for sculpting 3D gel designs.
- Airbrush Stencils: If you ever get into airbrushing your nails (a more advanced technique!), specific stencils offer intricate patterns.
- Silicone Clay Tools: Often used for polymer clay crafts, these can be surprisingly useful for texturizing or shaping certain nail mediums like acrylic or gel.
Mastering Techniques: Making Your Tools Shine
Having the best tools is only half the battle. Knowing how to use them effectively is where the real magic happens! Don’t worry, these techniques are beginner-friendly and will have you creating impressive DIY & Tool-Based Nail Designs in no time.
Dotting Tool Techniques
Dotting tools are incredibly versatile. Here’s how to make the most of them:
- Consistent Dots: Dip the ball end of your dotting tool into your polish. Don’t overload it – a good amount will cling naturally. Press gently onto the nail. For consistent size, use the same side of the tool and the same amount of pressure.
- Varying Sizes: Use the different sized ball ends on your tool for different dot sizes. You can also get creative by gently swirling the dots together before they dry for a marbled effect.
- Creating Flowers: Start by making a central dot. Then, place slightly smaller dots around it, like petals. You can use a different color for the center.
A great resource for understanding how to use dotting tools is NailPro, which offers visual guides and tips from industry professionals.
Brush Techniques for Beginners
Your fine-tipped brushes can do more than just draw pretty lines!
- Straight Lines: Load your brush with polish. For a clean line, anchor your pinky finger on the table for stability. Draw the line in one smooth motion.
- Swirls: Start with a line, then gently guide your brush in a curve or “S” shape before lifting. You can also use your dotting tool to help create the swirl by gently blending painted lines.
- V-Nails and French Tips: Use a thin brush to create sharp V-shapes or to perfect the curve of your French tip.
- Adding Detail: Use the very tip of the brush to add tiny dots, stars, or outline other designs.
Using Stencils and Tape
These are your secret weapons for crisp, clean geometric designs.
- Striping Tape:
- Apply your base color(s) and let them dry completely.
- Carefully place the striping tape onto your dried polish in the design you want. Press down firmly to ensure no polish seeps underneath.
- Paint over the tape with your top color.
- While the new polish is still wet (this is key!), carefully peel away the striping tape using tweezers or your fingers.
- Let it dry fully before applying a top coat.
- Stencils:
- Apply your base polish and let it dry completely.
- Carefully place the stencil onto your nail.
- Apply your contrast color polish over the stencil. A quick, even stroke is best.
- Remove the stencil immediately while the polish is still wet.
- Let the design dry completely before applying a top coat.
For more on achieving sharp lines, the TotalBeauty website has some great visual examples and tips.
Sponge Techniques for Gradients
Get that beautiful blended look with a simple sponge!
- How-To:
- Paint your base color and let it dry.
- On a piece of foil or a palette, paint two or three polish colors next to each other.
- Gently dab a sponge into the colors, picking up a blend of them.
- Lightly dab the sponge onto your nail, building up the gradient effect. You might need to reapply polish to the sponge and dab a few times.
- Clean up any polish that got on your skin with a brush dipped in nail polish remover. Finish with a top coat once dry.
Inspiration Galore: Easy DIY & Tool-Based Nail Designs
Ready to put your new tools and techniques to the test? Here are some simple yet striking design ideas perfect for beginners. These are the kind of looks that make people say, “Wow, where did you get your nails done?”
Classic Dots and Stripes
This is where most beginners start, and for good reason! They’re easy and endlessly customizable.
- Polka Dots: Use your dotting tools in various sizes over a contrasting base color. Mix and match colors for a fun, playful look. You can create uniform dots or a scattered pattern.
- Stripes: Use a fine-tipped brush to draw straight lines. For flawless stripes, try using striping tape as described above. You can go horizontal, vertical, or diagonal, or even create a plaid pattern with multiple lines.
Geometric Glam
Clean lines and shapes look incredibly chic and surprisingly easy to achieve.
- Half-Moon Nails: Use the curve of a dotting tool dipped in contrasting polish or a small circular sticker as a guide to create half-moon shapes at the base of your nail.
- Color Blocking: Use striping tape to divide your nail into sections (triangles, squares, rectangles) and fill each section with a different color.
- Chevron Nails: Create V-shapes using striping tape or by drawing lines with a fine brush. You can fill these with solid colors or gradients.
Ombre and Gradients
The blended color effect is super popular and achievable with a simple sponge.
- Classic Gradient: Choose two to four colors that complement each other. Apply them side-by-side on a sponge and dab onto the nail.
- Reverse Gradient: Instead of blending colors upwards, blend them downwards from the tip of the nail.
- Glitter Gradient: Apply a gradient of color and then add a glitter polish towards the tips of the nails for a touch of sparkle.
Embellished Elegance
Sometimes, a little sparkle is all you need!
- Rhinestone Accents: Use tweezers to place small rhinestones or gems onto a slightly wet top coat or a dab of nail glue. A single stone on an accent nail can be enough to elevate your look.
- Glitter Accents: Dip your brush into loose glitter or use a glitter polish to create an accent nail, a stripe of glitter, or a “glitter fade” towards the tips.
- Studs and Pearls: Tiny metal studs or miniature pearls can add a touch of sophistication. Place them carefully with tweezers and secure them with a top coat.
Caring for Your Tools and Nails
Keeping your tools in good condition ensures they last longer and perform better. Plus, healthy nails are the best canvas for any design!
Essential Tool Care:
- Clean After Every Use: This is crucial! Nail polish, especially gel polish, can dry and harden on your tools, making them unusable.
- Dotting Tools & Stamper Heads: Wipe gently with 100% acetone nail polish remover on a lint-free wipe.
- Brushes: Dip in acetone remover, gently swirl against a clean wipe until all polish is gone. Rinse with water and lay flat or hang to dry with bristles facing down for best shape retention.
- Store Properly: Keep tools in a clean, dry place. Brushes should ideally be stored with their caps on to protect the bristles. Dotting tools can be kept in a small container.
- Avoid Harsh Chemicals: While acetone is generally safe for metal tools, be mindful of any plastic handles that might degrade.
Nail Prep is Key:
A beautiful design starts with a healthy nail foundation.
- Clean and Dry: Ensure your nails are free from old polish, oils, and lotion before you start.
- File and Shape: Gently file your nails into your desired shape.
- Cuticle Care: Push back your cuticles gently. If they are dry, apply cuticle oil.
- Base Coat: Always apply a good quality base coat. This protects your natural nail from staining and provides a smooth surface for your polish and designs. For DIY & Tool-Based Nail Designs, a good base ensures better polish adhesion.
- Top Coat Power: A strong top coat locks in your design, adds shine, and helps prevent chips and smudges. For gel polish designs, a UV/LED lamp is essential for curing. For regular polish, consider a quick-dry top coat or a drying spray.
According to the NHS (National Health Service), proper nail hygiene and care are important for overall health and can prevent common nail issues.
Avoiding Common Pitfalls
Even with the best intentions, sometimes DIY nail art can go a little awry. Here are some common mistakes and how to fix them, so your DIY experience remains fun and frustration-free!
Common Mistakes & Solutions:
| Mistake | Solution |
|---|---|
| Polish Smudging | Patience is key! Ensure each layer of polish and each design element is dry before adding the next. Use a quick-dry top coat or a fan to speed up drying time. |
| Uneven Dots/Lines | Don’t overload your dotting tool or brush. Clean the tip between applications. For lines, stabilize your hand by resting your pinky on the table. Practice makes perfect! |
| Polish Seeping Under Tape/Stencils | Apply tape/stencils to a fully dry nail. Press down firmly to create a seal. Remove tape/stencils while the top layer of polish is still wet for the cleanest lines. |
| Tools Sticking or Clumping | Clean your tools thoroughly after each use with nail polish remover. Ensure brushes are properly shaped before drying. |
| Designs Wearing Off Quickly | Ensure your base coat and top coat are applied correctly and are fully dry. A good quality top coat is essential for longevity. Avoid touching your nails too much right after painting. |
| Staining Natural Nails | Always use a good quality base coat. Avoid dark or vibrant colors without a protective layer underneath. |
Your Nail Art Adventure Awaits!
There you have it! With these essential tools and techniques, you’re well on your way to creating stunning DIY & Tool-Based Nail Designs. Remember, the most important ingredient is your creativity and willingness to experiment. Don’t be afraid to make mistakes – they’re part of the learning process and often lead to unique, unexpected designs. Start simple, practice regularly, and most importantly, have fun with it! Your nails are a beautiful canvas for self-expression, and now you have the power to transform them into works of art. So grab those dotting tools, your favorite polishes, and let your inner nail artist shine! Happy painting!
