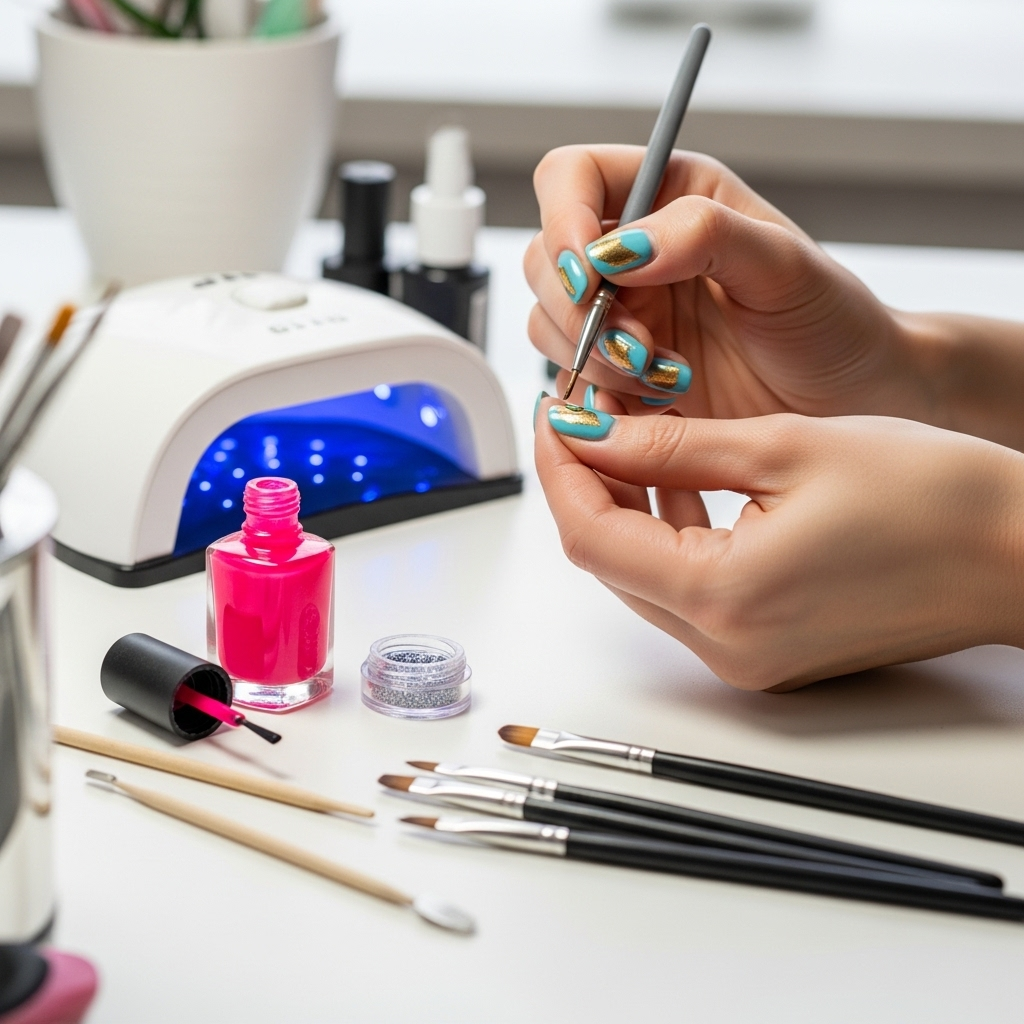
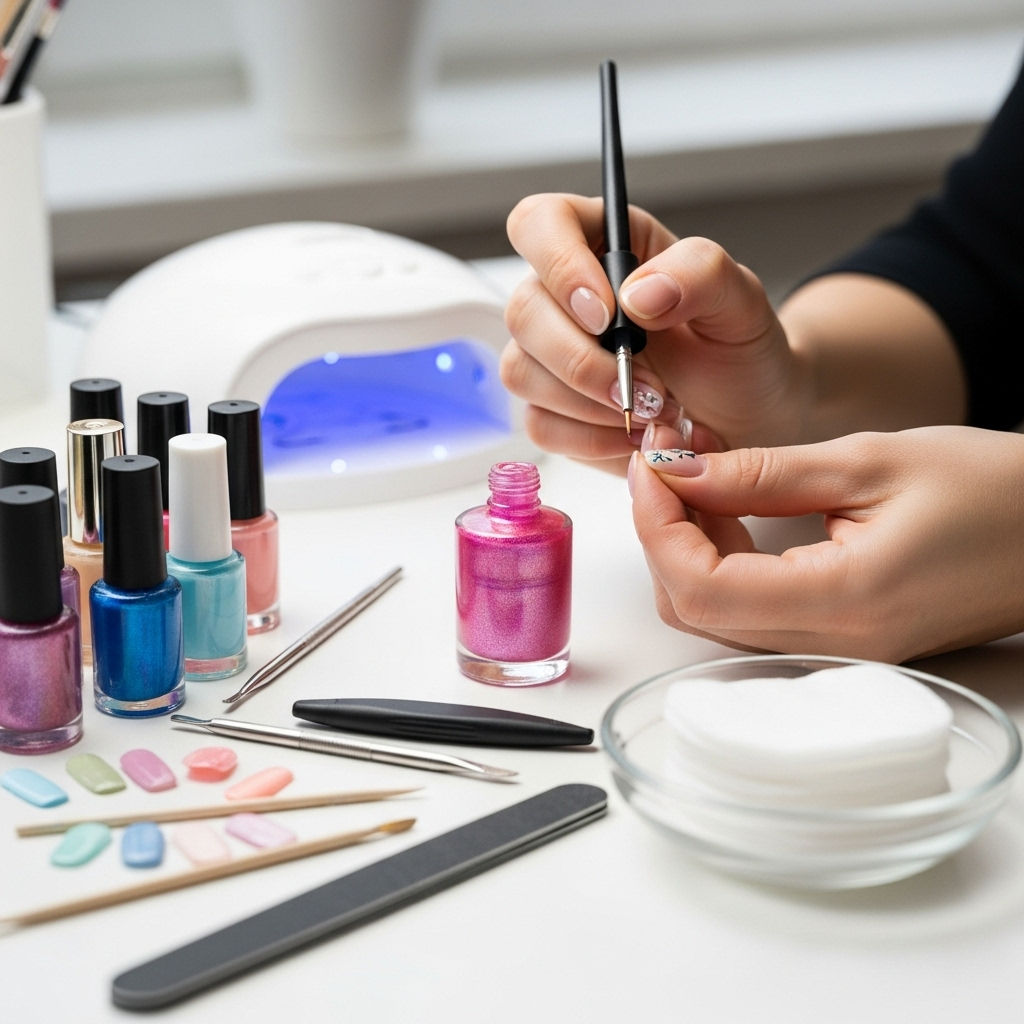
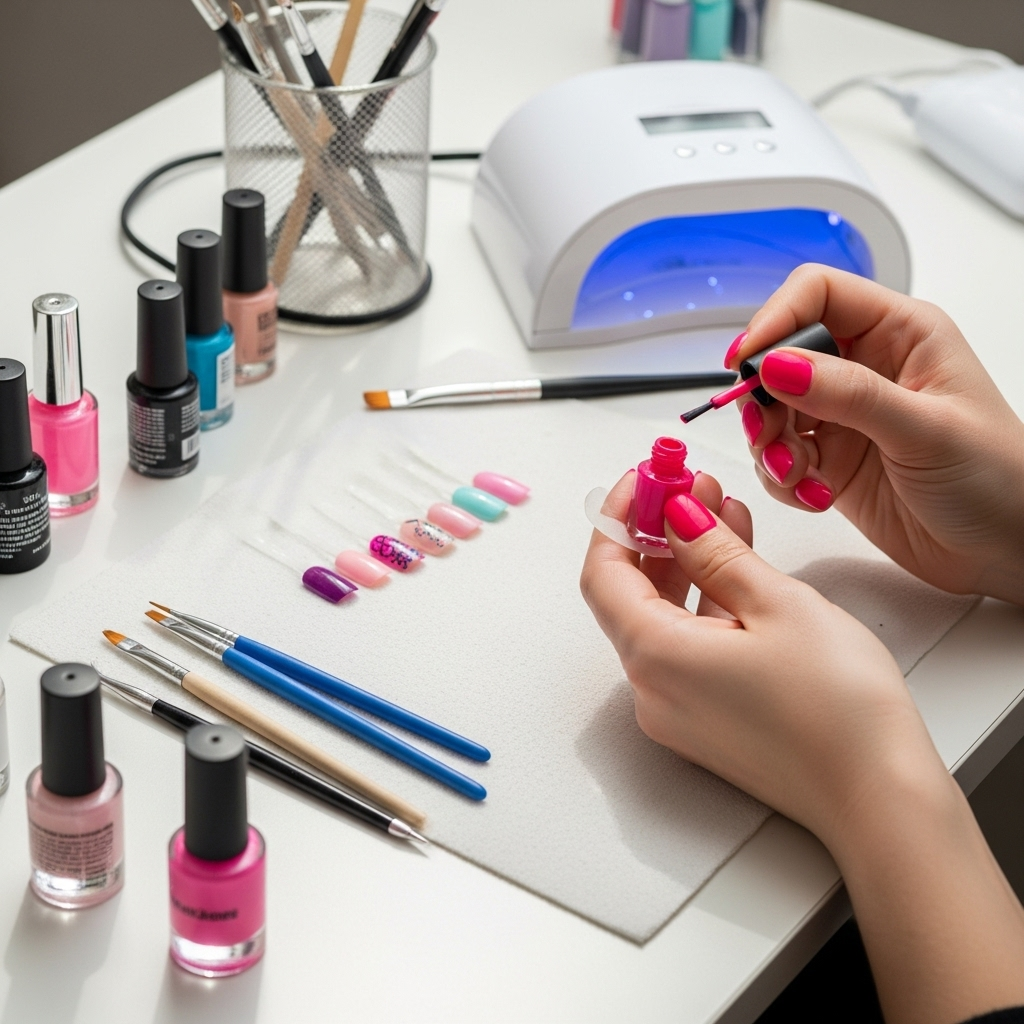
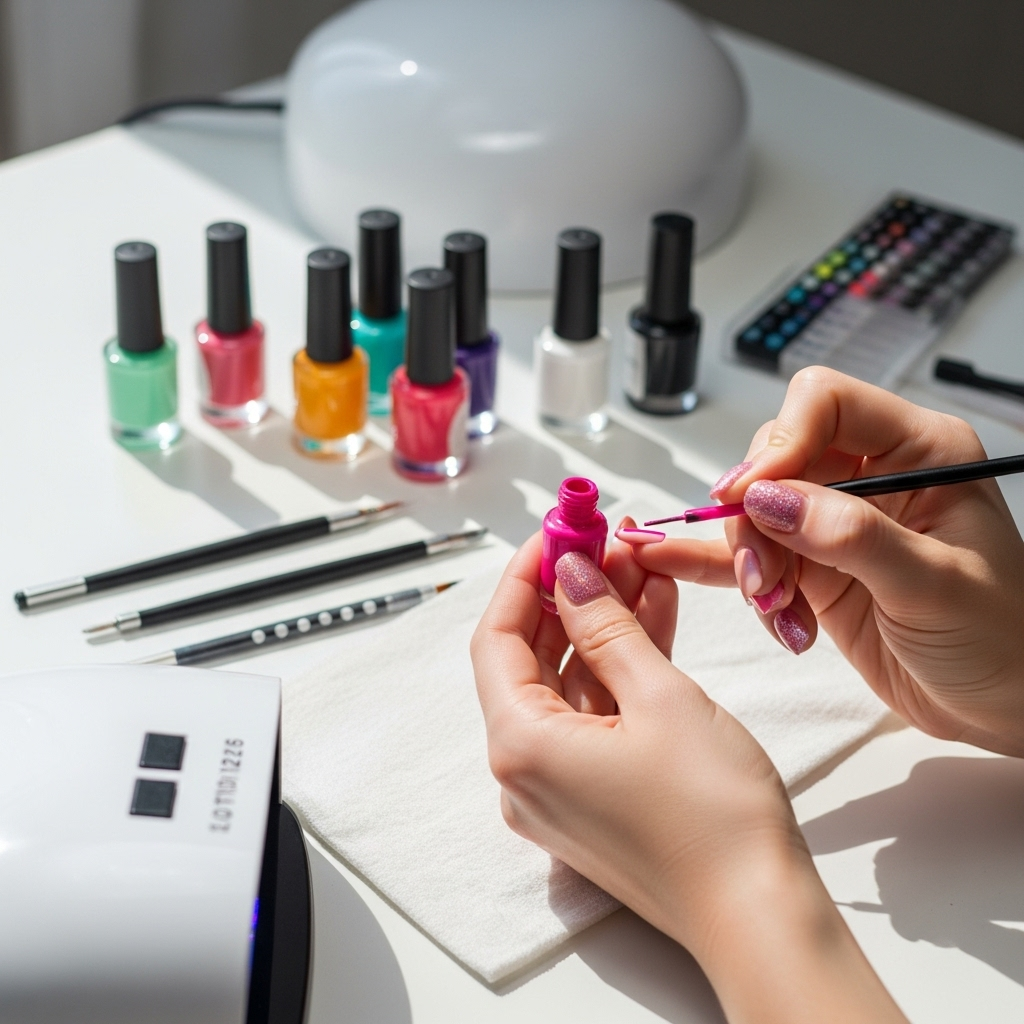
DIY nail design with affordable tools is totally achievable! You can create stunning, on-trend manicures right at home without breaking the bank. This guide unlocks budget-friendly secrets to elevate your nail art game using clever tool hacks and smart shopping.
Dreaming of salon-worthy nails but your wallet’s feeling a little light? You’re not alone! Achieving beautiful DIY nail designs often feels like it requires a treasure trove of expensive gadgets and specialty products. It’s frustrating when you see all those gorgeous nail art tutorials and think, “I could never do that!” The good news is, you absolutely can! With a few clever tricks and the right mindset, you can transform your fingertips into works of art using tools you likely already own or can grab for super cheap. Get ready to unleash your inner nail artist without emptying your savings account. We’ll walk you through everything, from essential budget tools to simple, stunning design ideas!
Why DIY Nail Design is Your New Best Friend
Let’s face it, regular salon visits for manicures can add up FAST. While a professional manicure is a treat, making DIY nail design a regular habit is a fantastic way to save money and express your personal style. Plus, there’s a unique satisfaction that comes from creating something beautiful with your own hands. It’s a creative outlet, a stress reliever, and a confidence booster, all rolled into one! This guide is all about making the process easy, affordable, and fun for everyone, no matter your skill level.
Think about it: You can match your nails to any outfit, mood, or occasion. You have complete control over the colors, patterns, and finishes. And the best part? You can experiment without that nagging feeling you’re wasting money on a professional service. It’s empowering and incredibly satisfying!
The Essential Budget Nail Art Tool Kit

You don’t need a professional salon setup to create amazing nail art. Many everyday items can be repurposed into fantastic nail design tools! Let’s break down what you actually need and how to get it without overspending.
Nail Polish: Your Colorful Arsenal
- Everyday Polishes: Start with a few classic colors you love. You can often find great deals at drugstores or beauty supply stores. Keep an eye out for sales!
- Clear Top Coat: Absolutely essential for sealing your design, adding shine, and making your manicure last longer. Don’t skimp here; a good top coat makes a big difference.
- Base Coat: Protects your natural nails from staining and helps polish adhere better.
- Metallic & Glitter Polishes: These are fantastic for adding instant sparkle and interest to simple designs. A little shimmer goes a long way!
- Matte Top Coat: For a trendy finish, a matte top coat can drastically change the look of any polish color.
Affordable “Pro” Tools (That Aren’t So “Pro” Priced)
You’d be surprised what you can achieve with these simple additions. Many of these items are available at discount stores, craft stores, or even within your own home!
- Toothpicks: Your best friend for dotting, creating small details, and cleaning up edges.
- Bobby Pins: The rounded end is perfect for creating medium-sized dots and simple floral patterns.
- Rubber Bands: Great for creating striped effects when used with tape or stencils.
- Scotch Tape/Masking Tape: Essential for sharp lines, geometric patterns, and French tips. You can find rolls of this everywhere!
- Fan Brush (or similar craft brush): You can often find inexpensive craft brushes at art supply stores. Look for one with fine, spreadable bristles – it’s perfect for creating ombre effects or a watercolor look.
- Dotting Tools (DIY Option): If you really want dedicated dotting tools without the cost, you can buy a set for a few dollars online. Or, simply use the rounded end of bobby pins and toothpicks!
- Fine-Tipped Applicators: Cotton swabs with the fluffy parts removed, sharpened pencils, or even the tip of a cuticle pusher can be used for precise details.
- Old Makeup Brushes: Clean, fluffy makeup brushes can be used for dusting glitter or creating soft color blends.
The Base: Your Natural Canvas
Before any design, healthy nails are key! Think of this as your prep work:
- Nail File: Essential for shaping. Glass files are gentle and durable, but a basic emery board works perfectly fine.
- Cuticle Pusher (Optional but helpful): Gently push back your cuticles for a cleaner look. A wooden orange stick works just as well and is very inexpensive.
- Nail Polish Remover: For correcting mistakes and cleaning up.
- Cotton Balls/Pads: For applying remover.
Genius Budget Nail Design Techniques & Step-by-Step Tutorials
Now for the fun part! Let’s dive into some easy DIY nail design ideas that are perfect for beginners and use our affordable tools.
1. The Effortless Dotting Technique
Dots are classic, stylish, and incredibly easy. You can create them with nail polish bottles themselves, toothpicks, or bobby pins.
Tools Needed:
- Base coat
- Two or more nail polish colors (one for the base, one or more for dots)
- Top coat
- Toothpick or bobby pin (or a dedicated dotting tool if you have one)
Steps:
- Apply your base coat and let it dry completely.
- Paint your nails with your chosen base color and let it dry thoroughly. This is important to prevent smudging.
- Dip the tip of your toothpick or the rounded end of your bobby pin into a contrasting nail polish color. Don’t overload it!
- Gently place dots onto your nail. You can create patterns like flowers (a larger dot for the center, smaller dots around it), scattered dots, or neat rows.
- Let the dots dry for a few minutes.
- Apply a generous layer of top coat to seal your design and add shine.
Budget Tip: Use lighter colors for the dots on a dark base, or vice versa, for maximum impact. Small dots can fill up space, while larger dots make a bolder statement.
2. The Chic Striping Tape Method
Sharp, clean lines are achievable for everyone with this simple method. It’s perfect for geometric designs, accent nails, or modern French tips.
Tools Needed:
- Base coat
- Nail polish colors of your choice
- Top coat
- Regular Scotch tape or washi tape (thin tape works best)
- Scissors or a craft knife (optional, for precise cuts)
- Tweezers (optional, for placing tape)
Steps:
- Apply base coat and then your first color. Let it dry completely until it’s no longer tacky. This is crucial – if it’s not dry, the tape will peel off the polish.
- Cut small strips of tape and carefully apply them to your nail, pressing down the edges firmly to prevent polish from bleeding underneath. Consider creating geometric shapes or a simple diagonal line.
- Paint over the taped sections with your second color. You can paint the whole nail or just the taped areas.
- While the second color is still wet, carefully (and I mean carefully!) peel off the tape using tweezers or your fingernail.
- Let the design dry completely before applying a top coat.
Budget Tip: Washi tape comes in tons of patterns and colors and can be used for more intricate designs. You can also experiment with diagonal placements or combining multiple colors. Check out National Institutes of Health‘s information on nail health to understand why proper drying and care are important for successful nail art.
3. The Easy Ombre/Gradient Effect
Achieve a beautiful, blended color effect with just a sponge or even a piece of plastic wrap!
Tools Needed:
- Base coat
- Two or more coordinating nail polish colors
- Top coat
- Makeup sponge, cotton ball, or a piece of plastic wrap
- Small dish or piece of foil to put polish on
- Optional: Cotton swabs and nail polish remover for cleanup
Steps:
- Apply base coat and let it dry.
- Apply your lightest chosen polish color as the base for the nail and let it dry completely.
- On your small dish or foil, create stripes of your chosen colors, right next to each other. For example, if you want a pink to purple ombre, put a stripe of pink next to a stripe of purple.
- Gently dab your sponge (or crumble up plastic wrap, or use a cotton ball) onto the polish stripes, picking up some of each color. Don’t oversaturate!
- Dab the sponge onto your nail in a stippling or tapping motion. You might need to reapply polish to your sponge and repeat a few times to build up the color intensity and blend.
- For a cleaner look, use a cotton swab dipped in nail polish remover to carefully clean up any polish that got on your skin.
- Once dry, apply a generous sealing top coat.
Budget Tip: If you don’t have a sponge, a balled-up piece of plastic wrap can create a unique, textured ombre. For an even simpler version, apply two colors to the tip of the sponge/plastic wrap and dab just the tips of your nails.
4. The Stunning Marbled Effect (Water Marble Alternative!)
Forget the messy water marble technique for a moment. You can achieve a similar marbled look with a simpler, cleaner approach using a toothpick or fan brush.
Tools Needed:
- Base coat
- Two contrasting nail polish colors
- Top coat
- Toothpick or an inexpensive fan brush/craft brush with spreadable bristles
Steps:
- Apply base coat and let it dry.
- Paint your nail with your base color and let it dry fully.
- Add a drop or two of a contrasting polish onto the wet (but not dripping) base polish.
- Immediately use the tip of your toothpick or the bristles of your slightly fanned-out brush to swirl the colors together gently. Don’t over-swirl, or the colors will become muddy. You want distinct veins of color.
- Let it dry for a few minutes.
- Apply a top coat to seal the design.
Budget Tip: You can also achieve a “marbled” effect by dropping two colors onto a nail that isn’t fully dry and then swirling with a toothpick. This is often called a “swirl marble” and is simpler than traditional water marbling! For more elaborate nail art, learn about proper nail preparation from resources like Mayo Clinic to ensure your nails are healthy.
5. Simple Stamped Designs with Household Items
While nail stamping plates can be expensive, you can get creative with improvised tools!
Tools Needed:
- Base coat
- Nail polish
- Top coat
- Items with texture: The sole of your shoe (clean, of course!), a textured phone case, a doily, or even fine-gauge mesh fabric.
- A scraper tool (an old gift card or credit card works!)
- A stamper (a large dotting tool or an eraser on a pencil can sometimes work as a substitute, though it’s trickier)
Steps:
- Apply base coat and your chosen polish color, letting it dry completely.
- Carefully apply a generous amount of a contrasting polish onto your textured item.
- Use your scraper card to scrape off the excess polish, leaving polish only in the textured grooves.
- Quickly and firmly roll your stamper (or makeshift stamper) over the textured item to pick up the design.
- Immediately roll the stamper onto your nail.
- Let dry and apply top coat.
Budget Tip: This technique is experimental! Don’t be discouraged if it takes a few tries. The key is to work quickly while the polish is still wet on your textured item. For easier stamping, consider investing in a very inexpensive beginner stamping kit from an online retailer – they can often be found for under $10.
Smart Shopping & Tool Care for Long-Term Savings

Being budget-savvy isn’t just about using cheap tools; it’s also about making smart choices and taking care of what you have.
Where to Find Affordable Nail Art Supplies
| Type of Store/Platform | What to Look For | Budget-Friendly Perks |
|---|---|---|
| Drugstores (CVS, Walgreens, Rite Aid) | Basic polishes, top/base coats, cotton balls, nail files, toothpicks. | Frequent sales, coupons, loyalty programs. |
| Discount Stores (Dollar Tree, Dollar General, Five Below) | Nail polish, dotting tools, some brushes, nail stickers, sponges. | Extremely low prices, good for stocking up on basics. |
| Craft Stores (Michaels, Hobby Lobby) | Fine brushes for detailing, small craft items, sometimes acrylic paints. | Coupons (especially online), clearance sections, loyalty programs. |
| Online Retailers (Amazon, AliExpress, Shein) | Nail art kits, specialty tools (dotting tools, stamping), bulk polishes. | Huge selection, competitive pricing, user reviews. Be mindful of shipping times and quality. |
| Your Own Home! | Bobby pins, toothpicks, tape, makeup sponges, craft supplies. | Free! Repurpose everyday items. |
Extending the Life of Your Tools
- Cleanliness is Key: After each use, clean your dotting tools, brushes, and any other applicators with nail polish remover. If you use acrylic paints, use water.
- Proper Storage: Store polishes upright in a cool, dark place. Keep brushes and fine tools in a small container or pouch to protect the bristles and tips.
- Guard Against Drying Out: For nail polish bottles, wipe the rim clean after use and ensure the cap is screwed on tightly. A few drops of nail polish thinner (not remover!) can revive old, slightly thickened polishes. Adding remover will break down the polish.
- Sharpen & Repair: Inspect your tools regularly. If a brush ferrule loosens, you might be able to tighten it with pliers. If a brush tip gets bent, try gently reshaping it.
Troubleshooting Common DIY Nail Design Hiccups
Even with the best intentions, sometimes things don’t go according to plan. Here are solutions to common frustrations:
- Polish Smudging: This usually happens when you touch your nail too soon after painting or applying designs. Ensure each layer is completely dry before adding the next or your top coat. Work in sections if necessary, focusing on one hand at a time.
- Color Bleeding Under Tape: Make sure your base polish is bone dry before applying tape. Press the tape down firmly around all edges. For extra protection, you can cap the edges of your nail with a thin layer of top coat around where the tape will go and let it dry before applying the tape.
- Uneven Dots: Don’t overload your toothpick or dotting tool. Dip it into the polish, then gently dab off any excess on a piece of paper or the bottle opening before applying to the nail.
- Polish Is Too Thick/Sticky: If a polish is starting to get thick and stringy, it can be hard to work with. Try adding a drop or two of nail polish thinner. Never use nail polish remover, as it will ruin the polish.
- Designs Aren’t Sharp Enough: This can be due to a few things: polish that’s too thin, a brush that’s too wet or too dry, or not pressing tape down firmly. Experiment with applying polish in thinner layers and ensuring all your tools are clean and at the right consistency.
Remember, practice makes perfect! Every time you try a new technique, you’ll get better. Don’t be afraid to make mistakes – nail polish remover is your friend!
Frequently Asked Questions About Budget Nail Art

Q1: What are the absolute must-have affordable tools for beginners?
A1: You really only need base coat, a few colors of polish, a good top coat, and a toothpick or bobby pin for dotting. Scotch tape is also a game-changer for lines!
Q2: How can I make my DIY nail designs last longer?
A2: A high-quality top coat is your best friend! Apply it generously. Also, make sure each layer of polish and design is completely dry before moving on to the next step or applying the top coat. Avoid harsh chemicals and prolonged water exposure.
Q3: Can I use regular craft acrylic paints for nail art?
A3: Yes! Many inexpensive craft acrylic paints from art stores work beautifully for nail art. Just be sure to seal them thoroughly with a good top coat. Use them on dry polish, not wet, and clean your brushes with water immediately after.
Q4: My nail polish gets clumpy and hard to use. What can I do?
A4: If your polish is starting to thicken, avoid adding nail polish remover, as it contains oils that can break down the formula. Instead, use a few drops of nail polish thinner. This is specially formulated to restore polish consistency without damaging it.
Q5: How do I clean my nail art brushes and dotting tools?
A5: For nail polish, use nail polish remover and a lint-free wipe or paper towel. For acrylic paints, use water and soap if needed. Make sure to clean them thoroughly after every use to keep them in good condition.
Q6: What’s the easiest way to get clean lines on my nails?
A6: Using Scotch tape or washi tape is the easiest beginner method for clean lines. Ensure your base polish is completely dry, press the tape down firmly to prevent bleeding, and carefully peel it off while the top coat is still wet or while the last layer of polish is still wet (depending on the technique).
Conclusion: Unleash Your Inner Nail Artist!
See? Creating beautiful and trendy DIY nail designs doesn’t require a fortune or a degree in art. With a little creativity and some smart choices about tools and materials, you can achieve professional-looking results right at your own fingertips. We’ve explored how to build an affordable tool kit, tackled easy techniques like dotting and striping, and shared tips for saving money and keeping your tools in top shape.
Remember, nail art is a journey! Don’t be afraid to experiment, play with colors, and try new designs. Embrace the process, celebrate your creativity, and most importantly, have fun! Your nails are a canvas for your personal style, so go ahead and make them shine, affordably and beautifully. Happy polishing!

