Unlock your inner nail artist with these essential and effortless DIY nail art tips! Learn to create stunning looks at home, discover must-have tools, and master simple techniques for salon-worthy results on a budget. Get ready to express your unique style, one fabulous nail at a time!
Ever gazed at a perfectly painted nail design and thought, “I could never do that!”? You’re not alone! Many of us admire intricate nail art but shy away, convinced it’s too complicated or requires a professional touch. The good news is, creating beautiful DIY nail art at home is totally achievable. With a few key tips, the right basic tools, and a sprinkle of patience, you can transform your fingertips into tiny canvases of creativity. Forget those costly salon visits; let’s dive into making gorgeous nails a part of your everyday routine. Get ready to unleash your inner artist and discover how fun and easy DIY nail art can be!
Your Beginner’s Guide to Effortless DIY Nail Art
Welcome, nail lovers! I’m Lisa Drew from Nailerguy, and I’m thrilled to guide you through the wonderful world of DIY nail art. Think of this as your friendly chat with a nail-savvy friend who’s here to demystify creative manicures. We’ll be covering everything from the absolute essentials for your nail art toolkit to super simple techniques that will have you painting like a pro in no time. No more intimidation, just pure fun and fabulous nails! Let’s get started on making your nails the talk of the town, all by yourself!
Creating stunning nail art at home might sound daunting, but it’s all about starting with the basics and building your confidence. We’ll break down the essentials, share clever hacks, and introduce you to easy-to-master designs. Whether you have five minutes or an hour, there’s a nail art trick for you. Let’s make your nails a canvas for your unique style!
The Absolute Must-Haves: Essential Nail Art Tools for Beginners
Before we grab any polish, let’s talk tools! Having the right basic equipment makes all the difference, especially when you’re just starting. You don’t need a professional kit; a few key items will set you up for success. Think of these as your trusty sidekicks on your DIY nail art journey.
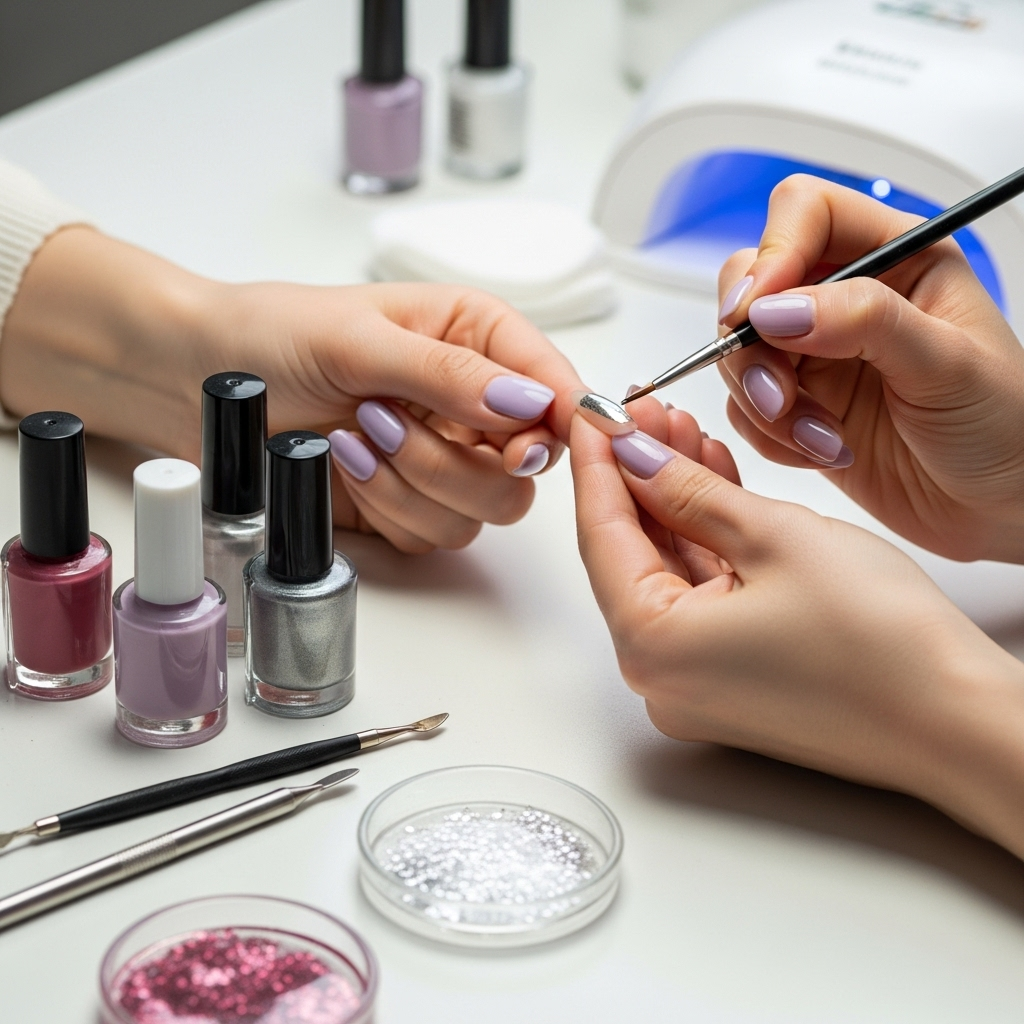
Having the right tools doesn’t mean you need to break the bank. Many of these items are affordable and readily available. Let’s look at what you should consider adding to your nail art arsenal:
- A good quality base coat: This is non-negotiable! A great base coat protects your natural nails from staining and helps your polish adhere better for a longer-lasting manicure. It’s the foundation for everything else.
- A reliable top coat: Crucial for sealing your design, adding shine, and preventing chips. Look for a quick-drying formula to save time and frustration.
- Nail polish remover: For those inevitable little mistakes or when it’s time for a fresh canvas. Acetone-free options are gentler on your nails and cuticles.
- Cotton pads or balls: Essential for polish removal and cleaning up edges.
- Orange sticks or cuticle pushers: Handy for cleaning up polish around the cuticle lines and precise application.
- Dotting tools: These are a beginner’s best friend! They come in various sizes and make creating dots (the building blocks of many designs!) incredibly easy.
- Fine-tipped brushes: A couple of thin brushes are perfect for drawing lines, swirls, and simple shapes. You can even repurpose old eyeliner or makeup brushes (make sure they’re clean!).
- Nail polish corrector pen (optional but helpful): If you’re prone to little slips, a corrector pen can quickly fix those tiny mistakes without ruining your entire manicure.
- Nail files: To shape your nails perfectly before you start decorating.
- Clear tape or masking tape: Amazing for creating clean lines and geometric patterns.
Gathering these essentials will give you a fantastic starting point for all sorts of nail art projects. Don’t feel overwhelmed; you can build your collection over time! The key is to start with what works for you and what’s accessible.
Nail Prep 101: The Foundation for Fantastic Art
Just like any great artwork, nail art needs a solid foundation. Proper nail preparation is key to a smooth application, a polished finish, and a manicure that actually lasts longer than a day. Skipping these steps is like trying to paint on a bumpy canvas – it just won’t turn out as well!
Here’s how to prep your nails for DIY nail art success:
-
Nail Shaping: Start by filing your nails to your desired shape. Whether you love a square, round, or oval look, make sure all your nails are even. File in one direction to avoid weakening the nail.
-
Cuticle Care: Gently push back your cuticles using an orange stick or cuticle pusher. Avoid cutting them unless absolutely necessary, as this can lead to infection. Healthy cuticles make for a cleaner-looking nail bed.
-
Buffing (Optional): Lightly buff the surface of your nails with a fine-grit buffer. This removes any natural oils and creates a slightly smoother surface for polish to adhere to. Be gentle; don’t over-buff!
-
Cleanliness is Key: Wipe your nails with nail polish remover. This removes any lingering oils, dust, or residue that could prevent your polish from sticking.
-
Base Coat Application: Apply a thin, even layer of your chosen base coat. Let it dry completely. This step is crucial for protecting your nails and ensuring your color applies smoothly.
Taking these simple steps before you even pick up your color will dramatically improve the look and longevity of your DIY nail art. It’s a small effort for a big payoff!
Effortless Techniques Any Beginner Can Master
Now for the fun part – actually creating the art! We’ll start with techniques that are super forgiving and deliver impressive results. These are perfect for building your skills and confidence.
The Power of Dots
Dots are the building blocks of so many nail art designs. They’re easy to do and can be as simple or as complex as you like. Your dotting tools are your best friends here!
How to do it:
- Dip your dotting tool into a small amount of polish. Don’t overload it!
- Gently press the polish onto your nail in the desired spot.
- For smaller dots, use a smaller dotting tool tip. For larger dots, use a bigger tip or the round end of an orange stick.
- Clean your dotting tool between colors or if it gets too much polish.
Design Ideas:
- Polka Dots: Apply one color as a base, let it dry completely, then add dots in a contrasting color. Vary the size of the dots for a dynamic look.
- Galaxy Nails: Use a dark base, then dab on different colors (blues, purples, pinks, whites) with a sponge for a mottled effect. Add tiny white dots with a dotting tool for stars.
- Fruit Designs: Create simple dots to mimic the texture of strawberries, or use them as parts of larger fruit shapes.
Simple Stripes and Lines
Clean lines can elevate a simple manicure instantly. Tape is your secret weapon for perfect stripes!
How to do it (with tape):
- Paint your base color and let it dry completely. This is super important, or the tape will peel off the polish.
- Cut a piece of tape to size and carefully place it on your nail where you want a straight edge. Press down firmly around the edges to prevent polish from bleeding underneath.
- Paint over the taped area with your second color. Apply a thin coat to prevent bleeding.
- While the second color is still wet but not pooling, carefully peel off the tape.
- Let the nail dry fully before applying a top coat.
Design Ideas:
- French Tips: Instead of a white curve, use tape to create sharp, colorful tips.
- Color Blocking: Divide your nail into sections with tape and paint each section a different color.
- Geometric Patterns: Use tape to create criss-cross lines, chevrons, or triangles.
How to do it (with a brush):
- Paint your base color and let it dry.
- Dip your fine-tipped brush into polish, wiping off excess.
- Gently glide the brush across the nail to create your line. Practice on paper first!
The Sponge Technique for Ombré and Texture
Achieve a beautiful ombré (gradient) effect or a cool textured look using a simple makeup sponge.
How to do it:
- Paint your base color (often lighter) and let it dry.
- Apply two or three colors onto the edge of a makeup sponge.
- Gently dab the sponge onto your nail, starting at the tip and working your way down. You might need to dab a few times to build up the color.
- Clean up any polish that got onto your skin around the nail.
- Apply a top coat to blend the colors and add shine.
Design Ideas:
- Ombré Gradient: Blend two or three complementary colors for a sunset or beachy vibe.
- Textured Backgrounds: Use a single color or a few muted tones to create a distressed or abstract background for other nail art elements.
Simple Stamping (Introduction)
Nail stamping uses stencils (plates) and a special stamper to transfer designs. While it has a slight learning curve, it’s amazing for intricate patterns!
What you need: Stamping plates, a stamper and scraper, and specific stamping polish (which is more opaque). We won’t go deep here, but know it’s an option for future exploration!
How to start:
- Apply polish to the design on the stamping plate.
- Scrape off excess polish with a firm, angled motion.
- Immediately roll the stamper over the design to pick it up.
- Quickly roll the stamper onto your nail.
- Top coat once dry.
Troubleshooting Common DIY Nail Art Mishaps
Let’s be real: not every nail art attempt is perfect on the first try. But that’s okay! Knowing how to fix common issues will save your manicure and your sanity.
Here’s a quick guide to fixing those everyday oopsies:
| Problem | Solution |
|---|---|
| Polish Bleeding Under Tape | Ensure tape is pressed down firmly. Let the base color dry completely before applying tape. Apply the second color in thin coats and remove tape while wet. |
| Bubbles in Polish | This often happens when polish is applied too thick, or the bottle has been shaken too vigorously. Let the polish settle for a bit before application. Apply thin coats and ensure each layer is dry before the next. |
| Smudged Design | If the smudge is minor, you can sometimes gently pat it back into place with a clean finger or cuticle pusher while it’s still wet. If it’s a major smudge, it’s often best to remove the polish on that nail and start again. Wait for layers to dry more before adding details. |
| Uneven Lines or Dots | Minor imperfections can often be cleaned up with a fine-tipped brush dipped in nail polish remover around the edges. For major issues, it might be easier to cover the nail with your base color and try again. Practice makes perfect! |
| Polish Not Staying On | Ensure nails are clean and free of oils. Use a good base coat and top coat. Reapply the top coat every 2-3 days to boost shine and wear. |
| Difficulty with Fine Details | Use a nail polish corrector pen or a fine-tipped brush with a tiny bit of polish remover to clean up edges. Practice drawing lines on paper or sticky notes first to get a feel for the brush. |
Remember, a little patience goes a long way! Don’t be afraid to make mistakes – they are part of the learning process.
Easy Design Inspiration for Every Occasion
Feeling inspired but not sure where to start? Here are some simple design ideas using the techniques we’ve discussed. These are perfect for beginners and can be adapted to your personal style.
1. The Classic Polka Dot Fun
Colors: Choose any two contrasting colors. Think brights for summer, softer pastels for spring, or classic black and white for everyday chic.
Technique: Base coat, let dry. Apply main color, let dry completely. Use a dotting tool to add dots in your second color. Finish with top coat.
Occasion: Casual, playful, great for adding a pop of fun to any outfit.
2. Chic Stripes
Colors: A nude or soft pink base with thin metallic gold or silver stripes is elegant. Or, go bold with navy and white!
Technique: Base coat, paint with your first color, let dry thoroughly. Apply tape to create a stripe, paint with second color, remove tape while wet. Top coat.
Occasion: Sophisticated, modern, suitable for work or a night out.
3. Simple Gradient Ombré
Colors: Blend two or three shades of the same color family (e.g., light pink, medium pink, dark pink) or contrasting colors like coral and yellow.
Technique: Base coat, paint with your lightest color, let dry. Use the sponge technique with your chosen colors. Top coat generously to smooth the transition.
Occasion: Trendy, summery, vacation-ready.
4. The “Accent Nail” Trick
Concept: This is less of a technique and more of a strategy! Paint four nails one solid color, and use the fifth nail (usually the ring finger) for a more detailed design. This draws attention without overwhelming your look.
Design for Accent Nail: Try a simple marble effect, a scattering of dots, or a single stripe.
Occasion: Versatile, elegant, perfect for when you want a hint of art without a full commitment.
5. Minimalist Geometric Shapes
Colors: Often best done with a single accent color on a neutral base.
Technique: Base coat. Apply a neutral polish. Using a fine-tipped brush or tape, add a small triangle at the cuticle, a single line down the center, or a small dot near the tip. Keep it simple and clean.
Occasion: Modern, understated, great for those who prefer minimalism.
These are just starting points! Don’t be afraid to experiment with different color combinations and placement. Remember to check out resources like #diynailart on Instagram for endless visual inspiration.
Maintaining Your Masterpiece: Tips for Longevity
You’ve created a DIY nail art masterpiece – congratulations! Now, how do you keep it looking fabulous for as long as possible? A little aftercare goes a long way.
- Seal the Deal: Always apply at least one, and ideally two, thin coats of a good quality top coat. This is your protective shield against chips and smudges.
- Be Gentle: Avoid using your nails as tools. Don’t pry open cans, scrape off stickers, or dig into things. Treat them with care!
- Moisturize: Keep your hands and cuticles hydrated. Dry skin around your nails can make even the prettiest manicure look less polished. Use cuticle oil and hand cream daily.
- Gloves Are Your Friend: When doing chores that involve water, chemicals, or harsh scrubbing (like washing dishes or cleaning), wear rubber gloves. This is one of the biggest factors in preventing polish from peeling or chipping.
- Touch Up Your Top Coat: Every 2-3 days,


