DIY gel nail design ideas at home are completely achievable for beginners! With the right tools and simple techniques, you can create stunning, salon-worthy manicures right in your own space. This guide breaks down essential, easy-to-master styles to boost your nail art confidence.
Dreaming of beautiful, long-lasting gel nails but intimidated by the salon price tag or complex designs? You’re not alone! Many of us love the glossy finish and durability of gel manicures, but the thought of doing them ourselves can feel overwhelming. Maybe you’ve tried before and ended up with a sticky mess, or perhaps you’re just starting and don’t know where to begin. Well, get ready to banish those nail art blues! This guide is here to show you just how easy and fun DIY gel nail design can be. We’ll walk through everything you need, from the basic tools to creating gorgeous, simple designs that will make your friends ask, “Where did you get those done?” Let’s dive into the wonderful world of at-home gel nails!
Your At-Home Gel Nail Design Toolkit
Getting started with DIY gel nails doesn’t require a professional setup. With a few essential items, you’ll be well on your way to creating beautiful manicures. Think of this as your starter pack for nail success!
The Must-Have Gel Nail Essentials:
- LED or UV Gel Lamp: This is crucial for curing (hardening) the gel polish. LED lamps are faster and more energy-efficient, while UV lamps are a traditional (and often more affordable) option. For beginners, an LED lamp is generally recommended for its speed and ease of use. You can find reliable UV lamps, and safety guidelines generally apply to their use.
- Gel Nail Polish Kit: This usually includes a base coat, color coat(s), and a top coat, all formulated to work together and be cured under a lamp.
- Nail Prep Tools:
- Nail File: For shaping your nails. A medium grit (around 180-240 grit) is good for gel.
- Buffer Block: To gently smooth the nail surface for better adhesion.
- Cuticle Pusher/Orange Stick: To gently push back cuticles before applying polish.
- Lint-Free Wipes: Essential for cleaning the nail and removing any residue without leaving fibers behind.
- Alcohol Wipes or Isopropyl Alcohol (70%+): To disinfect and dehydrate the nail plate.
- Gel Brushes (Optional but Recommended): For more intricate designs, fine-tip brushes, dotting tools, or striping brushes can be very helpful.
- Nail Polish Remover: Specifically for gel polish, often acetone-based, or a non-acetone remover if you have sensitivities.
- Cotton Balls or Pads: Used with remover for soaking off gel polish.
Step-by-Step: The Basic Gel Manicure Application
Before we get to the fun designs, mastering the perfect gel polish application is key. Follow these steps for a smooth, long-lasting base.
Preparing Your Nails:
- Cleanse and Disinfect: Wash your hands thoroughly and then wipe each nail with alcohol or an alcohol wipe. This removes any oils or dirt.
- Shape Your Nails: File your nails to your desired shape and length.
- Gently Push Back Cuticles: Use a cuticle pusher or orange stick to carefully push back your cuticles. Avoid cutting them unless you’re very experienced, as this can lead to damage.
- Buff the Nail Surface: Lightly buff each nail with your buffer block. This creates a slightly rough surface, which helps the gel polish adhere better. Don’t over-buff! You just want to remove the natural shine.
- Wipe Away Dust: Use a lint-free wipe to remove any dust from filing and buffing.
Applying the Gel Polish:
- Apply Base Coat: Apply a thin, even layer of the gel base coat. Be sure to cap the free edge of your nail (paint the very tip) to prevent chipping.
- Cure Base Coat: Place your nails under your LED or UV lamp according to the lamp’s instructions (usually 30-60 seconds for LED).
- Apply Color Coat: Apply a thin layer of your chosen gel color. Again, cap the free edge. It might look streaky on the first coat – that’s normal!
- Cure Color Coat: Cure under the lamp for the recommended time.
- Apply Second Color Coat: Apply a second thin layer of color for full opacity. Cap the free edge.
- Cure Second Color Coat: Cure under the lamp.
- Apply Top Coat: Apply a thin layer of the gel top coat. Cap the free edge. This step is vital for shine and protection.
- Cure Top Coat: Cure under the lamp for the final time.
- Wipe Off Stickiness (if applicable): Most gel top coats leave a sticky “inhibitor layer” after curing. Wipe this off with a lint-free wipe soaked in alcohol. Some top coats are “no-wipe,” so check your product.
And voilà! You have a flawless gel manicure base ready for any design.
Essential DIY Gel Nail Design Ideas for Beginners
Now for the fun part! These designs are simple, stylish, and perfect for anyone just starting out with at-home gel nail art. They require minimal tools and offer maximum impact.
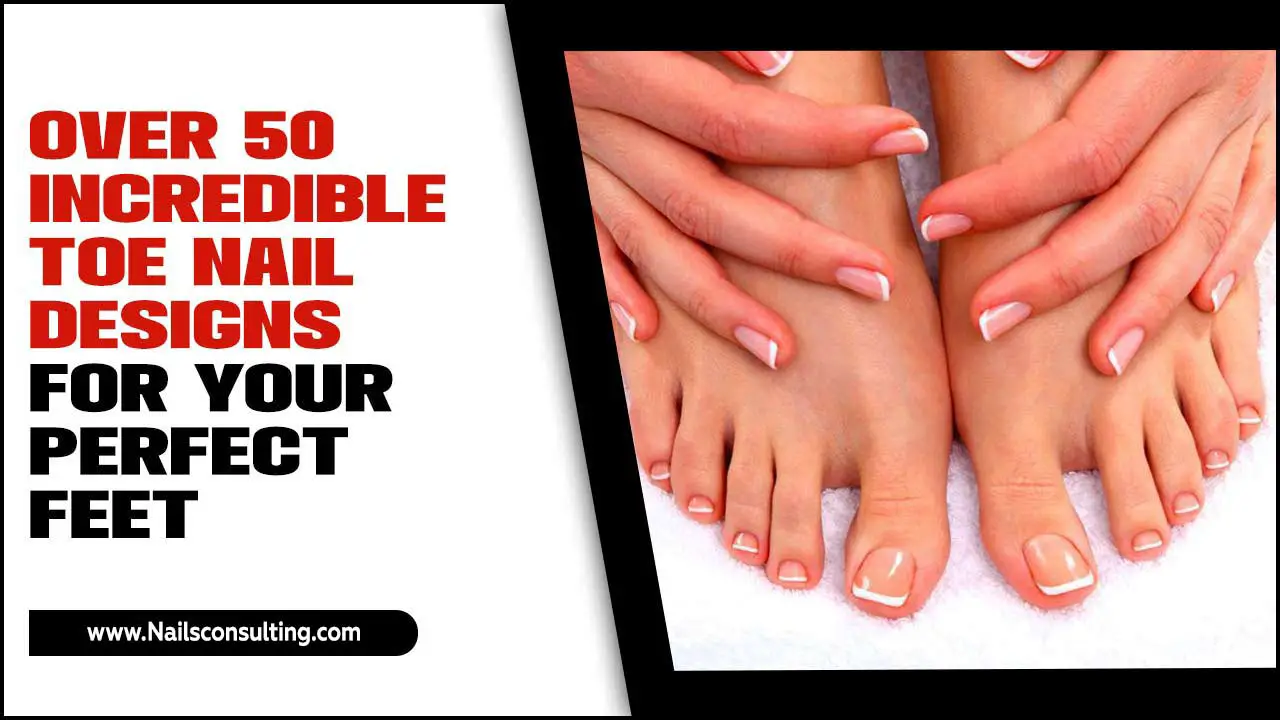
1. The Classic French Manicure (Gel Edition)
A timeless favorite gets a gel upgrade for durability and shine. It’s easier than you think!
How-To:
- Complete the basic gel manicure steps with a sheer pink, nude, or milky white base color. Cure each layer.
- Using a fine-tip brush and white gel polish, carefully paint a thin line along the free edge of each nail, creating the “tip.” Aim for a thin, delicate smile line.
- Alternatively, use a French tip guide sticker or a silicone stamper designed for French tips.
- Cure the white tips under the lamp.
- Apply a final thin layer of clear gel top coat, capping the free edge, and cure.
- Wipe off the sticky layer if necessary.
Pro Tip: Don’t aim for perfect uniformity. A slightly imperfect artisan look is charming!
2. Simple Glitter Ombre
Add a touch of sparkle with an ombre effect that’s incredibly forgiving.
How-To:
- Apply your base color and cure. Apply a second layer and cure.
- Take a glitter gel polish (fine glitter particles work best here).
- Using your gel brush, start applying the glitter near the tip of your nail, fading it down towards the cuticle. You can use a dabbing motion to build up the intensity at the tip and feather it downwards.
- Alternatively, use a makeup sponge: apply the glitter gel to the sponge and gently pat it onto the tip of the nail, blending downwards.
- Cure the glitter layer.
- Apply a thin layer of clear gel top coat, ensuring you encapsulate all the glitter to make it smooth, and cure.
- Wipe off the sticky layer if necessary.
Why it’s easy: The blending inherent in ombre means any unevenness is part of the charm!
3. Polka Dots Galore
A playful and easy design that can be customized with any color combination.
How-To:
- Apply your base color and cure.
- Using a dotting tool (or the end of a bobby pin or even a toothpick), dip it into a contrasting gel polish color.
- Gently dot onto your nails in your desired pattern. You can create a consistent grid, a scattered effect, or even make larger and smaller dots.
- Cure the dots.
- Apply a thin layer of clear gel top coat, ensuring you cover the dots, and cure.
- Wipe off the sticky layer if necessary.
Tip: Clean your dotting tool between each dot to keep your design neat.
4. Monochromatic Accent Nail
Elevate a simple manicure with subtle texture or a different finish on one nail.
How-To:
- Apply your chosen solid gel color to all nails and cure as usual.
- On your accent nail (usually the ring finger), decide on your variation. This could be:
- Adding a matte top coat instead of the glossy one.
- Applying a thin layer of a different color or a subtle shimmer gel.
- Creating a simple line or shape with a contrasting gel polish using a fine brush.
- Cure the accent nail’s design layer.
- Apply the final top coat (either glossy or matte, matching your preference for the accent nail). If you used a matte top coat on the accent nail, you may want to apply it to all nails for consistency, or just the accent nail.
- Cure and wipe off the sticky layer.
Why it works: It adds visual interest without being overly complicated.
5. Minimalist Lines
Sleek, chic, and surprisingly simple to achieve with a fine-tip brush.
How-To:
- Apply your base color and cure.
- Load a fine-tip gel brush with a contrasting gel polish color.
- Starting from the cuticle or the free edge, draw thin, straight lines across the nail. You can go horizontal, vertical, or diagonal. Try different thicknesses and spacing.
- Alternatively, create a single line down the center of the nail or along the cuticle.
- Cure the lines.
- Apply a thin layer of clear gel top coat, ensuring you cover the lines smoothly, and cure.
- Wipe off the sticky layer if necessary.
Tip: For extra sharp lines, ensure your brush is not overloaded with polish and use a steady hand.
Gel Nail Design Tools: A Closer Look
While you can achieve a lot with basic tools, a few specialized items can unlock even more creative potential. Here’s a quick breakdown:
| Tool | What it’s for | Why it’s helpful for DIY |
|---|---|---|
| Dotting Tools | Creating dots, swirls, and small circular designs. | Easy to control for precise small details. Available in various tip sizes for different dot dimensions. |
| Fine-Tip Brushes (e.g., 9mm or 15mm striping brush) | Drawing thin lines, French tips, intricate patterns, and detailed artwork. | Essential for clean, delicate lines that give a professional look. |
| Silicone Stamper / French Tip Guides | Transferring designs from stamping plates or creating perfect French smile lines. | Great for beginners who struggle with freehand drawing, offering consistent results. |
| Nail Stickers/Decals | Adding pre-designed elements to your nails. | The easiest way to achieve complex looks with minimal effort. Just apply, cure (if necessary per product), and top coat. |
Maintaining Your DIY Gel Manicure
You’ve created a beautiful gel design at home – now let’s make it last! Proper care ensures your manicure stays chip-free and glossy for weeks.
Tips for Longevity:
- Avoid Harsh Chemicals: Try to wear gloves when doing chores, especially when using cleaning products or washing dishes. Many household chemicals can break down the gel polish.
- Moisturize: Keep your cuticles and hands hydrated with cuticle oil and hand lotion. Dry skin can lead to lifting.
- Be Gentle: Avoid using your nails as tools to open things, scrape surfaces, or pick at labels.
- Don’t Pick! This is the golden rule. Picking at your gel polish will remove it unevenly and can damage your natural nail underneath.
- Proper Removal: When it’s time for a change, soak off the gel polish properly using acetone or a gel remover, rather than trying to peel or scrape it off. Improper removal is a common cause of nail damage. The NHS provides general advice on nail care, emphasizing gentle practices.
Frequently Asked Questions About DIY Gel Nails
Got more questions swirling around? Let’s clear them up!
Q1: How long does a DIY gel manicure usually last?
A: Properly applied and cared for, a DIY gel manicure can last anywhere from 2 to 3 weeks without chipping or losing its shine.
Q2: Do I really need a special LED/UV lamp?
A: Yes, a UV or LED lamp is essential. Regular nail polish dries by air, but gel polish contains photopolymer resins that require UV or LED light to cure and harden.
Q3: Can I use regular nail polish with a gel top coat and base coat?
A: No, this won’t work. Gel polishes and their base/top coats are specifically formulated to cure under an LED/UV lamp. Regular polish will not harden correctly under the lamp, and gel polish will not dry on its own.
Q4: My gel polish is curing with bubbles. What am I doing wrong?
A: Air bubbles are usually caused by applying the gel polish too thickly, or by shaking the bottle vigorously. Always apply thin, even coats and gently stir or roll the bottle to mix the polish.
Q5: How do I remove DIY gel polish without damaging my natural nails?
A: The best method is to gently file off the top coat, then soak cotton balls in pure acetone, place them on your nails, cover with foil, and let them soak for about 10-15 minutes. Gently push off the softened gel with an orange stick or cuticle pusher. You can also find gel remover solutions designed for this purpose.
Q6: Can I do gel nails if I have weak or brittle nails?
A: Yes! Gel polish can actually provide a protective layer that helps strengthen your natural nails and prevent breakage. Just be sure to prep gently and maintain good nail care habits.
Conclusion: Your Canvas Awaits!
See? Creating beautiful, salon-quality gel nail designs at home is absolutely within your reach! With the right tools, a little practice, and these beginner-friendly ideas, you can express your personal style and enjoy stunning nails without constant salon appointments. Remember, the key is to start simple, be patient with yourself, and have fun with the process. Treat your nails to a little TLC and watch your confidence grow with each beautiful manicure you create. So grab your lamp, pick your favorite polish, and let your creativity shine from your fingertips!


