Transform your nails into magical masterpieces with our easy Disney princess nail design tutorials! Perfect for beginners, these genius and effortless ideas will bring your favorite fairytale characters to life on your fingertips. Get ready for dazzling, DIY manicures that are pure enchantment.
Dreaming of a fairytale mani? We all love Disney princesses, but recreating their magic on our nails can seem daunting, right? You might think intricate designs require a pro touch, leaving you feeling a little stuck. But what if I told you that bringing a touch of fairytale sparkle to your fingertips is totally achievable, even for beginners? Get ready to unlock your inner nail artist with simple, genius techniques that make Disney princess nail design delightfully effortless. We’re about to embark on a magical journey, transforming your nails into enchanted canvases. Let’s dive into making every day a little more magical!
Unleashing Your Inner Fairytale: Why Disney Princess Nails Are Pure Magic
Who doesn’t love a touch of Disney magic? Disney princesses capture our imaginations with their courage, kindness, and iconic style. Translating that enchantment onto your nails is a beautiful way to express your love for these beloved characters and add a whimsical boost to your day. It’s more than just nail art; it’s a wearable celebration of your favorite stories. And the best part? You don’t need to be a master artist to create stunning, princess-inspired looks. With a few simple tricks and readily available tools, you can craft sophisticated yet surprisingly easy designs that will turn heads and spark joy.
Getting Started: Essential Tools for Your Enchanted Manicure

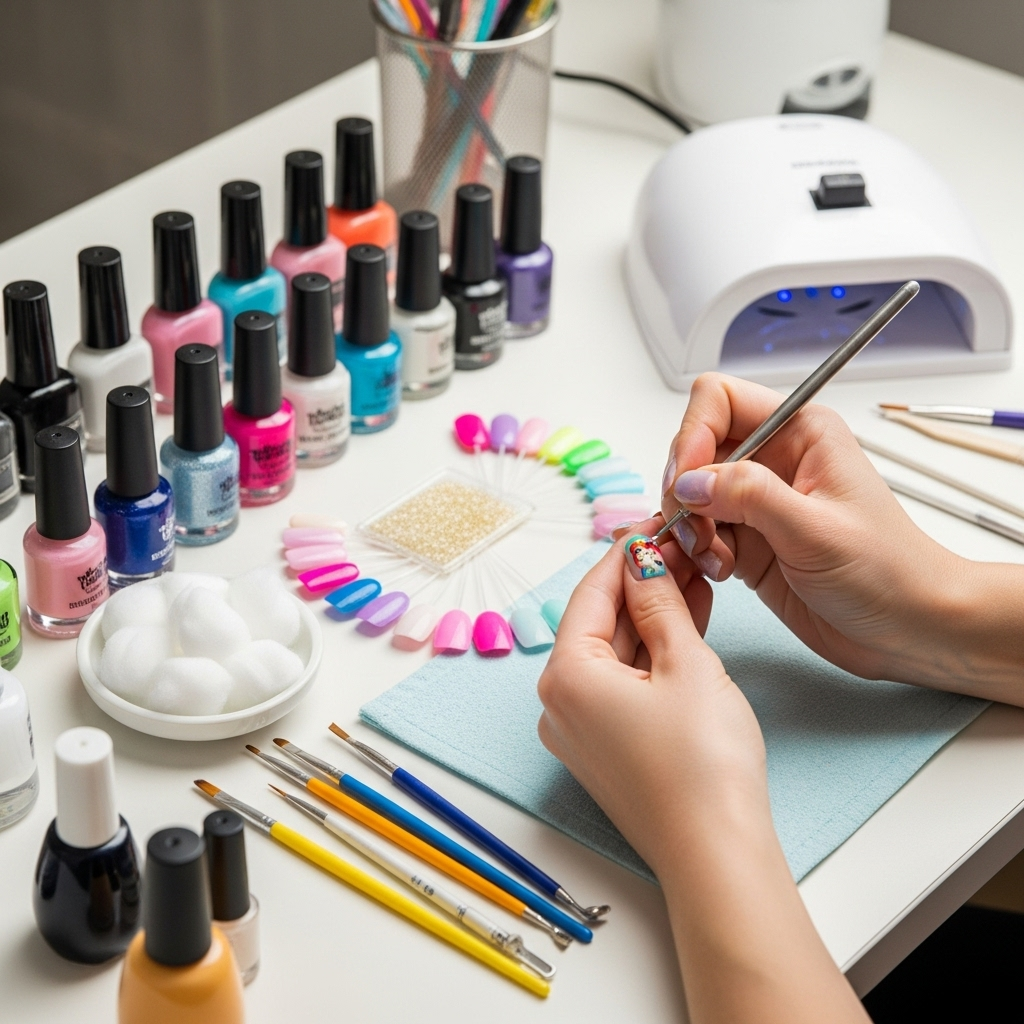
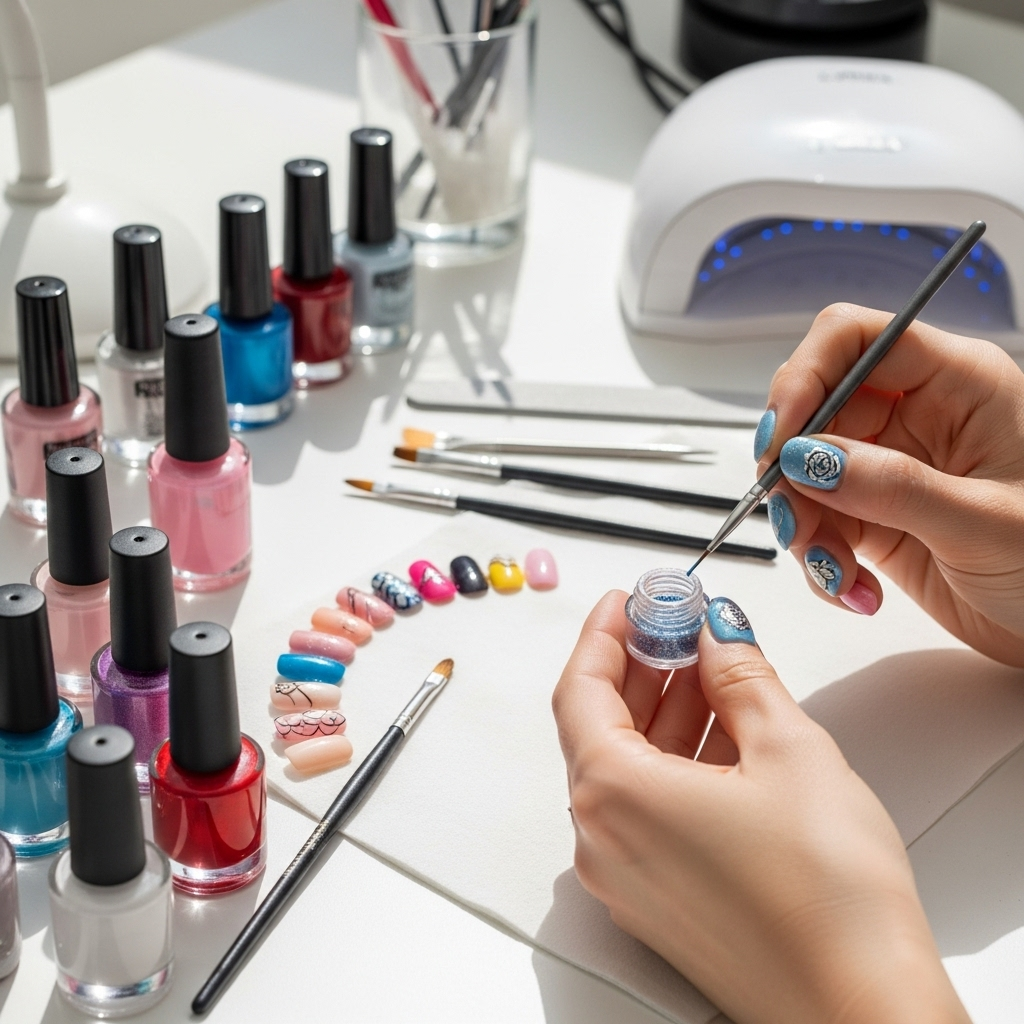
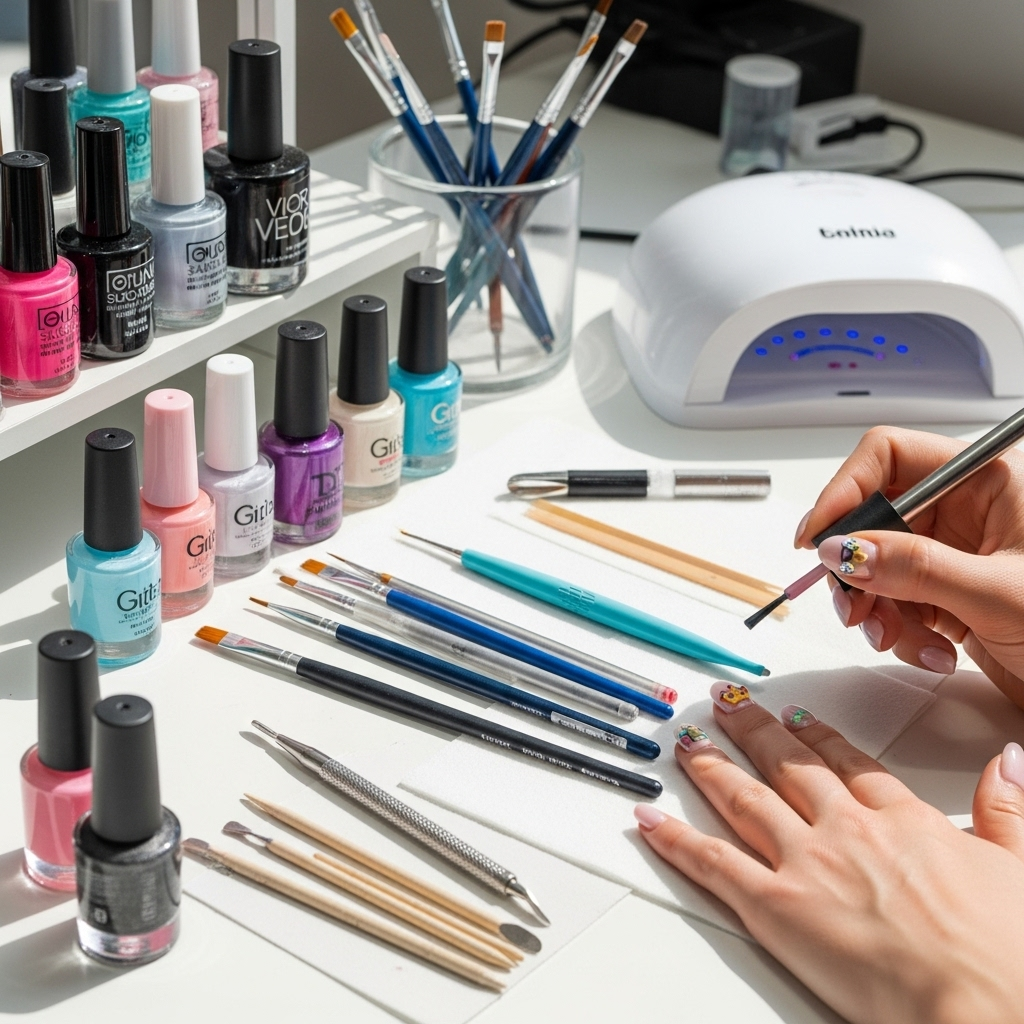
Before we dive into the enchanting designs, let’s gather our magical supplies! Having the right tools makes all the difference in creating beautiful, effortless nail art. Don’t worry, you likely have many of these already, or they’re easily accessible.
- Base Coat: Protects your natural nails and helps polish adhere better. A must-have for any manicure!
- Top Coat: Seals your design, adds shine, and makes your manicure last longer.
- Nail Polish: Stock up on a variety of colors that represent your chosen princess and her story. Think vibrant blues, royal purples, soft pinks, and sparkling golds!
- Dotting Tools: These come in various sizes and are fantastic for creating perfect dots, swirls, and small details. They are a beginner’s best friend for intricate effects.
- Fine-Tipped Nail Art Brush: Essential for drawing fine lines, outlines, and delicate patterns.
- Toothpicks or a Thin Needle: Can be used in a pinch for tiny details or to swirl colors.
- Nail Polish Remover & Cotton Swabs/Pads: For cleaning up mistakes – because even princesses need a little touch-up!
- Clear Tape: Surprisingly useful for creating clean lines and geometric shapes for certain princess styles.
- Optional: Glitter Polish, Rhinestones, or Decals: For that extra touch of regal sparkle and embellishment.
Effortless Enchantment: Beginner-Friendly Disney Princess Nail Design Tutorials
Let’s get to the fun part! These tutorials are designed with beginners in mind, focusing on simple techniques that deliver maximum fairytale impact. We’ll break down each princess’s signature style into achievable nail art.
1. Cinderella’s Magical Transformation: The Glass Slipper Sparkle
Cinderella’s story is all about transformation and a touch of magic. This design captures that sparkle with ease.
What You’ll Need:
- Light blue nail polish
- Silver or holographic glitter polish
- Clear top coat
The Steps:
- Start with a clean nail and apply your base coat.
- Paint all your nails with the light blue polish. Apply two coats for an opaque finish. Let it dry completely.
- On your ring finger (or accent nail), apply a generous coat of the silver or holographic glitter polish. You can do a full glitter nail or create a glitter gradient by starting at the tip and blending downwards.
- Once the glitter polish is dry, apply a layer of clear top coat over all your nails to seal the design and add shine.
Tip: For an extra touch, you can use a fine-tipped brush with silver polish to draw a tiny slipper shape on your accent nail before the glitter, but the glitter alone evokes the magic beautifully!
2. Ariel’s Under the Sea Shimmer: The Mermaidcore Mani
Celebrate Ariel’s love for the ocean with a design inspired by shimmering scales and seafoam green.
What You’ll Need:
- Teal or seafoam green nail polish
- White nail polish
- A fine-tipped nail art brush or a clean toothpick
- Optional: Green or purple iridescent flakies or glitter
The Steps:
- Apply your base coat and then paint all nails with the teal or seafoam green polish. Allow it to dry.
- Using the white polish and your fine-tipped brush or toothpick, carefully paint a few simple scale-like arches on one or two accent nails. Don’t aim for perfection; organic shapes are key! Think of overlapping “U” shapes.
- Alternatively, dip your toothpick into white polish and create small dots that you can then gently swirl or drag to create a bubbly or wave-like effect.
- For an extra pop, dab some iridescent flakies or glitter over the wet polish on your accent nails.
- Finish with a clear top coat.
Pro Tip: You can also achieve a sea-inspired look simply by layering a sheer, iridescent top coat over a mermaid green base color. This gives a subtle, shifting shimmer reminiscent of Ariel’s tail.
3. Belle’s Enchanted Rose: A Touch of Classic Romance
Belle’s iconic rose is a symbol of love and magic. This design is elegant and surprisingly simple.
What You’ll Need:
- Red or deep pink nail polish
- Gold or deep green nail polish
- A fine-tipped nail art brush
- Clear top coat
The Steps:
- Apply base coat and then a solid color polish of your choice (perhaps a soft yellow for a nod to Belle’s ballgown, or a classic nude).
- On your ring finger or another accent nail, use the fine-tipped brush and red/pink polish to paint a simple, stylized rose. You can do this by making a few curved petals or a central swirl. Focus on the shape rather than intricate detail.
- With the gold or deep green polish and the brush, add a few delicate leaf shapes or a small stem to your rose.
- If you want a truly effortless version, forgo the rose and simply use gold polish with a fine brush to paint a tiny, delicate swirl or a single accent line on your nail.
- Seal everything with a clear top coat.
Genius Hack: If freehand drawing isn’t your strong suit, look for rose-shaped nail stickers or decals. Apply them after your base color and seal with a top coat for an instant, perfect rose!
4. Rapunzel’s Tangled Sun: Golden Braids and Sunshine
Rapunzel’s sun symbol and her iconic golden hair inspire this bright and cheerful design.
What You’ll Need:
- Yellow or gold nail polish
- Light brown or dark blonde nail polish (optional, for braid effect)
- Black or dark brown fine-tipped nail art brush
- Dotting tool (optional)
- Clear top coat
- Painter’s tape (optional)
The Steps (Sun Design):
- Apply base coat and then a vibrant yellow or gold polish to all nails.
- On an accent nail, use the fine-tipped brush and black/dark brown polish to paint a simple sun symbol. It can be a circle with rays coming out, or even just a few radiating lines.
- Alternatively, use painter’s tape to create sharp diagonal lines on a yellow nail, paint over the tape with black/brown, peel off while wet, and you have sharp sun rays!
- Seal with a top coat.
The Braid Effect: For a hint of Rapunzel’s hair, use the fine-tipped brush and a light brown/blonde polish to paint a few diagonal lines across a nail, then connect them with smaller horizontal lines to mimic a braided texture. Keep it subtle and spaced out!
5. Elsa’s Frozen Fantasy: Icy Blues and Snowflakes
Capture the icy beauty of Arendelle with this cool and elegant design.
What You’ll Need:
- Light blue or silver nail polish
- White nail polish
- A fine-tipped nail art brush or a dotting tool
- Clear top coat
- Blue or iridescent glitter (optional)
The Steps:
- Apply base coat, followed by your chosen light blue or silver polish. Two coats might be needed for opacity.
- Once dry, use the white polish and a fine-tipped brush to paint small, simple snowflake designs on an accent nail or scattered across a few nails. A basic snowflake can be made with a central dot and four lines extending outwards, or just a few delicate star shapes.
- If freehand snowflakes feel too tricky, a dotting tool dipped in white polish can create perfect little dots that mimic falling snow.
- Add a touch of blue or iridescent glitter for extra shimmer, resembling ice crystals.
- Seal carefully with a clear top coat.
Effortless Elegance: A single accent nail with a delicate, glittery snowflake design looks incredibly chic and is very achievable. You can also find snowflake nail stickers for a quick fix!
6. Jasmine’s Arabian Nights: Jewel Tones and Golden Accents
Jasmine’s bold style and the rich colors of Agrabah are perfect for a glamorous manicure.
What You’ll Need:
- Teal, sapphire blue, or deep purple nail polish
- Gold nail polish
- Fine-tipped nail art brush
- Small rhinestones (optional)
- Clear top coat
The Steps:
- Apply base coat and then your chosen jewel-toned polish.
- On an accent nail, use the gold polish and the fine-tipped brush to draw a small, stylized design. This could be a simple crescent moon, a star, or even a paisley-like swirl inspired by Arabian patterns.
- Alternatively, use the gold polish to create a thin, geometric line or a small dot at the base of your nail (a “moon manicure” effect).
- For extra bling, carefully place a tiny gold rhinestone at the base of the nail or on your accent design using a dotting tool or wax pencil.
- Finish with a clear top coat, ensuring any rhinestones are well-secured.
Key to Success: Simplicity here is key. A single gold accent or a few strategically placed rhinestones can elevate a solid jewel-toned nail to regal status.
Mastering the Details: Tips for Flawless Fairytale Nails

Even the most straightforward designs can be improved with a few clever tips. These will help your Disney princess nail art look polished and professional, no matter your skill level.
- Cleanliness is Queen: Always start with clean, dry nails. Push back your cuticles gently with an orangewood stick for a neat base.
- Thin Coats are Your Friends: Applying multiple thin coats of polish is better than one thick one. It dries faster and reduces the chance of smudging.
- Patience is a Virtue: Allow each layer of polish to dry sufficiently before applying the next color or design. This is crucial to prevent smearing.
- Embrace the “Undone” Look: Not every nail art design needs to be perfectly symmetrical. Subtle imperfections can add character and look intentionally artistic.
- Clean Up Like a Pro: Dip a small brush or cotton swab into nail polish remover to carefully clean up any polish that has smudged onto your skin. This makes a huge difference! For the best results, use a brush specifically designed for nail art cleanup, like a fine liner brush.
- Don’t Forget the Shine: A good top coat not only adds gloss but also protects your design, helping it last longer. Reapply every couple of days if needed.
- Practice Makes Perfect: If freehand art feels challenging, practice on a piece of paper or nail tips first. You’ll quickly get a feel for the tools and techniques.
Beyond the Basics: Taking Your Disney Nails to the Next Level
Once you’re comfortable with the simpler designs, you might want to explore ways to add even more flair. Here are a few ideas to consider:
1. The Power of Ombre
Create a beautiful gradient effect that can mimic sunset skies (Tiana), a magic potion (the Evil Queen), or even Ariel’s tail. You can use a makeup sponge to dab lighter shades over darker ones, blending them for a seamless transition.
2. Stamping Plates: Instant Art
Nail stamping is a game-changer for beginners! You can purchase plates with intricate designs, including snowflakes, crowns, or even character silhouettes. Simply apply polish to the plate, scrape off the excess, and stamp the design onto your nail. Brands like MoYou-London offer a wide variety of themed plates.
3. Decals and Stickers: Quick & Chic
For a super-fast and foolproof method, use Disney-themed nail decals or stickers. They come in countless designs, from tiny crowns to full character images. Apply them over your base color and seal with a top coat for instant designer nails.
4. Add a Touch of Texture
Experiment with textured polishes or add small embellishments like pearls (for Rapunzel’s hair clips), tiny bows, or rhinestones for a 3D effect. Always ensure embellishments are securely attached with nail glue or a strong top coat.
Disney Princess Nail Design Comparison Table

Choosing the right princess theme can be fun! Here’s a quick guide to help you decide based on color palettes and design complexity.
| Princess | Primary Colors | Key Symbols | Design Complexity (Beginner) | Effortless Elements |
|---|---|---|---|---|
| Cinderella | Light Blue, Silver, White | Glass Slipper, Clock, Sparkles | Easy | Glitter accent, gradient, simple dots |
| Ariel | Teal, Seafoam Green, Purple | Shells, Bubbles, Waves | Easy to Medium | Iridescent finish, scale-like patterns, color blocking |
| Belle | Yellow, Gold, Red/Pink | Rose, Book, Candle | Easy | Gold accents, simple floral swirls, solid jewel tones |
| Rapunzel | Yellow, Gold, Light Purple | Sun, Braids, Hair | Easy to Medium | Gold lines, sun shapes, braid texture |
| Elsa | Light Blue, Silver, White | Snowflakes, Ice, Diamond | Easy | Glitter, dotting tool snowflakes, icy shimmer |
| Jasmine | Teal, Gold, Deep Purple | Lamp, Jewel, Star | Easy | Gold metallic accents, jewel tones, simple shapes |
Maintaining Your Magical Manicure
You’ve created a masterpiece! Now, let’s keep it looking enchanting:
- Wear Gloves: When doing chores, wear gloves to protect your nails from harsh chemicals and excessive water, which can chip polish.
- Moisturize: Keep your cuticles and hands hydrated with cuticle oil and hand cream. Healthy nails and skin make any polish look better. Learn more about proper hand and nail care from the American Academy of Dermatology.
- Touch-Ups: If you get a small chip, you can often carefully file it down and apply a tiny bit of top coat or matching polish to the affected area.
- Gentle Removal: When it’s time for a change, use a good quality nail polish remover to avoid damaging your nails.
Frequently Asked Questions (FAQ)

Q1: How can I make my nail polish dry faster?
A1: Apply thin coats of polish. You can also try quick-dry drops or sprays, or even a blast of cool air from a hairdryer on the lowest setting. Avoid hot air, as it can still lead to smudging.
Q2: What if I make a mistake while doing nail art?
A2: Don’t panic! Keep nail polish remover and a small brush (like an old eyeliner brush) or cotton swabs handy. Dip the brush/swab in remover and carefully clean up the mistake. Tiny errors can often be covered with a bit of glitter or another small detail.
Q3: Do I really need special nail art tools like dotting tools?
A3: While special tools make things easier and more precise, you can improvise! Toothpicks are great for dots and swirls, and a fine-tipped paintbrush can be used for lines. However, investing in a basic dotting tool set is very affordable and makes a big difference.
Q4: How do I get Disney princess nail designs to last longer?
A4: A good base coat and a quality top coat are essential. Apply the top coat every 2-3 days to refresh the shine and protect your design. Avoiding activities that can chip your nails also helps.
Q5: Can I do these designs on short nails?
A5: Absolutely! Many of these designs, especially those focusing on color and simple accents, look fantastic on short nails. Focus on smaller details or accent nails to keep the design proportionate.
Q6: What’s the easiest way to create a Disney inspired nail design?
A6: The easiest ways involve using glitter polish in a princess’s signature color (like Cinderella’s blue or Elsa’s silver), applying solid jewel-toned polishes (like Jasmine’s teal), or using nail decals and stickers. These require minimal skill but deliver maximum princess vibes.
Conclusion: Your Fairytale Mani Awaits!
See? Creating dazzling Disney princess nail designs doesn’t require a magic wand, just a little creativity and some simple techniques! We’ve explored how to capture the essence of Cinderella’s sparkle, Ariel’s oceanic charm, Belle’s classic romance, Rapunzel’s sunshine, Elsa’s icy elegance, and Jasmine’s regal flair. By gathering the right tools and following these beginner-friendly tutorials, you can transform your nails into miniature works of art. Remember, nail art is all about self-expression and having fun. So, pick your favorite princess, gather your polishes, and let your imagination run wild. Your own magical manicure adventure is just a brushstroke away. Happy polishing, and may your nails enchant everyone you meet!
