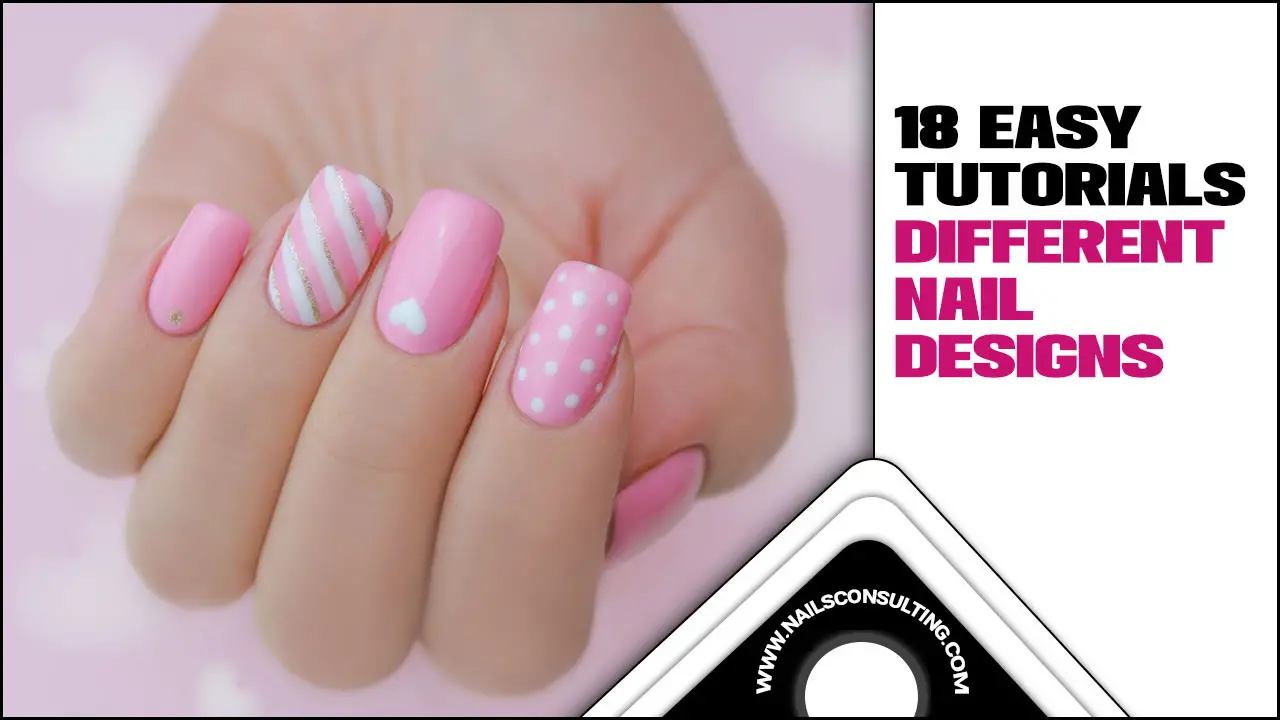
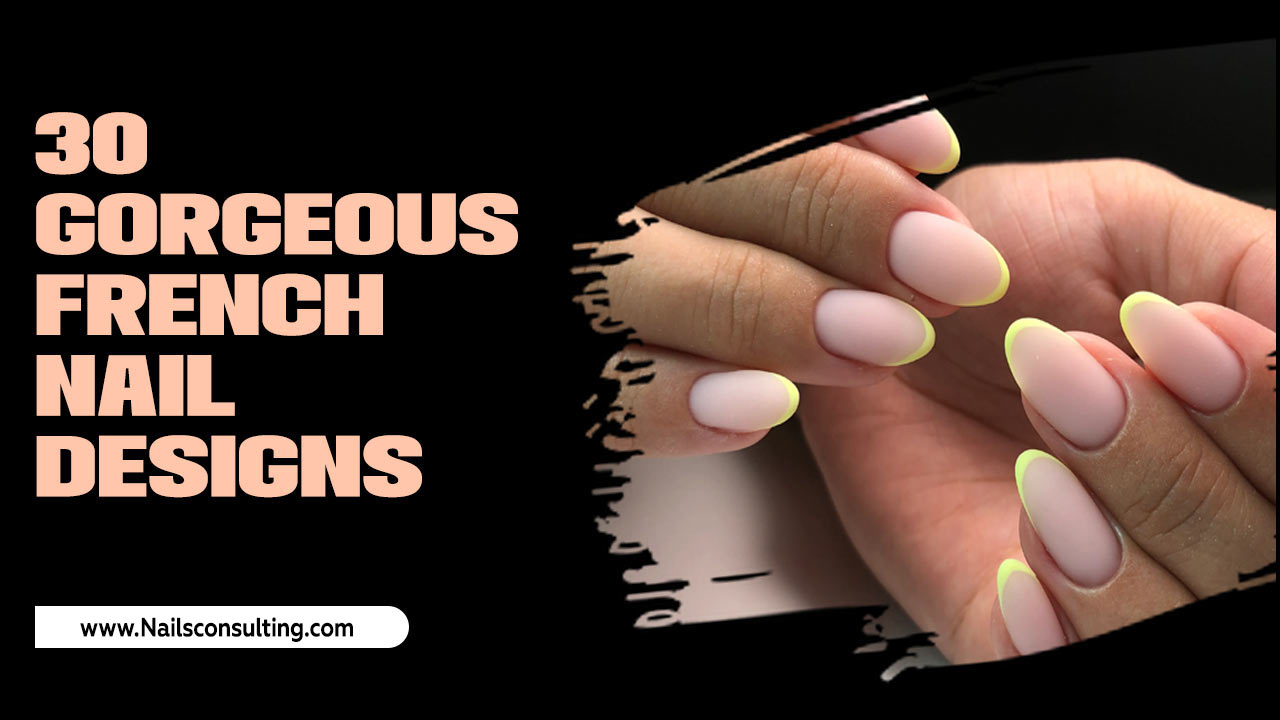
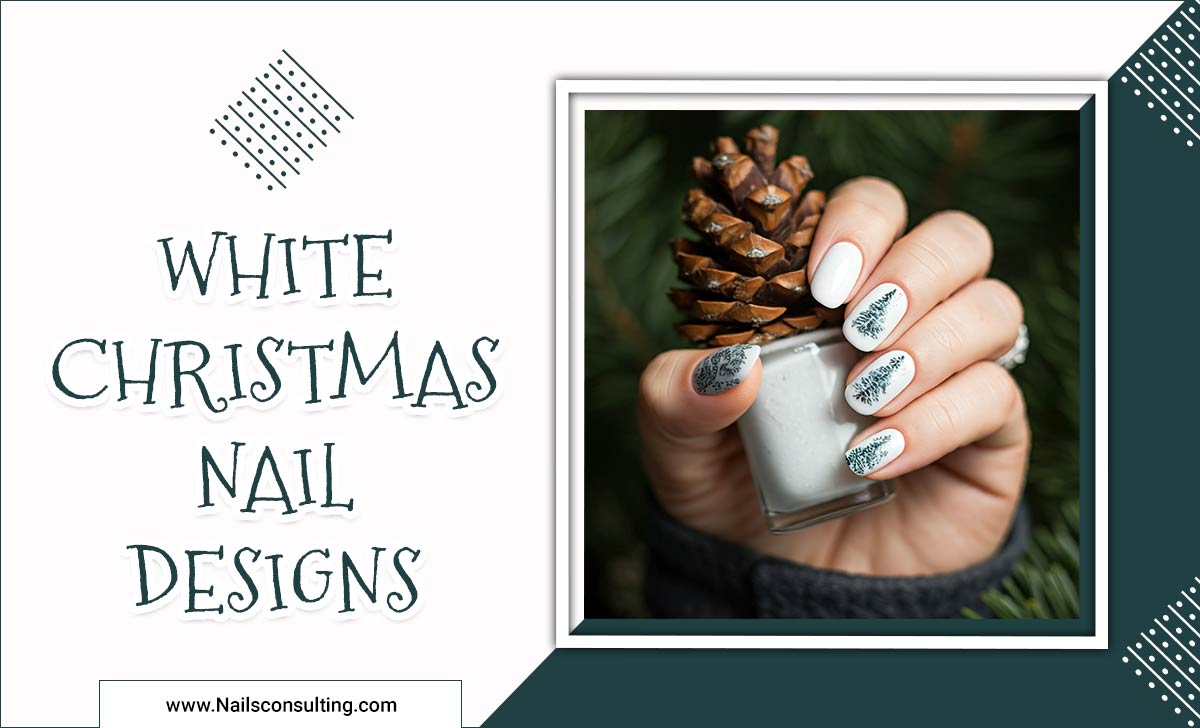
Dip powder nails are a durable and beautiful nail enhancement created by dipping artificial nails into pigmented powder. This technique offers a glossy finish and impressive longevity, making them a fantastic choice for a salon-quality manicure at home or in a professional setting.
Are you dreaming of gorgeous, long-lasting nails that don’t chip after a few days? Have you seen stunning manicures on social media and wondered how they achieve that perfect, glossy finish? You’re not alone! Many of us struggle to keep our manicures looking fresh, especially with our busy lives. But what if there was a way to get salon-beautiful nails that last for weeks, without the hassle? Enter dip powder nails! They’re a fantastic option for anyone wanting a durable, eye-catching manicure. In this guide, we’ll dive deep into what dip powder nails are, how they work, and why they might be your new favorite beauty secret. Get ready to discover a whole new world of nail possibilities!
What Exactly Are Dip Powder Nails?
So, what are dip powder nails? Think of them as a hybrid between traditional nail polish and acrylics, but with a unique application method. Instead of painting layers of liquid polish or gel, your nails are dipped into a finely-milled, pigmented powder. This powder then bonds with a special adhesive liquid applied to your nail, creating a strong and vibrant coating. The result? A manicure that’s incredibly durable, chip-resistant, and gorgeously glossy, often lasting for two to four weeks.
The magic of dip powder lies in its multi-dimensional properties. The powders themselves are made of acrylic polymers and pigments, giving them their rich color. When they combine with the bonding liquid, they form a sturdy yet flexible layer on the nail. This makes dip powder nails a popular choice for people who want a beautiful and robust manicure that can withstand daily activities.
How Are Dip Powder Nails Different?
You might be wondering how dip powder nails stack up against other popular nail options like gel or acrylics. That’s a great question! Each has its own unique benefits and application process. Let’s break it down:
Dip Powder vs. Gel Nails
Application: Gel nails involve applying layers of gel polish that are cured under a UV or LED lamp after each coat. Dip powder nails involve dipping the nail into colored powder after applying a base coat liquid.
Durability: Both are very durable, but dip powder often boasts longer wear time and greater chip resistance for many users.
Removal: Gel removal typically requires soaking in acetone. Dip powder also requires soaking, though some find it slightly gentler.
Feel: Dip powder can sometimes feel a bit thicker, while gel tends to be thinner and more flexible, mimicking natural nails more closely.
Dip Powder vs. Acrylic Nails
Ingredients: Acrylics are created by mixing a liquid monomer with a powder polymer to form a malleable bead, which is then sculpted onto the nail. Dip powder uses a colored powder and a bonder.
Strength: Both are very strong. Acrylics might offer more flexibility in terms of sculpting extreme shapes, while dip powder excels in its natural-feeling strength and resistance to breakage.
Odor: Acrylic application has a strong chemical odor due to the monomer liquid. Dip powder application has a less intense smell.
Application Process: Acrylics are sculpted by nail technicians. Dip powder involves dipping.
Here’s a quick peek at their common characteristics:
| Feature | Dip Powder Nails | Gel Nails | Acrylic Nails |
|---|---|---|---|
| Durability | Very high (2-4 weeks) | High (2-3 weeks) | Very high (2-3 weeks) |
| Application | Dipping into powder | Brushing on polish, UV/LED curing | Sculpting with liquid/powder mix |
| Finish | Glossy, smooth | Glossy, smooth | Glossy, can be buffed smooth |
| Removal | Soaking in acetone | Soaking in acetone | Soaking in acetone, potentially filing |
| Odor | Minimal | None | Strong |
The Dip Powder Nail Application Process: A Step-by-Step Guide
Ready to achieve those fabulous dip powder nails? Whether you’re heading to the salon or trying a DIY kit at home, the process is designed to be straightforward. Here’s a general breakdown of how it’s done:
Step 1: Preparation is Key!
Cleanse: Start with clean, dry nails. Remove any old polish completely.
Shape: File your nails to your desired shape and length.
Cuticle Care: Gently push back or trim your cuticles. It’s important to have a clean nail surface for the product to adhere to properly.
Buff: Lightly buff the surface of your natural nails. This removes shine and creates a slightly rough texture, which helps the base coat bond better. Don’t over-buff; just a few gentle strokes are needed.
Cleanse Again: Wipe your nails with a nail cleanser or rubbing alcohol to remove any dust and oils. Ensure your nails are completely dry.
Step 2: Applying the Base Coat
Thin Layers: Apply a thin, even layer of the dip powder base coat liquid to one nail at a time. Work quickly but carefully, as this adhesive liquid is what allows the powder to stick.
Avoid Skin: Be sure to avoid getting the base coat on your cuticles or skin, as this can cause the product to lift or adhere incorrectly.
Step 3: The Dip!
Immerse: Dip your entire nail into the colored dip powder. For the best, most even coverage, some methods suggest dipping at a 45-degree angle, while others prefer a straight dip. You’ll typically dip your nail into the powder two or three times to build up color and strength.
Tap Off Excess: Gently tap your finger to remove any excess powder.
A professional nail technician is trained to apply these coatings evenly and efficiently. For at-home kits, practice can help you perfect the dipping technique for a flawless look!
Step 4: Building Color and Strength
Repeat: You’ll usually repeat Steps 2 and 3 two to three times per nail to achieve the desired color opacity and strength. Each time you apply the base coat, dip into the powder again.
Expert Tip: Some kits recommend brushing off loose powder between dips to ensure a cleaner application.
Step 5: Applying the Activator
Seal It In: Once you’ve achieved your desired color and thickness, apply a generous amount of the dip powder activator liquid over the entire nail. This crucial step hardens the powder and base coat, making it durable.
Allow to Dry: Let the activator air dry completely. This usually takes a couple of minutes. You might apply a second coat of activator after the first has dried for extra strength.
Step 6: Shaping and Refining
File and Buff: Once the activator is dry and the nails feel hard, it’s time to shape them. File and buff the surface until it’s smooth and even. This is where you perfect the shape and remove any rough edges.
Clean Again: Wipe away any dust from filing and buffing.
Step 7: The Top Coat Finale
Glossy Shine: Apply a top coat, just like you would with regular polish. This seals everything in and provides that beautiful, long-lasting shine.
Cure (Optional): Some top coats for dip powder systems are designed to air dry, while others might need a brief cure under a UV/LED lamp to achieve maximum gloss and hardness. Check your specific product instructions!
Let it Set: Allow the top coat to dry completely.
What Are the Benefits of Dip Powder Nails?
Dip powder manicures have gained so much popularity for good reason! They offer a fantastic blend of aesthetics and practicality. Let’s explore some of the standout benefits:
Incredible Durability: This is the star of the show! Dip powder nails are exceptionally strong and resistant to chipping and cracking. They can easily last 2-4 weeks with proper care, making them ideal for active individuals or those who want a low-maintenance manicure.
Lightweight Feel: Despite their strength, dip powder nails often feel lighter and more natural on the nail compared to traditional acrylics, which can sometimes feel heavy.
No UV/LED Curing Needed (Mostly): Unlike gel nails, most dip powder systems don’t require a UV or LED lamp to cure during the initial color application. The activator liquid hardens the powder. This saves time and avoids potential concerns about UV exposure (though a top coat might sometimes be cured).
Odorless Application: The dip powder system has a much less potent chemical smell compared to acrylics, making the application process more pleasant for both the client and the technician.
Vibrant Color and Shine: The finely milled powders provide rich, opaque color and a beautiful, glossy finish that looks professionally done.
Breathable Option (with caveats): Some dip powder systems claim to be “breathable,” allowing moisture and air to pass through. However, this is a debated topic in the nail industry, and scientific consensus on whether they are truly breathable in the same way natural nails are is still developing according to resources like the National Center for Biotechnology Information (NCBI), which publishes research on health and science. Generally, they form a protective layer.
Easy to Maintain: With proper care, dip powder nails require minimal upkeep between salon visits or during DIY application.
What Are the Potential Downsides?
While dip powder nails are fantastic, it’s helpful to be aware of potential drawbacks too:
Potential for Bacteria Spread (if not done properly): In a salon setting, if each client dips their finger directly into the same pot of powder, there’s a risk of spreading bacteria or fungus. Many salons now use the “pour-over” method where the powder is poured onto the nail to avoid this. For home users, dipping into your own pot is generally safe, but be mindful of hygiene.
Thicker Feel: For some, dip powder can feel a bit thicker on the nails compared to gel or natural polish. This is often a trade-off for its exceptional durability.
Removal Damage: Improper or forced removal can damage the natural nail, just like with gels or acrylics. Soaking in acetone for the recommended time is crucial.
Allergic Reactions: Though uncommon, some individuals can develop allergic reactions to the chemicals in dip powder systems, especially after repeated exposure.
Application Learning Curve: While straightforward, achieving a perfectly smooth and even finish with dip powder, especially for DIY users, can have a slight learning curve.
Essential Tools and Products for Dip Powder Nails
Whether you’re a salon pro or a DIY enthusiast, having the right tools is key to a stunning dip powder manicure. Here’s a list of the essentials:
Dip Powder Colors: The star of the show! These come in a vast array of colors and finishes.
Base Coat Liquid: A special adhesive that the powder sticks to.
Activator Liquid: This liquid hardens the dip powder and base coat.
Top Coat Liquid: Provides the glossy, protective finish.
Nail Prep/Cleanser: To clean and dehydrate the nail before application. This can be rubbing alcohol or a specialized nail cleanser.
Cuticle Pusher: To gently move back or remove excess cuticle.
Nail File: For shaping the nails.
Buffer Block: To smooth the nail surface before application and to smooth the dip powder after the activator.
Small Brush (Optional but Recommended): A clean, dry brush for sweeping away loose powder.
Waste Tray (Optional): To catch excess powder during application.
Acetone: For removing the dip powder when it’s time for a change.
Cuticle Oil: To rehydrate and nourish the cuticle area after removal.
Lint-free Wipes: For cleaning and applying liquids.
Can You Do Dip Powder Nails at Home?
Absolutely! Doing dip powder nails at home is becoming increasingly popular, and many starter kits are designed specifically for DIY users. These kits usually contain the essential liquids (base, activator, top coat), a selection of color powders, and sometimes even the necessary files and brushes.
While it takes a little practice to get the hang of dipping and achieving a perfect finish, countless video tutorials and guides are available online to help you master the technique. It’s a cost-effective way to enjoy salon-quality manicures and express your creativity right from your own home. Just remember to follow the instructions for your specific kit carefully and prioritize hygiene.
How to Care for Your Dip Powder Nails
To make your beautiful dip powder manicure last as long as possible and keep your natural nails healthy, follow these simple care tips:
Wear Gloves: Protect your nails when doing household chores, especially washing dishes or using cleaning chemicals. Gloves act as a barrier.
Avoid Using Nails as Tools: Don’t use your nails to scrape, pry, or open things. This can cause chipping or breakage.
Moisturize Regularly: Apply cuticle oil and hand lotion daily to keep your skin and nail beds hydrated. Healthy cuticles contribute to healthy nails.
Be Gentle: Avoid harsh filing or picking at your dip powder.
Rebalance vs. Full Removal: If your dip powder starts lifting or shows natural nail growth, you can often get a “rebalance” at a salon. This involves filing down the old product near the cuticle, applying new base coat and powder to fill the gap, and then reapplying activator and top coat. This is gentler than a full removal and reapplication.
* Proper Removal: When it’s time to remove the dip powder, soak your nails in pure acetone for about 10-15 minutes. Gently scrape off the softened product with an orangewood stick or cuticle pusher. Avoid forcefully peeling or filing off the product, as this can severely damage your natural nails.
Frequently Asked Questions About Dip Powder Nails
Q1: How long do dip powder nails typically last?
A: Dip powder nails can last between 2 to 4 weeks. Their longevity depends on how well they are applied, your lifestyle, and how you care for them.
Q2: Are dip powder nails bad for your natural nails?
A: When applied and removed correctly, dip powder nails are generally not bad for your natural nails. However, improper application or forced removal can lead to damage, thinning, or weakness of the natural nail. Following proper procedures is key.
Q3: Can I get an infection from dip powder nails?
A: The risk of infection in a salon setting exists if hygiene protocols aren’t followed, especially with the dipping method. Reputable salons use the “pour-over” method or individual serviceware to prevent contamination. At home, if you use your own kit and don’t re-dip used fingers into the communal pot, the risk is minimal.
Q4: How do you remove dip powder nails at home?
A: To remove dip powder nails at home, soak your nails in 100% acetone for 10-15 minutes until the product softens. Gently push off the softened dip powder with an orangewood stick or cuticle pusher. Avoid scraping too aggressively. You may need to repeat the soak if the product is stubborn.
Q5: Do dip powder nails require a UV/LED lamp?
A: The primary application of dip powder does not require a UV/LED lamp. The special activator liquid hardens the powder. However, some top coats used with dip powder systems might require a short cure under a UV/LED lamp to achieve maximum shine and durability. Always check your product instructions.
Q6: Can dip powder be used over acrylics or gel?
A: While you can apply dip powder over acrylics or use a dip powder top coat over gel, it’s not a typical or recommended practice for the intended strength and wear of dip powder. Dip powder is designed to adhere best to a properly prepped natural nail surface or over another dip powder color layer.
Q7: What’s the difference between dip powder and polygel?
A: Dip powder is applied by dipping nails into a colored powder and using liquids to bond it. Polygel is a hybrid between acrylic and gel, applied as a thick paste that’s sculpted and then cured under a UV/LED lamp. Polygel tends to be more flexible.
Conclusion
So there you have it – your essential guide to dip powder nails! We’ve explored what they are, how they differ from other nail enhancements, the step-by-step application process, their many benefits, and how to care for them. Dip powder offers a fantastic combination of durability, beauty, and relatively easy application, making it a top choice for both salon professionals and at-home enthusiasts.
By understanding the process and following care tips, you can enjoy stunning, long-lasting manicures that practically withstand daily life. Whether you’re looking for a change from your usual polish, seeking a more durable option, or simply want to experiment with new nail trends, dip powder nails are definitely worth trying. Get ready to flaunt your fabulous new nails and embrace the confidence that comes with a perfect manicure! Happy dipping!


