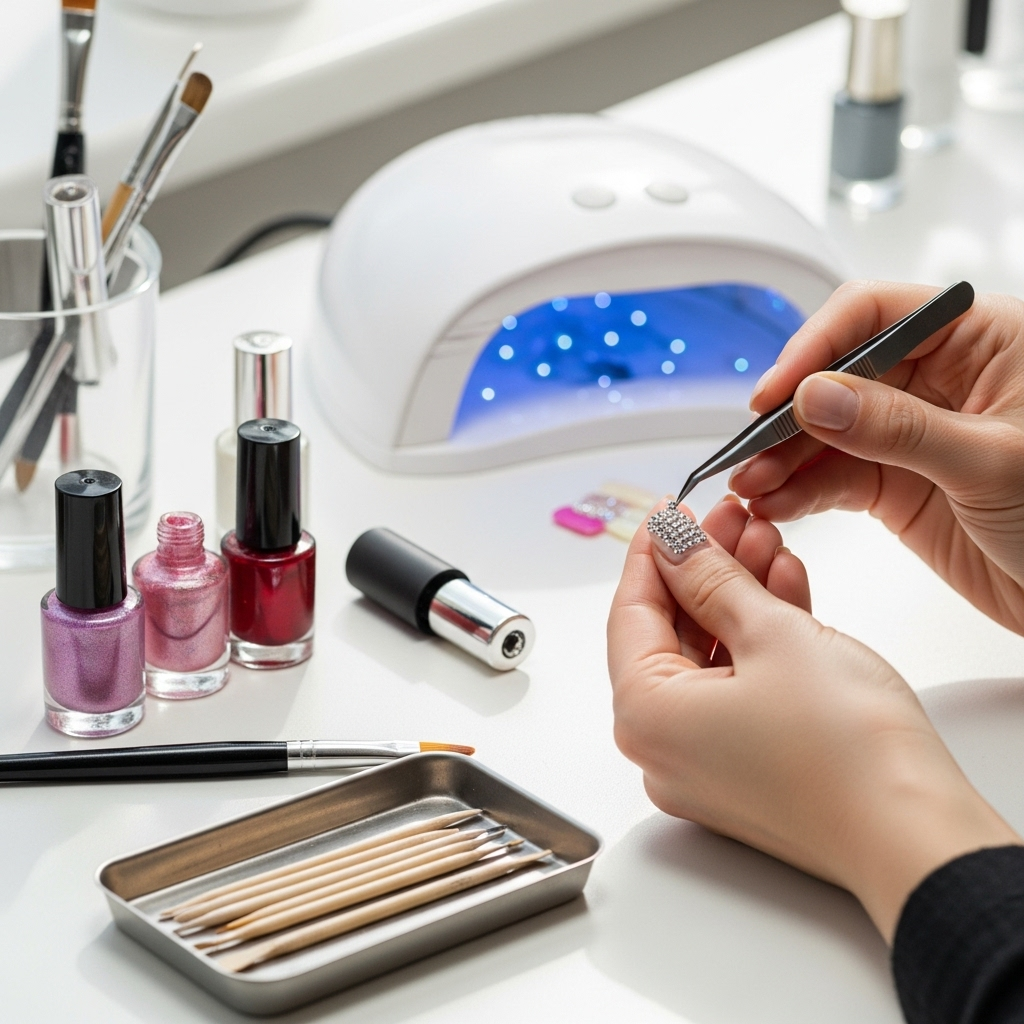
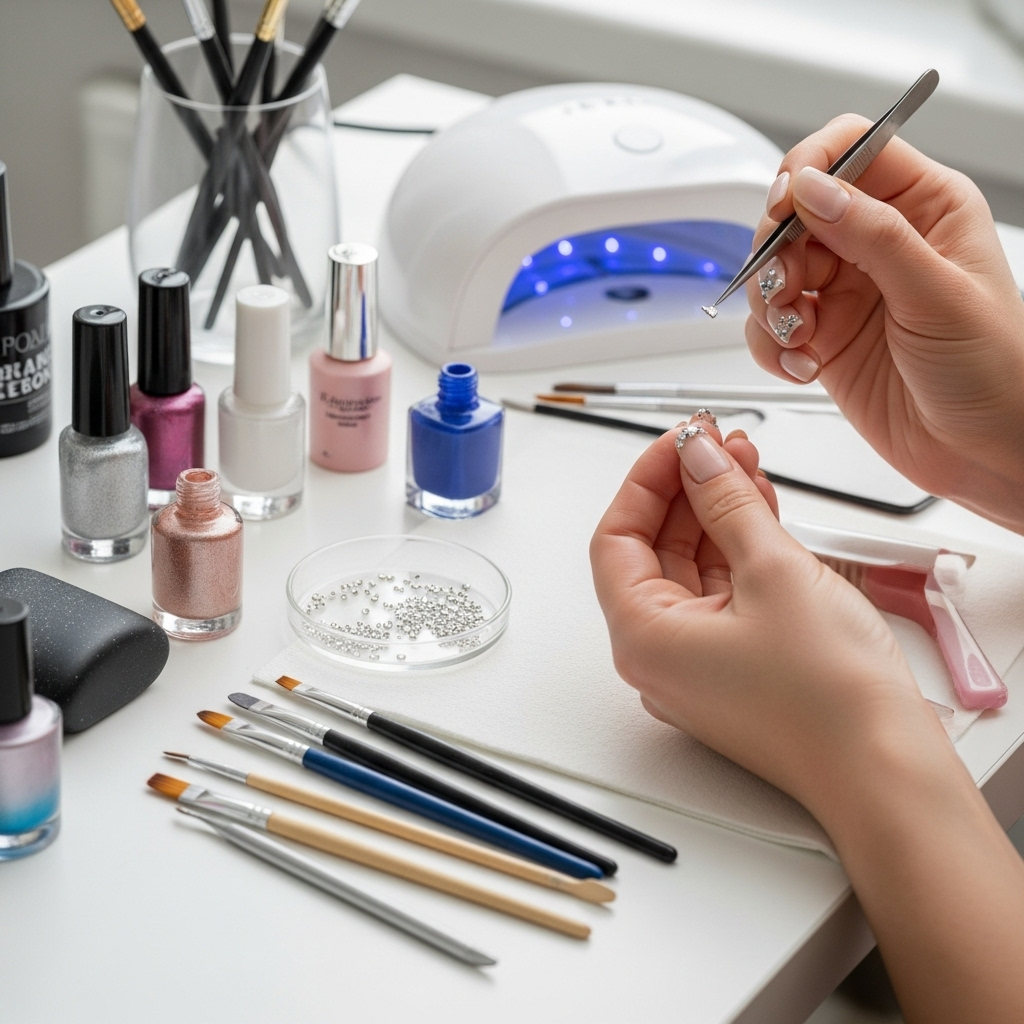
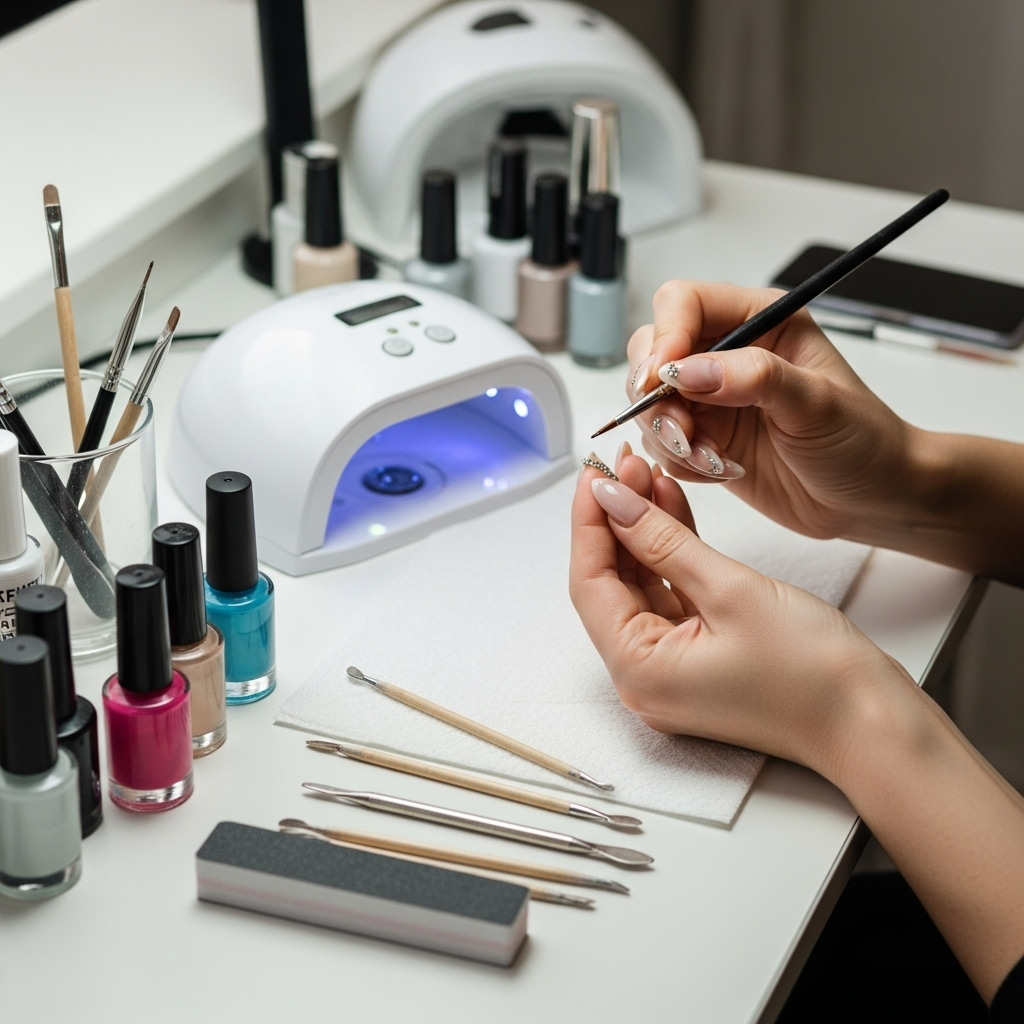
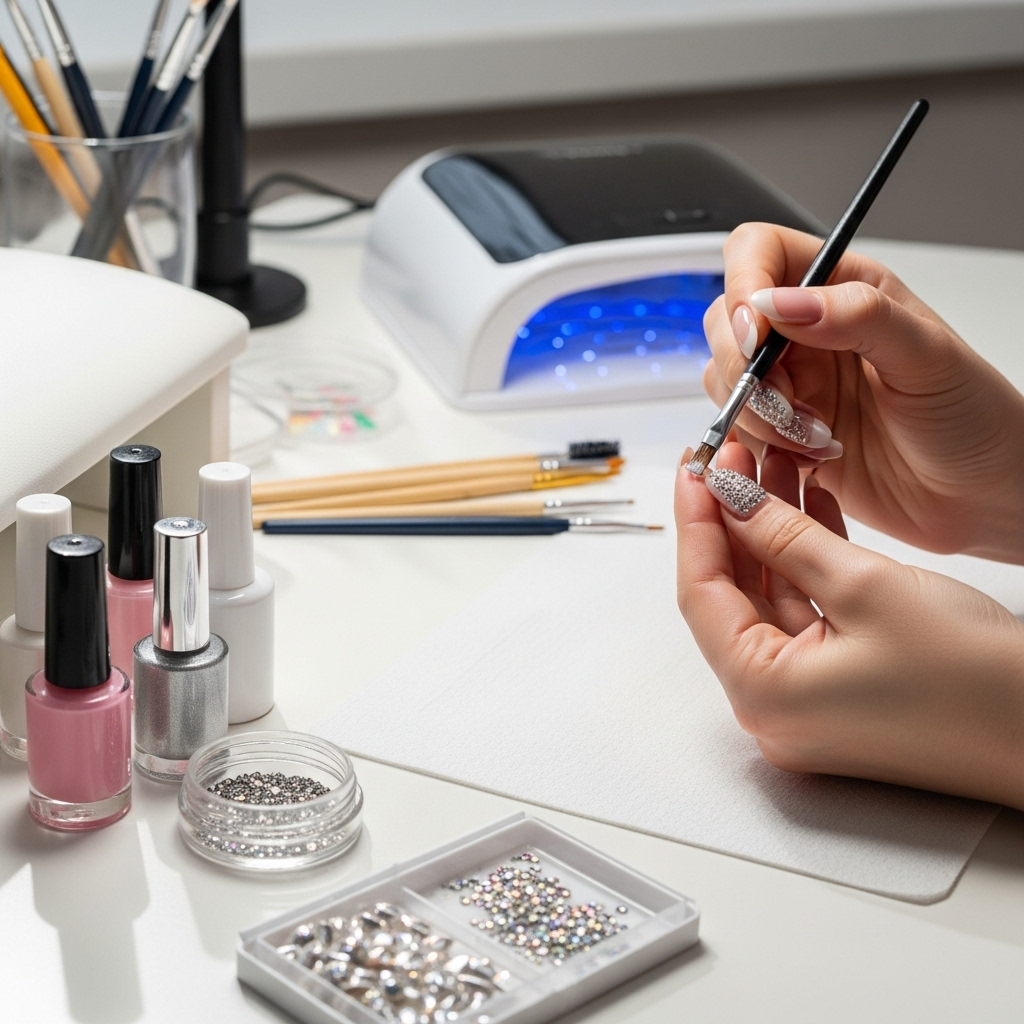
Diamond-studded nail designs offer a dazzling way to elevate any manicure, adding instant glamour and luxury. Achieve this sparkly look at home with simple tools and techniques for a professional finish that catches the light and turns heads.
Who doesn’t love a little sparkle? If you’ve ever admired those glamorous nails dripping with tiny, shimmering rhinestones and wondered how they get that perfectly placed, eye-catching look, you’re in the right place! Achieving a stunning diamond-studded nail design might seem tricky, but I promise it’s totally doable for anyone, even if you’re just starting out with nail art. We’re going to break down everything you need to know, from the essential tools to the simple steps, so you can add that essential sparkle to your fingertips with confidence. Get ready to transform your nails into dazzling works of art!
This guide is designed to make the process as easy and fun as possible. We’ll cover the different types of “diamonds” you can use, the best adhesives, and how to make sure your sparkling gems stay put. Say goodbye to nail art frustration and hello to a beautiful, gem-adorned manicure that will make you feel like a star!
What are “Diamond-Studded” Nails?
When we talk about “diamond-studded nail design,” we’re essentially referring to manicures that incorporate small, sparkling embellishments onto the nail surface. These aren’t usually real diamonds (though a girl can dream!), but rather high-quality rhinestones, crystals, or even glitter that mimic the look of diamonds. They come in various shapes, sizes, and colors, allowing for endless creativity. The goal is to create a luxurious, eye-catching effect that adds a touch of glam and sophistication to your nails.
Think of it as adding a bit of bling! Whether it’s a single, prominent stone on an accent nail or a scattering of tiny gems across multiple nails, the impact is undeniable. These designs are perfect for special occasions like weddings, parties, or holidays, but they’re also fantastic for everyday wear if you just want to feel a little extra special.
Why Choose Diamond-Studded Nail Designs?

There are so many reasons why diamond-studded nail designs are a popular choice for nail enthusiasts:
- Instant Glam Factor: They immediately elevate a simple manicure into something much more sophisticated and eye-catching.
- Versatility: You can go subtle with just a few tiny gems or go all out with a full-coverage sparkle. The design possibilities are endless!
- Affordability: Achieving salon-worthy sparkle doesn’t have to break the bank. DIY options are very budget-friendly.
- Self-Expression: They’re a fantastic way to showcase your personal style and add a unique flair to your look.
- Confidence Boost: Let’s be honest, a little sparkle can make anyone feel amazing!
Your Essential Tool Kit for Diamond-Studded Nails
Getting those tiny rhinestones perfectly placed requires a few key tools. Don’t worry, most of these are easy to find online or at your local beauty supply store!
Must-Have Tools:
- Nail Polish or Gel Polish: Your base color.
- Top Coat: A good quality top coat is crucial for sealing everything in.
- Rhinestones/Crystals: The “diamonds”! They come in various sizes, shapes (round, teardrop, marquise), and materials (acrylic, glass). For beginners, clear or iridescent round stones are a great starting point.
- Precision Tweezers or Wax Pencil: For picking up and placing the small gems. Wax pencils (like those used for nail art or picking up embellishments) are great because the wax holds the stone gently. Tweezers offer more control once you get the hang of it.
- Adhesive: This is key to making your gems stick! Options include:
- Nail Glue: A strong option for longevity, especially for larger gems. Use sparingly.
- Thick Top Coat or Rhinestone Gel: A sticky, viscous top coat or a specialized gel for applying gems. This works well with smaller stones and gel polish manicures.
- Dotting Tool or Toothpick: Helpful for applying small dots of adhesive or manipulating gems.
- Optional: Cuticle Pusher or Orangewood Stick: For cleaning up any stray adhesive.
When selecting your rhinestones, consider the material. Acrylic rhinestones are lighter and more affordable, great for beginners. Glass crystals are heavier and offer a more brilliant sparkle, closer to real diamonds. You can find a wide variety of nail art gems at reputable online retailers like Born Pretty, which offers a huge selection of affordable and high-quality nail art supplies.
Types of “Diamonds” for Your Nails

The world of nail embellishments is vast and exciting! When you’re looking for that diamond sparkle, you’ll encounter a few main types:
1. Rhinestones
These are the most common type. They are typically made of acrylic or resin and have a flat back. They come in countless colors, shapes, and sizes. For a diamond-like look, stick to clear, iridescent, or AB (Aurora Borealis) finishes, which reflect light beautifully.
2. Crystals
Often made of glass or higher-grade acrylic, crystals tend to be heavier and have more facets, giving them a superior sparkle and shine. Brands like Swarovski (though more expensive) are famous for their high-quality crystals, but many more affordable glass crystal options are available for nail art.
3. Gems with Foil Backing
Some rhinestones have a shiny, foil-like backing. This backing reflects light intensely, enhancing the sparkle. Like flat-back rhinestones, these are easy to adhere.
4. Charms vs. Flat-Backs
It’s important to distinguish between flat-back gems and 3D charms. Flat-back gems are designed to lie relatively flat against the nail, making them easier to apply and less prone to snagging. 3D charms are chunkier and raised, requiring stronger adhesive and more careful application.
5. Sizes and Shapes
You’ll find everything from tiny microbeads (often called “nail caviar”) to larger statement stones. Common shapes include:
- Round: The classic diamond shape, available in many sizes.
- Teardrop/Pear: Elegant and elongated.
- Marquise/Navette: Boat-shaped, often used for French tips or detailed accents.
- Square/Princess Cut: For a modern, geometric look.
- Baguette: Rectangular, creating a sleek, linear sparkle.
For beginners, starting with small (like ss3-ss6) and medium-sized (ss10-ss16) round rhinestones in clear or AB finish is highly recommended. They are versatile and easier to manage.
Step-by-Step: Creating Your Diamond-Studded Nail Design
Let’s get sparkling! Follow these steps for a gorgeous, long-lasting diamond-studded manicure.
Preparation is Key:
Start with clean, dry nails. Ensure your cuticles are pushed back and any old polish is removed. Shape your nails to your desired length and form.
Step 1: Apply Your Base Color
Paint your nails with your chosen base color. This can be a solid shade, a French tip, or even a glitter polish. Apply one or two coats, letting each dry completely. If you’re using gel polish, cure each coat according to the manufacturer’s instructions.
Step 2: Choose Your Adhesive Strategy
This depends on your polish type and the size of your gems.
- For Regular Polish: Apply a small dot of nail glue where you want the gem to go. Work quickly, as glue dries fast.
- For Gel Polish:
- Method A (Sticky Layer): If your gel polish or top coat has a sticky inhibition layer after curing, you can place gems directly onto this sticky surface. Ensure the layer is tacky, not fully dry.
- Method B (Rhinestone Gel/Thick Top Coat): Apply a small amount of specialized rhinestone gel or a thick, brush-on top coat to the nail where the gem will sit. This creates a secure “well” for the gem.
Step 3: Pick Up and Place Your “Diamonds”
This is where your precision tool comes in!
- Using a Wax Pencil: Lightly press the tip of the pencil onto the flat back of the rhinestone. The wax will pick it up. Gently press the rhinestone into the adhesive on your nail.
- Using Tweezers: Grip the rhinestone carefully by its edge. Position it precisely onto the adhesive on your nail.
Tip: If using nail glue, start with a tiny amount. You can always add more if needed, but it’s hard to remove excess glue without damaging your polish.
Step 4: Arrange Your Design
Decide on your design! You can:
- Create a focal point: A single, larger gem on the cuticle line or at the tip.
- Line it up: A row of small gems along the smile line of a French manicure or down the center of the nail.
- Scatter them: Randomly place small gems for a starry effect.
- Full coverage: Cover the entire nail for ultimate bling (this is more advanced!).
Place each gem one by one, ensuring they are pressed gently into the adhesive so they are flush with the nail surface as much as possible.
Step 5: Secure and Seal
This is arguably the most critical step for longevity!
- For Regular Polish with Nail Glue: Once the glue is dry (give it a minute or two), carefully and sparingly apply top coat around the gems, not directly over them. Try to coat the base of the gem and seal it to the nail. Overlapping the gem can dull its sparkle. For extra security, you can apply a tiny bit of top coat under the edges of the gem if accessible.
- For Gel Polish:
- Method A (Sticky Layer): If you placed gems on the sticky layer, you can sometimes apply a thin layer of top coat carefully around the gems. Overfilling around the gems can sometimes wash out their shine.
- Method B (Rhinestone Gel/Thick Top Coat): After placing the gems, carefully apply a thin layer of top coat around them, ensuring you seal the base of each gem to the nail without covering its top facet.
Crucial Tip: Avoid getting top coat on top of the flat, sparkly facets of the rhinestones, as this can make them look cloudy or dull. The goal is to secure the base of the gem to the nail.
Step 6: Cure and Finish (Gel Polish Only)
If using gel polish, cure your nails under a UV/LED lamp according to the gel’s instructions after you’ve applied the top coat. This hardens the polish and locks everything in.
Step 7: Final Touches
Once everything is dry or cured, gently clean off any sticky residue (if applicable) with an alcohol wipe. Admire your dazzling new diamond-studded nails!
Maintaining Your Sparkle

To keep your diamond-studded nails looking fabulous for as long as possible, here are a few tips:
- Be Gentle: Avoid picking at the gems or using your nails for tasks that might snag them (like opening cans or packages).
- Protective Top Coat: When reapplying top coat to chipped edges of your regular polish, try to do so carefully around the gems.
- Avoid Harsh Chemicals: Excessive exposure to cleaning solvents, acetone, or even certain hand lotions can sometimes affect the adhesive or the finish of the gems over time.
Troubleshooting Common Issues
Even experts run into little hiccups! If you find yourself struggling, here are some common problems and solutions:
Issue: Gems Keep Falling Off
Solution: This usually means your adhesive isn’t strong enough, wasn’t applied correctly, or the gem wasn’t secured properly.
- For regular polish: Ensure you’re using a good quality nail glue and applying it to a dry base. Try using a slightly larger “well” of glue.
- For gel polish: You might need to try a dedicated rhinestone gel or ensure your top coat is sufficiently “sticky” after curing. For larger gems, a tiny dot of nail glue under the gem (before placing it on the gel adhesive) can add extra hold.
- Check the gem itself: Some very old or cheap rhinestones might have lost their coating and won’t adhere well.
Issue: Top Coat Makes Gems Look Cloudy
Solution: This happens when top coat gets on the faceted surface of the rhinestone.
- Be precise: Use a fine-tip brush to apply top coat only around the base and sides of the gems, carefully avoiding the top.
- Use a gel top coat sparingly: For gel, a thin, precise application is key.
- Consider a matte top coat: For a different effect, a matte top coat applied around the gems can make the rhinestones pop even more without dulling them.
Issue: Difficulty Picking Up Tiny Gems
Solution: This is a common beginner struggle!
- Wax pencil is your friend! They are designed for this. Make sure to press firmly enough to pick it up.
- Dampen your tool slightly: If using tweezers, sometimes a tiny bit of moisture (like from licking the tip of your tweezers – just a tiny bit!) can help the gem stick to the metal. Be careful not to make it too wet.
- Use a small, flat surface: Pour a few gems onto a clean, dry surface and pick them up one by one to avoid them scattering.
Issue: Gems Feel Too Raised and Snag
Solution: This can happen with imperfect placement or using larger, chunkier gems.
- Use smaller gems: Particularly for everyday wear, smaller gems are less likely to catch on things.
- Choose flat-back gems: These lie much flatter than domed or jeweled charms.
- Build up the base: With gel polish, you can create a slightly deeper “well” using rhinestone gel to partially embed the gem.
- File carefully (advanced): In some cases, a very careful filing of the base of a raised gem with a fine-grit buffer (while protecting the nail) can slightly lower it. This is risky and not recommended for beginners without practice on artificial nails first.
Comparing Adhesives: Nail Glue vs. Rhinestone Gel/Top Coat

Choosing the right adhesive is crucial for the longevity and appearance of your diamond-studded nail design. Here’s a quick comparison:
| Feature | Nail Glue | Rhinestone Gel / Thick Top Coat |
|---|---|---|
| Best For | Regular polish applications; securing larger or heavier gems; touch-ups. | Gel polish applications; smaller to medium-sized gems; creating a smooth finish. |
| Longevity | Generally very strong and durable. Can last weeks if applied correctly. | Can be very durable with gel polish, especially when cured properly. |
| Application Difficulty | Requires quick application. Can be messy if too much is used. Needs careful application to avoid dulling gems. | Easier to control placement. Provides a “well” for gems. Application of sealant top coat requires precision. |
| Drying/Curing Time | Dries relatively quickly (seconds to a couple of minutes). | Requires UV/LED lamp curing for gel products. |
| Removability | Can be difficult to remove without acetone. May require soaking. | Removed with standard gel polish removal procedures (soaking in acetone). |
| Appearance Impact | Can sometimes leave a visible bond line or slightly dull gems if applied too liberally or over the facets. | Allows for a cleaner, more integrated look with gel systems. Minimal impact on gem shine if sealed properly. |
For the most secure hold, especially with larger gems, a bit of both might be used in some advanced techniques (e.g., nail glue followed by a gel top coat carefully applied around it). However, for beginners, sticking to one recommended method for your polish type is best.
Budget-Friendly Bling: DIY vs. Salon
Getting a diamond-studded nail design can feel like a splurge, but doing it yourself is incredibly cost-effective. Let’s look at why:
DIY Advantages:
- Cost: A pack of rhinestones costs a few dollars and can last for many manicures. Nail glue and top coat are standard nail supplies.
- Control: You decide exactly where and how many gems you want.
- Convenience: Do it anytime, anywhere, without needing an appointment.
- Learning Opportunity: Master a new skill that saves you money in the long run!
Salon Considerations:
- Expertise: Professionals have the skill and sometimes specialized tools for intricate designs.
- Time: Saves you the time of doing it yourself.
- Cost: Salon application for detailed nail art, especially with genuine crystals, can range from $10-$50+ on top of your manicure service, depending on complexity and location.
For a budget-conscious beauty lover looking for that essential sparkle, the DIY route is definitely the way to go! With practice, you can achieve salon-quality results right at home.
Inspiration Gallery: Diamond-Studded Nail Ideas
Get ready for some serious nail art inspiration! The beauty of diamond-studded designs is their adaptability. Here are a few ideas to get your creative juices flowing:
- Classic Glam: A nude or soft pink base with a single, large clear rhinestone at the base of each nail or on the accent nail.
- French Sparkle: A clean white French tip accented with a line of tiny silver or crystal rhinestones along the smile line or at the base of the tip.
- Full Sparkle Accent: One accent nail completely covered in small clear rhinestones, with the other nails in a solid complementary color.
- Graduated Gems: Start with larger gems at the cuticle and gradually use smaller gems towards the tip of the nail.
- Color Pop: Use colored rhinestones to match your outfit or add a pop of unexpected color to a neutral base.
- Celestial Dreams: Scatter tiny silver or iridescent gems across a dark blue or black polish for a starry night effect.
- Floral Motif: Arrange small gems in a flower shape, perhaps with a larger gem in the center.
Don’t be afraid to experiment! Mix different sizes and shapes, or combine rhinestones with other nail art elements like glitter or foil for truly unique looks. For more visual inspiration, platforms like Pinterest and Instagram are treasure troves of user-submitted nail art.
Conclusion
There you have it! You’re now fully equipped to create your dazzling diamond-studded nail designs. From understanding the different types of “diamonds” to mastering application techniques with the right tools and adhesives, you’re ready to add that essential sparkle to your manicure. Remember, practice makes perfect. Don’t be discouraged if your first attempt isn’t flawless – every manicurist started somewhere!
Embrace the process, experiment with designs, and most importantly, have fun expressing yourself through your nails. A little bit of sparkle can go a long way in boosting your confidence and adding a touch of glam to your everyday life. So go forth, gather your tools, and let your nails shine bright!
Frequently Asked Questions about Diamond-Studded Nail Design
Q1: How do I make sure the rhinestones stay on my nails?
A1: The key is using the right adhesive and sealing them properly. For regular polish, use good nail glue. For gel polish, use a dedicated rhinestone gel or a thick top coat, then cure it. Always try to seal the gems by applying top coat around their base, not over their sparkly facets, to maintain their shine while securing them.
Q2: Can I put rhinestones on regular nail polish, or do I need gel?
A2: You can absolutely put rhinestones on regular nail polish! The most reliable method is to apply a small dot of nail glue where you want the gem, then place the gem onto the glue. Once the glue is dry, carefully apply top coat around the gem.
Q3: What’s the difference between rhinestones and crystals for nails?
A3: Rhinestones are typically made of acrylic or resin and are lighter and more affordable. Crystals are often made of glass, are heavier, and have more facets, which makes them sparkle more intensely and look closer to real diamonds. Both can be beautiful for nail art!
Q4: How do I clean my nails if I get glue or top coat on the gems?
A4: For regular polish, after the top coat is fully dry, you can try gently wiping around the gems with a lint-free wipe slightly dampened with nail polish remover (use sparingly!). For gel, if you accidentally get uncured gel on a gem before curing, you can try to gently wipe it off with a brush or alcohol wipe. Once cured, it’s harder to clean without potentially scratching the gem.
Q5: Are diamond-studded nails difficult to remove?
A5: They are slightly trickier than a regular polish but manageable. For regular polish with nail glue, you’ll likely need to soak your nails in acetone to dissolve the glue. For gel polish applications, removal involves the standard gel removal process (soaking in acetone) and may take a little longer as the gems and adhesive protect the polish underneath.
