Diamond nail designs offer a dazzling way to elevate your manicure with sparkling, eye-catching accents. Perfect for beginners, these designs can be achieved with simple techniques using rhinestones, glitter, or specialized nail art stickers, transforming any nail into a mini masterpiece.
Hey nail lovers! Lisa here from Nailerguy. Are you dreaming of nails that truly shine? Maybe you’ve seen those beautiful, sparkly nails and thought, “Wow, that looks complicated!” I get it. Sometimes nail art can seem a little intimidating. But what if I told you that creating stunning diamond nail designs is totally achievable, even if you’re just starting out? We’re going to break it all down, step-by-step, so you can add that perfect touch of sparkle to your fingertips with confidence. Get ready to make your nails the stars of the show!
Why Diamond Nail Designs Sparkle
The Allure of Sparkle
There’s something undeniably captivating about the way diamonds (or diamond-like accents) catch the light. They add a touch of luxury, a hint of glamour, and a whole lot of pizzazz to any look. Diamond nail designs aren’t just about adding bling; they’re about expressing yourself, celebrating special occasions, or simply brightening your everyday mood. Whether you love a subtle shimmer or a full-on sparkle explosion, there’s a diamond design waiting for you.
Beginner-Friendly Glamour
The best part about incorporating diamond elements into your nails is that it’s incredibly versatile. You don’t need to be a pro nail artist to achieve beautiful results. Many diamond nail designs rely on simple application techniques, making them perfect for DIY manicures. We’ll explore easy ways to get that diamond effect without a hitch.
Essential Tools for Diamond Nail Designs
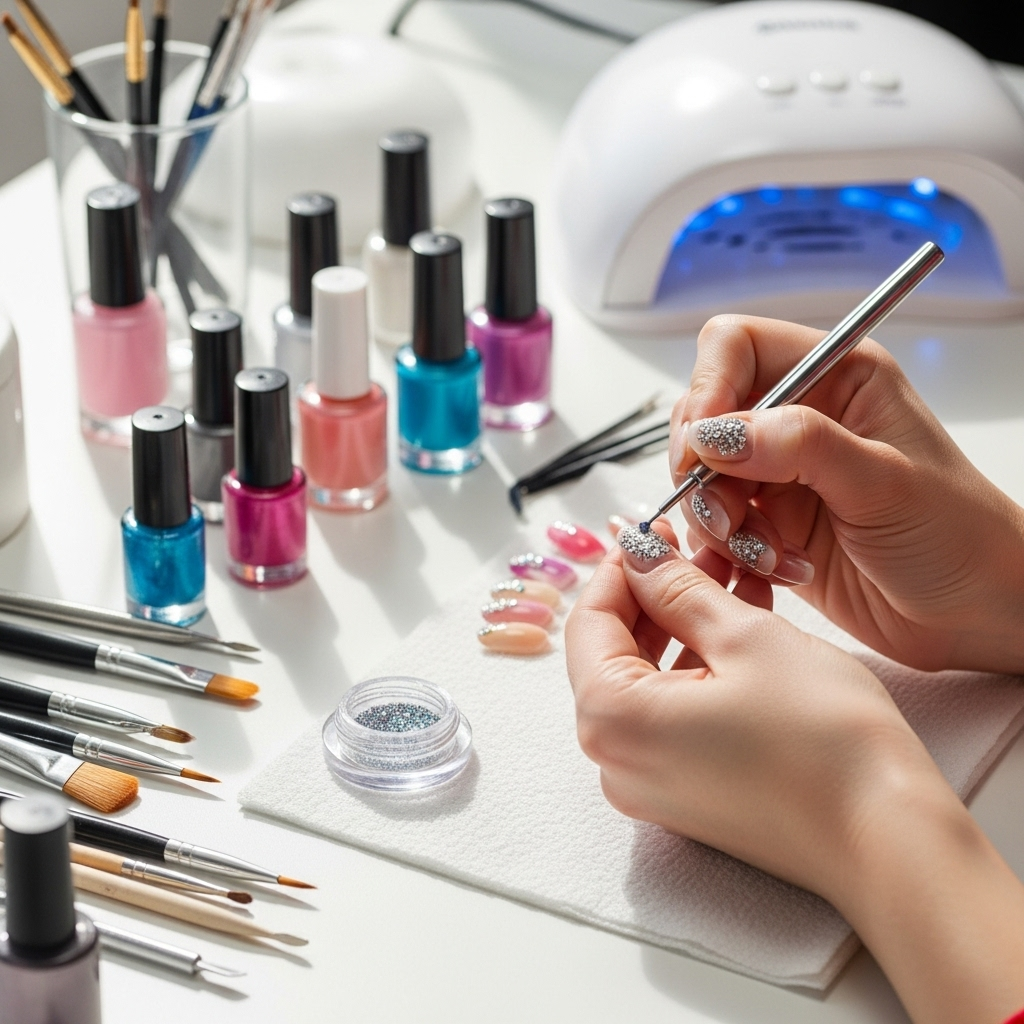
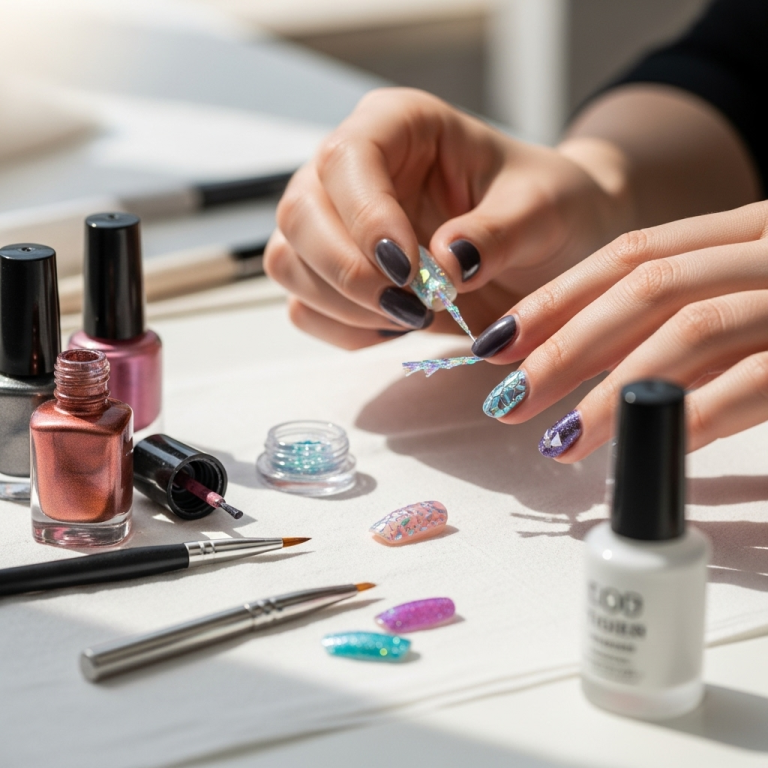
Before we dive into the fun designs, let’s gather our sparkle toolkit. You don’t need a professional salon setup to create dazzling diamond nails. Here are some essentials that will make your crafting journey smooth and enjoyable:
Must-Have Tools:
- Nail Polish/Gel Polish: Your base color is key! Choose shades that complement your chosen diamond accents.
- Top Coat: This is crucial for sealing everything in and adding that lasting shine. A good quality top coat will protect your design.
- Nail Art Glue or Strong Nail Adhesive: Essential for securely attaching rhinestones or larger gems.
- Tweezers: Precision is everything! Fine-tipped tweezers are perfect for picking up and placing small rhinestones and embellishments.
- Dotting Tools: These come with different-sized ball tips and are fantastic for applying small dots of glue or polish precisely where you need them.
- Rhinestones & Gems: The stars of the show! Available in various sizes, shapes (round, pear-shaped, marquise are popular for a diamond look), and colors. Clear acrylic gems are budget-friendly and mimic diamonds well.
- Glitter (Fine or Chunky): For a more diffused diamond sparkle effect.
- Optional: Nail Art Brushes: For detail work if you’re adding polish elements.
- Optional: UV/LED Lamp: If you’re using gel polish or gel-based adhesives.
Sparkling Diamond Nail Design Ideas for Every Skill Level
Ready to get inspired? Let’s explore some stunning diamond nail designs that are surprisingly easy to recreate. We’ll start with the simplest and move towards slightly more intricate, but still beginner-friendly, options.
1. The Classic Accent Nail
This is the perfect starting point for anyone new to embellishments. Choose one nail on each hand (often the ring finger) and let it be your sparkle star.
How-To:
- Apply your base nail polish color and let it dry completely.
- On your chosen accent nail, apply a small dot of nail art glue or a dab of top coat exactly where you want the design to start.
- Using your tweezers, carefully pick up a larger rhinestone or a cluster of smaller ones and place them onto the wet glue/top coat.
- Gently press them down to secure.
- Once the glue is dry (or after curing if using gel), carefully apply a thin layer of top coat around the embellishments, being careful not to flood them.
Pro Tip: For a clean look, try placing larger stones first and then filling in gaps with smaller ones. This mimics the facets of a real diamond beautifully.
2. The Subtle Sparkle Line
This design adds a touch of elegance without being overwhelming. It’s like a delicate jewelry piece on your nails.
How-To:
- Paint all nails with your desired base color and let them dry.
- On one or two nails, use a striping brush or a dotting tool to draw a thin line with nail art glue or top coat. This line can run vertically along the center, diagonally across a corner, or horizontally near the cuticle.
- Carefully use your tweezers to place tiny rhinestones along the line, one by one.
- Once placed and secure, apply a thin layer of top coat over the entire nail, ensuring the gems are sealed.
Variations: Try using two lines to create a V-shape at the tip of the nail, or a gentle curve along the side of the nail bed.
3. The Full Glitter Ombre with Gem Accent
This design combines the subtle shimmer of glitter with a statement gem for a glamorous effect.
How-To:
- Apply your base coat and then your main polish color. Let it dry.
- For the ombre effect, start applying fine glitter near the tip of the nail, gradually fading it towards the cuticle. You can use a fluffy brush or sponge for this. A specific glitter top coat can also achieve this.
- Once the glitter is set (or cured if using gel), choose one nail. Apply a dot of nail art glue or top coat.
- Place a slightly larger, perhaps faceted, rhinestone onto the glued area.
- Seal the entire nail with a top coat, focusing on securing the edges of the gems.
4. The Halo Ring Design
This popular design creates a beautiful “ring” of sparkle around a central point, often near the cuticle or center of the nail.
How-To:
- Paint your nails and let them dry.
- Using a fine dotting tool, apply small dots of nail art glue or top coat in a circular shape on the nail where you want your halo.
- Using tweezers, carefully place small rhinestones along this circle, leaving a small gap if you plan to place a larger gem in the center.
- If desired, place a slightly larger gem in the center of the halo.
- Apply top coat over the entire nail, being careful to carefully coat around the stones to maximize longevity.
Styling Tip: This looks stunning on nude, pastel, or classic red nails. It’s reminiscent of fine jewelry!
5. The Full Diamond Aura
For those who love a lot of sparkle, this design covers the nail with a shimmering gradient of rhinestones.
How-To:
- Apply your base color and let it dry.
- On the nail you want to decorate, apply a layer of nail art glue or clear polish. Work in small sections as the glue can dry quickly.
- Start by placing your largest rhinestones at the tip or cuticle area, depending on your desired look.
- Work your way down the nail, filling in with progressively smaller rhinestones.
- Use your dotting tool to help nudge and place smaller gems.
- Once all gems are placed and the glue is dry, carefully apply top coat over the entire nail, ensuring all gems are fully encased.
Important Note: Using a strong nail art adhesive is highly recommended for this design to ensure the gems stay put. You can see effective adhesives and application tips on resources like the NailPro magazine.
Maintaining Your Diamond Nail Designs
You’ve created beautiful diamond nail designs – now let’s keep them looking fabulous! A little care goes a long way in extending the life of your dazzling manicure.
Tips for Longevity:
- Be Gentle: Avoid using your embellished nails for tasks that require harsh scrubbing or prying.
- Moisturize: Keep your cuticles and hands moisturized with cuticle oil and hand cream. Dry skin can sometimes lift embellishments.
- Gloves are Your Friend: Wear gloves when doing chores like washing dishes or cleaning. This protects both your polish and your gems.
- Mind Your Top Coat: Reapply a thin layer of top coat to the edges of your design every few days if you notice any lifting or dullness.
- Avoid Harsh Chemicals: Acetone-based nail polish removers can weaken the adhesive. If you need to remove polish near the gems, use a non-acetone remover and be very careful.
Comparing Nail Art Adhesives
Choosing the right adhesive is key to making your diamond nail designs last. Here’s a quick comparison of common options:
| Adhesive Type | Best For | Pros | Cons | Beginner Friendliness |
|---|---|---|---|---|
| Nail Art Glue | Rhinestones, 3D charms, gems | Strong hold, fast-drying, widely available | Can be sticky to work with, may look bulky if too much is used | High |
| Top Coat/Clear Polish | Very small, flat rhinestones, glitter | Easy to find, doubles as a finish | Less secure hold for larger or heavier embellishments, can flood gems if not careful | Moderate (works best on tiny items) |
| Gel Adhesive/Gel Polish | All types of gems, intricate designs | Very strong, long-lasting hold, flush finish possible | Requires a UV/LED lamp for curing, specific application process | Moderate (requires extra equipment and specific technique) |
Frequently Asked Questions About Diamond Nail Designs
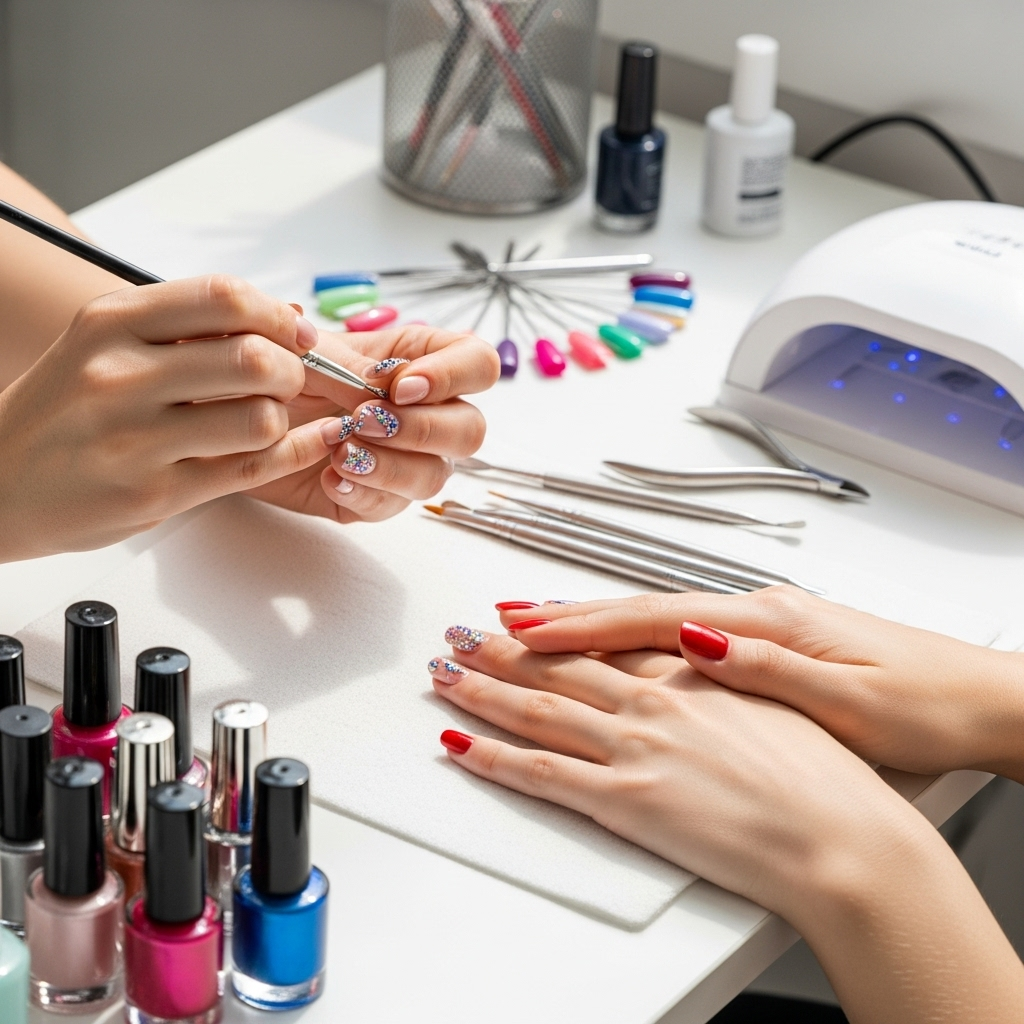
Q1: What are “diamond nail designs”?
A1: Diamond nail designs use sparkling elements like rhinestones, gems, or diamond-shaped stickers to create an eye-catching effect on your nails. They add sparkle and a touch of glamour.
Q2: Are diamond nail designs hard for beginners?
A2: Not at all! Simple designs like a single accent gem or a line of tiny stones are very easy to do. We’ve covered beginner-friendly ideas in this guide.
Q3: What’s the best way to attach rhinestones to my nails?
A3: For the best hold, use a specialized nail art glue or a strong nail adhesive. A dab of top coat can work for very small, light gems, but glue is recommended for longevity.
Q4: How long do diamond nail designs usually last?
A4: With proper application and care, your diamond nail designs can last anywhere from a few days to two weeks. Factors like the adhesive used and your daily activities play a role.
Q5: Can I put a top coat over rhinestones?
A5: Yes! Applying a thin layer of top coat around the base of the rhinestones helps to seal them in and protect your design. Be careful not to flood the gems, as this can dull their sparkle.
Q6: What if a rhinestone falls off?
A6: Don’t worry! You can reapply it using a small dot of nail art glue. Clean any old glue from the nail and the rhinestone before reattaching.
Q7: Where can I buy supplies for diamond nail designs?
A7: You can find rhinestones, nail art glue, dotting tools, and other supplies at most beauty supply stores, drugstores with a beauty section, online retailers like Amazon, and specialized nail art websites.
Beyond the Sparkle: Future Nail Adventures
Exploring diamond nail designs is a fantastic gateway into the wider world of nail art. Once you’ve mastered these shimmering looks, you might find yourself curious about other techniques. You could experiment with holographic foils, intricate hand-painted designs, 3D charms, or even press-on nail art kits that come pre-embellished. The key is to have fun and let your creativity lead the way!
Remember, your nails are a canvas for self-expression. Whether you’re adding a single, perfectly placed gem or creating a dazzling full-nail design, embrace the process and enjoy the beautiful results. The world of nail art is vast and exciting, and with a few simple tools and techniques, you can create truly stunning looks that make you feel confident and fabulous.
Conclusion
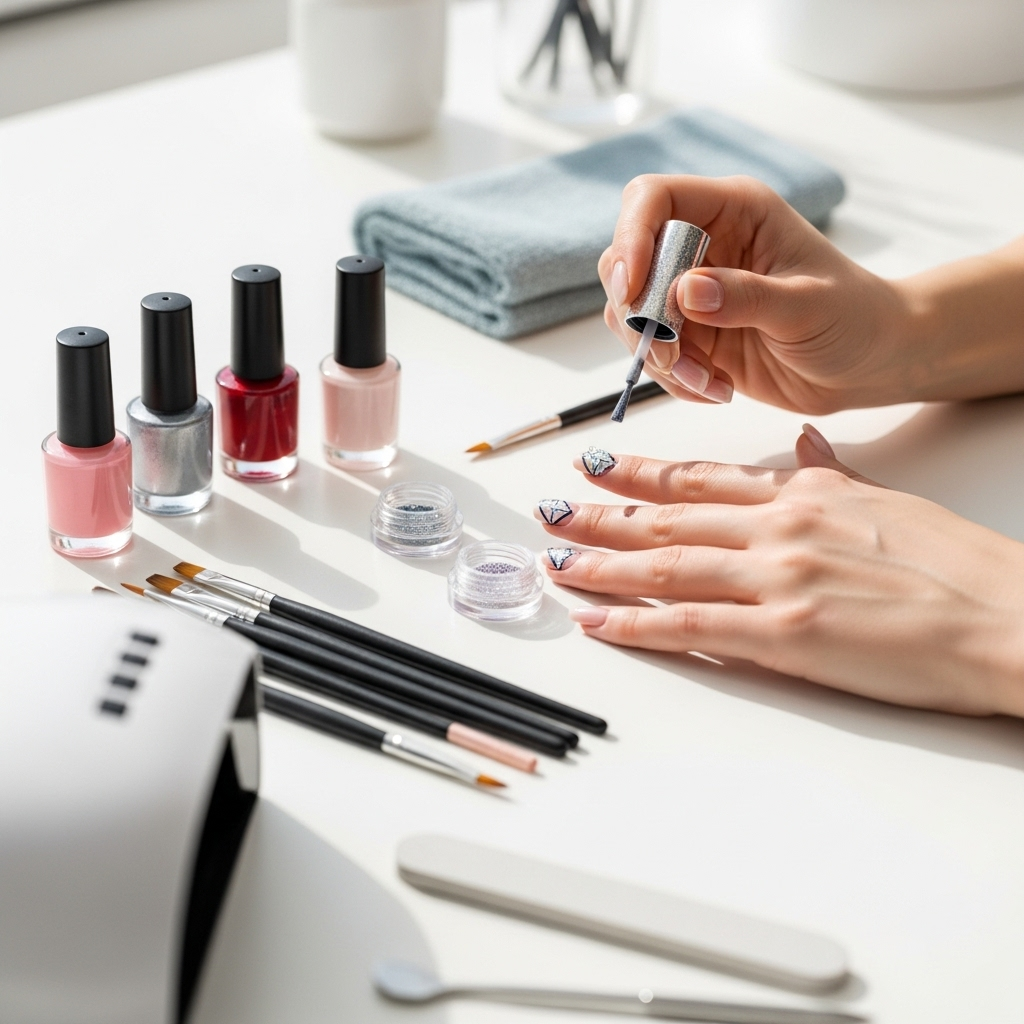
Creating stunning diamond nail designs is more accessible than you might think! From the classic accent nail to elegant lines and full-on sparkle, there’s a design to suit every style and skill level. By gathering a few essential tools and following simple application steps, you can easily add that eye-catching, luxurious shimmer to your manicure. Remember to be gentle with your embellished nails and keep them moisturized for maximum longevity. Don’t be afraid to experiment with different gems, shapes, and placements. Your nails are your personal accessory, so have fun with it and let your creativity sparkle!


